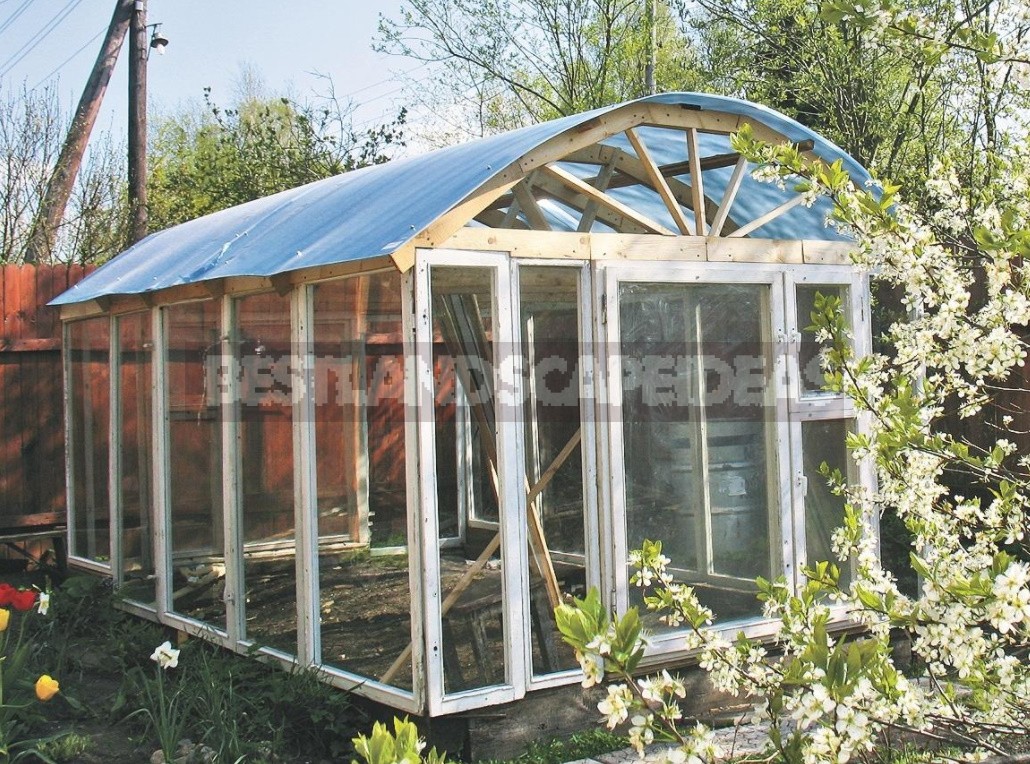
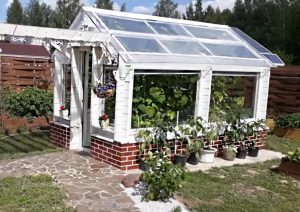
Old windows that residents throw out after repairs can be used as walls for a greenhouse. And for the roof in this case, a lightweight and durable cellular polycarbonate is perfect.
Cutting of materials
For many years, we used a greenhouse made of aluminum tubes covered with a film on the garden plot. But the polyethylene film was a lot of trouble. As a result, the roof for the new greenhouse was still decided to be made of polycarbonate.
A standard sheet of cellular polycarbonate has dimensions of 210 × 600 cm, and its tubes run along the long side of the sheet. If you cut the sheet in half and connect the three-meter edges, you will get a canvas with a size of 300 × 420 cm.
The walls of the greenhouse, assembled from old frames, formed a structure with dimensions of 245 × 405 cm, which perfectly coincided with the dimensions of a polycarbonate sheet connected from two parts.
Construction of walls from window frames
After dismantling the” skeleton ” of the old greenhouse, a rectangle with external dimensions of 245 × 405 cm was laid out of a beam with a cross section of 15 × 15 cm on the ground. The bars were pre-treated with an antiseptic.
The correctness of the angles was checked by measuring and comparing the diagonals of the base. The bars on the sides were fixed with flat pegs carved from boards 60 cm long, and the mating sides of the plinth were connected with building brackets.
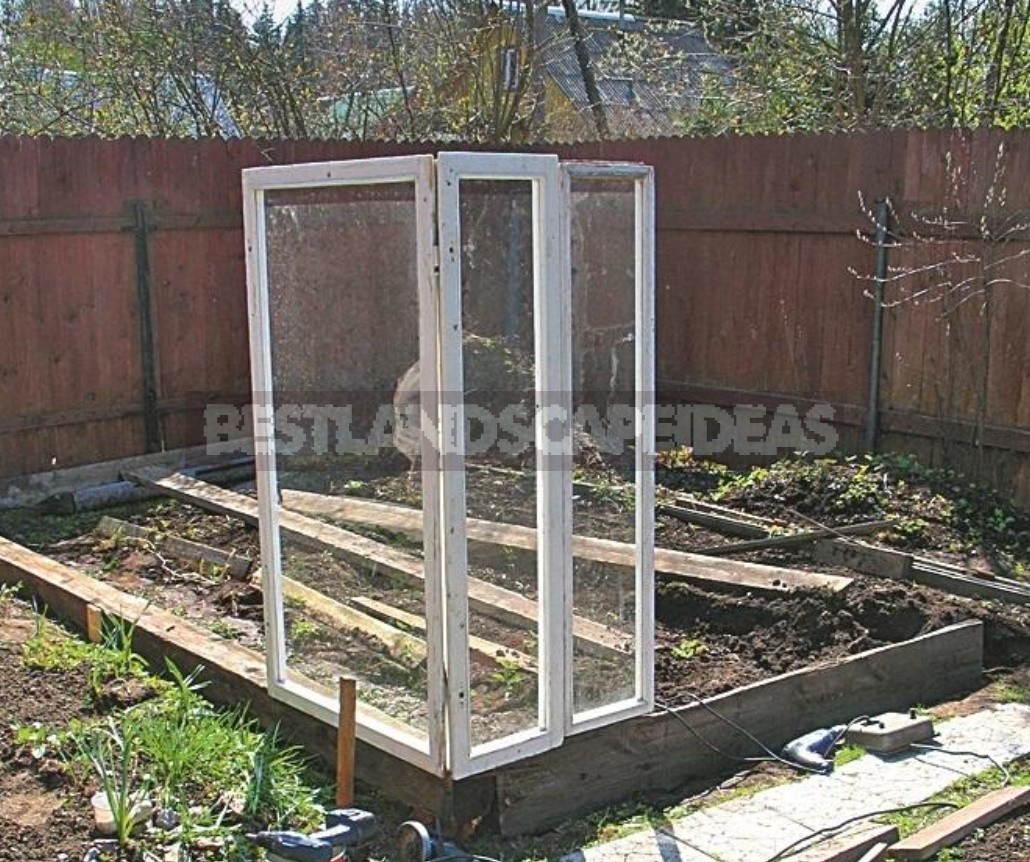
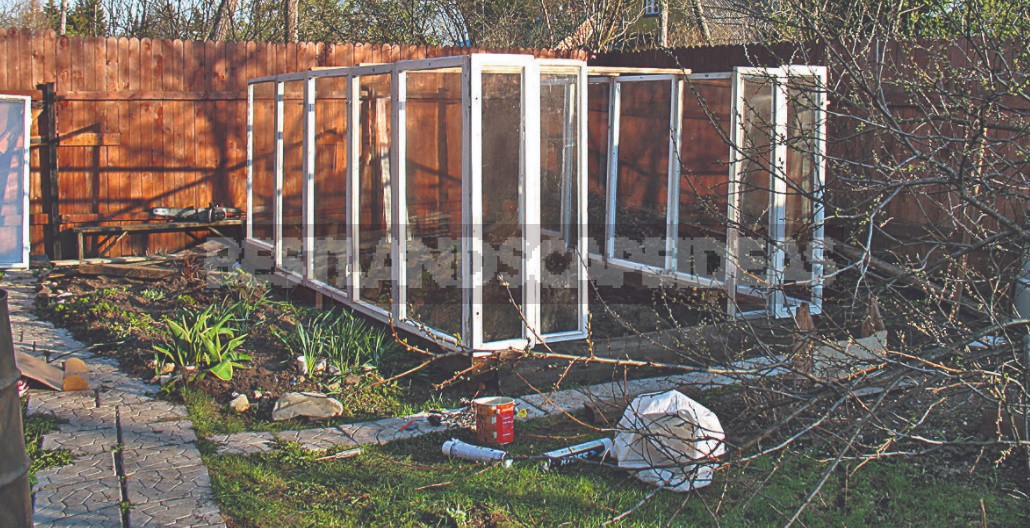
The construction of the walls of the greenhouse began from the corner, putting a wide single frame along the long side, and two narrow ones — from the end. The window frames were attached to the base and connected to each other by screwing screws on wood 76 mm long with a screwdriver.
Building the side walls in this way, we immediately connected them to ensure stability with puffs from the floorboard. The puffs were attached to the frames with the same long fastener.
Production of rafters
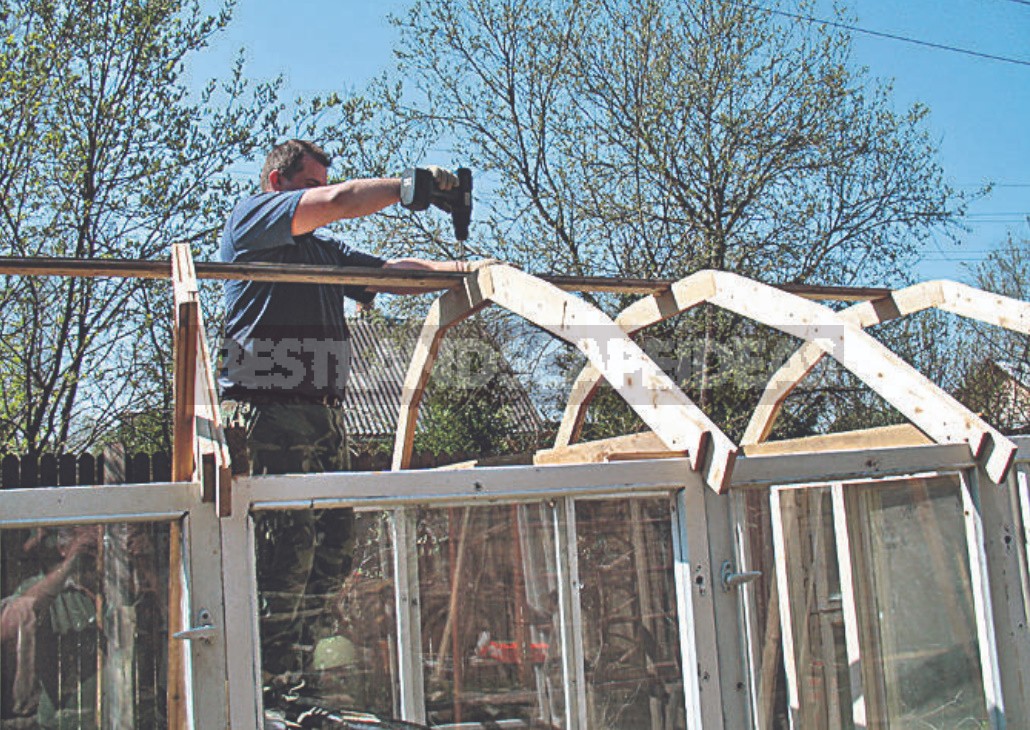
In order for the polycarbonate sheet to lay on the truss system evenly and without bends, we decided to use arched rafters. This was also helped by the fact that after the repair of the country house, a significant number of small, identical in length (about 63 cm) tongue-and-groove boards remained.
On a flat plot of land, a line was drawn equal to the width of the greenhouse, and the height of the arch (63 cm) was laid out from its middle. After that, the outer contour of the arch was drawn, along which the boards were laid out and fastened with 40-mm screws. It turned out that three whole boards of the first layer were covered with two whole boards of the second layer.
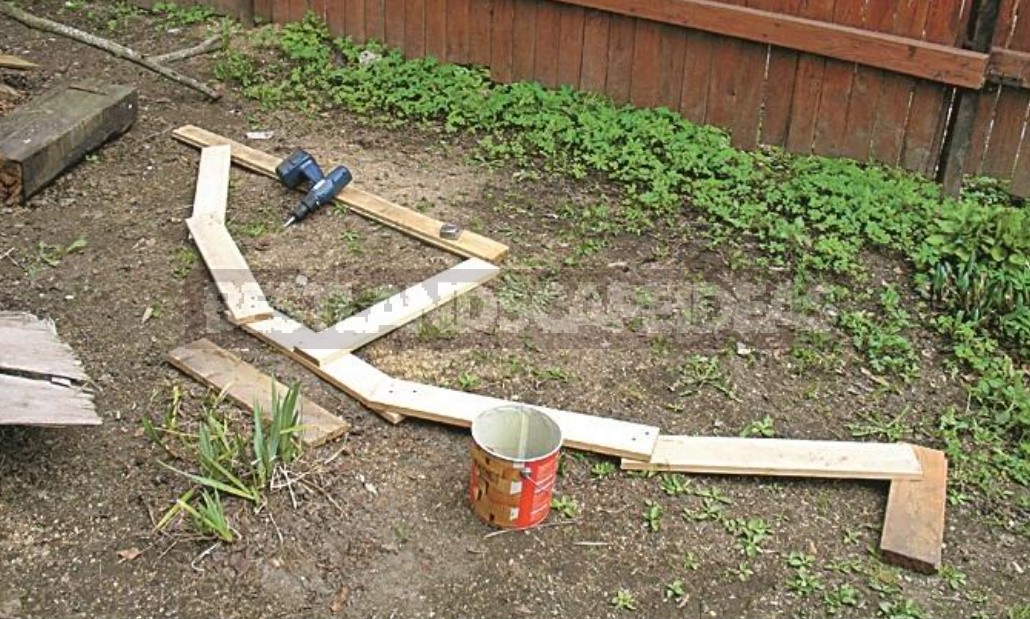
It took six such rafters. Therefore, the arches were built one after another, using the first one as a template. Next, they cut out an electric jigsaw and fixed the arcs on top — a figured central and two side boards with spikes of the second layer. Then, turning the arch over, two middle shaped boards of the first layer were fixed. After that, the protruding corners of the boards were cut off in an arc with an electric jigsaw-and the finished structure was obtained.
Each of them was installed close to the puffs, marking and cutting grooves in them for a specific profile of the upper bar of the support frame. The arches were attached to the puffs and frames with self-tapping screws on wood with a length of 76 mm. Having installed the first arch, the next ones were already mounted, controlling the evenness of the upper segments with the help of a level.
Installation of polycarbonate
The greenhouse was covered with a skate board, securing it with long screws in the grooves that were cut out in the center of the upper segments. Short beds were made on the slopes at the junctions of polycarbonate sheets. At the same time, through sleeps were passed through the second segments from the center, that is, in those places where there will be the greatest snow load.
Polycarbonate can be easily cut with ordinary household scissors. But it was very difficult to connect the cut parts with a double-sided insert. It was possible to do this on the fourth attempt — and not on the ground, but directly on the rafters, pushing the second sheet into the insert fixed on the first sheet. The three of us did it together.
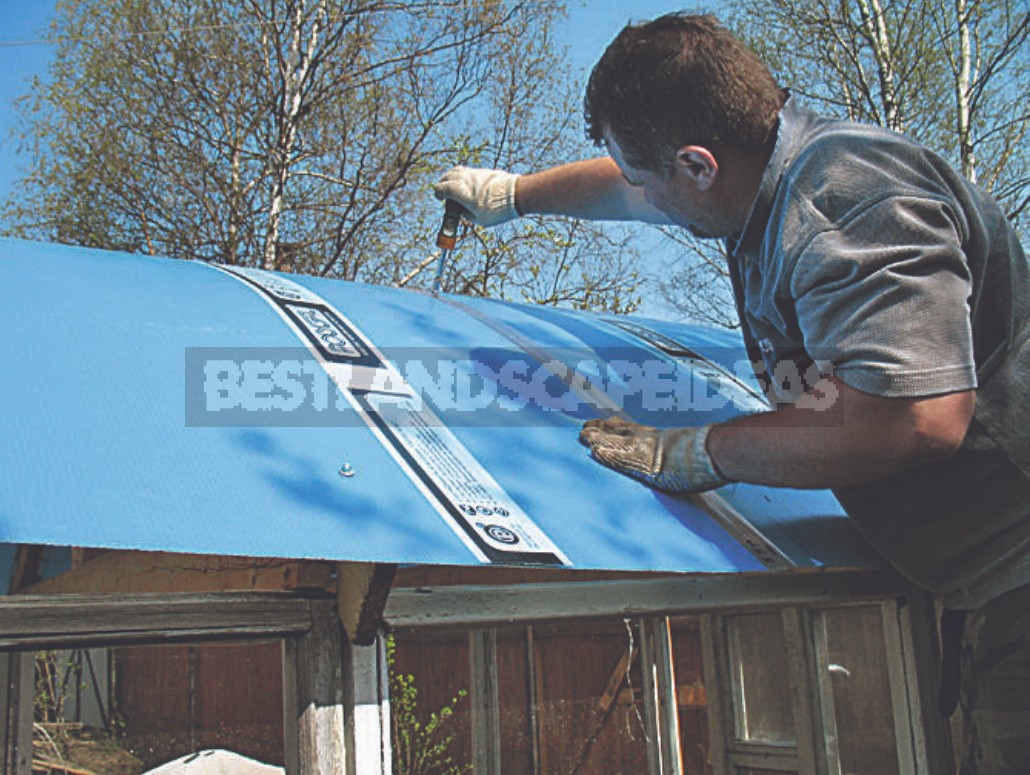
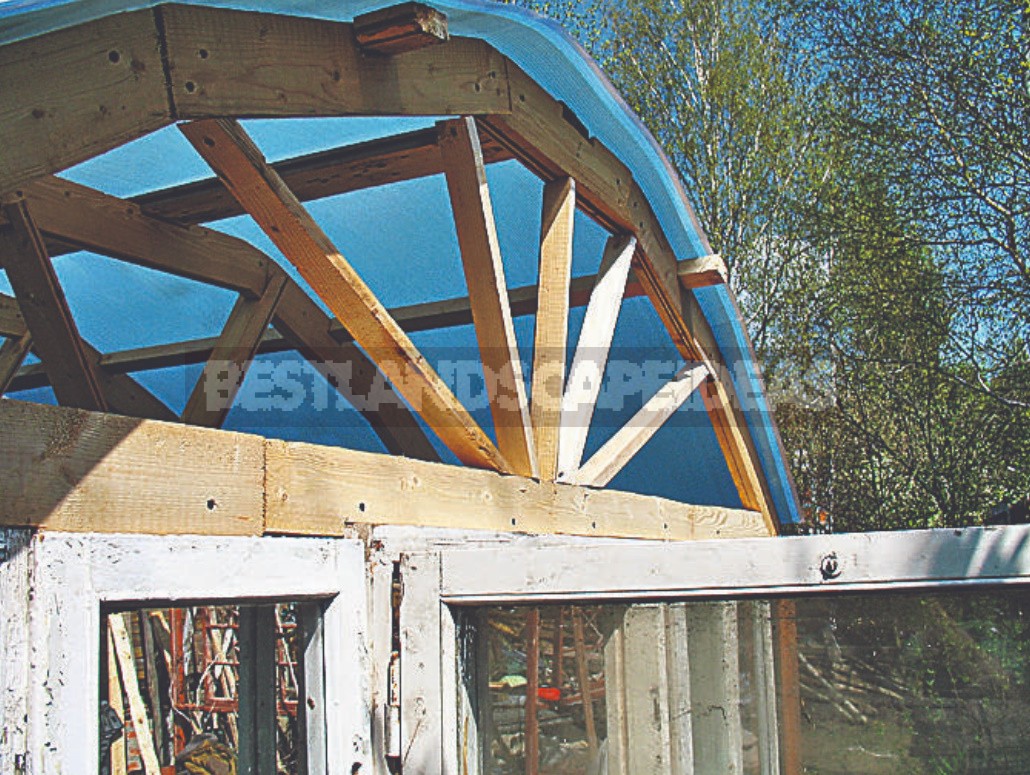
Polycarbonate was attached to the rafters and beds with special self-tapping screws with a hexagon head with washers and rubber gaskets. They also fixed the edges of the roof to the side arches of the greenhouse. The pediments were reinforced with struts launched from the centers of puffs, and closed with a thick plastic film, securing it with beads.
The final stage
After that, we started work on the final finishing of the greenhouse. The gaps between the rafters, the upper bars of the frames and polycarbonate were closed with pre-fitted boards with beveled upper edges.
Outside the greenhouse, thin platbands were installed on the cracks between the frames. From the inside, these cracks were filled with mounting foam and also closed with slats. To make the foam go better into the narrow cracks, they were previously moistened by spraying water from a flower spray.
In conclusion, it remains to paint the greenhouse and remove the protective films from the polycarbonate.
Leave a Reply