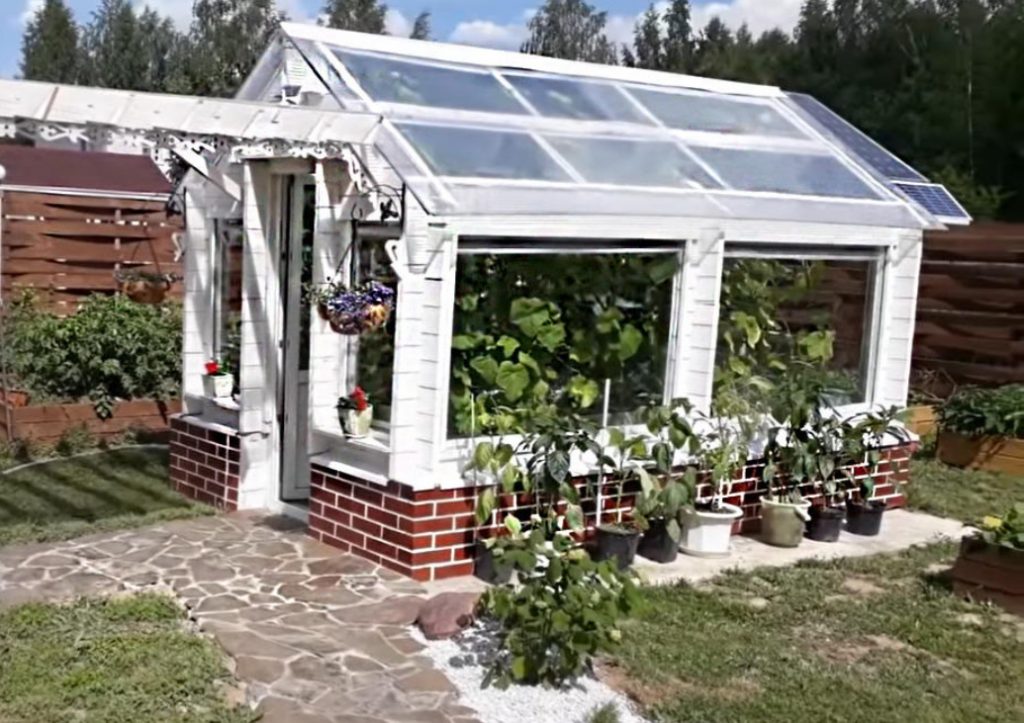
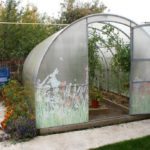
To use the greenhouse all year round, and not only in the summer, it is not enough to build a capital frame and make good glazing.
The construction site has moved to the stage of ventilation and heating. Before installing engineering communications, all seams were sealed from inside the greenhouse.
Installation of ventilation
There are no vents for the ventilation system — everything is sealed and as simple as possible. It will have two functions — to heat the ground in winter, and to ventilate the greenhouse in summer. For these purposes, a forced ventilation system is best suited. For her, I will install two fans under the roof to take in warm air at the rate of one fan per bed. In winter mode, the fan will take air from under the roof of the greenhouse and run it through the pipes under the beds, thereby heating the soil. In summer mode, two air valves will open on one side of the greenhouse. On the other side of the greenhouse, using the throttle, the air flow will switch, and the fan will start to drive in the air from the street. On the opposite side, the air will exit through two open valves.
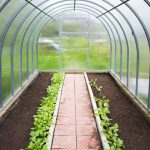
Pipes are laid underground, and warm air passes through them.

Through the pipe, warm air comes out of the ground.

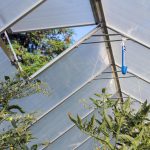
This is what an air intake fan installed under the roof looks like.

Through this pipe, the air goes underground and comes out from the other side of the bed. That is, the warm air circulates in a closed circle.

At the top there is an exit to the outside, in which the throttle is installed. In the “winter” mode, the air circulates inside the greenhouse. In the “summer” mode, the throttle opens and the air is supplied from the outside.

A temperature controller is used to automatically turn on the fan. It has been converted to work in the “cooling”mode. The temperature on the controller is set to +25°C.
We cool the sensor in a glass of water — the fan does not work. We heat the sensor in the hand — the fan turns on and pushes the warm air under the beds. It turns out that the sensor will not allow the fan to cool the pipes under the beds.

The temperature sensor will be installed under the roof of the greenhouse. It will “control” the operation of the fan, and as soon as the temperature drops under the roof of the greenhouse, the fan will turn off so that cold air does not get into the pipes underground.
Two valves for the air outlet.

As planned, I install fans for air intake in summer mode.

The system is finally set up. The fans are working.
The sun came out for the first time in days. I make temperature measurements. Outside -5°C.

The sensor in the ground (placed in a gravel accumulator) shows -1°C. The second sensor, which is installed at the exit from the ground, shows +4°C.

The second sensor is installed at the outlet of the pipe from the ground.

The third sensor, which is located under the roof of the greenhouse, where there is an air intake. It shows +6°C.

After four hours of operation of the ventilation system, we make measurements — the sensor readings under the roof +10°C, air comes out of the ground at a temperature of +7°C.

The first sensor reading is +1°C. That is, the heat accumulator from the pipes under the bed heated up by two degrees, from -1°C to + 1°C. Theoretically, there is an additional two degrees left in the ground. This proves that the ventilation system works with heated beds.

Winter greenhouse heating
The heat source for the greenhouse will be a small gas convector. I bought a silent convector for half the price. The former owner did not use it at all, because he did not replace the injectors with liquefied gas and piezo ignition.

I needed three keys to replace the injectors. We remove the injectors for the main gas — and install them for the liquefied gas.

They are easy to distinguish: the holes in the nozzles for liquefied gas are smaller.

Under the convector, I install a refractory plate. It is screwed to the wall with screws. I plan a hole for a chimney with a diameter of 150 mm.

I drill holes in a circle, and then use a jigsaw to cut a round hole for the chimney.

I’m installing a convector. The gas pipe is laid in the corrugation and is brought out to the street.

The gas cylinder is installed on the street, and a gas pipeline is laid from it.

The chimney is made with a slight slope to the ground, so that the condensate does not flow into the converter.

Installing roller blinds
The windows of the greenhouse will be covered with roller blinds made of reflective fiberglass fabric.
From the components, we collect small roller blinds. Self-assembly gives a 50% price gain.

We assemble the structure completely, put on the cover — and install the roller blinds on the screws on the window.

We set the temperature on the thermostat. On the” unit”, the convector will maintain a temperature of +11°C in the greenhouse. Now the fan has reached a temperature of about +10°C. The earth settles, everything dries up.

Reflective blinds are installed on the top and bottom. Only the southern part of the greenhouse is open to light. This is what I will do in winter, because so far the sun is only active in the south.

In order not to lose heat, the remaining windows are covered with reflective roller blinds, which will reflect the sun’s rays inside the greenhouse. They will open in the summer. They are conveniently folded — it only takes 5 minutes to open the entire greenhouse.
Testing the heating system
The ground temperature is +14°C, at the top under the ceiling +23°C. The temperature of the air coming out of the ground is +20°C. And the thermal battery was charged to +15°C. I heated the greenhouse with gas for 4 days at night, during the day I turned off the heating. In the evening, after a sunny day, the earth warmed up to +20°C-and below +18°C. At night on the street -2 … -3°C.
March 29. We won’t turn on the convector at night: we’ll see what happens in the morning. The next day, at 7 am, the temperature outside is +1°C. There is snow on the ground. And in the greenhouse +5°C. Seems pretty good. Let’s try to turn on the heating. I recently installed a gas meter on the cylinder — let’s see how long the cylinder will last.

After three weeks (in fact, I heated it for 2 weeks; when the sun was out, I turned off the heating), 2.1 cubes of a propane-butane mixture burned. 11 liters of gas — for two weeks of heating the greenhouse at night.
Related posts:
 Glass Greenhouse with Their Hands
 How to Arrange an Effective Drip Irrigation in the Greenhouse
 How to Choose a Variety of Cucumbers for Greenhouses
 Smart Greenhouses by Yuriy Zikov
 Polycarbonate Greenhouses With Their Hands
 The Foundation for Greenhouses: When You Really Need Him?
 Warming of the Greenhouse Base With Foam: Technology and Advantages
 How to Prepare a Greenhouse For Winter
 Automatic Ventilation Of Greenhouses. What Are The Options?
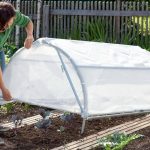
 Greenhouse for Spring Seedlings
 Early Start: Choosing a Material For a Greenhouse
 How To Build An Autonomous Winter Greenhouse
 Greenhouse Options: Ready-Made And Hand-Made
 How To Make a Greenhouse From Improvised Materials
 How To Choose The Perfect Greenhouse For a Summer Cottage
 Greenhouse After Winter: Minor Repairs, Preparation For Planting, Treatment Of Diseases