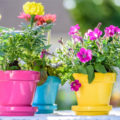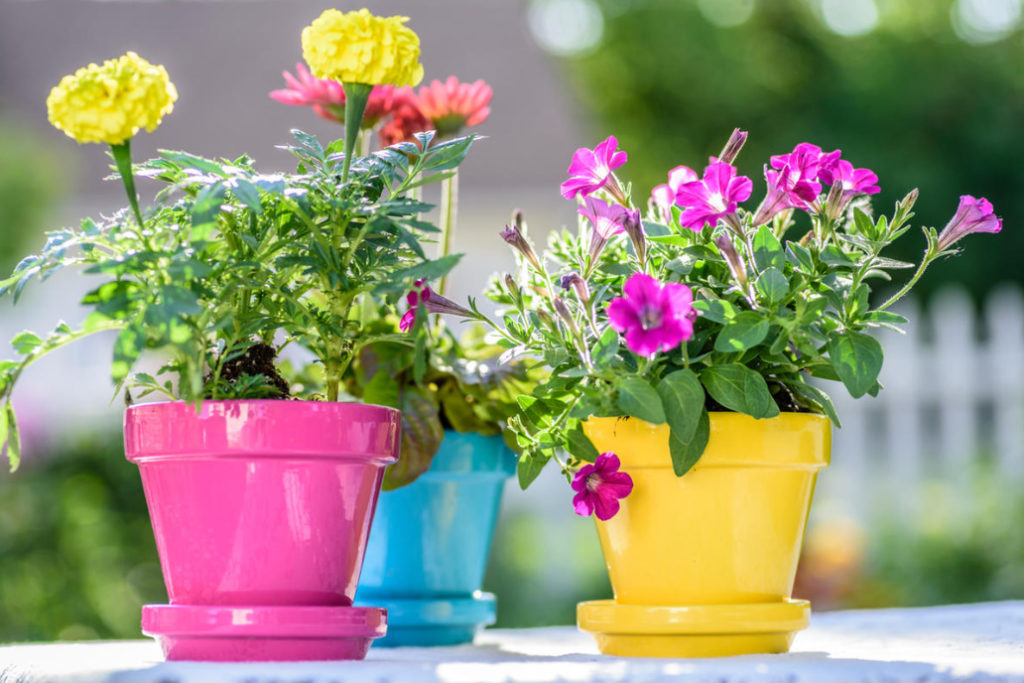
Flower lovers often find themselves in a difficult situation — beautiful pots are expensive, and day after day there is not the slightest desire to “admire” artless plastic, simple terracotta also gets boring over time. I see two ways out — either to pay a tidy sum for the containers you like, or to take simple budget planters and turn them into exclusive ones! Don’t you believe it’s possible? And I will try to dissuade you.
Master class
And immediately into battle! Let’s consider two ways of decorating pots with paint and stencils. The first one is a little more complicated: it implies layering the pattern, which makes it a more interesting and voluminous pattern. The second is an easy—to-perform classic application of paint through a stencil.
You will need
- Plastic or ceramic pot
- Masking tape
- Paints
- Paint containers
- Thin synthetic brush
- Sponge for washing dishes
- Thick paper
- Scissors
- Pencil
- Gloves
Note before starting work: you can use an old sponge for washing dishes. Cut it into several pieces. It is better to paint with gloves, but cut out the leaves from the tape — definitely without them. Due to the prolonged torrential rains, I had to conduct a master class on the balcony and cover all surfaces so that nothing superfluous would be painted and dirty. I advise you to paint pots on the street.
The first way to paint a pot
We spray white paint on a clean pot prepared for painting. I have this universal enamel. I like it for the convenience of application (characteristic stains usually remain from the brush) and the fact that the painted surface does not fade and does not fade with time, which is ideal for my very sunny south-facing balcony.
In order for the paint to always fit well and evenly, you need to shake the can before spraying: 1-2 minutes — and you can spray. I made one light layer of white paint on purpose, because according to the idea I needed a translucency effect. You can apply the enamel in two or three layers, then the color will be even and dense. We leave the painted pot until it dries completely.
Tip: to evenly paint the pot, turn the stool over and put it on one of the legs. This way you can easily turn the pot without risking smearing the paint. The stool, of course, will also be painted, so use an old, unnecessary one, which is not a pity. This makes the job much easier!
")
Now we need a masking tape. With scissors, we cut out small leaves from it — they can be of different shapes and sizes. And stick them on the surface of the pot, pressing well so that the tape lies flat and securely. Remember that you will have another layer of leaves, so you do not need to glue them too “thickly”. Let them “float” freely on the surface of the pot.
")
We apply the following color directly on top of the leaves on the entire outer surface of the pot. In this case, he is not alone, there are two of them — green and orange. I spray-painted the top and bottom of the pot, and went through the central part with a sponge so that the colors layered on top of each other. It turned out a beautiful gradient — the transition from green to orange.
")
After the complete drying of this layer of paint, we paste new leaves. Now you can make a pattern, that is, stick the leaves not singly, but next to those that are already on the pot. The result will be groups of different colors. We try to glue the leaves all over the surface (bottom, top, middle), so that then the pure orange outlines of the leaves, and green, and gradient ones are visible.
The final color of the pot is yellow. The paint should be of high quality and completely overlap the lower colors — I had no problems with this, two layers of enamel lay down well and easily blocked the orange-green madness that I had applied before. Now we leave the pot until the paint dries completely.
It’s time for the most pleasant thing — to see the result of your work. With scissors, we carefully pry the corners of the tape and remove the sheets from the pot. If you glued the leaves well, then the drawing will be clear, without smudges. But in any case, I recommend taking a thin brush and correcting the edges of the leaves, making them more expressive.
")
The second method of painting the pot
Since the pots on my balcony will be paired, in both cases I chose yellow as the main color. According to the idea, the second pot should have cute white peas and colorful hearts.
We spray yellow universal enamel from a spray can and let it dry well. You should get a dense primary color.
")
While the paint dries, we will make stencils (if you have ready-made ones, use them). Take thick paper. Draw with a pencil on one piece of paper the outline of a heart, and on the other — a small circle (pea). Ideally, the paper should be both dense and flexible enough. Cut out the central part in the heart and pea. The stencils are ready.
Now estimate the approximate location of the drawing on the pot and fix the stencil with masking tape. Take some paint on a sponge and blot the drawing. The sponge needs to be soaked with paint just a little bit, you can even get the excess wet first so that the applied pattern does not flow. To paint over the hearts, I used two colors (green and orange) so that they echoed the leaves on the other pot. It was decided to make the peas white.
")
We apply the drawings alternately, letting them dry so that they do not lubricate during the work.
And now the very last heart has dried up — you can enjoy the result. Now my balcony is decorated with such a bright couple, which lifts the mood and pleases with its sunny color.
")
It is impossible to stop at the decor of only two pots, so I present to your attention a selection of various ideas for implementation and just inspiration.
")
Paint works wonders!
You have already realized that painting is the simplest (by technique, but not by result!) a way to give flower pots a new look. Therefore, we continue the parade of colorful dwellings for indoor flowers.
")
Streaks and divorces are not a marriage, but a design idea. That’s how it should be!
")
Sometimes a minimum of consumables leads to remarkable results. Look how stylish these planters look, and it took just nothing to paint: a little white and a little black.
")
Here are some more amazing ornaments that, for all their simplicity, give the pots a spectacular look. It is not necessary to depict the monogram, but if you liked the idea, but there is no skill, do not be lazy to make a stencil.
")
The following painting method is ideal for beginners, but experienced masters do not refuse it. Just try it! The process is so easy and exciting that you probably won’t be limited to decorating one pot.
")
Are there exceptionally bright colors available? Wonderful! Cover the surface with the main color, and when it dries, draw fruits, berries or flowers.
")
Bright floral fantasies look very beautiful on a light background. You can reduce the number of shades, for example, to depict a clearing in blue-blue or pink-burgundy tones.
")
Another modern print is representatives of fauna, and the most diverse from butterflies and beetles to birds and elephants. I would probably refuse a pot with an image of a snake or a spider, preferring fish or elephants that are more cute to me.
")
In the nursery, everything should be special, including flower pots. For example, these are cute and funny.
")
If you like to draw complex patterns with lots of small details, pay attention to these delightful ideas. If you want to significantly reduce the time spent on decorating the pot, use ready-made stencils. They will also come in handy if you are planning to decorate several planters in the same style.
")
An easy way to add a little chic to the interior is to paint the pots with paint with shiny pigments. You can limit yourself to a part of the planter and decorate it completely — as you like.
")
Now finding the most unusual paint is not a problem, so do not be afraid to experiment — the result can exceed the wildest expectations! Well, if you definitely don’t like the new look of the pot, just repaint it.
")
It is impossible to show all the colorful variety: there are countless cute, unusual and amazing ideas. Moreover, most of the work was not done by professionals.
")
So leave your doubts — and try!
Related posts:
 DIY Flower Pot Decor: More Than 50 Ideas (Part 1)
 Glass Greenhouse with Their Hands
 Convenient and Useful Nozzle On the Trimmer With Your Own Hands
 Protect Your Garden, or How to Make a Scarecrow
 How to Make a Washstand for Country House the Hands
 Crafts from Ordinary Wine Stoppers
 Terraced motives the device is weatherproof wooden floors
 Crafts With their Hands: Birds and Moths
 Gifts with Your Hands From the Bottom of Your Heart
 Update Old Furniture. New Life of Favorite Things
 How to Build a Cellar With Your Hands
 Furniture Made of Cardboard and Paper: the History and Technology of Such
 We Arrange The Space Around The House: Terraces, Verandas And Patios
 Two Benches For The Porch: Step-By-Step Master Class
 How To Give a Chest Of Drawers a New Life (Part 1)