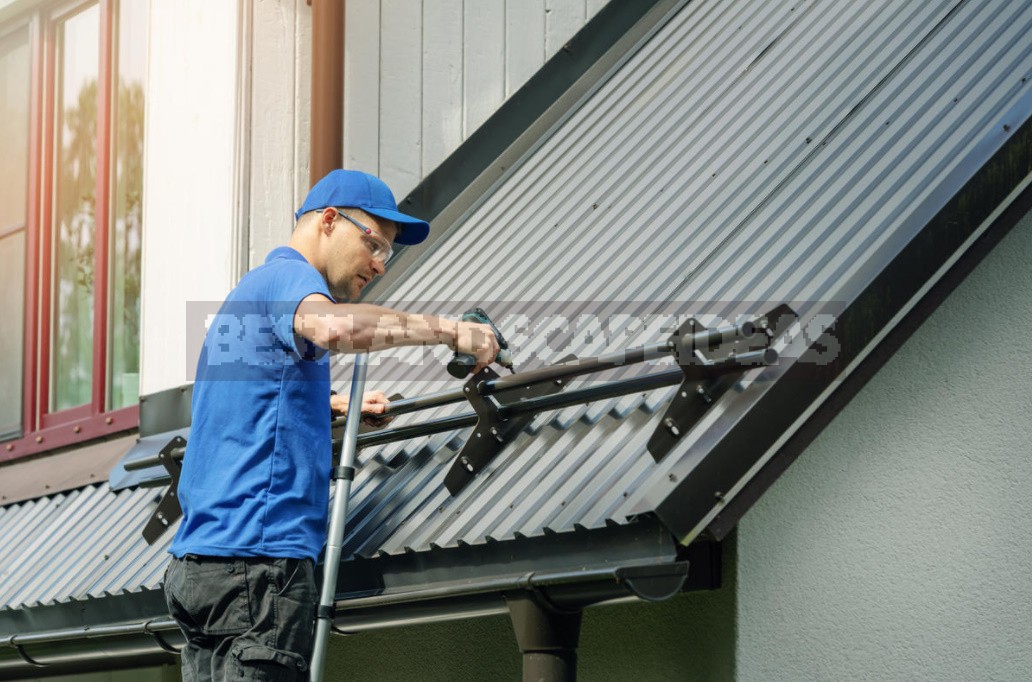
When building a pitched roof, you need to worry about the selection and installation of snow holders. Calculating the number of snow barriers and correctly installing them is no less important than choosing a roof covering.
Recently, when buying roofing material, a set of snow holders is also given as an additional bonus. And not always the seller can clearly argue why they are needed on the roof at all. In addition, free models are of poor quality, as they are not always produced taking into account technical requirements. But in the spring or winter during the thaw, when the air temperature is above zero, the snow mass accumulated on the roof can collapse at any time. In order to avoid such incidents, special protective elements are installed. They do not allow the snow mass to fall from the roof, but hold it until it melts from the heat of the sun.
What are they like
To choose the right snow holders, you need to know what they are and what load they are designed for.
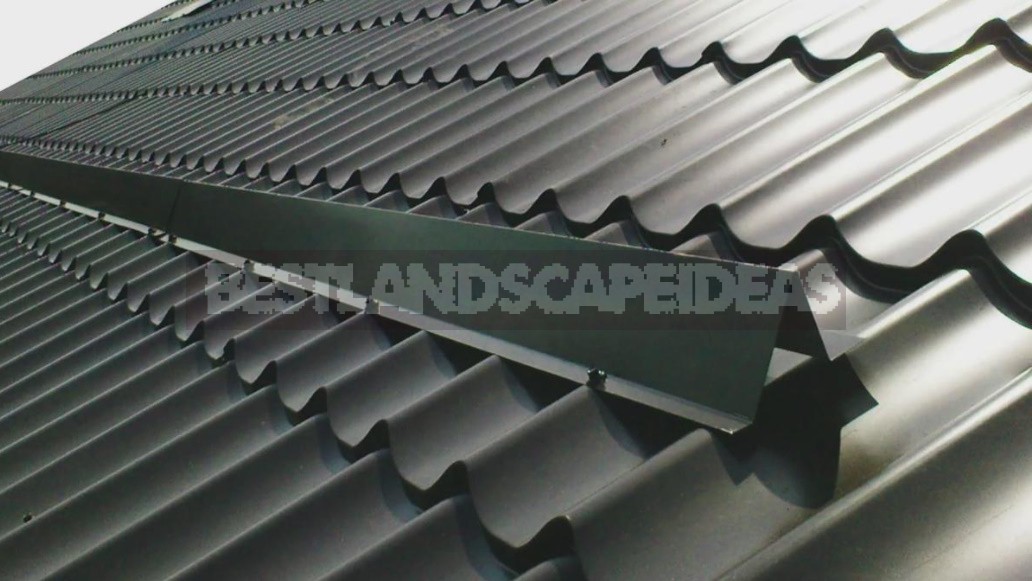
Corner snow holder
Such a snow holder is also called a lamellar one. This is the cheapest and simplest design. It is a thin steel sheet (plate) bent at an acute angle. It is easy to make it with your own hands. A large accumulation of frozen snow cover, it is likely not to withstand, but in those places where there is not much precipitation, it will do. It can only be installed on metal shingles or profiled flooring!
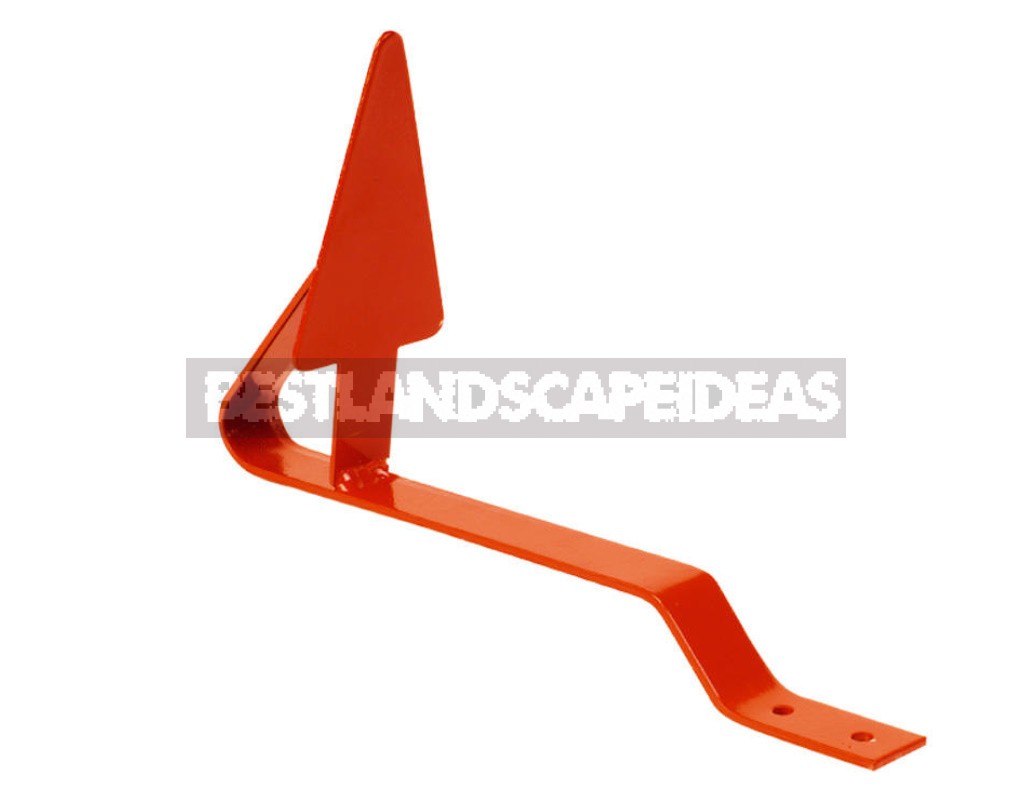
Bugel
For a safety net, the system of corners is often supplemented with Bugels — metal devices in the form of a triangle, which pointwise delay the descent of the snow mass and extinguish the speed of its movement. They are suitable not only for metal, but also for bitumen roofing.
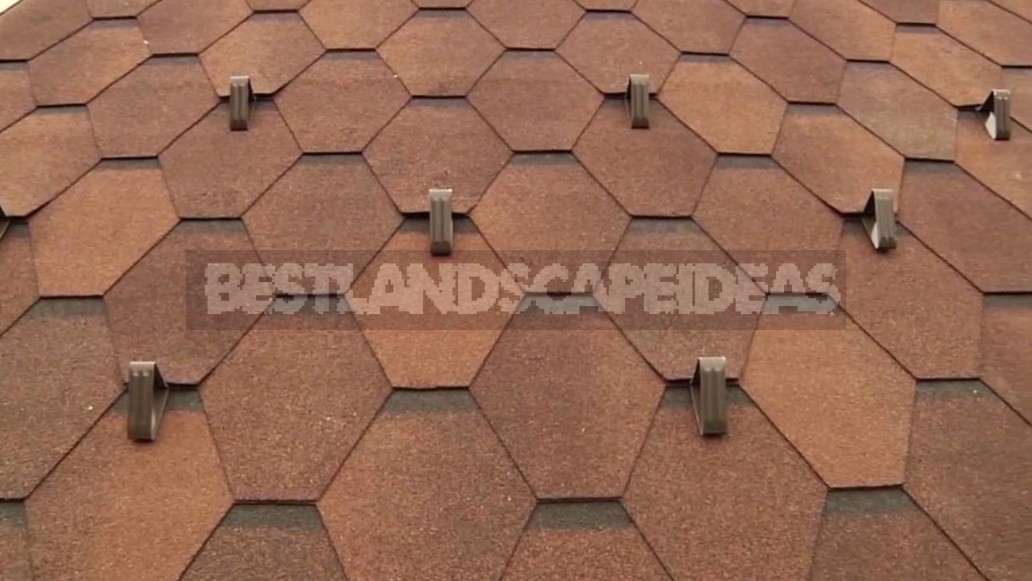
Snow cutter-tooth
Specially designed for soft tiles are the so-called teeth-steel or plastic (made of polycarbonate) snow cutters of small size. They are attached in large numbers along the entire slope in several rows.
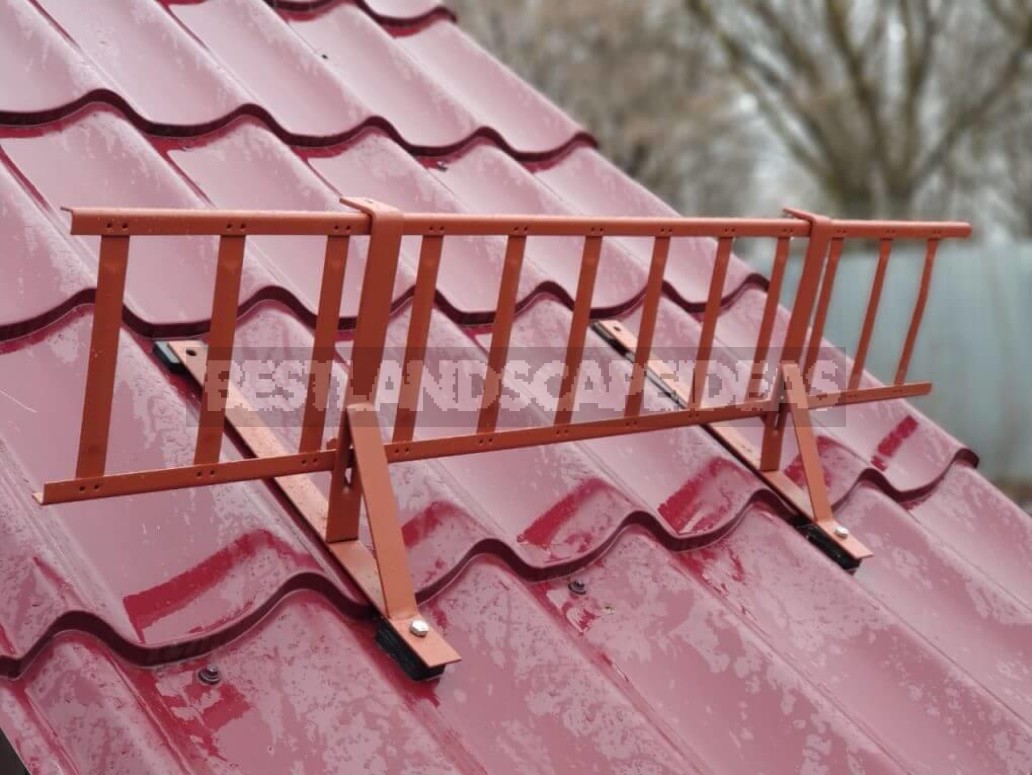
Grid-type snow holder
It resembles a decorative fence for lawns and garden plants. Passing through it, the snow mass breaks into many small non-dangerous parts and falls down, and what remains on the roof melts and flows down the drain. Due to the height of 10-20 cm and a reliable method of fastening, the barrier is able to withstand a significant load and is therefore recommended for installation on large slopes.
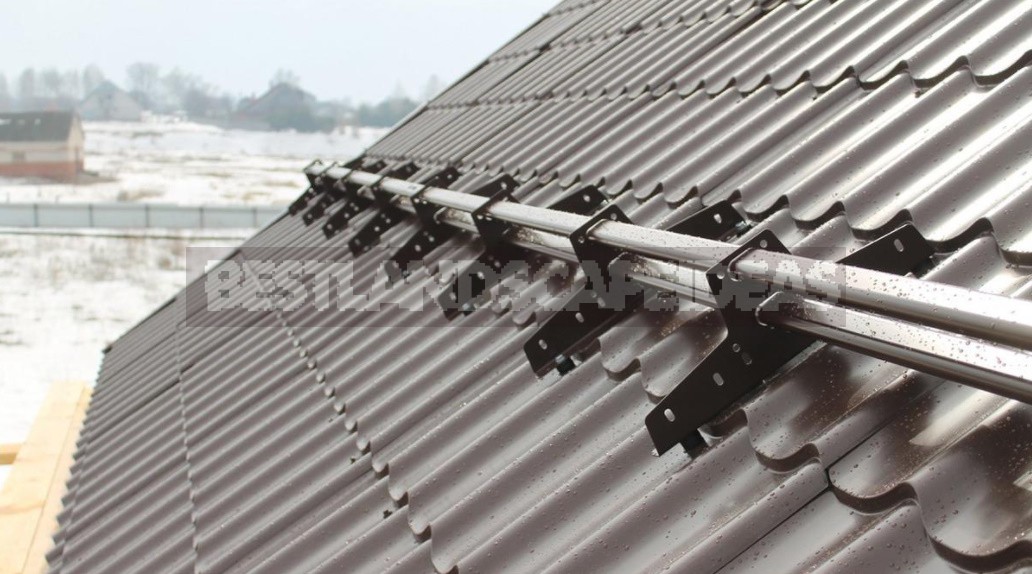
Tubular snow holder
The efficiency and functionality of the tubular device is no worse. It consists of a set of tubes, two rows of which connect a system of brackets with a mounting shelf. The wider the roof, the more sections you need to install. The main advantage of the product is its versatility: like a lattice barrier, it can be used on any kind of roofing. Among the disadvantages can be noted laborious installation, which can require a lot of time and effort.
How to choose
When deciding on the choice of a snow holder, you should be guided by three criteria — the slope of the roof, the coating material and the snow load in a particular region. With the slope, everything is simple: if it is not more than 60°, you can not do without barriers.
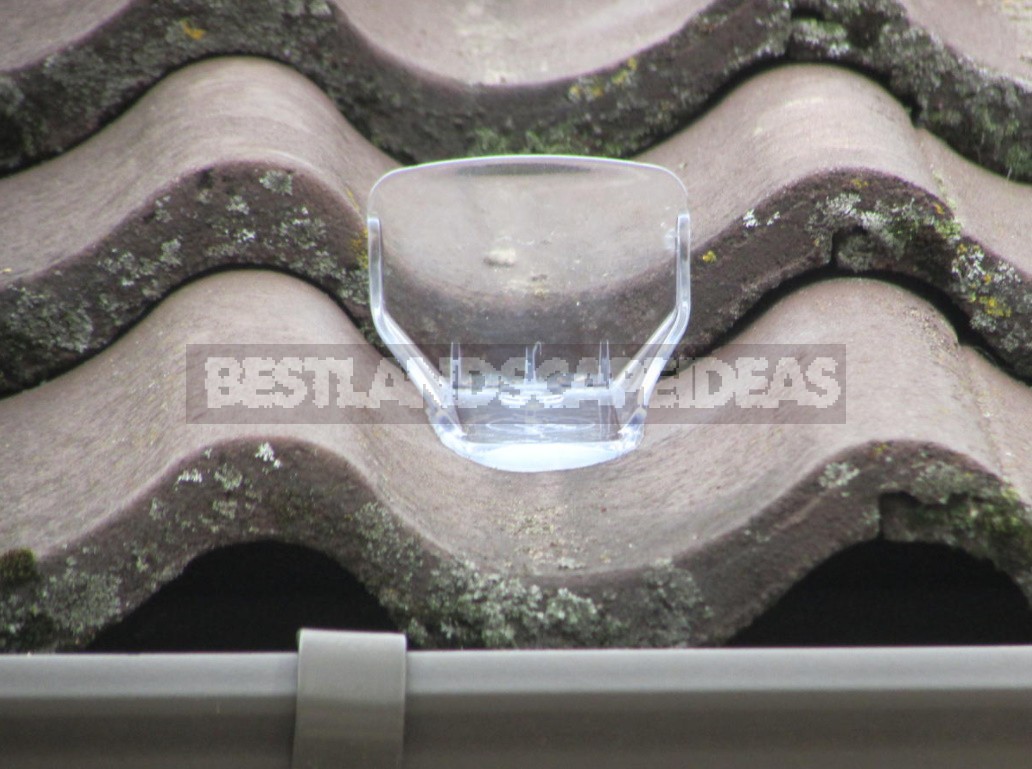
On a soft roof, it is recommended to install universal type devices or those that are designed specifically for this type of coating. On natural tiles, most often put hooks and products made of pipes, and more recently, plastic stoppers. For metal — suitable barriers of any design.
How many do you need?
In many cases, one row of snow holders may not be enough. The amount of equipment required depends on the snow load that will be experienced by the line of devices located directly near the cornice. You can calculate the pressure using one of the online calculators, which are quite a few on the Web.
Installation features
Before installing snow holders, it is advisable to read the manufacturer’s instructions.
The easiest way to install models made of polycarbonate: they are mounted on glue from the same manufacturer or on roofing screws. Combined fastening is also allowed: adhesive composition plus screws. In the case of mounting on a polycarbonate surface (visor over the entrance), only glue is used. Barriers are fixed in a staggered order at the rate of 45 pieces for each meter of the ramp, unless otherwise indicated by load calculations.
Corner products are fixed exclusively with the help of self-tapping hardware and rubber gaskets. To fix the side of the corner on which the main load will fall, use self-tapping screws with a length of 50-70 cm. Snow holders of this type are placed above the load-bearing wall, as a rule, in several rows, strengthening each of them with a support bar. The distance between the corners usually does not exceed 1 m.
When installed on soft tiles, the mounting plate is masked with a coating. Of course, this can only be done in the process of laying roofing material.
Barriers made of grilles and tubes are the most popular, as they can withstand a load of more than 100 kg / m². But they should be mounted on a solid or reinforced crate, ideally-also during the construction of the roof.
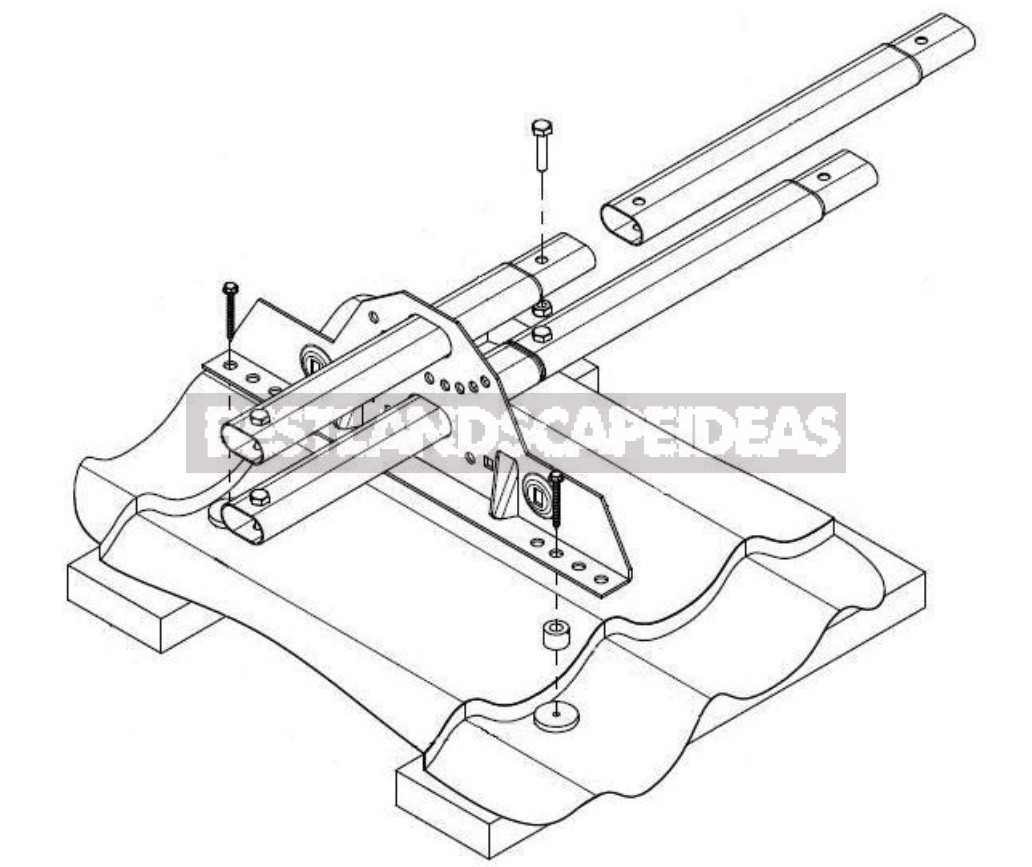
To begin with, mark out the places for fixing the brackets. The margin from the edge of the cornice should not exceed 1 m., optimally-60 cm, a smaller distance is also undesirable. Then, in accordance with the marking, holes are drilled for fasteners. The holders are installed in the lower part of the “wave” – where the coating comes into contact with the crate. The interval between the brackets can be specified in the manufacturer’s instructions, but, as a rule, it is also not more than 1 m.
For fixing, use bolts-screws or roofing screws (8×60 mm). Either one or the other is supplied with snow holders, but the first option is preferable. Before tightening the fastener between the holder and the roof, always put rubber shock absorption.
The last stage of assembly is the installation of tubes or grilles on fixed brackets. These elements are fastened with bolts. If the roof design involves dormer windows, it is recommended to put snow protection not only on the edges of the roof, but also slightly above the windows. As already mentioned, the number of rows depends on the design load, but according to experience, if the length of the ramp exceeds eight meters, the barriers should be placed in at least two rows.
It is better to mount snow holders in dry weather and, of course, before the first snow appears. Before starting work at height, it is necessary to protect yourself from the risk of falling, using a safety rope.




Leave a Reply