In a glass jar
You can grow a portion of micro-greens in a regular jar. To do this, take a clean container, pour the seeds into it and fill it with water for a day to swell.
")
Next, take a piece of gauze or other suitable mesh material, tighten the neck of the jar and secure it with an elastic band or something similar. After the seeds swell, we drain the water and wash the seeds without removing the mesh. Then turn the jar upside down and set it on the tray at an angle of about 30° to drain the water. Care consists in washing the germinating seeds and sprouts with clean water 2-3 times a day. At rest, the jar should always be in its original position – upside down and tilted.
")
On sale you can find special jars for growing useful sprouts. They have comfortable, long-lasting mesh covers, and sometimes a whole set of them is included — with cells of different sizes for different crops.
")
People use different ways of growing micro-greens. For example, my other friend sowed the seeds using a bandage, coconut substrate, and vermiculite.
")
In the sprouter
Of course, when information about the benefits of micro-greenery, as well as about its simple cultivation, spread through the Network, manufacturers reacted almost instantly. Special devices for the home production of fast green vitamins have appeared on sale. Some have a rather complex device and are very expensive — others are simple and functional. Hydroponics is ideal for growing microgreens. Given that no additional nutrients are required, we use plain water. However, you need to keep in mind that if you have hard water flowing from the tap, then it is better to take purchased drinking water for growing micro-greenery.
")
At the heart of a simple sprouter is a water tank, into which a mesh tray is inserted. It can have cells of the same size, be divided into zones for large and small seeds, or be provided with an additional cloth for germinating very small seed material. In the container, pour water so that it is at the level of the mesh stand. Insert the tray, lay out the seeds and cover with a transparent lid, which is also included. It remains to monitor the germination of seeds and the water level: the sprouts should not experience a lack of moisture.
")
As you can see in the photo above, you can adapt a sieve for micro-greenery, as well as make a sprouter with your own hands from improvised tools. Suitable, for example, plastic containers from food products.
")
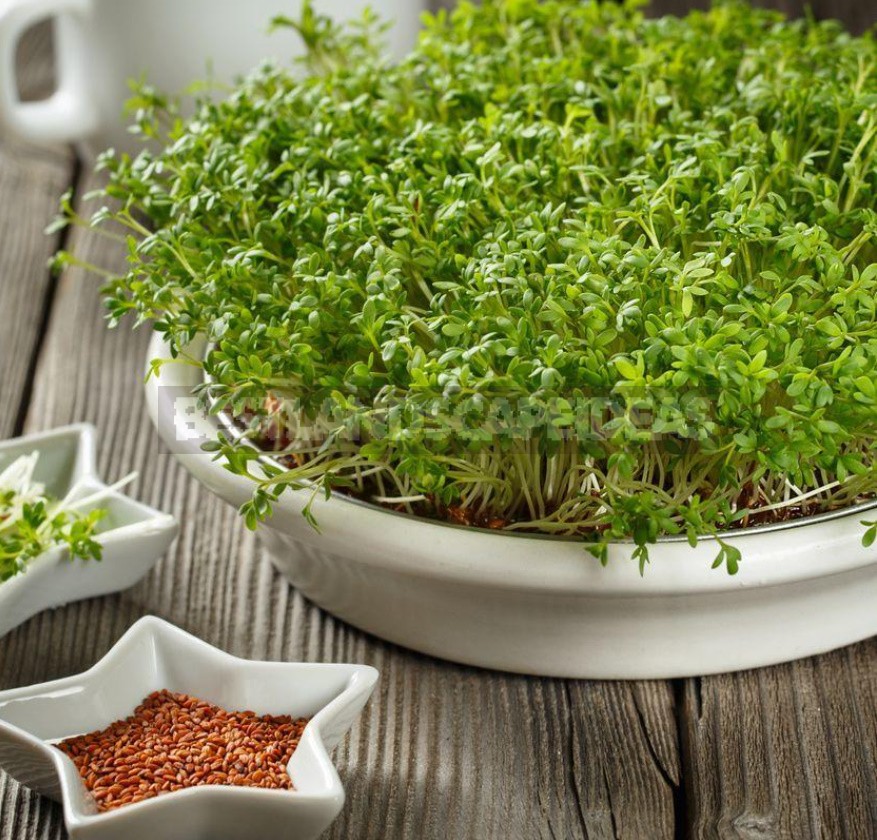
What seeds to take
Often the question arises, which crops are suitable for growing as micro-greenery. Answer: any! There are practically no restrictions, it all depends on your taste. The exception is beans: their sprouts contain toxic substances that can be poisoned. Many choose fast-growing crops. Some have delicate thin sprouts (arugula, lettuce, radish), while others, such as peas and sunflowers, delight with strong greens. Sometimes a crop that you wouldn’t think of growing in your normal garden wins your heart in the form of micro-greenery. Therefore, you need to try and discover new tastes.
")
It is important to remember that not all seeds sold in gardening stores or left over from last season are suitable for growing green vitamins. Many producers pickle seeds for diseases, and also treat them with fertilizers. Sometimes such seed material is specially tinted, in other cases-not. Therefore, you should use self-collected seeds, in which you are absolutely sure, or purchase special ones, which are marked “micro-seed”.
We offer to grow the most atypical crops for this purpose as micro-greenery, for example, vegetable amaranth, red cabbage, daikon, clover or sunflower.
")
Possible problems
As a rule, in its short life, the microselen does not have time to get sick. However, in some cases, failures may occur. The main one is the appearance of mold. There may be several reasons. First of all, this is the sowing of low-quality seeds-infected with parasites or diseases. Therefore, if you sow questionable or self-collected material, it is better to first decontaminate it: pre-soak it in a solution of soda (1 g per 200 ml) or boric acid (0.2 g per 1 liter) for a day.
")
The germination equipment must also be clean. All containers should be thoroughly rinsed after each harvest, as well as disinfected from time to time. Cotton wool, napkins or other base should not be reused. The soil can be used several times, but it should be calcined before the next sowing or shed with a solution of potassium permanganate.
Mold may appear if the crop is too thick (in several layers): so the ventilation of the sprouts is disturbed. Excessive lighting also contributes to the growth of pathogenic fungi. For awakening plants, it is not required, and the mold, on the contrary, receives an additional incentive. Avoiding these problems is not difficult — just follow the process carefully, and you will have your own personal vitamin crop grown right in the kitchen.
Related posts:
 How To Plant And Care For Pisum
 Fertilizer: Vitamins for Green Plants
 How to Combine Vegetable and Flower Plants in Mixed Plantings?
 Useful Properties of Origanumm Vulgare
 The Unique Charm of Lavender, Rosemary and Many Others
 Prepare Tarragon for Pickling Cucumbers
 How to Choose a Variety of Cucumbers for Greenhouses
 Fencing for Garden
 Planting Potatoes Cook in the Fall
 How to Retain Moisture in Soil
 Vertical Kitchen Gardens: Pros and Cons
 Cauliflower: Cultivation, Care, Varieties
 Warm Garden for Vegetables With Their Hands
 Manure is the King of Organic Fertilizers
 Mineral Fertilizer
 The Unique Southern Charm of Marjoram