In this article, the hero, aka “master in the frame”, on whose behalf the story is told, shares his personal experience on the device of internal insulation of the pitched roof.
How it all began
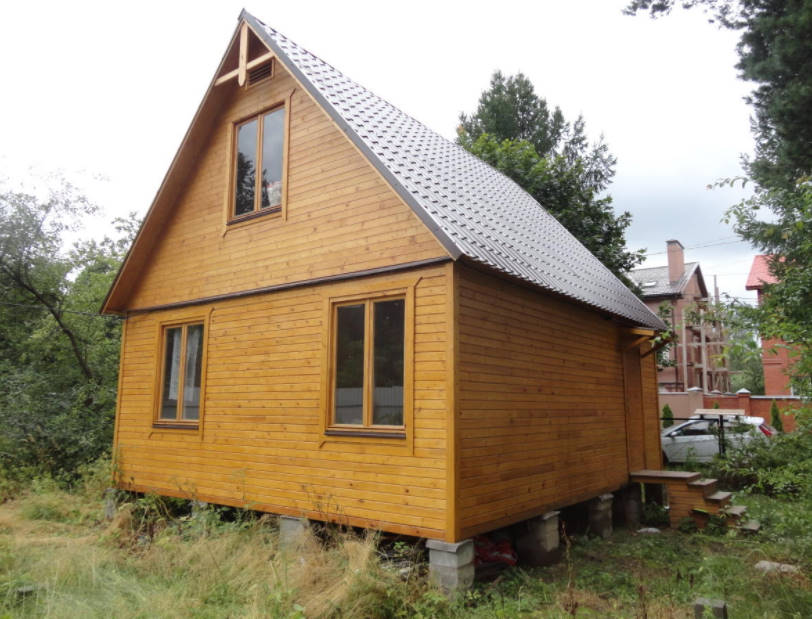
Two years ago we inherited the land and decided to build a house there for year-round use. We chose a project at the company and ordered her to build a house made of laminated veneer lumber.
The house was built, and when they began to settle down, it turned out that it is small even for a small family. Therefore, the second floor decided to insulate and equip it with a bedroom. We studied the instructions of different companies on the insulation of the roof, received a comprehensive consultation in the design Center of the firm Rockwool and began to consider the project of insulation and purchase material.
To the second floor was warm, it was necessary to insulate the two Gables with Windows and both roof slopes, without removing the roof. It is about how to insulate the slopes, I’m going to tell in detail.
The roof in our house consists of unevenly established with step 550-620 mm rafters from edged boards with section 100×20 mm. on rafters there is a crate of 80×20 mm with step of 350 mm.over rafters the waterproofing is laid, and on it — a metal tile.
A complete system of insulation of roof slopes consists of the following layers (top to bottom):
- roofing material,
- waterproofing,
- lathing,
- ventilated gap to remove water vapor from the insulation,
- windproof membrane,
- heater,
- vapor barrier membrane,
- finishing layer for the interior.
The specialists of the company “Rockwool”, we specified that the thickness of the insulation layer of the roof where we live, must be at least 200 mm. They also suggested the scheme of laying insulation with overlapping seams and installation of the last layer that overlaps the rafters.
Bought insulation, windproof and vapor barrier membranes, galvanized nails of different sizes (2×15, 2×30). And work began.
The device of the ventilation gap
The first thing to do during installation-is to provide a constant value of the ventilated gap between the roofing material and the membrane, which is 20 mm. the Easiest way to maintain the accuracy of the gap with the help of slats width of 20 mm, which are nailed on the sides of the rafters close to the crate.

Interior view of the roof slope before the beginning of the work on insulation
Laths I sawed from scraps of boards left from the construction. Length was about 30-60 cm Gain 2-3 nail 2 x 30 in each rail so that their sharp ends were not on the reverse side. And quickly nailed the rails on the sides of the rafters.

Lath, which determines the value of the ventilated gap
Where the rafters were attached to the racks, it was impossible to nail the slats. So I:
- unfastened each rack from the rafters,
- shortened by about 45 mm from the crate parallel to the rafters,
- fixed the rack to its previous position with a clamp and attached it back to the rafters with a screw.

On the right you can see the stand installed by the builders and preventing the attachment of the membrane. Left front after trim

Crop stand jigsaw

Fixing the position of the rack
Then he started the installation of windproof vapor-permeable membrane type A:
- At first, he cut out a piece of windproof membrane with a width of 50 mm more than the distance between the lags and a height of 200 mm.
- Then attached a membrane the same laths to the sides of the log, and at the bottom — to the timber wall. At the top of the membrane is not fixed — it just lay flat to the longitudinal beam connecting the logs. So I nailed the slats to all the rafters on this side of the roof.
- Then he began to fix the membrane between the rafters. As the distance between them is different, the width of the fabric was measured each time and cut off at 50-60 mm more. The membrane was pressed with the same slats, but the step of the clogging was reduced to press the membrane tightly to the rafters. Laths has scored 3-4 in a nail for strength. The edge of the stretched fabric protrudes from the edge of the rail at the same value.
- The next step is to increase the width of the rafters. This operation in my case was forced, because the initial width of the rafters was not enough for laying the required number of thermal insulation boards. Bought in the building market Board 140х20 mm, length 3 m. the circular saw cut them in half lengthwise and got a Board with a width of about 70 mm. These boards were attached with screws at the bottom of the rack, and at the top to the ceiling Board. Then these boards in addition fixed wooden overlays: in the bottom part of a rafter and in two places between a rack and a ceiling Board. So I increased the width of all the rafters.
Step of installation of insulation
This operation had to be done together, as one person all the components of the system at the same time can not hold.
The size of the soft plate-600×800 mm. We started to insulate the opening with a distance of 600 mm between the rafters. The first plate half the size of 600×400 laid down. And we realized that the most difficult place — the connection of rafters with lower lags. Here there is a niche, which in the future to heat up and decorate it seemed very difficult.
So we decided to make the ledge height in two widths of lining is approximately 180 mm. At this altitude must pass through the lower longitudinal bar 50×50 mm for fixing the overlying fourth layer of insulation. Therefore, before laying the insulation layers to the rafters and logs vertically attached Board section 100×20 mm and a length of 350-400 mm (180 mm under the lining, 50 mm mounting to the log, about 120 mm — for mounting to the rafters), which previously sawed out a triangular nest under the bar.

Laying the first layer of insulation
Laying the first layer of insulation
Placing the second plate of the first layer and holding them, put them on a second plate 600×800 mm. And to hold rails inserted into the gaps between primary and secondary rafter boards. To hold the second layer is quite simply feasible solution.

Retention of the second layer of insulation with laths
I will dwell on the process of fixing the plates.
- Along the rafters scored nails 2×20 with large hats, not finishing 2-3 mm to the end. Step installation of nails — about 300 mm On adjacent rafters, the nails scoring with an offset of half a step.
- To the bottom nail tied a thin strong twine.
- Laid the first plate of the third layer.
- Gradually removing the rails that hold the first two layers of plates, laced plate of the third layer with a piece of string through the nails and secured it in the far nail.

Lacing to hold the plates in suspended state
Stacked consistently plates of the first, second and third layers and again laced. And so to the top of the opening. This technique allowed to keep the plates in an inclined suspended position.
Then for lacing the nails hammered into the Board to hats, and twine are not removed. Now the surface of the third layer of insulation is ready for laying the fourth layer of insulation, which we had to lay in horizontal rows, covering them rafters.

Before laying the fourth layer of insulation
For installation and fixing of the last, fourth overlapping layer of insulation, we have provided fastening bars size 50×50 mm horizontally to the rafters along the entire length of the second floor.

Marking the installation site of the second bar

Mounting bar for marking holes

Securing the last of the bar
As a result, we got a surface with straight parallel bars, fixed with a constant pitch.
Preparation, laying and fixing of the covering layer of thermal insulation
- In the center of the bars from the outside scored 1 nails,5 × 20 in increments of 300-400 mm, but not completely, and that hats were 2-3 mm.
- In the neighboring bars nails scored with an offset of half a step.
- Extreme nail bar tied twine and stacked neatly flush with the block plate in the opening (it is 10 mm wider than opening), the opening laced up the “snake”.
- Securing the string, put the next plate horizontally secured it with the lace, etc.
- Then moved on to the next row, and so on to the top. The top row is narrow, therefore, cutting off the desired width of the plate, installed and secured it as usual.

Lacing the fourth layer

All layers of insulation are laid and stitched
Installation of the membrane
After laying the last layer of insulation passed to the installation of a vapor-proof membrane type B. the Membrane was fixed on the bars with a stapler and a bracket 10, 6×8. Measured length-the distance between the outer edges of the second and the upper bars-and cut off from the roll of the web longer by 30-40 mm.

Fixation of the upper part of the membrane
The fabric membrane was attached to the following:
- In the beginning, the middle part of the membrane was aimed at the lower bar.
- Then, by slightly pulling the canvas to the upper, the middle and the rest of the bars.
- Then, from the Central (fixed) line to the right and left diagonally up and down pulled, straightened and attached to the bars parts of the membrane (so spread the Wallpaper when the sticker on the wall).
- Further, additionally attached sagging areas, removed wrinkles (if they appeared), and as a result received a smoothly stretched canvas, ready for plating lining.

Fixation of the lower part of the membrane

Fixation of the first web of a vapor-proof membrane
Facing with lining
Lining for beauty attached to the bars unobtrusive finishing nails 2×60. Since the length of the lining was about 3 m, it was decided to secure it to the lower, second and upper bars with ordinary galvanized nails 2, 5×50.

Facing with lining
In the future, nailed to the middle bar, removing the sagging cloth lining ordinary nail (not hammering to the end).

Fixing the top of the lining
When upholstery paid special attention to the first Board – it should be strictly in the vertical plane. The basis was taken rafter Board. The battens nailed together, but one can and. In last case:
- I nailed to the ceiling boards of the rail at a distance from the bar 30-40 mm, so that the cloth lining could freely pass into the gap.
- Initially, the canvas was based on the top of the rail, and the bottom-on the floor. The lower part of the leaf comb inserted into the groove and pressing the fabric to the bottom bar, move it down until it locks in horizontal clapboard.
- Then gently tapped on the edge of the canvas with a hammer to fully connect the canvases and finally nailed the bottom of the cloth lining.
- Then he inserted the comb into the groove along the entire length of the canvas, pushing, tapping on it until all the cracks disappeared.
- Further, the pressing Board to said bars, nailed her to the last.

Fastening the bottom zone of the lining
Beat 5-6 canvases spaced points driving finishing nails (points must be on the same horizontal line) and scored finishing nails at a slight angle so that when pressing of the blade to block the gap between the blades of the bunks decreased. And on the same technology nailed the next batch of paintings.
According to the same technique, we insulated and other roof slope.
Related posts:
 5 Best Gazebo for Country House. Types and Features
 Hobbiton – Features, How to Find, Photos, Design Ideas
 8 Best Design Ideas to Improve Your Country House. Scottish Style
 Home decor beached style
 Grills and a Barbecue for Villas with Their Hands
 How to Make a Well in a Country House or Cottage?
 Types of Barbecues and Mangals
 Grill and BBQ: Where to Put How to Cook?
 How to Create Your Own Theater of Light and Shadows
 Insulated Flue – Saving Home from Fire
 Choice of Wood for Building a Wooden House
 Drainage Systems In the Suburban Area
 How to Choose a Place for the Construction of the Bath
 Tiles for the Garden With Their Hands
 Outfit for Your Windows: Hinged and Roller Shutters, Mosquito Nets and Awnings
 Drainage Systems in the Suburban Area Surface Drainage