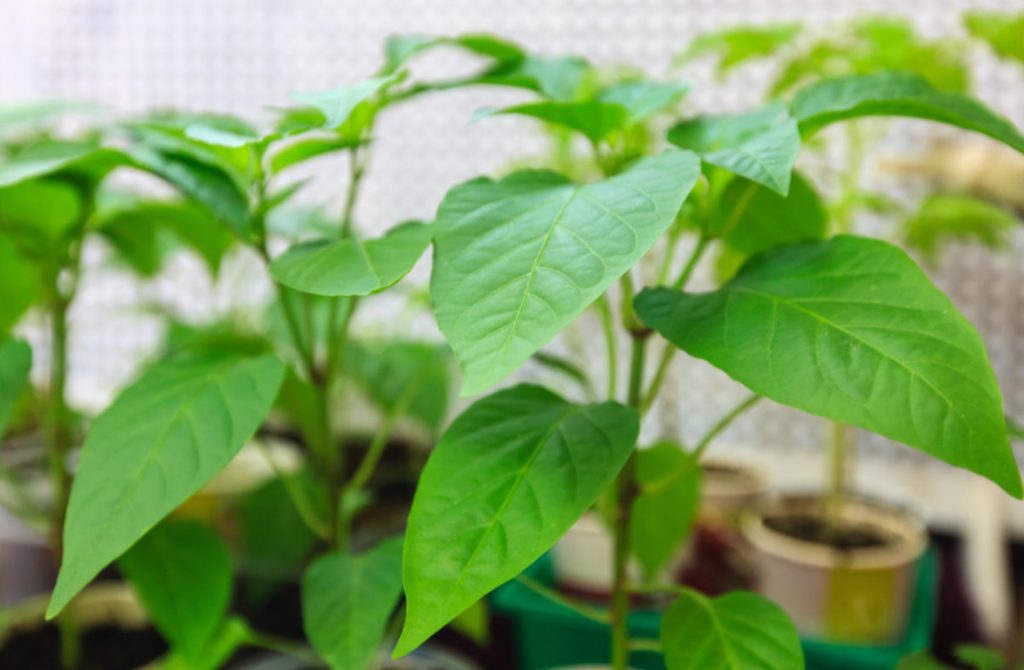
The problem of lack of light for early seedlings is solved in different ways. Someone lights up young plants with ordinary warm light bulbs, someone chooses sources of daylight, someone buys special phyto-luminaries with a certain spectrum and an incredibly beautiful, but eye-tiring glow.
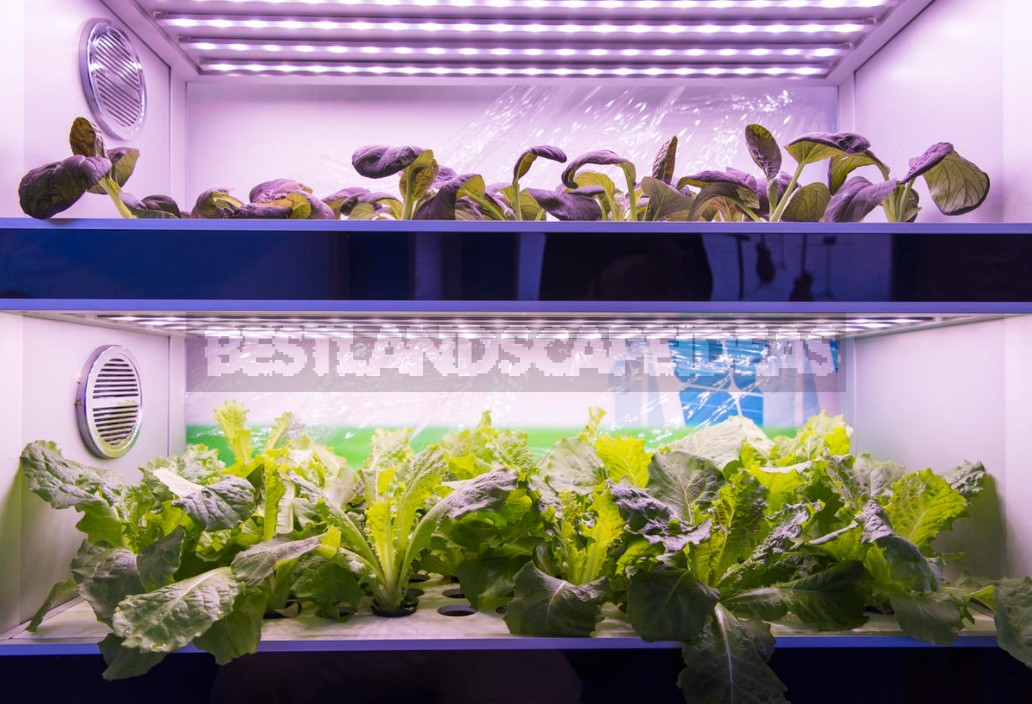
For future seedlings, he suggests building a special structure on the windowsill, which will be an excellent alternative to the phytotron (in the original, this is a special growing cabinet or chamber for growing plants, where the most comfortable conditions are maintained for them — the necessary level of lighting, as well as temperature and humidity). Crops from the first days will be placed here.
The home analogue of the phytotron is used for seedlings of the so — called early wave, which after the room will move to the seedling greenhouse, and in May-to the beds to give out the early harvest. Here are such miracles! Let’s understand what kind of illumination the author tried and what are its pros and cons. Here’s what he explains…
What is a phytotron on the windowsill?
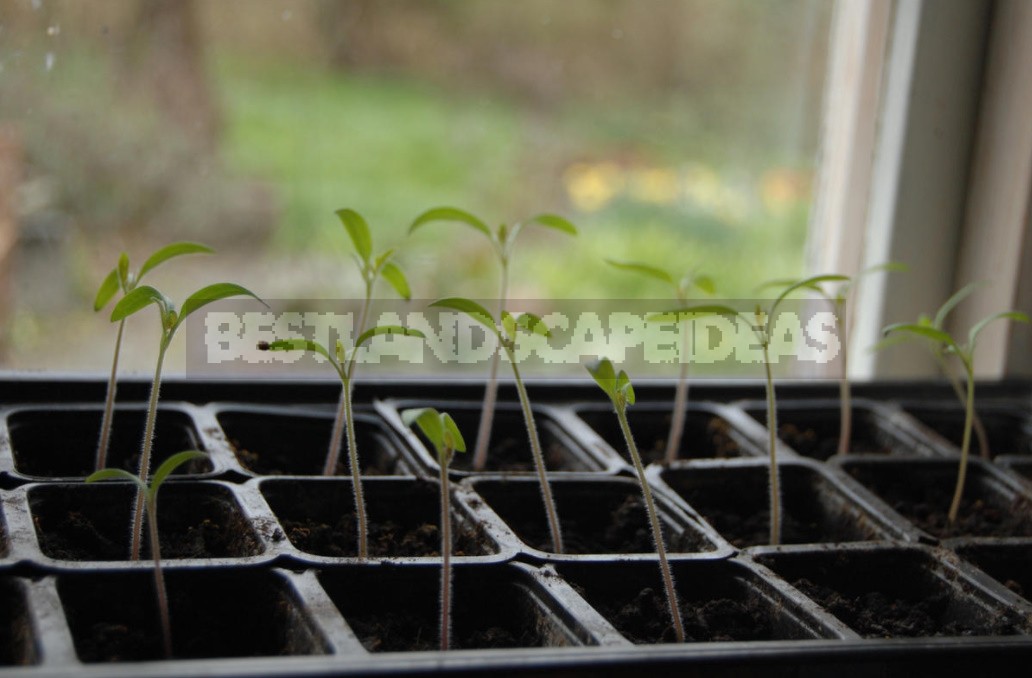
First of all, what is a phytotron? Why do you need it? And what kind of early wave is this? I give introductory notes. Every month from February to May, the sun is doubled. And since April (and in the south — since February-March), the heat is also growing. Otherwise, in February, the sun is an order of magnitude less than in May. And on the windowsill-even three times less. Such a terminal light deficiency is hell for plants. Seedlings are stretched to the detriment of development. Room heat further increases the stretching and inhibits development.
Self-seeding seeds germinate precisely when the sum of light and heat is best for growth. In the south, it is cabbage-the beginning of April, tomatoes-the end of April, cucumbers-the middle of May. Fact: self-seeding, which has risen with an excess of light and plenty of heat, catches up with the growth of indoor seedlings, sown even a month and a half earlier. And often-and the harvest is better. Well, why bother with an extra month and a half with stunted seedlings?
Total: in order for the 100-day-old plants to be fully developed by May and give the last harvest, they must grow in the conditions of the May sun and at +18…+22°C from the end of January. How can you imagine this in the form of additional light? Ideally-so: on a square meter — ten LED lamps of warm light of 25 W at a height of 30-50 cm above the plants. Well, if without an ideal — six such lamps with reflectors, but the walls of the phytotron are also reflective. And that no overheating above +22°C!
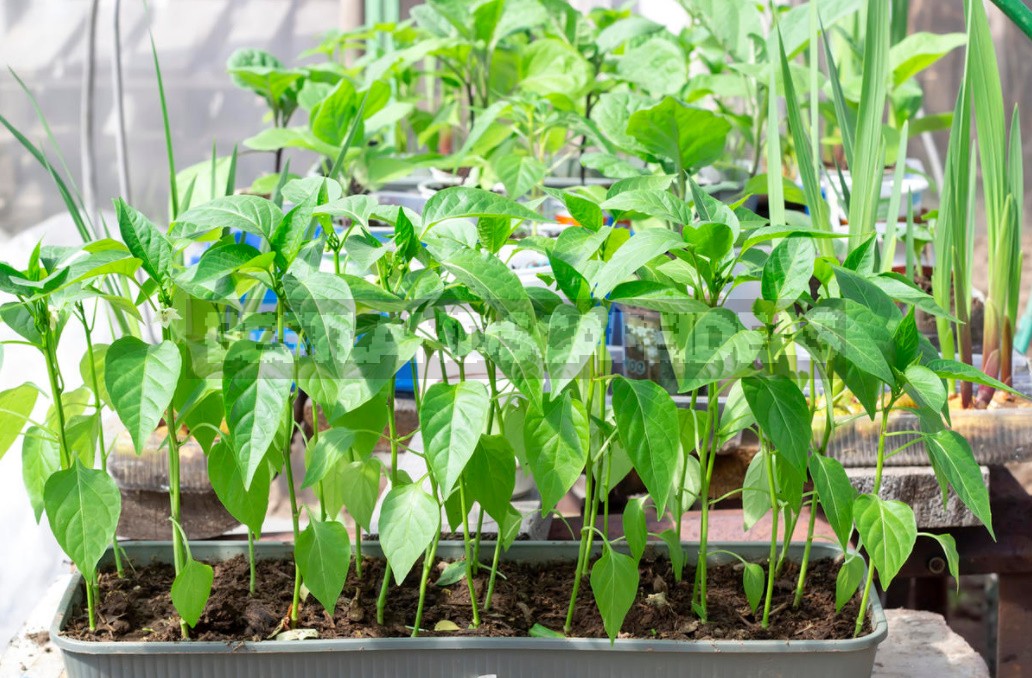
A knowledgeable person will say: in Korean kitchen phytotrons, there is much less light. I will answer: a lettuce bush from such a phytotron is a pale shadow of a June head from the garden, but this is normal. Weak greens are still green, and weak seedlings are marriage. Then the question is: how many square meters do you need to equip for all the seedlings? How much energy will they consume? And is it worth bothering?
My answer: don’t embrace the vast. It is worth building a simple phytotron on 1 m² on the windowsill and growing 25 gorgeous plants there, planting them in the centers of 20-centimeter squares. Say, five cucumbers, a dozen tomatoes and a dozen peppers. I don’t need any more. You don’t have to eat canned food in May! And savoring the first fruits is quite enough.
In May, when the bulk of the seedlings will be 40-50 days old, this “vanguard” will already be with the fruits. Each bush is in its own pot — so it’s easier to plant with a lump. Minimum fuss — maximum happiness! How to make a phytotron for early seedlings? I went the easiest way.
How to assemble a structure on a windowsill
Better less, but better-the main principle of French dietetics. To assemble the frame of the phytotron itself, you need a dozen and a half meters of slats, three meters of foil insulation and self-tapping screws. I will say especially about the searchlights: there may be different options. A friend and I collected it on the east windowsill on January 20. The unit turned out to be very rational, convenient and very cheap.
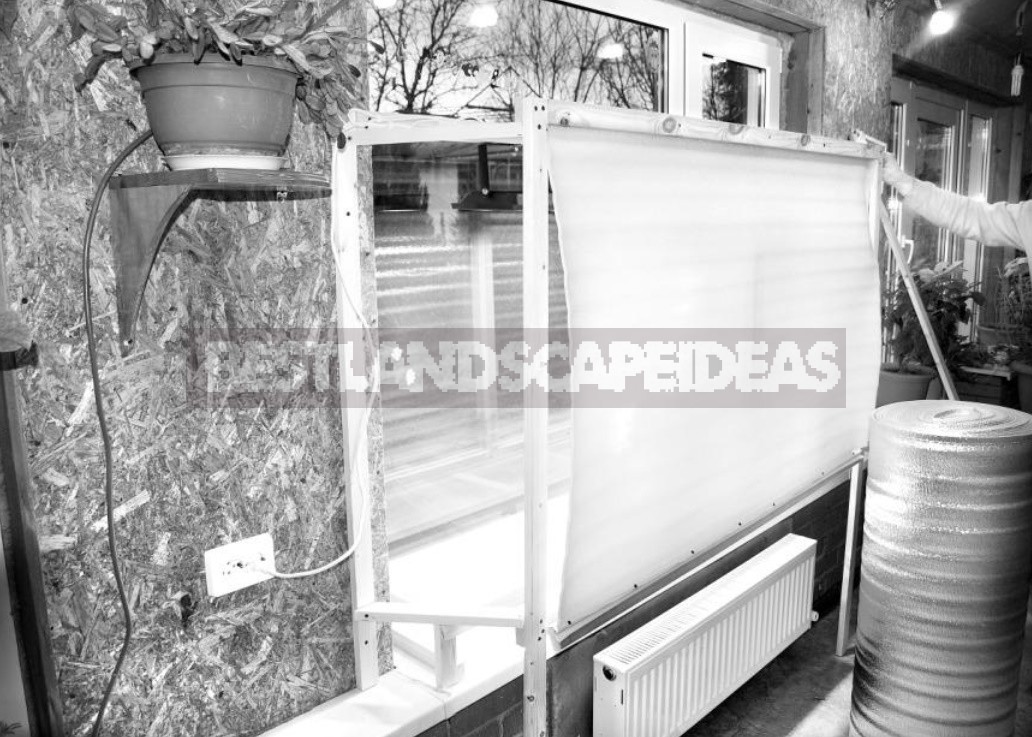
The basis for the phytotron is a wide white window sill. We can use the afternoon sun, too. You will have to turn on the floodlights only after lunch and in cloudy weather — this is already a saving. And the coolness of the window will not hurt: we do not need a frenzied growth. The length of my window sill is 180 cm, the width is 30 cm, but the back wall is pushed back another 10 cm-40 cm comes out. The area under the plants is 0.72 m2. This is 17 squares of 20 × 20 cm. Put the large pots in a staggered order in two rows.
Light sources
About the light. Hallelujah! Finally, we have powerful and cheap light sources for seedlings. These are LED floodlights. Now these are sold literally everywhere. I bought three pieces of the OFL-LED series. The power of my spotlights is 50 watts, i.e. each produces light almost like a 500-watt incandescent lamp. The luminous flux is 4250 lumens from a height of 70 cm. And I light up 150 cm of the window sill with them. Taking into account the reflective walls, the illumination is about 20,000 lux. Go through the roof!
The purchased spotlights revealed one drawback — cold white light. There is a lot of blue in the spectrum, and a little red. It felt like this caused the plants to elongate excessively, as if someone was pulling them up by the tops of their heads. I was glad that I had assembled a phytotron on the window: the sun partially compensated for the distortion of the spectrum. But next year I’ll be looking for warm-light spotlights.
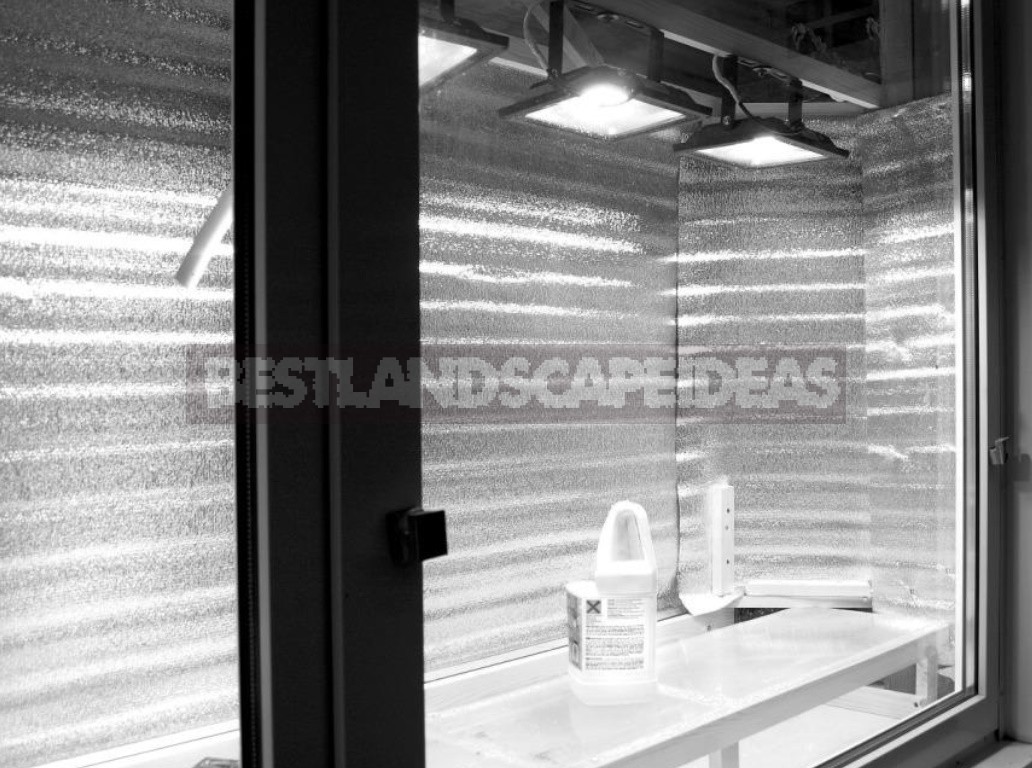
What does a phytotron consist of?
The frame of the phytotron is assembled from 2 × 4 cm slats. Wisely consists of three independent parts:
- The bar on which the floodlights hang. Just bolted to the wall with screws. If necessary, you can change the height.
- Pot stand — a “podium” standing on the windowsill with a height of 10 cm. The upper plane is polycarbonate. It is necessary that the cold air from the windows mainly flows down, without freezing the pots, and so as not to pollute the window sill. The pots are placed on the podium in pallets.
- Screen with reflective insulation. It is screwed to the wall with four screws, which makes it extremely stable. Sidewalls-obliquely expanding to reflect the sun longer (this can be seen in the photo above). The back “wall” simply hangs with a curtain and is easily lifted for plant care. Experience has shown: it is useful only in cloudy weather and in the evening. In the sun, you have to raise it, otherwise the plants overheat.
The season showed that everything is good in this version. The seedlings grew well, they did not reach for the glass. But the first experience is never perfect. Let’s improve it together!
