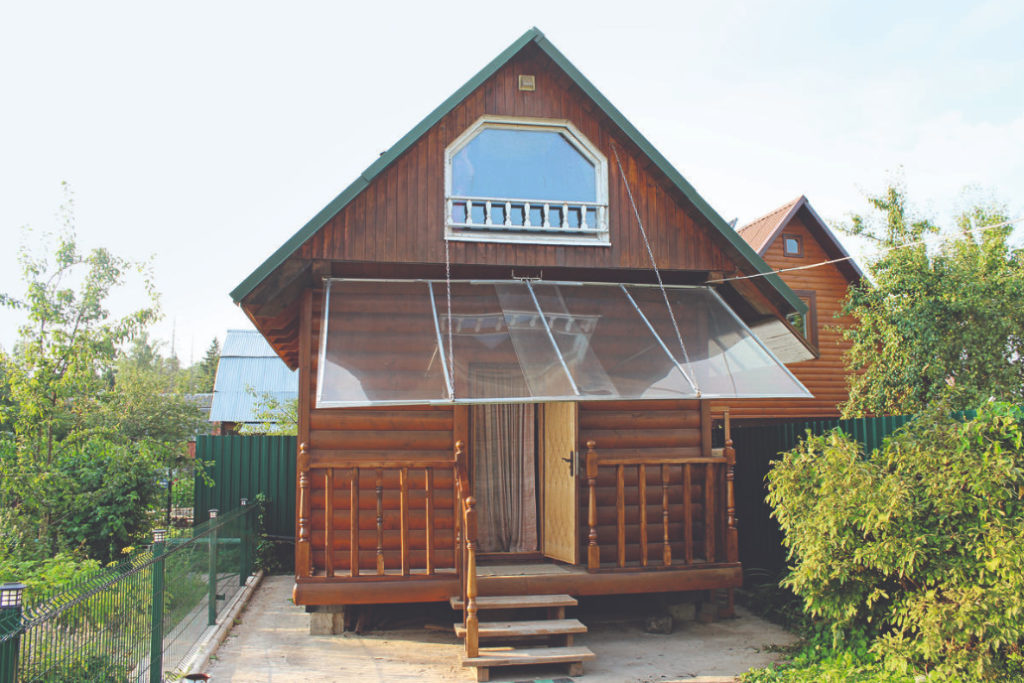
A few years ago, we independently built a bathhouse with an entrance platform along the facade and a small porch with three steps. Over time, the railing on the site became so loose that it became dangerous to use them. I had to do repair work.
Fence construction
During the construction, we sheathed the bathhouse with a 150 mm wide blockhouse, and made railings for the site from its remains. Meter-long sections of the material were longitudinally sawn in the center into two equal parts with a width of 60 mm, removing grooves and spikes from the edges. Connecting the workpieces, using glue and screws, we obtained trapezoidal cross-section balusters.
The remnants of the blockhouse were not enough for all the fencing, so several ready-made chiseled balusters had to be purchased. The whole structure consists of four fragments (frames), which we assembled separately, and then installed around the perimeter of the site. Each fragment consisted of a base (a 20 mm thick board), a handrail (a blockhouse segment) and balusters fixed between them.

Holes were drilled in the base through which long screws were screwed into the end of the balusters. The bases of the frames were screwed to the floor with screws, and the fences in the corners were fastened together. The side fences were also attached to the loghouse of the bathhouse. But on the porch, the support elements were fixed in a different way. First, meter-long studs (steel rods with solid thread) Ø 14 mm were passed through them. And then, from the bottom side of the steps, the studs were tightened with a nut and washer.
Over time, it became clear that such a mount is much more reliable, and we decided to redo the railing on the site, fixing part of the balusters with studs.

Modification of balusters
First, the old railings were dismantled. The base and handrail were used for firewood, only the balusters were preserved. They were sanded, and those through which the studs were going to pass were selected, freed from old screws. The balusters were glued very firmly, I had to dissolve them with a saw along the connection line into two halves.
On the saw machine, a 7 × 17 mm groove was made in each half in such a way that after gluing inside there was a channel of square cross—section with a side of 14 mm – under the diameter of the stud. Eight such balusters were made — two for each fragment of the fence. For the base of the fence, boards with a cross section of 100 × 40 mm were taken. They were treated with a protective impregnation for wood and the centers of the blanks were marked.

Installation of railings
The base boards were fixed in place with clamps. Using a drill stand (photo 1), through holes were drilled along the marking, passing not only the base board, but also the floor of the platform, and the bars on its sides. Holes Ø 14 mm were made for balusters with studs, Ø 6 mm for intermediate ones without studs, and Ø 10 mm for corner and extreme pillars with balls at the top for powerful screws.
There is a bar under the side fences. The total thickness of the flooring is 220 mm. Capercaillie longer than 200 mm, most likely, does not happen, so the fence posts were fixed through the base board: balusters without studs — with 120 mm long screws, and corner posts — with a powerful 180 mm long screw. The base boards with a balustrade and a corner column were installed in place and the studs were mounted, screwing the nuts from the bottom of the flooring (photo 2).

Photo 1. Drill stand. Photo 2. On the left — the lower part of the baluster with a hole for the nut; on the right — the upper part of the baluster. Photo 3. An installed stud with a welded nut. Photo 4. Base board with studs and corner posts
In order for the stud not to scroll, the nut had to be welded to it (photo 3). Large washers and nuts were used for the balusters of the side fences, where the stud passes through the beam. For the front supports, instead of a washer, a steel plate was taken, which was additionally attached to the floor boards from below, which allows increasing the rigidity of the fence. Installed studs, posts and balusters without studs (photo 4). Then the remaining balusters were mounted, putting them on stilettos.
To install the handrail (a bar with a cross section of 800 × 40 mm), a longitudinal groove with a width of 60 mm and a depth of 15 mm was chosen in it. The corners of the railing were processed with a curly cutter. We already had two corner columns. When we went to the store to buy the missing ones, it turned out that there were no such ones on sale anymore. I had to take other, similar ones. After assembling the railings, they were treated several times with impregnation to protect the tree. The entire bathhouse and gables were treated with the same impregnation.
Related posts:
 Glass Greenhouse with Their Hands
 Insulated Flue – Saving Home from Fire
 Convenient and Useful Nozzle On the Trimmer With Your Own Hands
 Protect Your Garden, or How to Make a Scarecrow
 Outfit for Your Windows: Hinged and Roller Shutters, Mosquito Nets and Awnings
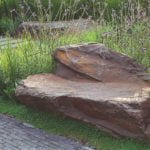 In Your Garden Begins the Age of Stone: Choose Decorative Benches
 How to Build a Winter Garden in the Country
 How to Make a Washstand for Country House the Hands
 And Above us is Not Dripping: Shelter for the Garden
 Pros and Cons of Various Types of Solid Fuel for Boilers: Wood and its Derivatives
 Pros and Cons of Various Types of Solid Fuel for Boilers: Coal and Peat
 Choose Radiators for the Summer Cottage
 Additional roofing elements (accessories)
 Terraced motives the device is weatherproof wooden floors
 How to Heat the Boiler with Wood
 Always on Guard: Security Systems for Country Houses