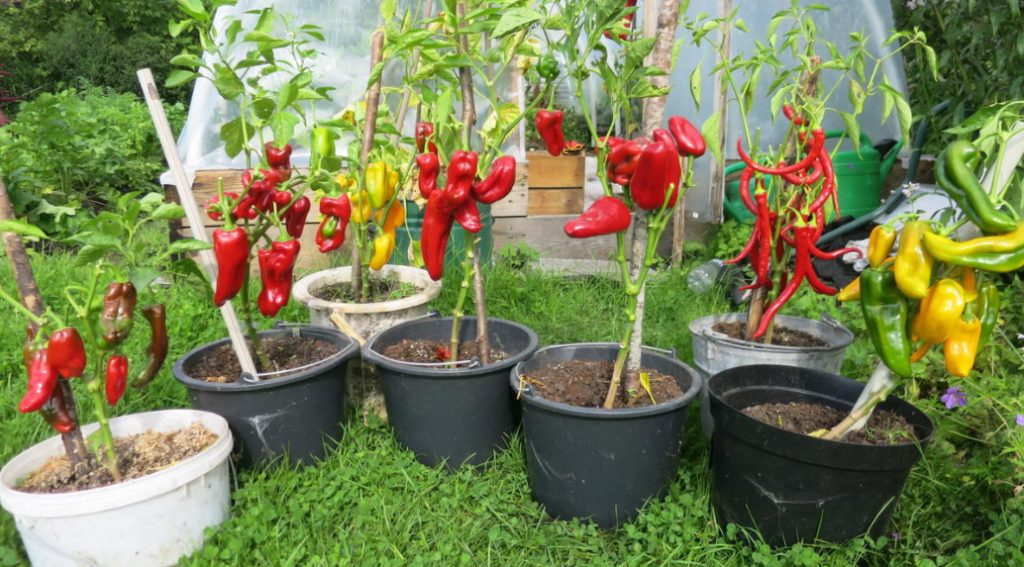
Size
What size should the container be? Of course, much depends on the root system of the plant. But most often use containers with a volume of 10, 20 and 30 liters. These are suitable for most garden crops. But a five-liter pot is enough for one dwarf tomato.
Do I need drainage holes in containers? Of course Yes! After all, if the tanks without drainage holes will stand in the open air, then after the first heavy downpour, they are likely to turn into small swamps. But in some cases, you can do without them. For example, if the containers are made of boards, the water will easily seep into the cracks.
In order for the excess water to flow well through the holes on the bottom, it is better to place the containers on a stand — wooden blocks or bricks. When growing tomatoes in containers that are on the surface of the soil, rather than on concrete, stand or litter, it is very important to make holes of a larger diameter. Through them, the powerful roots of the plant will find a “way out” directly into the ground.
")
Drainage holes in plastic buckets are very convenient to do with a drill with nozzles of different diameters. At the bottom of the galvanized bucket, I carefully cut many small holes with an axe.
Soil
No matter what soil you use for a container garden — purchased or garden — it must be fertilized. Use either special granular fertilizers for plants in containers (they dissolve slowly and do not burn the roots of plants), or natural top dressing (humus, ash, fishmeal, etc.). the Main task is to get a substrate balanced in the composition of useful elements, which directly affects the yield.
When preparing soil, it is important to take care of its moisture capacity. The easiest and most inexpensive way to increase it is to use a special polymer hydrogel for plants. It is able to absorb moisture when watering, retain and gradually give it to plants. Add hydrogel to the soil strictly according to the instructions.
")
If there is no gel at hand, you can add deoxidized horse peat (up to 30%) to the mix. If there is no peat, then use sphagnum moss, which is famous for its hygroscopicity. Only it is very important to add moisture-intensive materials in moderation, otherwise the soil in the container may deteriorate from high humidity, and the plants will die.
Irrigation
As I have already noted, watering a container garden is its main problem. There are several ways to solve it. The most” advanced ” option is drip irrigation. There is a huge selection of such systems on the market. All elements are sold separately and in a set, which allows you not to buy expensive equipment, and independently assemble your system for several flower pots, investing a minimum of money. If there is a water source (water pipe, column, well) and electricity near the container garden, then it will be very easy to make an automatic watering system.
But even if these benefits are not nearby, you can build a primitive working system. You will need a storage tank for water placed above the level of your containers; a tap; adapters and hoses of the desired length with holes. This system is very convenient for watering balcony boxes with flowers. You can collect rainwater in a storage tank (for example, from the roof of a country house).
")
To start watering, just open the tap handle. If you put at least a mechanical timer on it, you will only need to monitor the water level in the container. The timer itself will turn on and off the water supply at the set time (this is especially convenient if you are on vacation, for example).
You can not invent anything and buy a ready-made automatic watering can on batteries. This convenient device is able to provide moisture to several pots at once. The main thing is to change the batteries in time!
For watering the garden in bags and buckets, I use glass and plastic bottles. In the most ordinary glass bottle, I collect water, plug the neck with any cloth and stick it in the soil (about 2/3 of the height). A plastic bottle with a capacity of 1.5 liters will not be able to stick — it will have to be dug in. The speed of emptying the bottle will depend on the mechanical composition of the soil and the size of the necks in the bottles.
")
A better option is to make a lot of small holes in a plastic bottle of any volume and dig its neck up. Then the bottle will not need to be pulled out of the soil every time to refill. Just don’t make too many holes.
If you are against using plastic in the garden, use ceramic pots without icing! Water from them all the time seeps out, making the walls of the pot become evenly moist. For many plants in containers, this will be enough.
To keep moisture inside containers, you need to shade them from the scorching sun, mulch the soil surface, such as dry peat, sawdust, needles or coconut mats. Put the containers closer to each other — the leaves of plants, closing, will create a shadow, which will also prevent the rapid evaporation of moisture from the soil.
For some summer residents, this method of gardening will be a real discovery and the only option for obtaining a rich harvest without spending huge efforts and funds.
Related posts:
 What’s the Secret to the Yield of Cucumber
 Vegetable Garden In Containers: Growing Vegetables In Old Buckets And Basins (Part 1)
 Interesting Design of the Garden
 How to Plant and Care for Bergenia. Types and Features
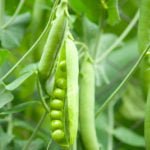 How To Plant And Care For Pisum
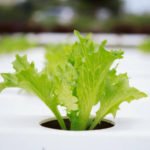 Hydroponics, Low-Volume Culture, Drip Irrigation and Other Advanced Technologies in Crop Production
 Anise in the Garden: Growing Biblical Herbs of Youth
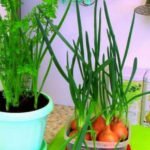 Garden On the Windowsill: Grow Onions, Garlic and Carrots On the Greens
 The Basics of Vegetable Production for Advanced Methods
 Agricultural Sense: an Educational Program for Beginning Farmers
 Reproduction of Elderberry by Cuttings
 Nappa Cabbage Features of Varieties and Cultivation
 Beautiful Lavatera: Variety and Growing in the Garden
 Cauliflower: Cultivation, Care, Varieties
 Fresh Dill All Year Round
 How To Plant And Care For Basil