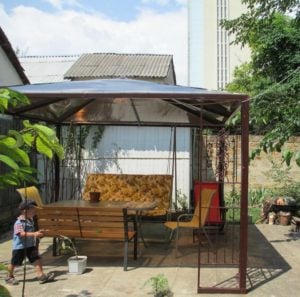
Providing drinking water is one of the problems that individual developers sooner or later face in remote areas. To solve this problem, some owners drill wells, others dig wells. But we will tell you about some alternatives that will save you money resources and a lot of time.
What is Better to dig up? Well or Borehole
Both have their pros and cons. The well provides an almost unlimited amount of water, but requires the use of expensive equipment, both for its drilling and for subsequent maintenance.
In our village or towns, for example, some houses receive water from a borehole with a depth of 70 m (230 ft). Its device cost a considerable amount, and after 5 years of operation, the equipment had to be repaired. In addition, the water from it is saturated with iron and other impurities. Kettles and hot water boilers are constantly covered with a thick layer of scale, which means that expensive filters are needed for cleaning.
If the aquifer is located at a relatively shallow depth, it is advisable to dig a well. That’s what one of my neighbors did a couple of years ago. Well water, coming from a depth of only 3 m (10 ft), was much cleaner, softer, tastier than from the well. As a result, we decided to get the same well.
Where to Drill Water-Bearing Holes?
In my case, we invited craftsmen from the nearest area. First we chose a place. As we were told, it is better not to dig in the lowlands, otherwise at the first heavy rain the well will flood and all the work will go to waste.
The foreman then used the framework to determine where the aquifers were located. As a tool, he used welding electrodes with a diameter of 3 mm (0.001 inch), bent at an angle of 90° with a shoulder ratio of 1:2. Holding the frames at arm’s length, he slowly and smoothly walked up and down the proposed construction site to find the best water source.
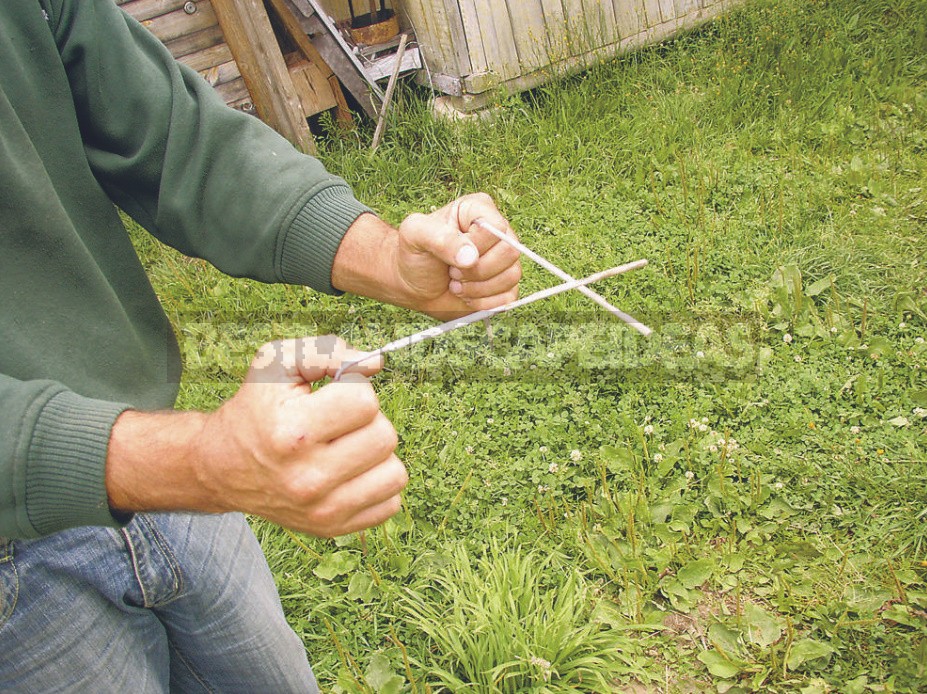
In some places, the ends of the frames intersected, turning towards each other. If you turn only one end of the frame, it means that there is a large stone under the ground, as the foreman explained, and therefore there will be problems when digging.
You don’t need any special talents or skills to search for water in this way. All the curious and even those who do not believe in the method, tried to pass with technical electrodes (To search for water) on the site. Above the place where, according to the foreman, there is an aquiferous vein — the frames, as if by magic, inexorably intersected.
How to Dig a Well?
Finally, the workers began marking the pit. Accuracy is important here, since the hole in the mandrel should serve as a kind of reference point for the”trunk” of the well as long as possible.
Using the same electrodes and making a loop of soft wire with a diameter of 2 mm (0.07 inch), measuring 3 cm (1.2 inch) larger than the radius of the concrete ring, a long arm of the frame was inserted directly into the grass in the center of the future well, and the other displayed the risk limits.
It all started with the fact that the masters began to cut the turf using a shovel, sinking it sequentially until the circle was closed. Trying not to disturb the integrity of the primary layer, they dug an annular groove, and only then removed the “island” formed in the center.
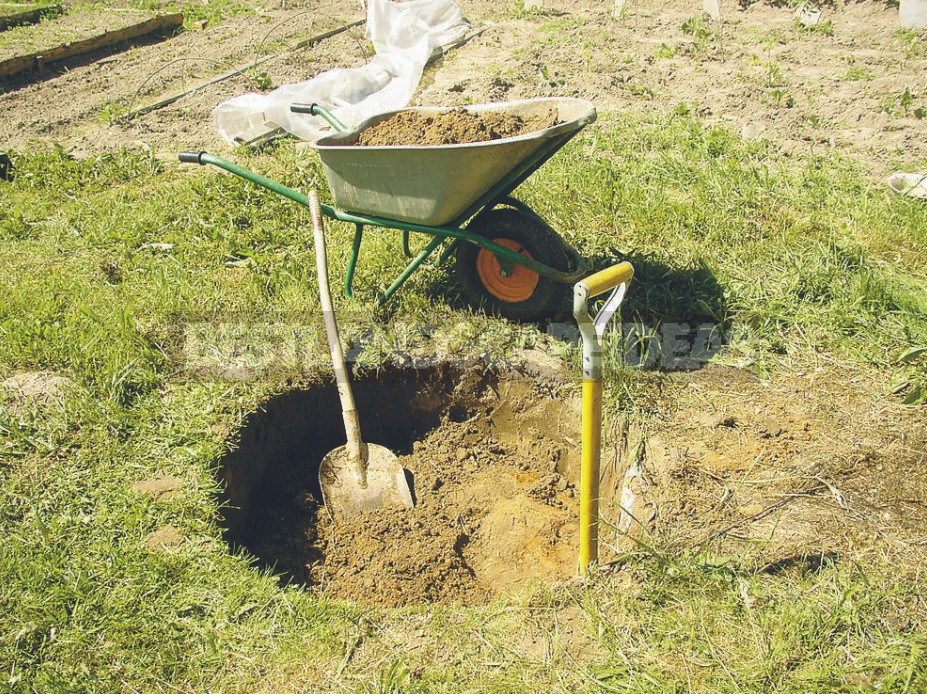
Trying to observe the verticality of the walls, they continued to dig the pit. At this time, the foreman called the building materials base and gave the command to load the rings into the car with a crane. By the time the hole was dug 2 m (6.5 ft) deep, the truck arrived at the site.
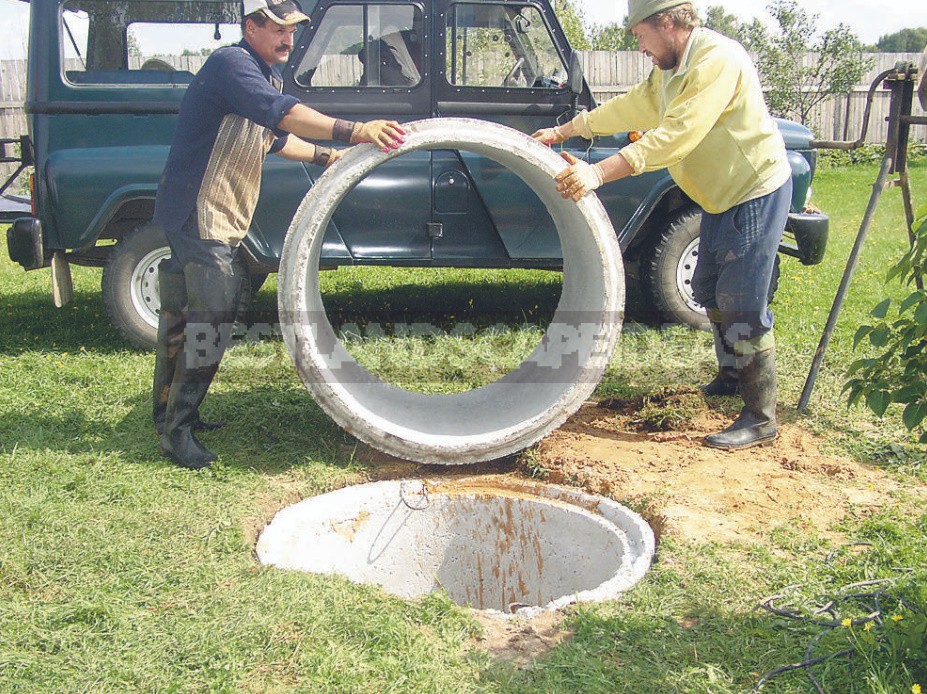
The first two rings were carefully installed in the pit with a crane, the rest were laid side by side so that they could be rolled up manually as the shaft deepened.
As soon as the water appeared, the first day of work was over. The foreman explained it this way: if you strongly sink the rings into the aquifer, they can be sucked in by the morning, and as a result, further work will be meaningless.
How to Deepen the Excavated Well?
Early the next morning, workers lowered a powerful pump with a thick hose on a bayonet connector into the well and pumped out the water that had accumulated in the well.
Then the work went as follows. A rope ladder was lowered into the pit, the other end of which was “nailed” to the ground with a crowbar at the right distance from the well. One of the workers put on high rubber boots and, armed with a shovel, similar to a sapper, climbed into the mine. The second man put a light portable drum on legs to the well, and then lowered a small bucket attached to a carbine on a nylon rope into the pit.
The one below was filling the bucket, and the other was pulling it out and unhooking the carbine, throwing the excavated clay into the wheelbarrow. The third one took the soil away from the well, so as not to clutter the site. If the soil consisted of more or less pure greasy clay, it was dumped nearby — later it could be useful for the construction of a clay castle.
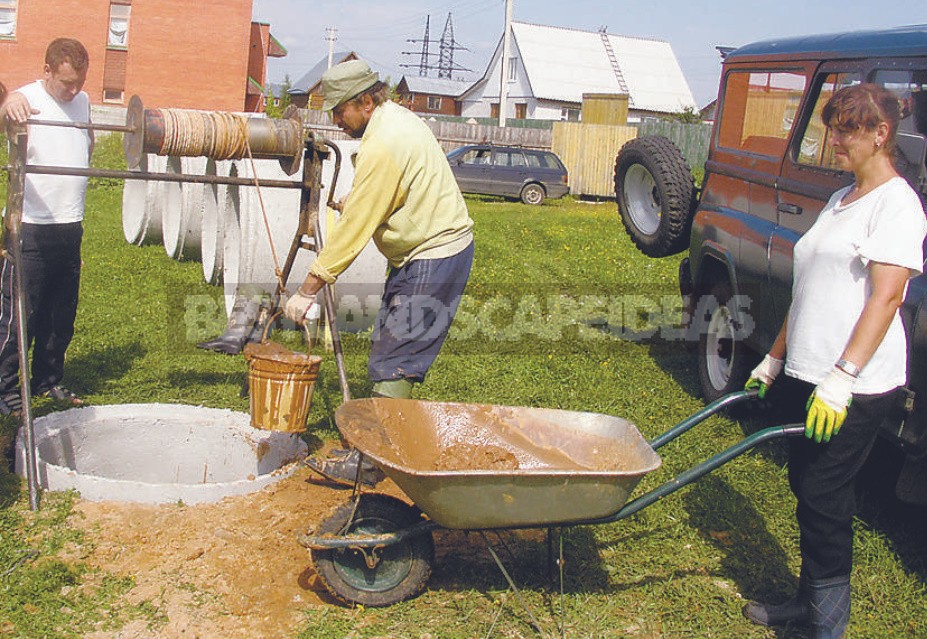
Installing rings
The subsequent rings were rolled up manually, together. The protrusion was directed into the recess of the previous ring and placed on top without visible effort. By using the attachment, it was adjusted so that the outer wall of the “trunk” was without protrusions-otherwise the ring could catch on the ground and hang in the shaft.
For the same purpose, the rigging loops were bent inwards. To seal the joint, the cement-sand solution was diluted in a bucket in a ratio of 1:1. It was taken by hand in a rubber glove, added a little liquid glass from the bubble, kneaded and immediately rubbed the resulting mixture into the gap between the rings on the outside, and then from the inside of the hole.
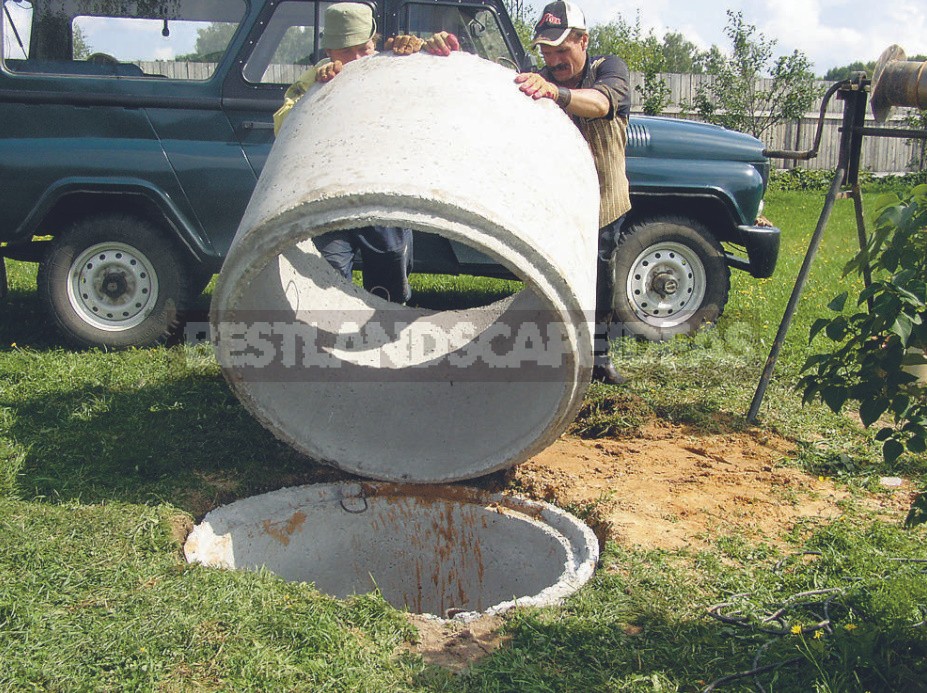
This mixture hardens very quickly, within 3-4 minutes, so a portion of the solution that fits in the palm of your hand is optimal. After installing each subsequent ring, the verticality of the well was checked with a level.
The “trunk” should be dug from the edge that has fallen below the other. As a result, when the structure is lowered, it is leveled, being squeezed out by the untouched wall. This is an important nuance, which was told by the foreman. Often, the well is even more jammed and skewed, digging it from the opposite side, trying to “logically” free the “stuck” side by digging.
If the “trunk” goes smoothly, at equal distances, make a sample of the soil in 3-4 places, then gradually and evenly expand them until the stack of rings with its weight does not crush the remaining columns of soil.
On the second day of work, 3 more rings were installed in the shaft and one on top as the head of the well.
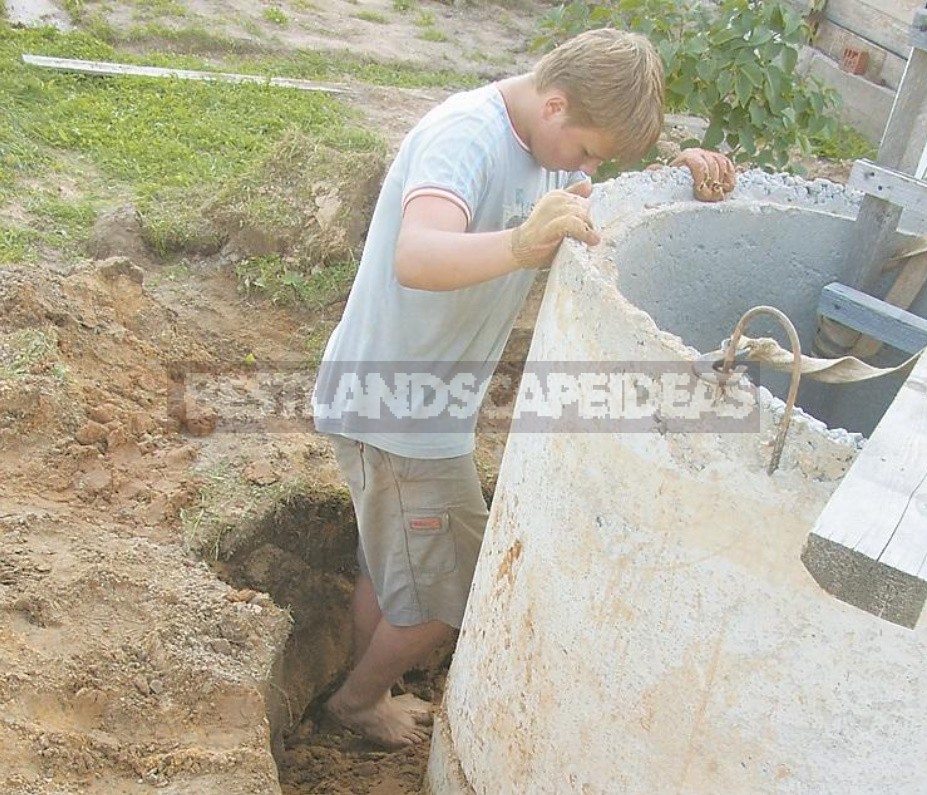
Last stage
At the end of the work, the water arrives very quickly, and here it is important not to let the quicksand suck in the lower ring. In order to “pin down” the quicksand that comes out from under it, a layer of fine rubble with a thickness of 20-30 cm (8-12 inch) was poured into the well.
After the ground around the pit collapsed, the resulting hole was deepened by about a meter. And into the pit they poured the greasy clay prepared for fixing the joints. Then, taking off their shoes, they rammed it down layer by layer with their bare feet.


