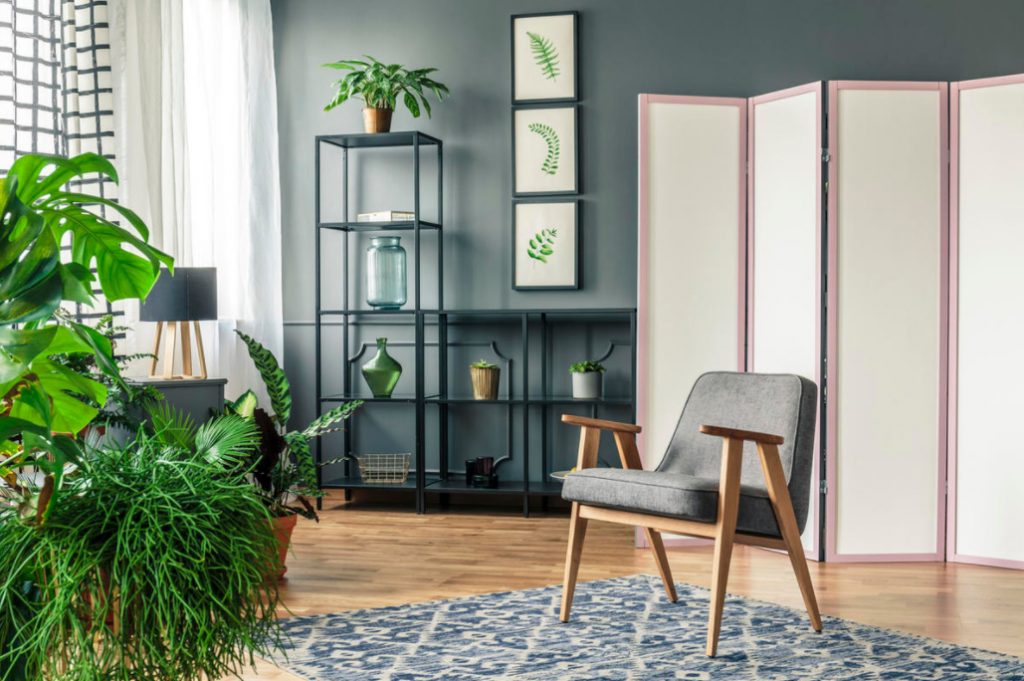
The screen is nothing more than a decorative partition for zoning the space inside the house. However, hiding something behind its beautiful sashes, it simultaneously attracts attention, being an interesting element of the interior.
Features Of The Decorative Partition
With the help of such a partition, it is very easy to divide the living area: it is easy to put it up, easy to remove it, and also easy to move it to any other place. At the same time, the screen does not literally divide the room into zones, but only indicates them. This seems to create the illusion of a border.
Increasingly, this simple construction is being used more often. For example, it can easily turn into a rack with small movable shelves or become a mini-cabinet with a mirror and hangers for clothes and pockets for storing household items. It is functional and convenient.
Such a screen is appropriate in the children’s room and even in the bathroom, and its presence opens up opportunities for creativity. Such a movable partition is usually a work of art that pleasantly combines utilitarian meaning and artistic value. This object creates an atmosphere of intimacy and privacy in the house. Therefore, often behind its doors arrange corners for reading, talking or sleeping.

Modern screens are made of a variety of materials: wood, plastic, metal. Doors can be covered with fabric, thin leather or decorated in the form of inserts-a kind of panels. As you know, the ancestors of these interesting devices were wooden products, the birthplace of which is considered Ancient China.
Variations of Partitions
Partitions of this type are very elegant and light interior items, since most often they only have a frame made of wood. The old screens used linden wood, which grows in the north-east of China, for the frame. The screens were covered with rice paper, made in the form of lacquered wooden (or papier-mache) painted panels, covered with rattan, straw, and decorated with silk.

The most common were screens and screens – triptychs. Chinese screens are very different in size – from large screens to desktop copies. Of course, the Chinese laid a deep meaning in the images applied to the doors of the screens. For them, it was very important that the thing was created by a person who absorbed the wisdom of their ancestors and piously observed the traditional canon. It was at this time that it became both a piece of furniture and a symbol of domestic harmony.
How to make Partitions Yourself?
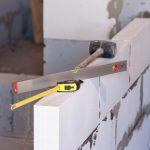
The original screen is quite simple to make yourself, for example, a three-leaf screen with screens made of fabric or paper. At the heart of each sash is a frame made of planed slats with a cross section of 20×50 mm (0.8-2 inch), assembled butt-to-butt on glue and metal corners (photo 1).

Photo 1. Such a screen is easy to make with your own hands. The built-in lamps inside the frames add extra sophistication to the product
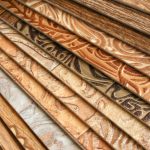
Fabric or paper screens are stretched on internal frames made of slats with a cross section of 20×20 mm (0.8-0.8 inch) (photo 2). Before mounting, the screen material (it can be painted batik, floral jute burlap or just plain paper, for example, rice) should be slightly moistened.

Photo 2. For the manufacture of a three-leaf screen, planed pine slats of 20×50 mm d(0.8-2 inch) and 20×20 mm (0.8-0.8 inch) will be required.
Photo 3. First, using metal corners and glue, we collect the frames of the screen flaps from the wide slats.
Photo 4. The screen material (fabric or paper) can be attached with a stapler to the rails of the inner frame, which is fixed with screws to the sash.
Photo 5. For fixing the screen along the inner perimeter of the flaps, an internal frame of slats with a cross section of 20×20 mm (0.8-0.8 inch) is provided.
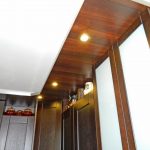
Photo 6. Small fluorescent lamps are mounted in the lower part of the sash frames, passing electrical wiring through vertical slats to the adjacent sash.
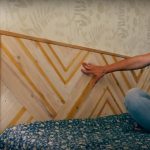
Photo 7. After connecting the flaps with loops, it remains to insert and fix the second frames with stretched screens in the flaps — the screen is ready.
The screen is attached to the frame by using a stapler, is inserted into the sash of the screen and fixed with self-tapping screws (photos 3-5). For each sash of the screen, two frames with stretched screens are needed.
Inside the sash, you can install a low-power lamp, for example, a fluorescent or LED light (photo 6-7). It is important that it does not get too hot, and electrical and fire safety are provided.
Related posts:
 Grills and a Barbecue for Villas with Their Hands
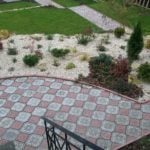
 Tiles for the Garden With Their Hands
 Garden Swing With Their Hands
 Gazebo in a Country House With his Hands
 Unusual Country Furniture With Their Hands: Use Fabric. Floor Pillows.
 Children’s Swing With Their Hands
 Update Old Furniture. Decoupage.
 Casting Paving Slabs With Their Hands
 Children’s House With Their Hands
 Fence in the Country With Their Hands
 Easy Pergola for Garden With Your Own Hands
 We Lay The Floor From a Cork Board
 A Partition Made Of Foam Blocks With Your Own Hands: Photos And Step-By-Step Instructions
 LED Lighting In The Kitchen With Your Own Hands
 How To Lay Linoleum Correctly
 We Make a Headboard For The Bed From Scraps Of Boards