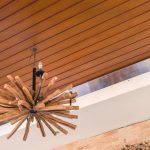
Bamboo is one of the most popular materials for making various crafts. In addition, it is an excellent solution for decorating your home. The idea to make a wooden ceiling in the apartment suggested itself.
Preparing for work
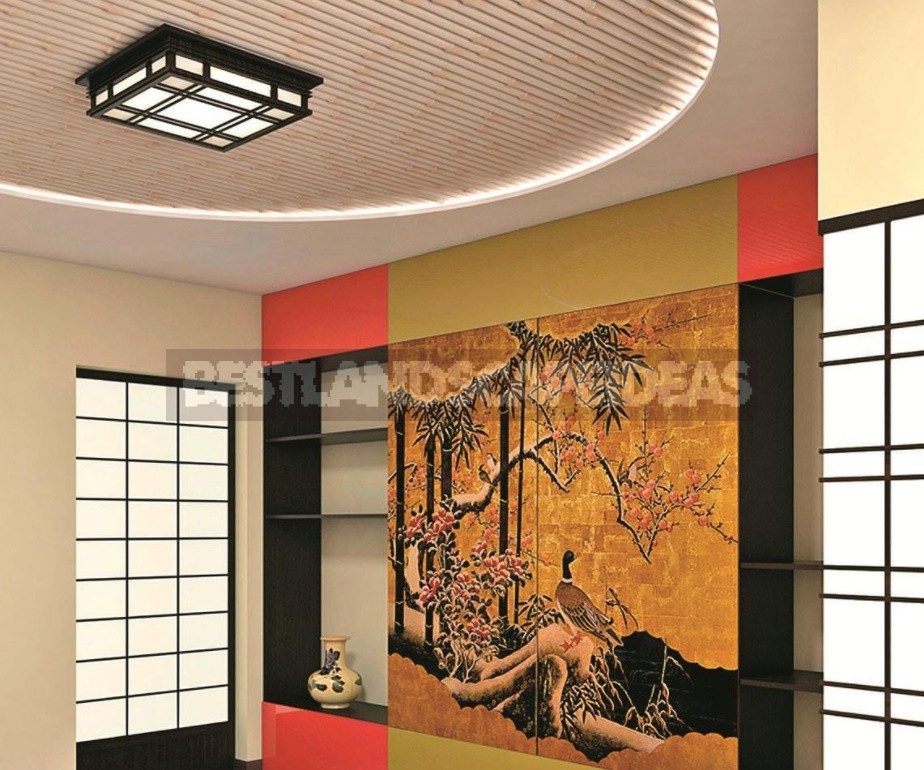
One of the rooms in the process of renovation was supposed to be decorated in an oriental style. A custom-designed design project with visualization became a visual basis for further work. Thus, the fact that the bamboo stems will look great on the upper floor, we were convinced in advance.
The ceiling in the room was planned to be made on two levels, with a round recessed central part, which was supposed to be covered with bamboo. First, we mounted a frame made of metal profiles, which was quickly covered with drywall.
First of all, we made the zero (upper) level. Then, on the prepared surface, a circle of the selected size was drawn around the central point (at this point the wires for the lamp come out). It was the border of the future panel.
Then they mounted the frame of the second level.After a rather laborious installation work, the room was ready for finishing and decoration — and then the question arose about the purchase of bamboo.
We decided on the simplest option — the stems, sawn lengthwise. Their length was about two and a half meters. The color was also chosen the simplest — natural. The halves of the bamboo stems were supposed to be glued to the ceiling with a flat surface. We had no experience of such work, so we had to learn it as we went along.

Installation process
Liquid nails were used to attach the finish to the ceiling.One of the problems that arose at the very beginning of the work was the gaps that necessarily arise due to the curvature of the bamboo stems and the difference in their thickness at the ends. Through these cracks, we could see the plastered ceiling, and the white color did not seem to us a very good background. Therefore, we decided to paint the base of the ceiling in a tone close to the color of bamboo. This should have made the gaps between the stems not too noticeable.
Now about the process of pasting. To begin with, we equipped the workplace — we installed a couple of stands and put a shield on them so that it was convenient to stand, move around and glue (a stepladder is not suitable for this in any way). Then, in a circle marked on the ceiling, parallel to the side walls of the room, they drew a diameter oriented towards the window. He set the direction for the subsequent attachment of the stems. Next, we started pasting.
However, it turned out another unpleasant moment — the stems that were to be glued had a noticeable curvature, and this defect was the more noticeable the longer the stem was. This curvature could be corrected for some time by pressing the blank with the applied glue to the ceiling. But pressed in one place, it gradually began to move away in another, where it had just been glued.

Photo 1. Bamboo stalks, sawn lengthwise, are the source material for the work. Photo 2. The ceiling is prepared for pasting with bamboo. Photo 3. Supports made of timber, placed under each stem: the problem of sticking long stems could not be solved. Photo 4. Bamboo stalks are easier to glue by sawing them into separate segments. Photo 5. The thickness of the stems varies greatly in length, and in order to maintain the chosen direction, we had to glue the stems alternately, starting with the thick part of the stem, then with the thin part. Photo 6. The panel is pasted. It was decided not to paint the bamboo — the natural color seemed more attractive
The elastic forces inherent in the stem were significant, and the adhesive properties of liquid nails were not enough for them. To solve the problem, they tried to use supports made of timber, which were placed under each stem in several places, pressing it at once along the entire length.
It was not very difficult to do this, but the problem did not end there — after we removed the supports, the bamboo began to bend again and break away from the ceiling. And often-with pieces of putty. A more radical solution was suggested — to cut each stem into segments of small length, on which the curvature is almost not noticeable, and glue these segments.
After several trials and errors, the optimal size was chosen — segments with a length of one segment of the stem. And to make the panel look more natural and beautiful, the segments were glued in knots at random. Work, of course, increased, since first each stem was cut into separate segments at the node, and then they were collected during the ceiling sticker. Such work can be compared to the production of mosaics.
Final stage
When all the bamboo was glued and the panel appeared in its finished form, there were doubts about the need to paint it in white: the natural color seemed more attractive to us. At the end of the work, a lamp was installed in the center of the ceiling panel, and LED lighting was installed around the perimeter of the cornice.

All this helped to further highlight the bamboo panel, making it a spectacular element of the interior. Other pieces of furniture also fit well into the overall design. For example-a built-in wardrobe, which is an important part of the arrangement of the room in the chosen style.
On the sliding doors, designed to cover a large niche for a TV, a stained glass window with the image of dragons was installed.
Related posts:
 How to Plant and Care for Acidanthera
 How to Plant and Care for Ixia
 Interesting Design of the Flowerbeds
 Tulips and Art Nouveau
 How Not to do a Lot of Work in the Garden.
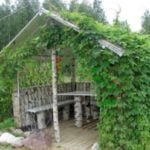 5 Best Gazebo for Country House. Types and Features
 Hobbiton – Features, How to Find, Photos, Design Ideas
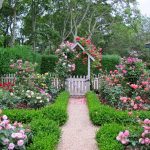 How to Create a Rose Garden. Planting Options and Selection of Roses
 8 Best Design Ideas to Improve Your Country House. Scottish Style
 How To Plant And Care For Viburnum – 5 Best Varieties
 Home decor beached style
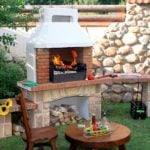
 Grills and a Barbecue for Villas with Their Hands
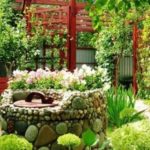 How to Make a Well in a Country House or Cottage?
 Types of Barbecues and Mangals
 Grill and BBQ: Where to Put How to Cook?
 A Lawn – Green Carpet in Your Yard