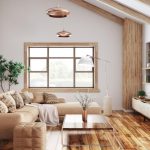
The use of ready-made wooden panels allows you to quickly and easily finish not only the walls, but also the ceiling. The updated interior will look stylish and modern.
Material Features
The use of wood panels is a traditional method of finishing, the popularity of which is only growing. However, over time, they have undergone some changes related to the manufacturing technology and raw materials. They are based on fiberboard MDF or HDF, and the wood from which the panels were previously assembled entirely, today goes only on a decorative layer with a thickness of 2-3 mm.
But this formulation helps to reduce the cost of products, prevents them from cracking, and gives them improved noise-absorbing properties. The workpieces are easy to assemble, joining them with the help of the “spike-groove” system. They can be glued directly to the wall, installed with the help of kleymers on a wooden crate or a metal frame made of special profiles.

There are, however, today and panels made of solid wood, but they are very expensive. And the most affordable ones are those that are covered with plastic for wood, or laminate. But they are deprived of the most important property of natural wood-environmental friendliness.
For finishing walls and ceilings today often use a conventional parquet board, as it is similar in its properties to the wall panel. However, the latter is more widely represented on the market and has a large number of decor options. Its use is preferable, and here’s why.
First, the panels are made of a longer length, which often makes it possible to do without end joints or with a minimum number of them. And secondly, such a finish can be made on the basis of soft woods, which are impractical in floor coverings. This expands the range of possible panel textures and reduces their cost.
The sequence of work
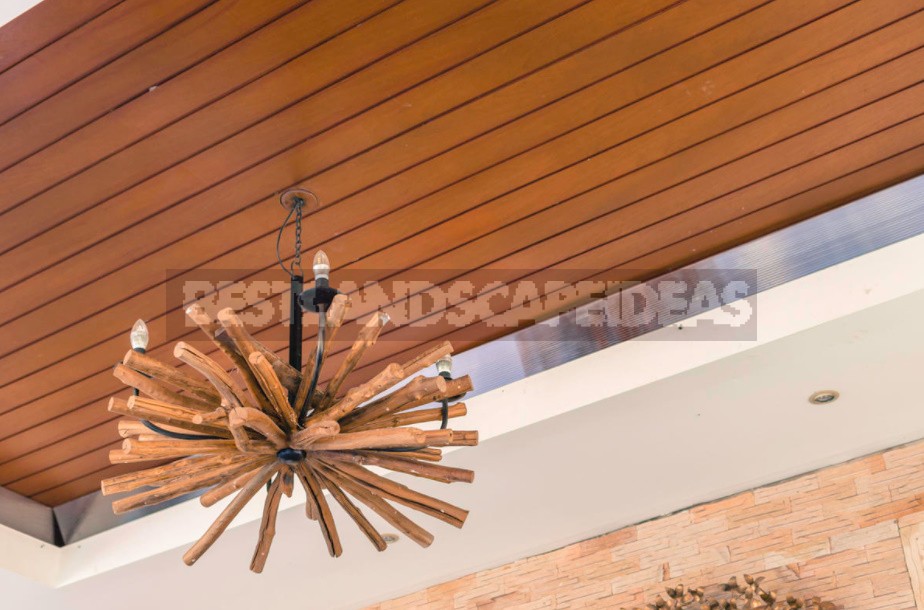
Ash panels with a length of 120 and 240 cm were chosen for the cladding. The first thing we did was to take apart the old paneling. The opened crate with insulation between the slats was in good condition, so we decided to leave it. But at the same time, additional counter-lath rails were added to leave free space for embedding lamps in the ceiling panels.

Photo 1. First, remove the old skin, attach additional slats to the crate and expose them horizontally with the help of linings and checking the level. Photo 2. The edge of the panels of the first row, facing the inclined wall, is processed with a plane on the bevel. Then the panels are attached from the bottom with finishing nails directly to the lath rails. The holes on top of the nail heads are sealed with wood putty. Photo 3. The panels are connected in a groove and a comb, tightly fitting one to the other with light blows of a hammer through a wooden gasket or a panel trim. Photo 4. The last panel is adjusted to the contour of the inclined wall. To do this, temporarily fixing the panel, mark the cut line using a measured bar. Photo 5. The outer edge of the last panel, cut out in width with an electric jigsaw, is processed with a plane on a bevel. After that, the panel is carefully inserted into place and nailed down. Photo 6. Built-in lamps are usually equipped with a template, with which they mark the cutout on the panel. Photo 7. First, a hole is drilled in the panel for the electric jigsaw file, and then a hole is cut in it for the lamp body. Before mounting the lamp, lay the cables. Photo 8. Built-in lamps allow you to direct bright light to where it is needed. Here the space in front of the mirrored cabinet doors is well lit
To align the counter-lath horizontally, if necessary, put pieces of plywood and wooden wedges under the slats. The result was checked using the level and the reiki rule.
The panels were mounted on the kleymers with the exception of the first and last (that is, those that are directly in contact with the walls along the entire length). They were nailed down with finishing nails. The holes on top of the nail heads were patched.
The longitudinal outer edges of the first and last rows of panels joining the inclined walls were cut into a bevel at the appropriate angle. In the same way, the panels of the upper rows were attached to the sloping walls of the attic.
Related posts:
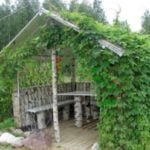 5 Best Gazebo for Country House. Types and Features
 Hobbiton – Features, How to Find, Photos, Design Ideas
 8 Best Design Ideas to Improve Your Country House. Scottish Style
 Home decor beached style
 Grills and a Barbecue for Villas with Their Hands
 How to Make a Well in a Country House or Cottage?
 Types of Barbecues and Mangals
 Grill and BBQ: Where to Put How to Cook?
 How to Create Your Own Theater of Light and Shadows
 Insulated Flue – Saving Home from Fire
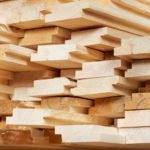 Choice of Wood for Building a Wooden House
 Drainage Systems In the Suburban Area
 How to Choose a Place for the Construction of the Bath
 Tiles for the Garden With Their Hands
 Outfit for Your Windows: Hinged and Roller Shutters, Mosquito Nets and Awnings
 Drainage Systems in the Suburban Area Surface Drainage