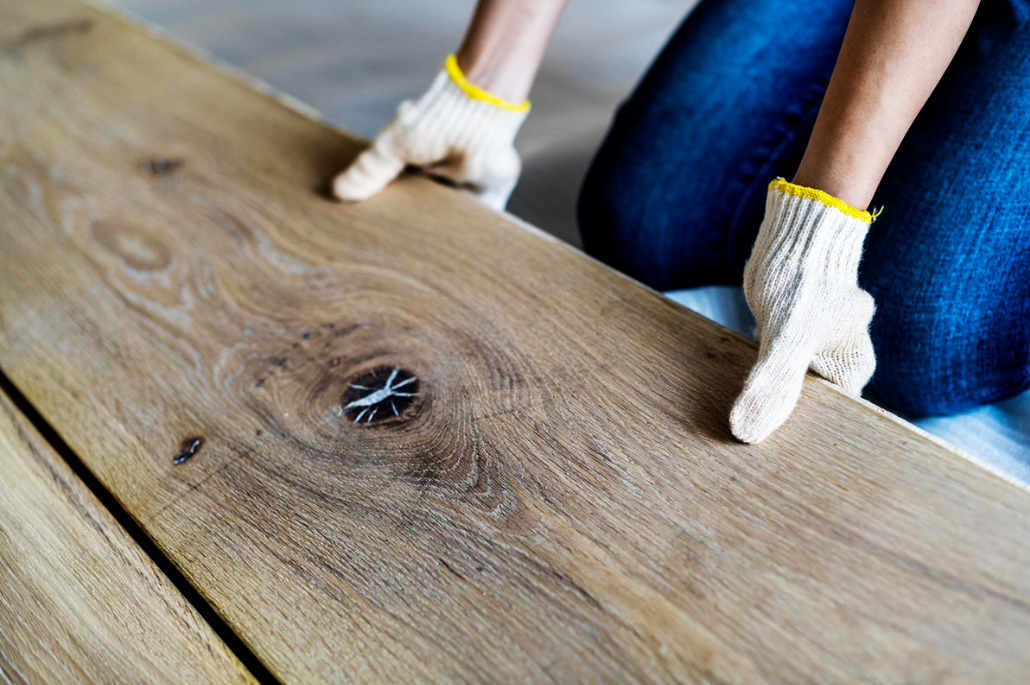
Replacement of floorboards
Before laying a new floor, measure the room and purchase the material in advance. The boards should lie in the room — preferably in the same place where they will be laid — for at least a week to “acclimatize”.
Dismantling of the board floor
Before you completely disassemble the flooring, you must first remove all the baseboards. If you are going to re-lay the same boards, number them with chalk before dismantling.
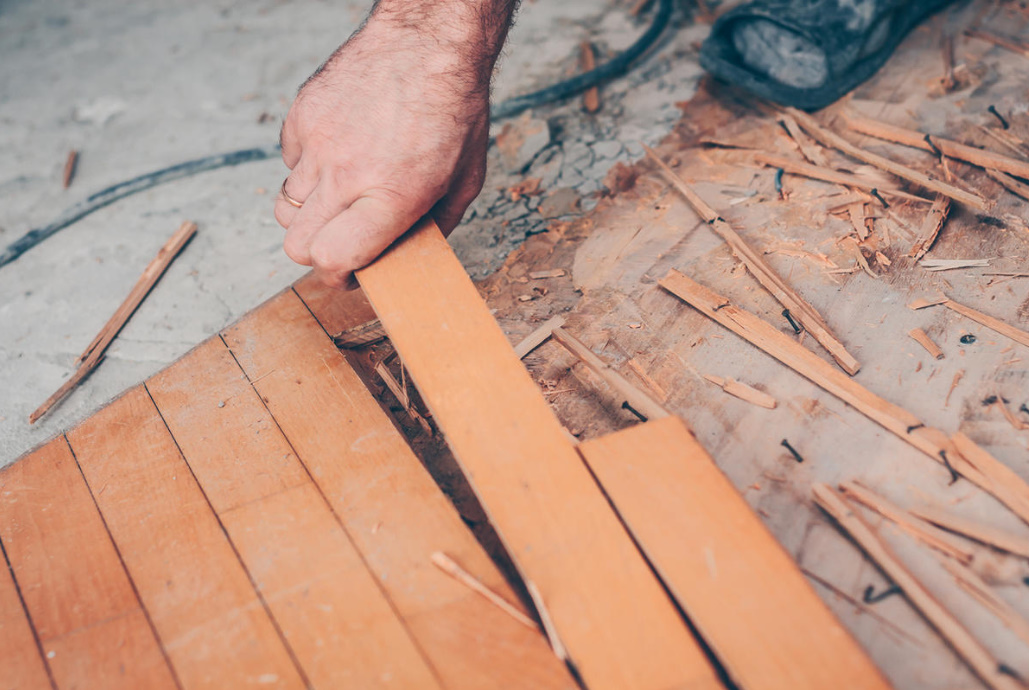
- Lift up the first few boards, starting from one side of the room;
- Then carefully tear off the rest, pushing the chisel along the stone between the boards and beams / logs;
- Lift the tongue-and-groove boards two or three at a time, so as not to break off the tongue-and-groove, and then disconnect them;
- Pull out all the nails from the boards and beams and clean off all the accumulated dirt from the top of the beams;
- Also clean the edges of the boards if they are going to be used again;
- Check all wooden elements for signs of rotting or pest damage and carry out appropriate treatment or repair.
Laying of new boards
The procedure for working with tongue-and-groove boards is described here, but the basic principles remain the same for boards with a smooth edge.
First, just put, without fixing, a few boards as a working platform. Measure the width or length of the room (what is perpendicular to the logs) and cut the boards so that there is a gap of 9 mm between their ends and the walls. Lay 4-6 boards at a time. If you need to join two short boards, cut them so that the connection falls into the middle of the beam. It is better to do this for several boards at once, so that the joints do not turn out in one line.
Make a platform from free-lying boards and work from it in the following sequence:
- Fix the first board parallel to the wall.
- Cut to size and put up to six boards at once, squeeze them together and nail them to the logs.
- Lay the next batch of boards in the same way and continue on. Cut the last board to the width.
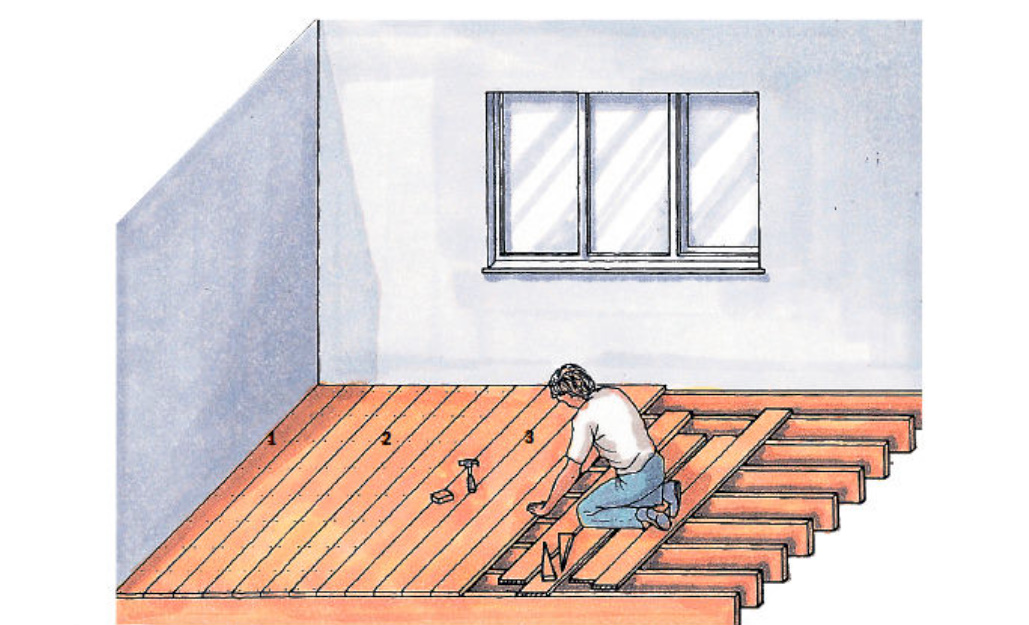
Laying the first board
Install the first board so that its edge with a groove is no further than 9 mm from the wall, and nail it into place with parquet nails or nails with a small cap at least twice as long as the thickness of the board.
Hammer the nails in pairs, centering them on the logs, each about 25 mm from its edge of the board. Sink the caps about 2 mm below the surface of the board. If you prefer to nail the boards down (imperceptibly), hammer the nails obliquely into the edge with a comb.
Fixing the remaining boards
Put the other cut boards in their places, pressing them against the already fixed one so as to select gaps. To do this, you can use special clamps for laying floorboards (see photo 3 below), but wooden wedges with a length of 400 mm from the scraps of the floorboard will work just as well.
To press the boards together with wedges, temporarily nail another board at a distance from them slightly less than the width of the board. In this interval, insert pairs of wedges on top of each fourth or fifth beam and hammer them towards each other with two hammers (see photo 1).

After the compressed boards are nailed, remove the wedges and repeat the operation with the next batch of boards. When laying the last board, cut it to size so that there is a gap equal to either the width of the ridge or 9 mm (which is less). If it is not possible to push it onto the ridge of the previous board, cut off the lower of the projections forming the groove so that it can simply be lowered into place (see photo 2). In conclusion, put all the baseboards in place.
Squeeze for boards
This specialized tool with the help of two gear cams automatically captures the beam/log on which it is put on. Put several boards in place without fixing them, then move the clamp to the edge of the first board. When the drive lever is turned, the screw-driven pusher creates pressure on the boards. Nail the boards, release the squeeze and process the next batch of boards.
Laying of chipboard flooring
Chipboard panels with a tongue—and-groove or smooth edge are an excellent base for a finishing coating, such as linoleum or carpet. Chipboard is quickly laid and is much cheaper than natural wood.
Laying of chipboard with a smooth edge
All edges of panels (sheets) with a smooth edge should have a support under them. Lay the panels so that their long edges run along the logs, and between the logs, nail wooden spacers with a cross section of 75 × 50 mm so that they support the short sides of the panels. The spacers at the wall are nailed before laying, and those that serve as a support under the joints of the ends of the panels can be nailed as the chipboard is laid.
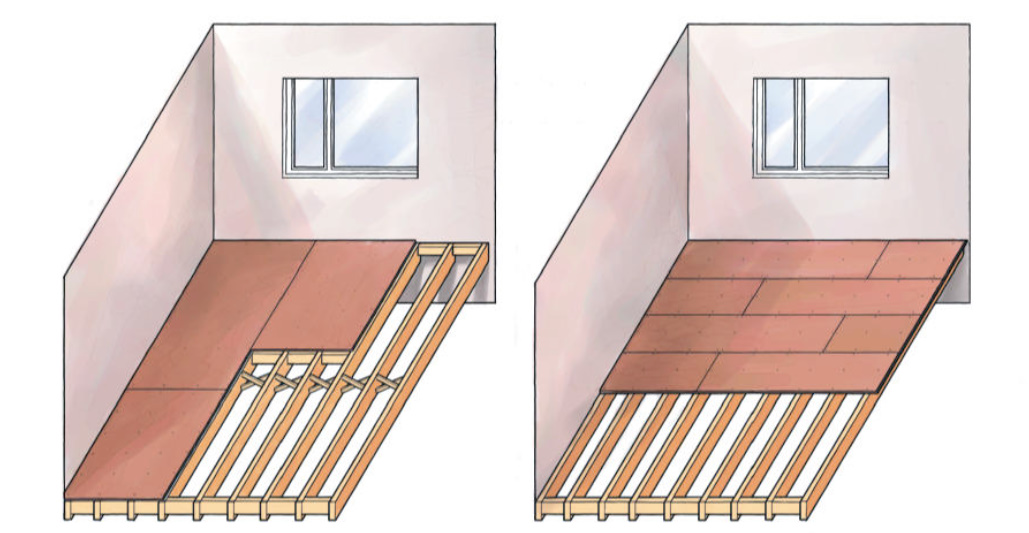
Start by laying a full-size panel in one of the corners of the room and lay a row of full panels along the length of the room, cutting only the last one to the desired size. Leave a deformation gap of 9 mm between the walls and the outer edges of the panels. The inner edges should fall into the middle of the log.
If necessary, trim the panels to the width. Trim the edges that are closer to the wall to keep the edges intact for docking with the next row of panels. Nail the panels along the logs and struts with an interval of about 300 mm with nails of 50 mm with an annular notch. Drive them in about 9 mm from the edge.

Cut to size and nail the remaining panels so that the joints of the short edges in the adjacent rows are spaced apart.
Laying of tongue-and-groove panels
The tongue-and-groove panels are laid with long edges across the beams. Spacers are only needed to support the outer edges of the panels at the walls. The ends (short edges) should lie on the beams.
Place the first panel in one of the corners of the room so that its edges with grooves are 9 mm from the walls, and nail it. Along the short edge of the panel, apply PVA glue to the joint for wood and lay the second panel of this row. Knock it closer to the first one, placing a wooden scrap under the hammer blows so as not to damage the edge of the panel. Nail it down and remove excess glue from the surface with a damp cloth before it dries.
Continue in the same order along the entire room, gluing all the connections of the panels as they are laid. Trim the panels to the desired size at the end of the rows or when fitting the edge to the location of the beam. Place the joints in the adjacent rows apart.
Panel fit
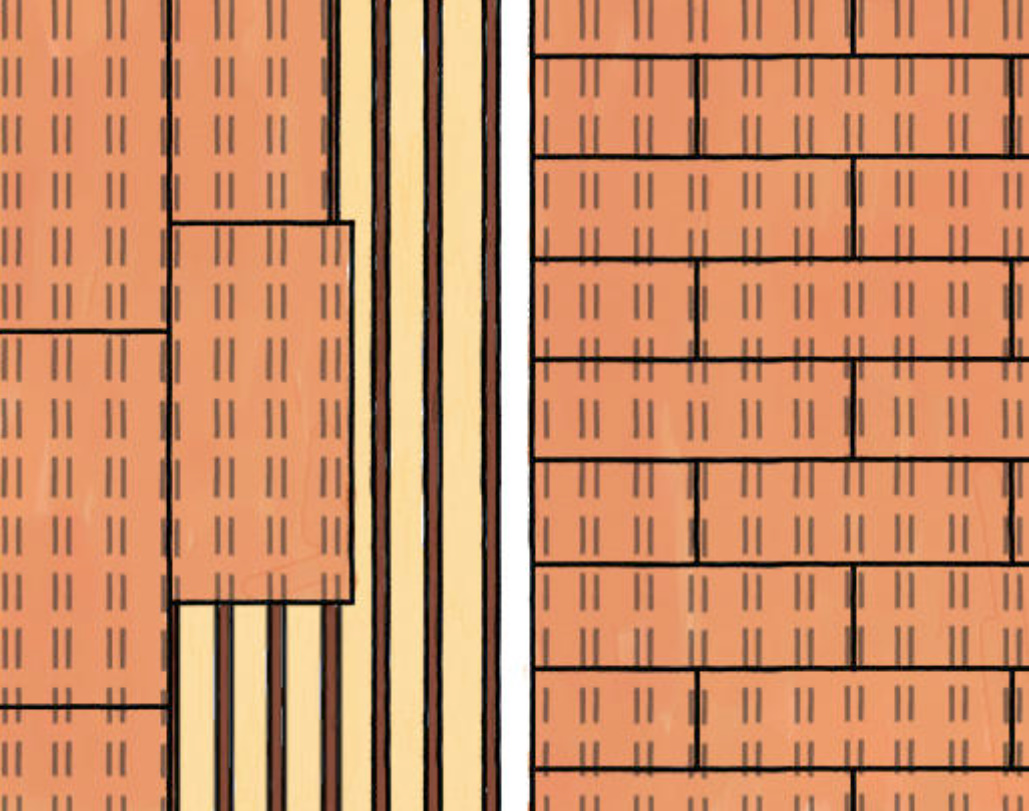
Wide panels with a smooth edge can be slightly trimmed in width (see the picture on the left) so that their long edges join in the middle of the beam. When using tongue-and-groove panels, only the last of the stacked ones should be cut in width in order to fit them to the wall (see the picture on the right).
For a neat cut, use a circular electric saw or a well-sharpened universal hacksaw with small teeth.

Leave a Reply