Potato pests: how to deal with them
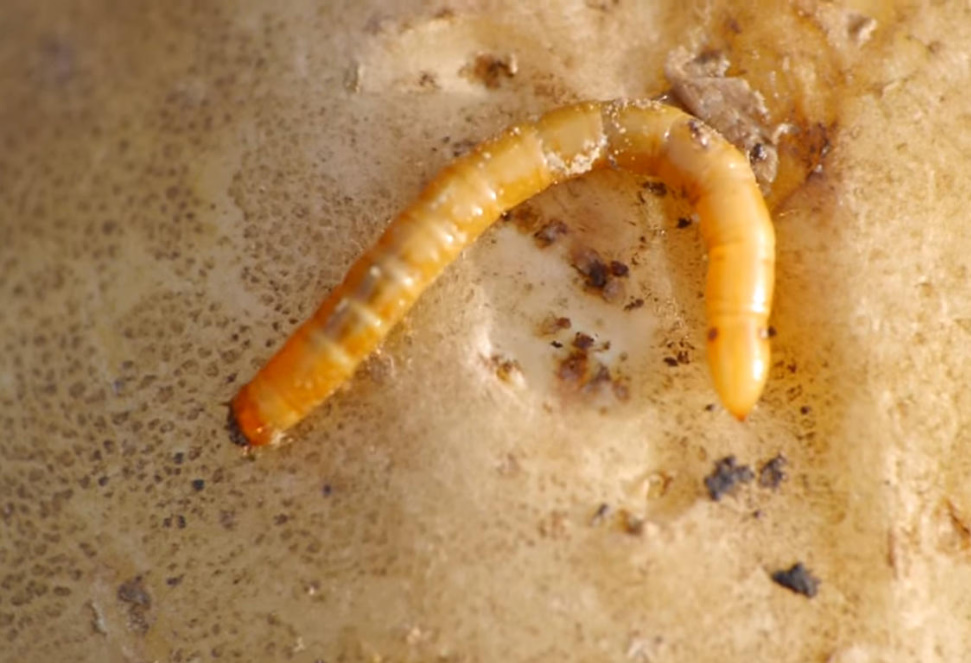
A variety of pests encroach on the ripening potato crop and its tops. The insatiable Gryllotalpidae eats tubers so that the crunch is worth it. Rodents are also not averse to diversify their menu. The ubiquitous wireworm is a champion of mass destruction of the plantation, despite the fact that he only “bites” the tubers. The pest likes acidic soils, and with regular application of lime or dolomite flour, it becomes less. With a large number of larvae, you will have to use insecticides that are introduced into the soil.
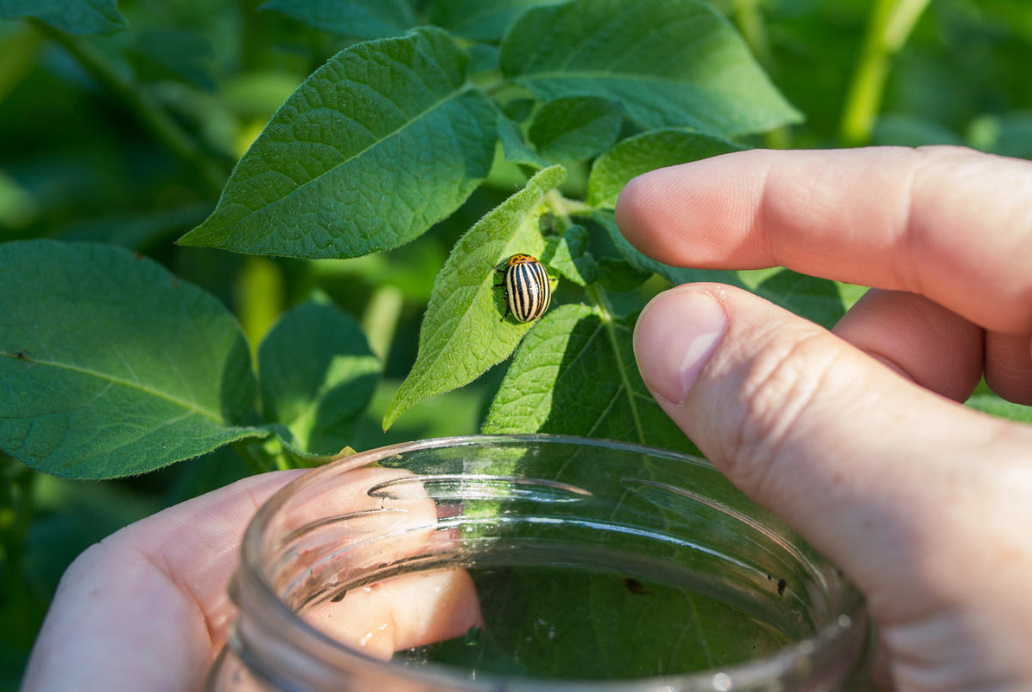
The Colorado potato beetle and its voracious larvae can literally eat all the leaves on a potato plantation in a day. In affected plants, the efficiency of photosynthesis decreases sharply. Some green stems will not be able to “feed” the developing tubers, and the harvest will not be large. The beetle usually gives not one, but 2-4 generations per season, and the first is usually the most widespread. If there are not a lot of pests, you can collect them manually and destroy them (summer residents of the older generation perfectly remember the manual collection of the pest in a can of kerosene, which had no alternative).
Both the Colorado potato beetle and the wireworm can be saved by pre-planting treatment of tubers (or soil) with a long-acting systemic insecticide. It is also used for tillage (furrow or planting hole) during planting. Protection from wireworm is provided before cleaning, and from beetle — for a period of up to 45 days. The waiting period for such funds is 90 days — therefore, it is undesirable to use it for processing early potato varieties.
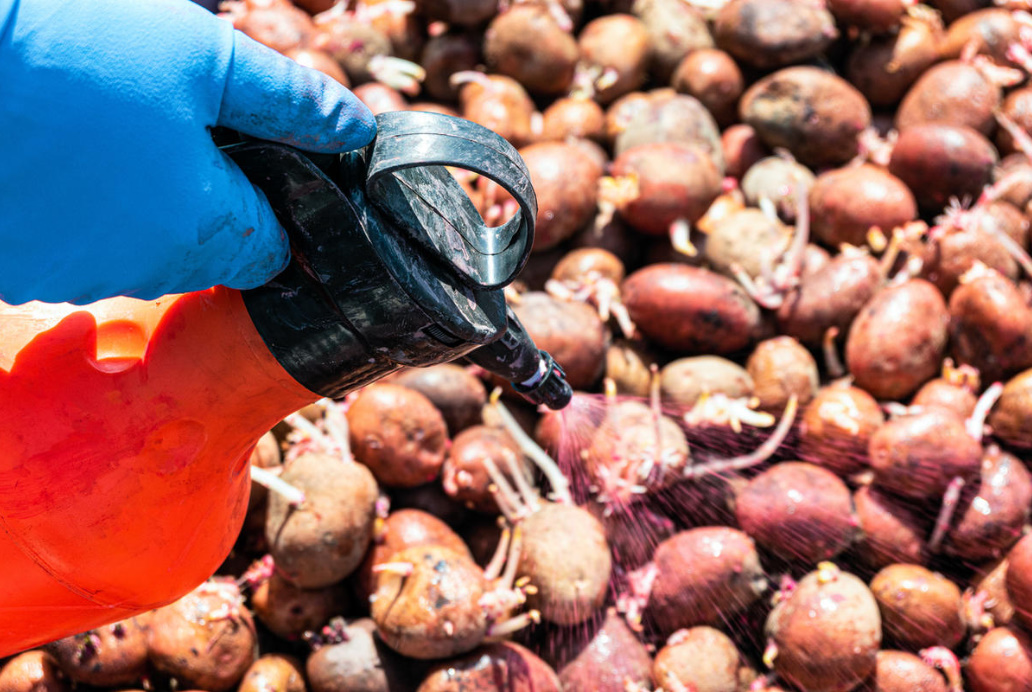
If you did not process the tubers before planting, and the Colorado potato beetle has greatly multiplied (and the probability of such a development is very high), then the potatoes will be saved only by treatment with an effective systemic insecticide of contact-intestinal action. Especially carefully it is necessary to spray the underside of the leaves, where larvae can hide.
Potato diseases: prevention and treatment
Potatoes have two main diseases — late blight and scab. Blackened tops in August or even at the end of July, when there is rainy weather or cold nights with heavy dews, is a sad sight. This is what the heyday of late blight looks like. If you do not take action when detecting single signs of damage, the disease will mow down the entire plantation in a few weeks.
Ulcers on tubers are familiar to everyone: this is potato scab. Moreover, there are different forms of it — some manifest themselves only during storage. Someone does not consider the disease dangerous and puts up with it. But its pernicious role is that it allows pathogens of other diseases (causing rot) to penetrate into potatoes faster, but this is already a serious problem. Therefore, it is important to reject all doubtful tubers before laying in the cellar and do the same before planting. Storage conditions also play a role: in a humid, poorly ventilated cellar, not only scab has every chance to “roam”.
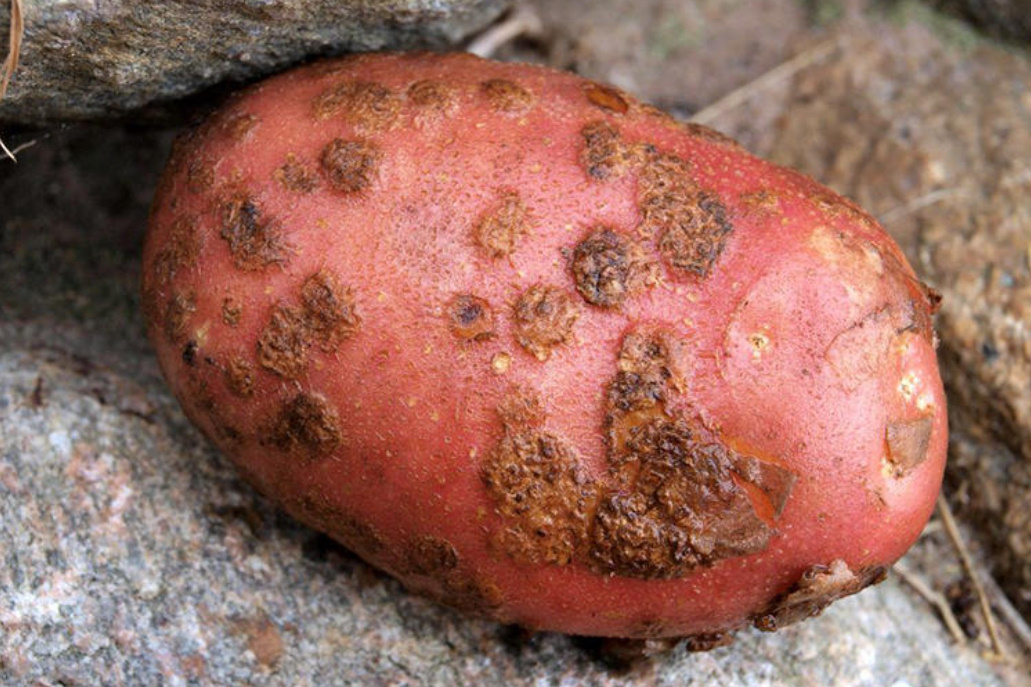
This disease develops well with an alkaline reaction of the soil, so you need to be careful with deoxidation. Slightly acidic soil will be the optimal solution: potatoes grow well on it, and scab is not so dangerous.
Many modern varieties have resistance to these two diseases. Therefore, when choosing seed potatoes, pay attention not only to the taste and commodity characteristics of tubers, but also to their ability. Consider that this is your insurance against these troubles. But often we take our own (or even a neighbor’s) seed material — and then prevention will become your insurance. It includes the observance of crop rotation, weed control, sowing of siderates, rejection of suspicious tubers both when laying for storage and when preparing seed material, etching before sowing and preventive spraying during the growing season (it is not necessary to take risks and wait for the appearance of signs of late blight).
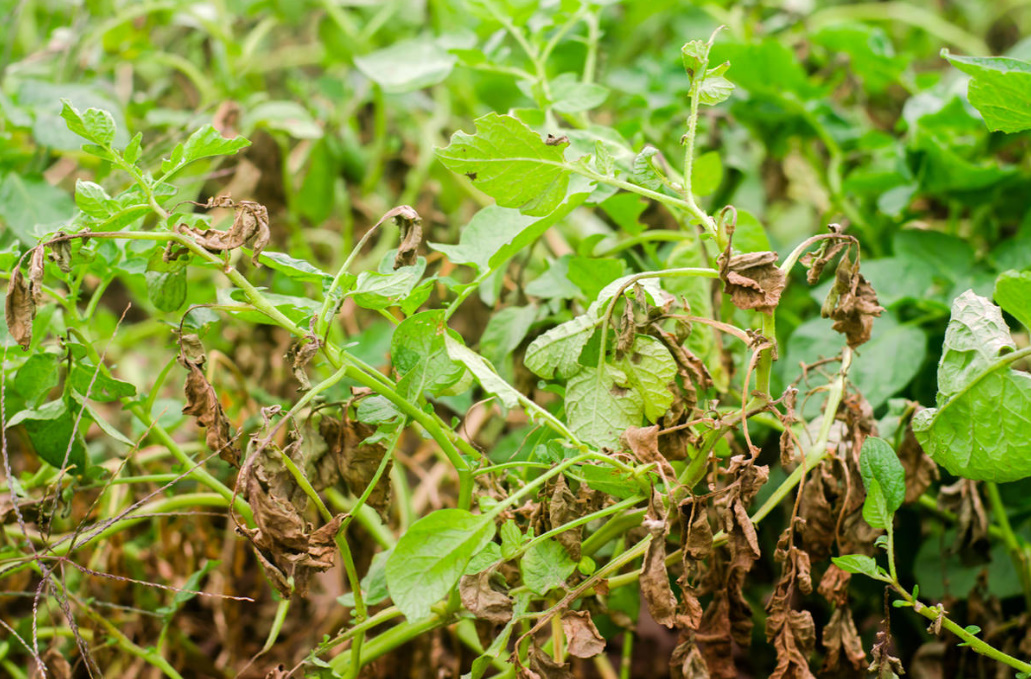
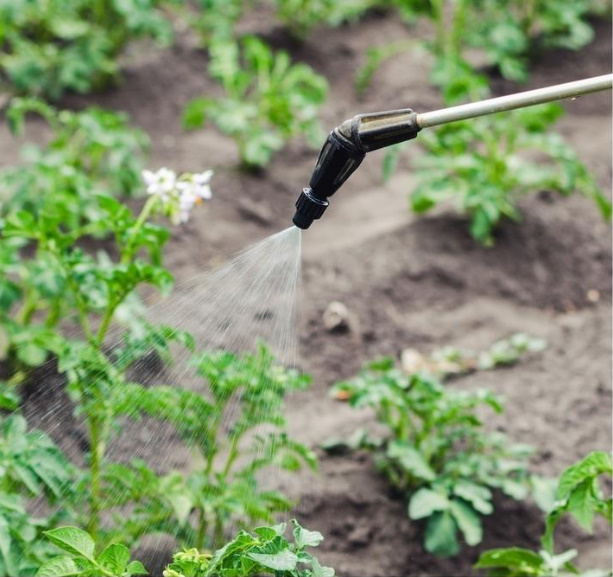
Potatoes will be protected from late blight by preventive spraying with a fungicide, which is carried out before the tops are closed, in dry, windless weather, in the morning or in the evening to avoid sunburn on the leaves. If you notice the first signs of the disease, then treat the plants no later than 2 days after their manifestation, and then two more times with an interval of 7-14 days.
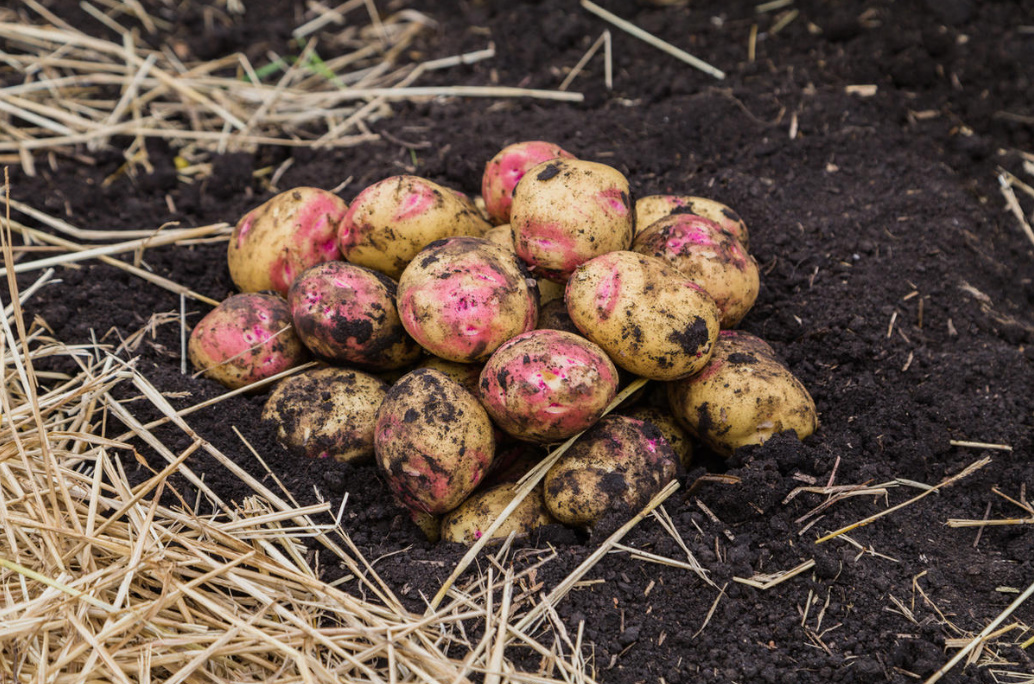
As a rule, we plant potatoes of different maturation periods in order to start digging up early ripening varieties, and leave more late potatoes for storage. Do not throw the tops from the excavated bushes in the garden to reduce the risk of transition and preservation of pathogens of fungal diseases in the soil.
When to clean — and what to do after
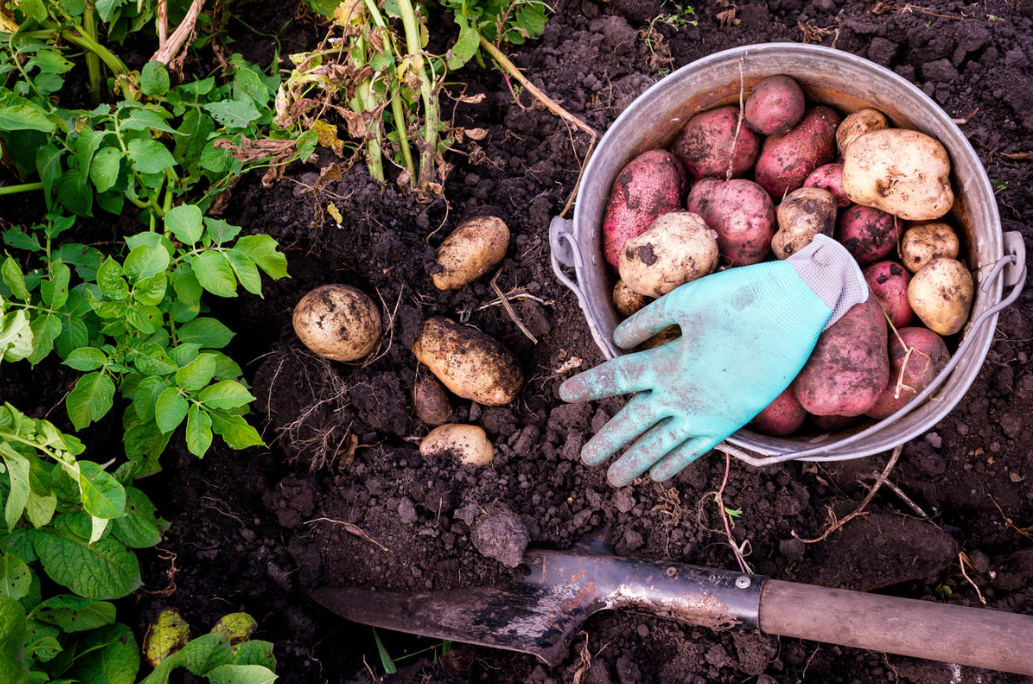
By the time of mass harvesting of the main part of the crop, the tops droop, turn yellow, dry out — these are the main signals for the gardener, meaning that it’s time to dig. Only the argument called “dig up one bush” is more convincing. There are a number of other signs that will help the cottager to determine the right moment more precisely, read more about them in the article When and how to dig potatoes.
It happens that late varieties do not have time to finish the growing season in the conditions of the region. In this case, it is recommended to mow the tops, and after a week, when the peel of the tubers gets stronger, dig out. There are two nuances here. If it gets warmer, the greens may start to grow back and weaken the tubers. Mowing earlier is also not worth it: tubers will not have time to stock up in the right amount of nutrients they need for long-term preservation.
After harvesting, completely clean the plantation of plant residues. By the way, in autumn you can walk through the weeds, armed with a sprayer with a herbicide, conduct a spot hunt for the most malicious representatives. It is very useful to sow siderates at the site of future planting. This green fertilizer, in addition to being of direct benefit, improves the mechanical structure of the soil.
