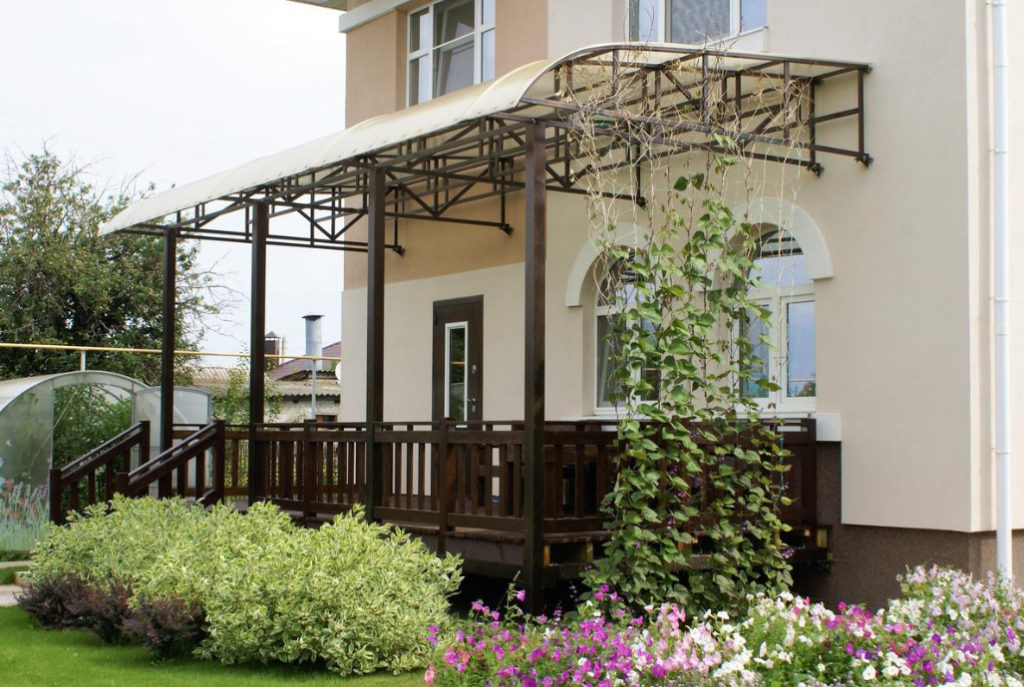
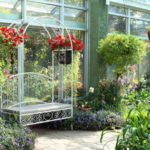
During the construction of the house, we immediately planned the presence of a veranda. But it so happened that we had it only a few years after moving to a new home. When it came to the arrangement of this recreation area, we came up and drew a project, calculated the necessary materials and set to work.
The principal decision is the choice of material. Having considered the proposals of various manufacturers of decking, comparing prices and having been on several porches of neighbors and friends came to the conclusion that composite decking is even mid-range is not suitable in quality. The expensive one didn’t fit into our budget. Decided to do from larch-material, proven for centuries.
Progress of work
As the device of the veranda was envisaged at the design stage of the house, when its construction in a wall once was mounted supports (“chairs”), which established a frame of square metal tube section 100×100 mm, powder painted. The same supports were installed visor truss and covered with a polycarbonate 10 mm thickness. the basis for the stairs were mounted simultaneously with a frame. So, the main load-bearing structure was available.

Installation lag of floor
We decided to install additional support for future lag, so that the floor was smooth and did not SAG. To do this, we used boards (50×150 mm), remaining after the construction of the house, and fasteners that go into business with roofers. They were fixed to metal beams.

They have established support.

Since the boards were uncalibrated, each had to be numbered and customized individually. The wooden beams were treated on site with a hard-to-remove preservative antiseptic.

Now on this design it was necessary to establish logs. For their production used the same Board (50×150 mm), which is fixed on the metal and additionally installed wooden beams with the help of corners and screws on the metal with a hexagonal head (without pre-drilling).

The logs had to be increased – the length of the boards was not enough. Note: that the design was correct, the built-up part of the support on 3 beams. Sewed screws. External lag did not immediately install, then it will be clear — why.

Installation of columns and decking
As such, there was no real need to install the columns. However, in order for the finished veranda to look harmonious, we decided to make them. For installation of columns in the main metal frame holes were provided.
The material of the columns is laminated timber made of larch. On the lower ends was glued self-adhesive rubber, remaining after the device of the roof of the house. The posts were fastened with studs.

When mounting the bars additionally fixed. So set the first column near the wall of the house.

After installation of all columns mounted an external log. It turned out to be a composite of segments placed between the columns.

In the area of the entrance to the veranda, the log had to be fixed as follows: the ends were installed on 2 metal beams, aligning with the level of the steps, and then pulled with studs to the beam of the stairs.

The result is such a design, which can be laid decking.

Before starting work, the lower part of the decking was treated with oil for terraces. After the end of the covered upper side.
To logs of a Board fastened by means of screws, leaving gaps about 5 mm wide. This used the slim rail that after fixing the boards were removed.

For the organization of lighting and installation of sockets from the house brought an electric cable.

Started the installation of the support columns stair railings. They were bolted to a metal base in which holes had been previously drilled.

The steps were attached from below through holes in the support plates welded to the metal frame.

The first step of the ladder was fixed to a beam. Here is the almost finished stairs.

Installation of fencing
On columns of cemented metal corners.

On the corners of the attached pre-coated with decking oil the rail and horizontal Board fencing.

Scored boards of the fence and secured the balusters.

Finally all the issued invoice by the Board. It’s beautiful, and besides, it hid the top and bottom mounts.

Similarly performed the railing of the stairs.

Lighting
Despite the fact that we prepared the electric cable for lighting the veranda, we decided not to hang the classic lamps yet. Instead, under the visor attached led, powered by solar panels with built-in battery. We already have experience of their use: 4 years ago with the help of them organized lighting over the entrance to the bath and during this time never changed any battery. Since the porch is covered with a polycarbonate downlight in a day well charged and fairly bright light.

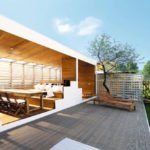
The veranda was wonderful — very comfortable and functional. Now it is a favorite vacation spot for both children and adults.
Dear readers, I hope our experience of the veranda was useful to you, and you have found something valuable for yourself. Share with us photos of your verandas and terraces, tell us in the comments what you like to do in this area of summer holidays.
Related posts:
 Garden Shed: Solutions for Decoration
 Glass Greenhouse with Their Hands
 Insulated Flue – Saving Home from Fire
 Convenient and Useful Nozzle On the Trimmer With Your Own Hands
 Protect Your Garden, or How to Make a Scarecrow
 Outfit for Your Windows: Hinged and Roller Shutters, Mosquito Nets and Awnings
 In Your Garden Begins the Age of Stone: Choose Decorative Benches
 How to Build a Winter Garden in the Country
 How to Make a Washstand for Country House the Hands
 And Above us is Not Dripping: Shelter for the Garden
 Pros and Cons of Various Types of Solid Fuel for Boilers: Wood and its Derivatives
 Pros and Cons of Various Types of Solid Fuel for Boilers: Coal and Peat
 Choose Radiators for the Summer Cottage
 Additional roofing elements (accessories)
 Terraced motives the device is weatherproof wooden floors
 How to Heat the Boiler with Wood