The wooden elements of our houses require new finishing much earlier than other parts of the building, especially the exterior surfaces of windows and doors, gable and drain boards. The main reason is that the wood swells when moistened, and when dried again decreases in volume. Under such conditions, neither paint nor other finishing materials can stay on the surface for a long time
Preparation of new wooden products
If the joiner’s product is well primed during manufacture, lightly treat it with fine-grained sandpaper, remove dust and apply a second layer of primer to those places that will be inaccessible after installation.
Do not leave the wood uncovered on the street: the primer is insufficient protection from the weather. Treat dry untreated wood with a fine-grained skin in the direction of the fibers.
For grinding flat areas, wrap the skin around a wooden bar, and for shaped profiles — around a pencil. Clean the surface from dust. Wipe it with a cloth soaked in white spirit.
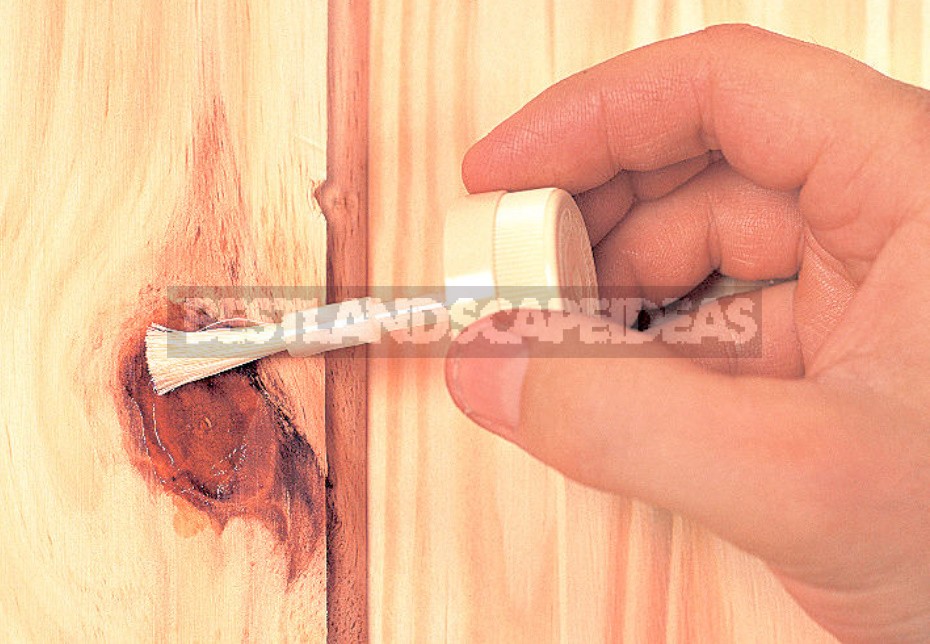
Processing of knots
Remove the dried resin. Cover the knots with two layers of shellac knot primer.
When painting in dark tones, you can cover the entire surface with an aluminum primer for wood.
Features of processing wood of different breeds
Apply a special primer based on an organic solvent or a quick-drying acrylic primer for wood diluted with water to softwood (soft varieties). Both the one and the other composition should be applied abundantly so that the primer penetrates deeply into the joints and especially into the end fiber, which will need at least two layers for good protection.
The surface of resinous hardwoods should be treated with an aluminum primer, and before coating, rinse with white spirit. For other varieties, use a regular wood primer, slightly diluting it to improve the penetrating ability.
After the primer has dried, treat the wide-layer (“loose”) wood with a filler putty. Rub it well with a coarse cloth, first with rotational, and then with movements parallel to the fibers. When the putty is dry, sand it with a fine-grained sandpaper.
Sealing of cracks
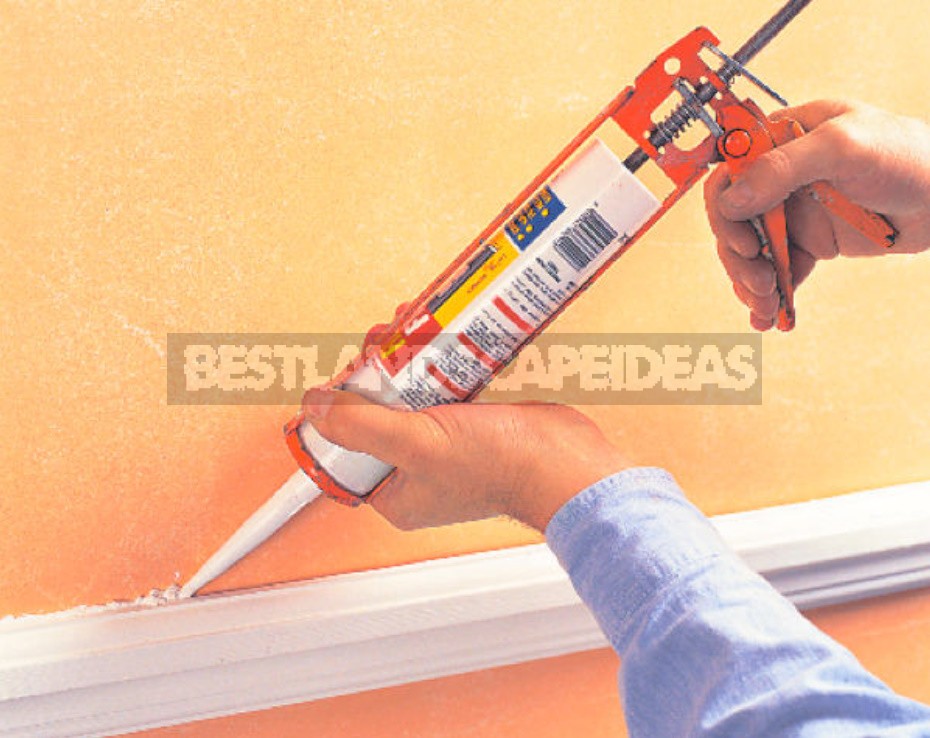
Such defects as holes, cracks in joints, cracks, close with elastic putty for external or internal work. With a spatula, seal the recesses tightly so that the putty protrudes slightly above the surface, and after setting, sand these places with a fine-grained sandpaper.
Before painting, clean the surfaces from dust. If you find a missed defect, seal it with a quick-setting putty.
Before exterior or interior painting, treat large cracks, cracks, etc.in wooden elements with acrylic putty (sealant).
Pore fillers
If you plan to finish a wide-layer wood (with a relatively “loose” surface) with a colorless varnish, then after sanding with a sandpaper, apply a special primer-a powder filler for wide-layer wood. For light wood, use a colorless primer, for a darker one — the appropriate tone. Rub the primer across the fibers with a coarse cloth, and then leave it for a few hours to absorb it, then remove the excess primer with a clean coarse cloth, moving it along the fibers.
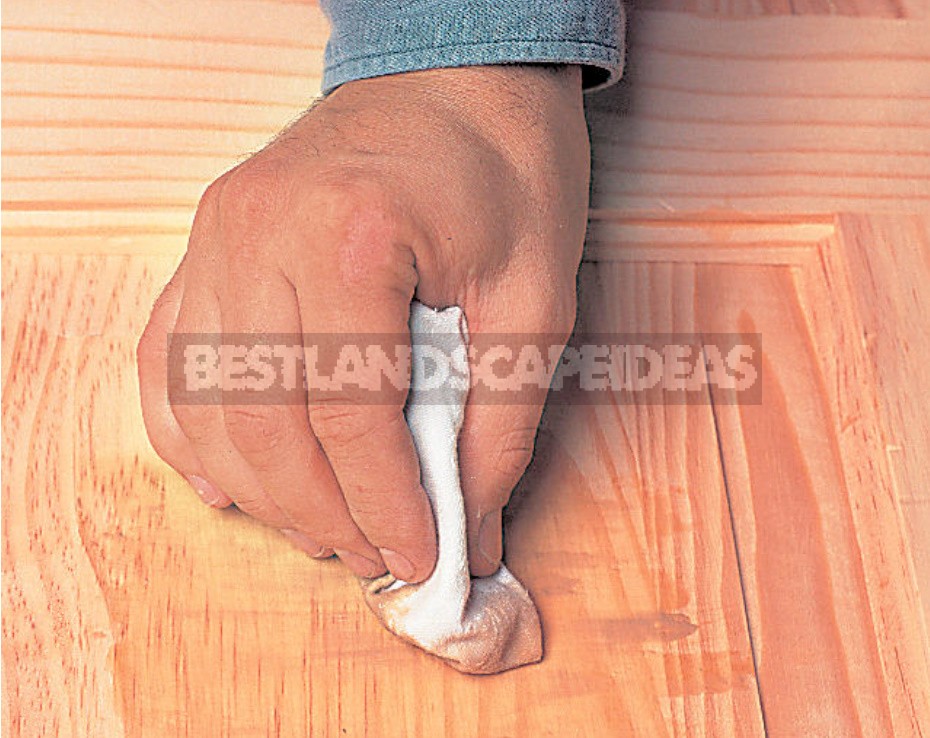
In another option, you can apply layers of transparent finishing agent sequentially and rub each layer until the pores are filled flush with the surface.
Transparent coatings
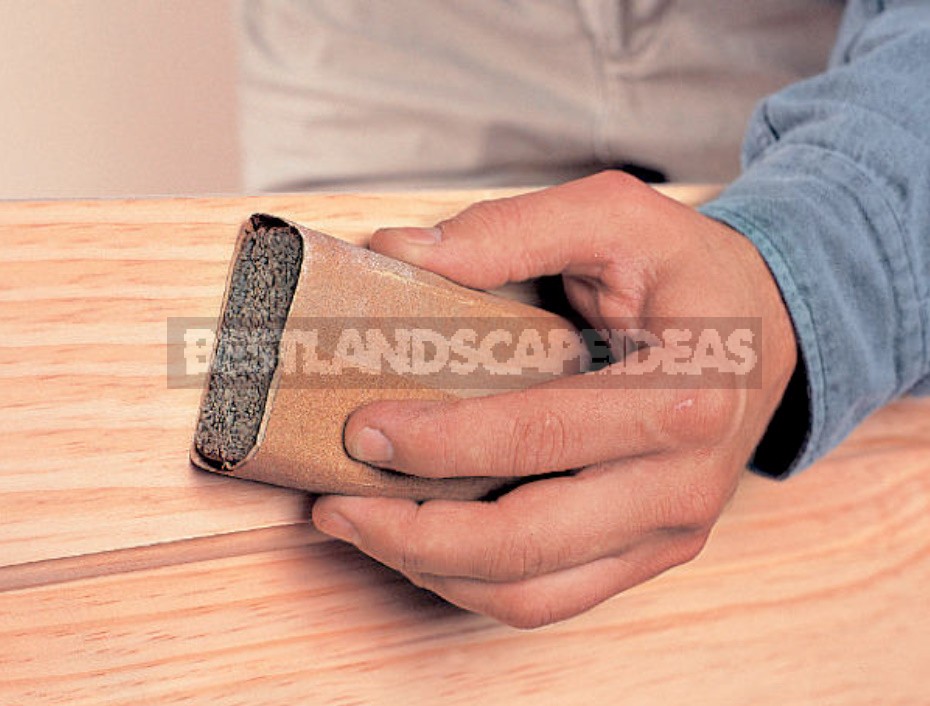
When finishing with a transparent varnish, it is usually not necessary to process knots. If the wood is very resinous, use a “white” primer for knots. Sand in the direction of the fibers with skins with consistently decreasing grain size, prime with a slightly diluted finishing material.
If the wood comes into contact with the ground or with pockets of dry rot, treat it with a transparent antiseptic, having previously checked its compatibility with the future finishing material.
Cellulose putties will appear through the transparent finish, so you should use special pastes to match the color of the wood. Their tone can be changed by adding stains or tinting.
Check the compliance of the putty base with the type of finishing coating. If possible, use an oil-based putty. It is usually harder than cellulose, so do not overfill the defects with it, so that you do not have to spend a lot of time on grinding.
What to do with artificial wood materials
Versatile and relatively inexpensive artificial wood materials are widely used in the home-especially in the manufacture of shelves, cabinets, including kitchen and bedroom, when leveling floors.
Preparation of materials
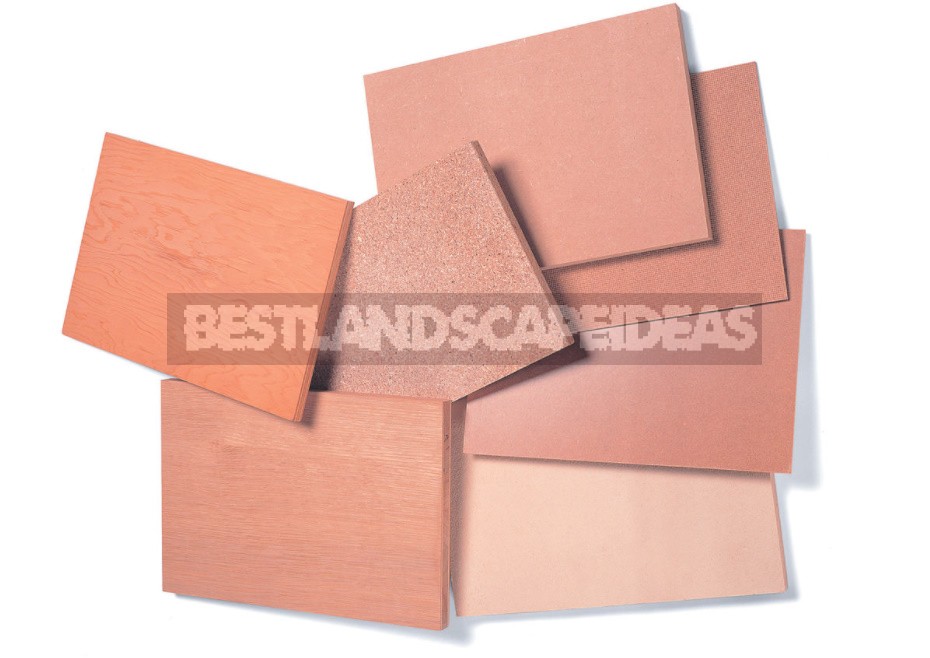
Such artificial materials as plywood, wood-fiber boards (low density-soft fiberboard, medium density-MDF, high density — hardboard), joiner’s boards, chipboard (chipboard), are made of wood, but their preparation differs from the preparation of natural wood.
When using acrylic paints, the surfaces are usually primed with the paint itself, slightly diluted with water. However, all nail heads or screw heads should be sunk below the surface and covered with zinc-phosphate putty, so that rust spots do not appear.
If you use an organic solvent-based paint, first treat the surface with a universal, and soft FIBERBOARD-with a stabilizing primer. There are special primers for MDF.
Where possible, both sides of the panel should be primed. If the material has already been processed before sale, you can immediately apply the first layer of the finishing coating, after checking its compatibility.
Discoloration of wood
The material with an uneven color or with spots can be discolored or bleached before applying the finishing coating. To avoid the formation of light spots in places of discoloration, try to whiten the entire surface as a whole, and not individual places.
The use of two-component bleaches
- When using a ready-made two-component bleach, first apply the first component to the surface with a brush or brush, and the second one after 5-10 minutes.
- After the surface has dried, neutralize the bleach with a weak acetic acid solution of about two teaspoons of vinegar per liter of water.
- After three days, you can grind the roughness.
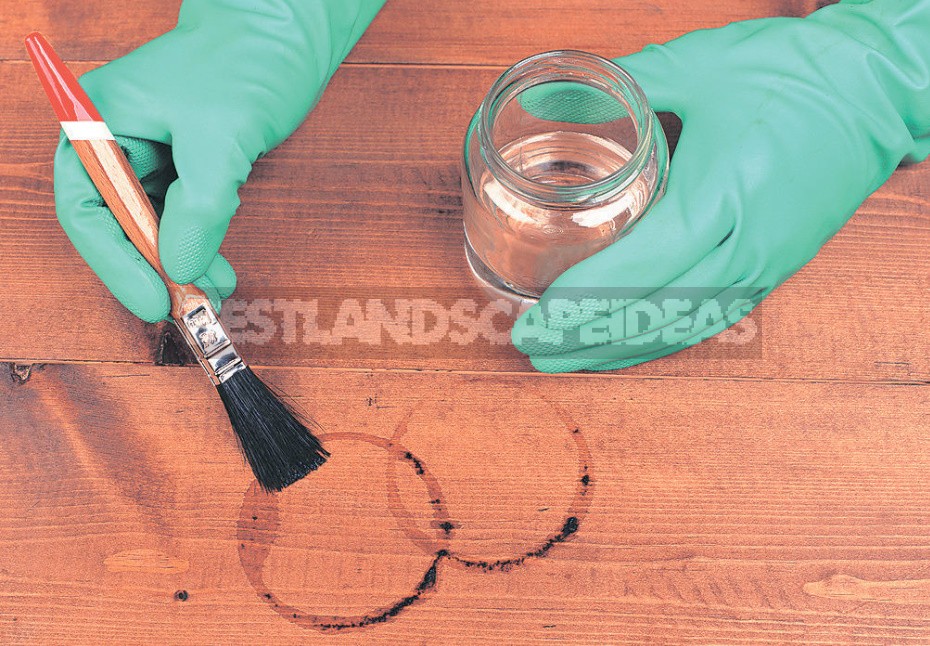
Security measures
Wood bleach is a dangerous substance, and it should be handled carefully, and stored in a dark place and out of reach of children.
- Wear protective gloves, glasses and an apron.
- When sanding bleached wood, use a respirator.
- Ensure good ventilation or work outdoors.
- Keep clean water at the ready to quickly wash the skin if bleach accidentally gets on it.
- If bleach gets into your eyes, rinse them thoroughly with running water and immediately consult a doctor.
- Do not mix the bleach components except on the wood surface and apply only with a nylon brush or with white bristles.
- Discard unused bleach.
