Floor coverings are often connected with the help of docking profiles. But it is not easy to mount them, and they do not always look aesthetically pleasing. Is it possible to do without “thresholds” and how to do it?
Cork compensator
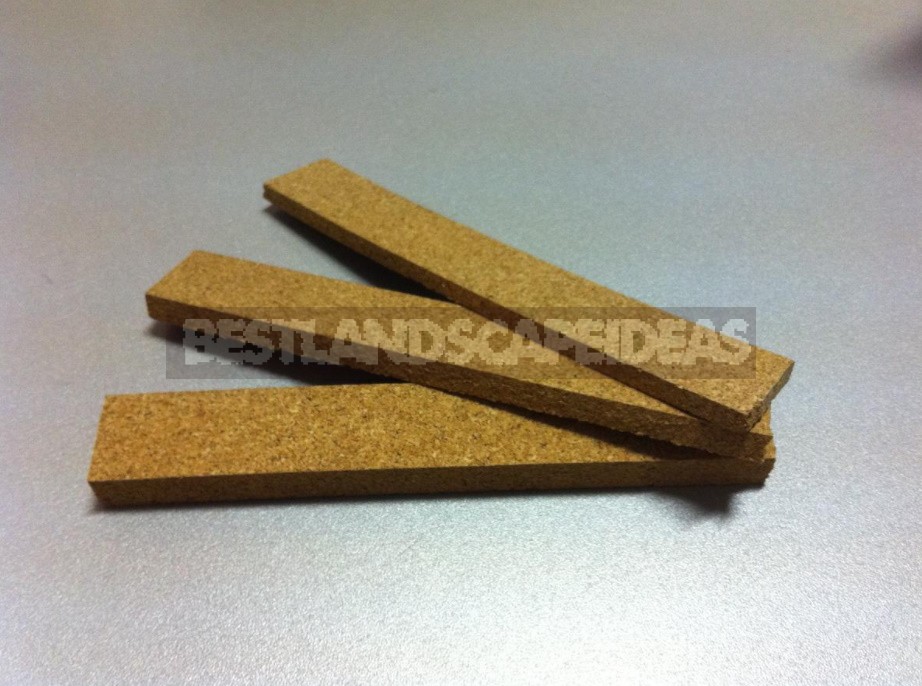
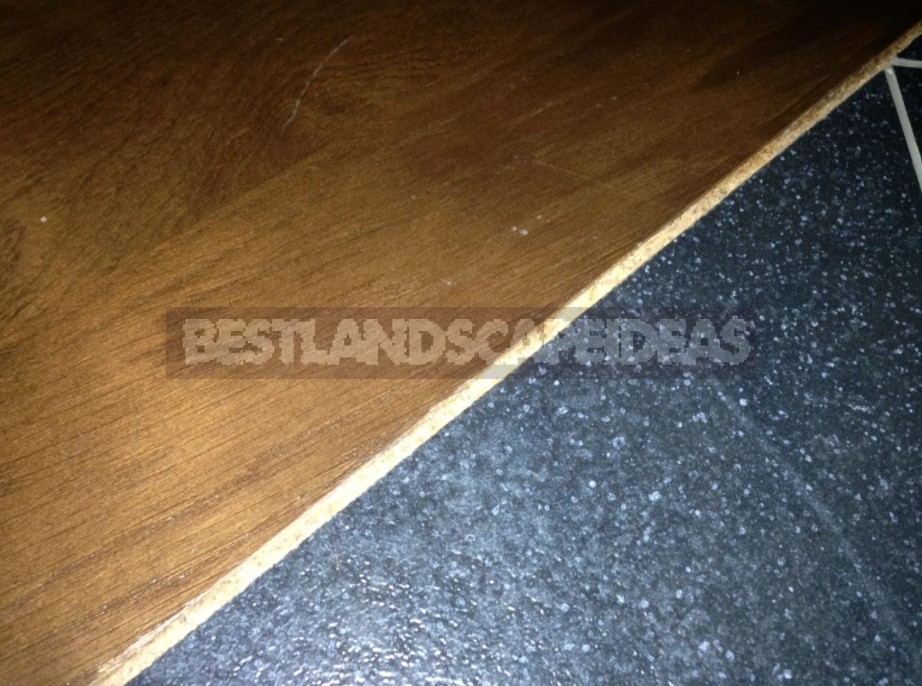
Laminate with changes in humidity or temperature can increase in size, so you need to leave a small gap between the materials, which needs to be filled with something. One of the options for such filling is a thin compensator strip made of cork.
The standard length of the compensator is 900 mm, but under the order it can be made longer — up to 3000 mm. The color of the product can also be different, so it is usually not difficult to choose the right shade.
It is best to mount the plug at a time when the laminate is already laid, and the tile is not yet. To begin with, the compensator is aligned to the height of the floor: it is impossible to allow the strip to protrude outward. The protruding part is cut with a sharp knife and sanded with sandpaper. Then proceed to the installation.

To do this, an adhesive composition is applied to the side of the coating, after which a cork material is applied to this place. Then it is slightly moved away to treat the cut edge of the laminate with a silicone sealant. The compensator is pressed again to the treated end face. The sealant squeezed out at the joint is removed with a wet sponge, and its remains are removed with a dry cloth. Tiles are laid close to the glued compensator.
The advantages of the cork are not only in its easy installation, but also in its elasticity: it can be compressed countless times, subsequently restoring its former shape. It is not surprising that it is perfectly suitable as a buffer material for wood floor coverings. The cork compensator does not harden with time, which can not be said about silicone or rubber inserts.
Grout for tiles
If the floor coverings are already laid, and the gap between them is not yet filled, it is advisable to use a conventional grout for seams. This method may not be the most aesthetic, but it is the simplest and cheapest.

The open edge of the laminate is treated with silicone, and the seam is filled with it, but not completely, but about two-thirds. After the composition dries, the grout is diluted, and the gap is filled with it to the end. The surface of the filled joint is carefully leveled and waiting for the solution to harden. After some time, a varnish of a suitable shade is applied to the seam.
Unfortunately, the grout is not as elastic as the cork, besides, it can crack during operation.
Cork sealant
This filler consists of a crumb of cork wood, binding polymer components and water. The material is not in vain very popular among builders: its high elasticity allows not only to compensate for the temperature deformation of the laminate, but also to level out fluctuations from operational loads.
Before starting work, the seam must be cleaned of dust and glued with masking tape on both sides. After cutting a small hole in the packaging tube, (or using a gun) carefully pour the sealant into the gap. The excess mixture is collected with a spatula, thus leveling the joint. They approach this operation very responsibly, because then, when the composition hardens,it will not be possible to correct any mistakes. At the last stage, remove the tape and wipe the remnants of the sealant on the floor.
Recommendations for docking
The described methods can be joined not only tiles and laminate, but also tiles with linoleum or parquet. The main thing in this case is to align both coatings on the same level. The height differences should not exceed 0.5 mm. The width of the gap between the ceramic and the wooden floor is calculated based on the fact that 1 mm of gap is required for each meter of laminate.
Neither expansion joints nor liquid fillers are used for joining floating floors, as well as if the room area exceeds 25 m².


