Clematis, I must honestly admit, is not an easy plant for a garden. To tame this vine, you have to try hard: study agricultural techniques, plant it correctly — and provide the required care. But even this often does not guarantee success. The reason for the failures lies in ignorance of the botanical features of individual groups of clematis, which ultimately determine the failure of our ventures.
No matter how much you choose, the best plant for decorating arches, pergolas and other vertical structures will be clematis. In the huge variety of species and hybrid varieties of this crop, there is always a plant that will suit you perfectly. However, prices in nurseries are quite large, and therefore not everyone can go and buy everything that the soul asks for. But this trouble does not matter: clematis is easy to propagate and get as many plants as you need, and even will remain. Let’s consider different ways.
1. Seed propagation of clematis
This option can be considered the cheapest. However, winning in price, we lose in time: such plants will bloom in the 2-3 th year. The second disadvantage of this method is that with the expected result, only species clematis can be grown from seeds. Let me remind you that these are the ones that were originally wild.
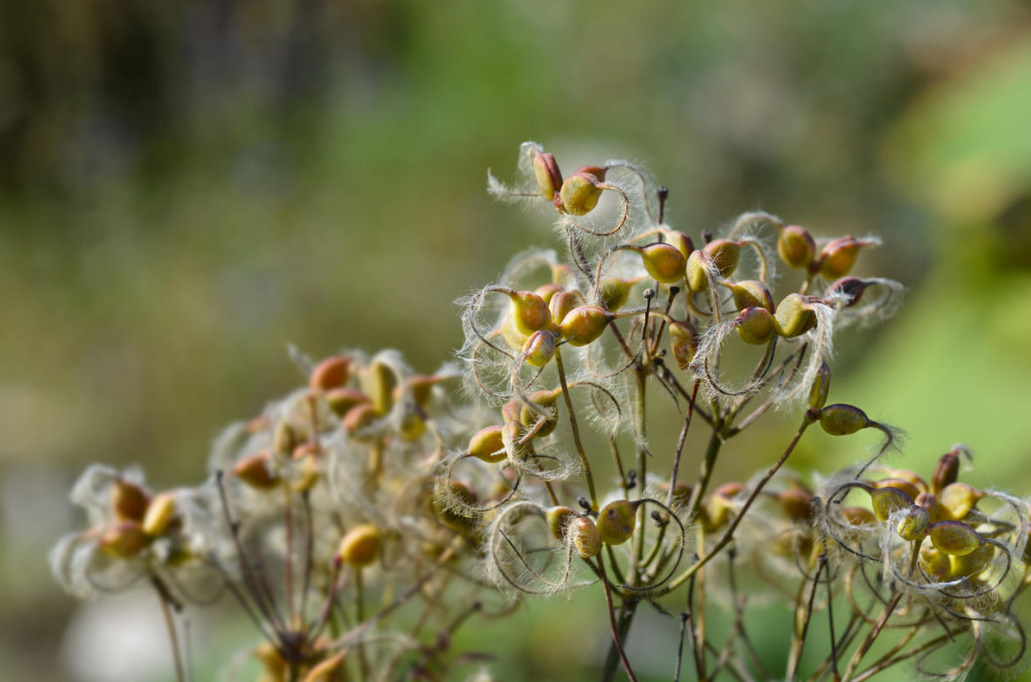
To propagate, seeds need to be collected at the right time or purchased at a horticultural store. Keep in mind that only freshly harvested seeds will show maximum germination. According to the size of the seed material, clematis are usually divided into 3 groups, since the sowing tactics and the waiting time for seedlings depend on this:
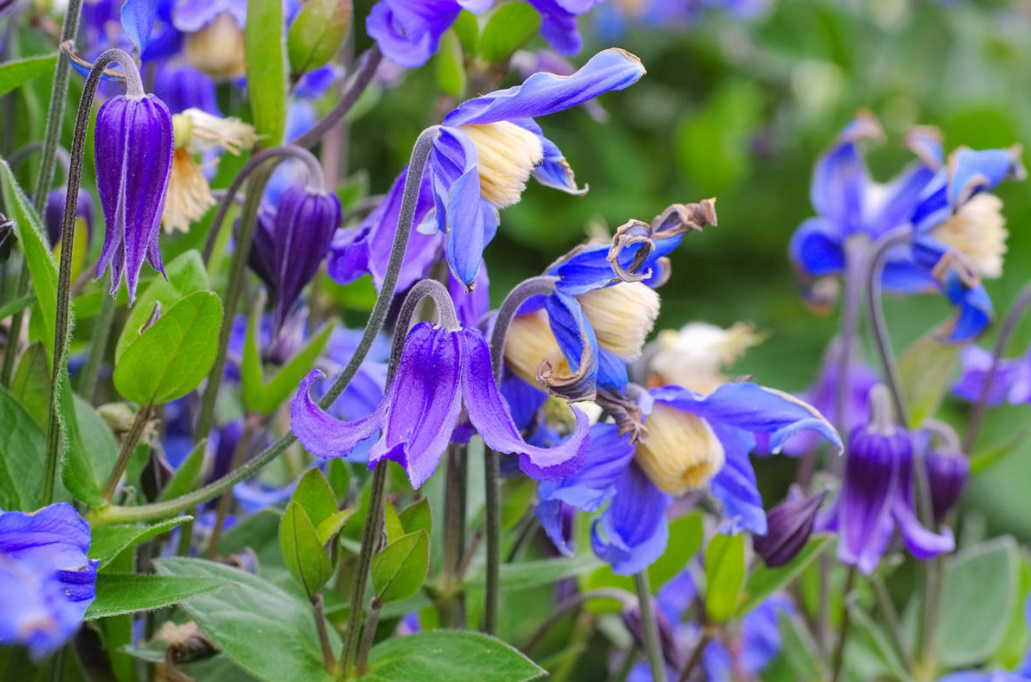
- large seeds — Clematis alpina, Clematis viticella, Clematis recta, Clematis flammula, Clematis paniculata, Clematis sibirica. They are buried when sowing by 2 cm, the time of emergence is up to 1 year;
- medium seeds — Clematis mandschurica, Clematis vitalba, Clematis integrifolia, Clematis hexapetala. They are buried at sowing by 1 cm, germinate — from 1.5 months to six months;
- small seeds — Clematis heracleifolia, Clematis tangutica, Clematis orientalis. Sow superficially, without deepening, the time of emergence is from 2 weeks to 3.5 months.
It is better to sow seeds of any size in the open ground, since seedlings develop fastest in such conditions, but seedling boxes can also be used. Large and medium-sized seeds during spring sowing or seedling cultivation require preliminary stratification for 3 months. They can also be sown in the garden for the winter, then they will undergo stratification in a natural way.
Small clematis seeds are sown in the ground in April-May. Pre-soak them: put them in water for 2-3 days. Then — spread out on the surface of loose moist soil and arrange a mini-greenhouse. If necessary, the planting should be carefully moistened, preventing the soil from drying out.
When the seedlings get two real leaves, they need to be unpicked into separate containers or planted at a distance of 20-25 cm. Seedlings are relocated to a permanent place with the onset of consistently warm weather.
2. Clematis cuttings
As can be seen from the above, firstly, the seed method has a limitation on the types of clematis that can be propagated in this way, and secondly, the seedlings of large seeds need to wait a very long time, which not every gardener can do. Cutting allows you to get the plant you like much faster. Both green and lignified cuttings are suitable, they can be rooted almost the entire warm season, the main thing is to know the features.
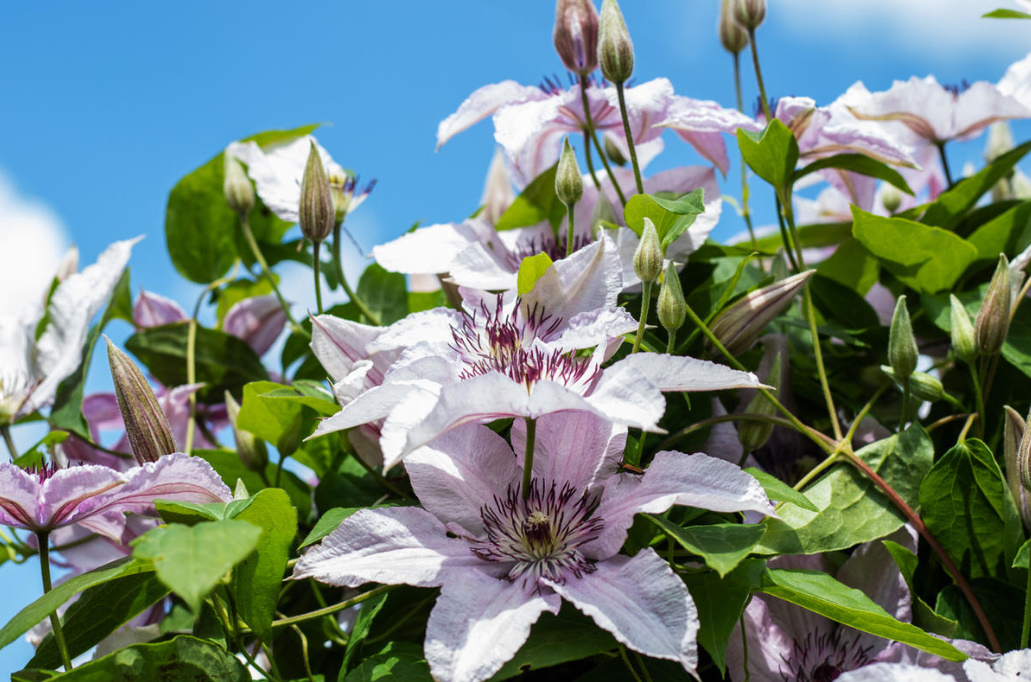
Cuttings with lignified cuttings
As a rule, for this method, cuttings are harvested at the time of autumn pruning — at this time you can get a large amount of planting material. Theoretically, you can try to root them immediately, but often this event is not crowned with success, since in autumn the plant is preparing for rest, and it is difficult to awaken it.
Cuttings should be cut with 1-2 pairs of buds, put in a container and sprinkle with sawdust or shift moss with sphagnum. Then they are sent to rest in a cellar or refrigerator with a temperature of 0 … + 3 ° C.
At the end of February — beginning of March, the planting material is ready for awakening. To do this, you need to use a stimulant. Cuttings are lowered into the solution so as not to wet the kidneys. The stimulation time is 20-24 hours.
In seedling boxes or individual containers, we pour a mixture of neutral or slightly acidic peat with sand (2:1 or 1:1) 7-10 cm thick, moisturize. For the prevention of fungal diseases, it will be good to shed the soil with a solution of potassium permanganate, a natural biofungicide or a mordant with a wide spectrum of action. We dip the lower part of the cuttings into the soil at an angle of about 45 °, arrange a mini-greenhouse. If you have a few cuttings, it is convenient to use transparent plastic bottles. We cut them across in half, in the lower “glass” we make drainage holes. We pour the soil mixture, plant the stalk, cover with the top of the bottle and put it in a shaded place.
After 10-14 days, we begin airing: we unscrew the covers daily. After the sprouts have appeared, the greenhouse can be removed (remove the top of the bottle). When the young shoots grow to 10-15 cm, they need to be pinched so that the roots develop first. Usually reliable rooting occurs in about 3 months.
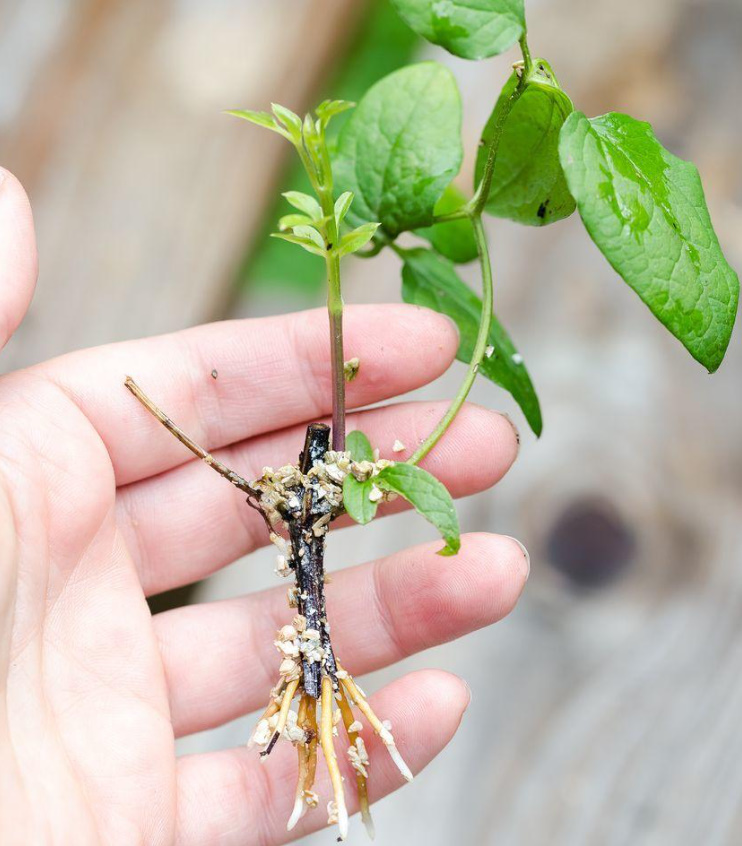
For the first season, young plants remain in boxes or individual containers — they are dug up in the fall and sheltered for the winter. Next year, in the spring, when the weather is stable and warm, the seedlings can be transplanted to a permanent place.
You can also take lignified cuttings for reproduction in the spring — from those clematis that are not cut for the winter. Gardeners often write that the survival rate in this case is low, and there is one secret here — those cuttings that were taken from vertically wintering shoots have more chances of rooting.
