Installation of a stone filling track
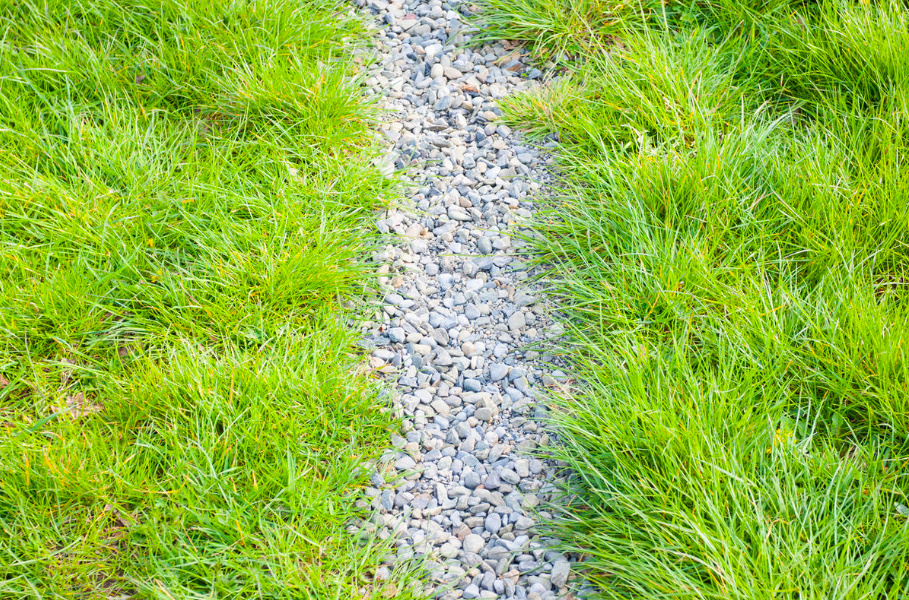
When installing a stone filling track, it is extremely important to follow the recommendations for the selection of a fraction from 5 to 40 mm. It is inconvenient to walk on a too large or very small dropout. Therefore, it is better to lay larger stones down, they will create a strong foundation. And the voids among them need to be filled with a small fraction.
Calculating the depth of the trough, it is necessary to take into account that the surface of the finished track should be at the level of the soil, that is, the excavation of the soil should be made to the thickness of the layer of the future filling. You can also arrange it on a sandy base, in which case you will have to add the thickness of the compacted layer of sand. If the path is sunk, then water will accumulate on it — if above the surface of the soil, then the curbs may not stand and will stick out on the lawn (this is especially true for the curb tape).
When laying the filling, it is necessary to use geotextile to exclude the germination of weeds, as well as to prevent the melting of part of the coating into the ground.
Curbs
There is a wide variety of curbs on the market. Of the entire assortment for such tracks, those that will allow you to keep a smooth edge, emphasize an elegant bend, hide geotextiles and are quite easy to install (do not require planting on cement) are relevant.
Let’s consider different options.
- The curb is made of stone. It fits dry. It is worth choosing fairly large elements, preferably angular, since rounded ones are worse at interlocking with each other. Budget replacement — brick.
- Flexible rubber curb.
- A curb tape that is dug into the soil.
- Plastic curb (attached to plastic “nails”).
The first option, in addition to reliability, is also very beautiful, the second one is thin edged — and the last two are almost invisible. At the same time, due to the minimum height, the plastic curb does not hold the edges of the track and does not prevent the “escape” of the filling material onto the lawn, in fact performing only the function of fixing the geotextile.
3. Walking track plus filling
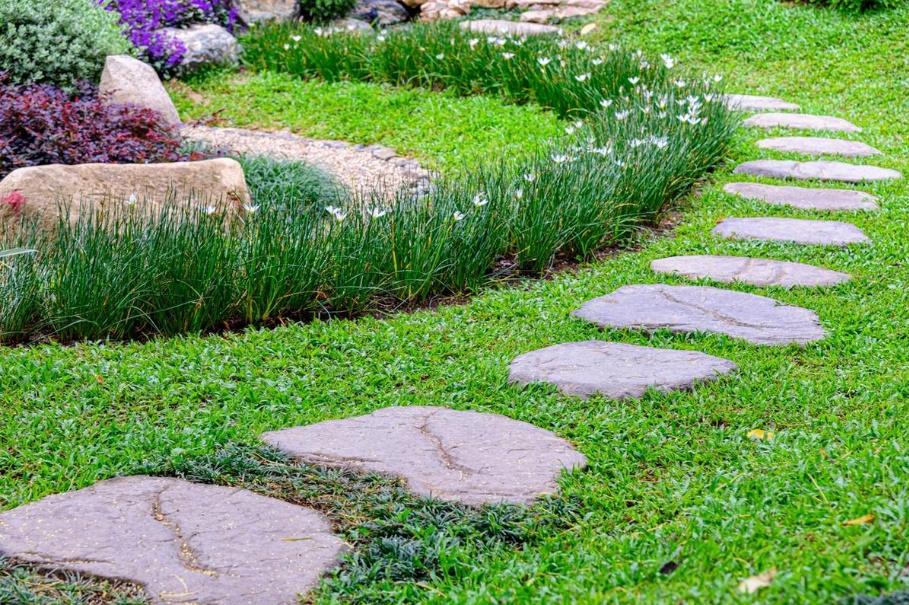
Very often there is a combination of a walking track and a filling. This option creates a lot of room for creativity, allows you to use interesting combinations of materials. For successful installation, it is necessary to combine the recommendations for laying the treadmill and filling.
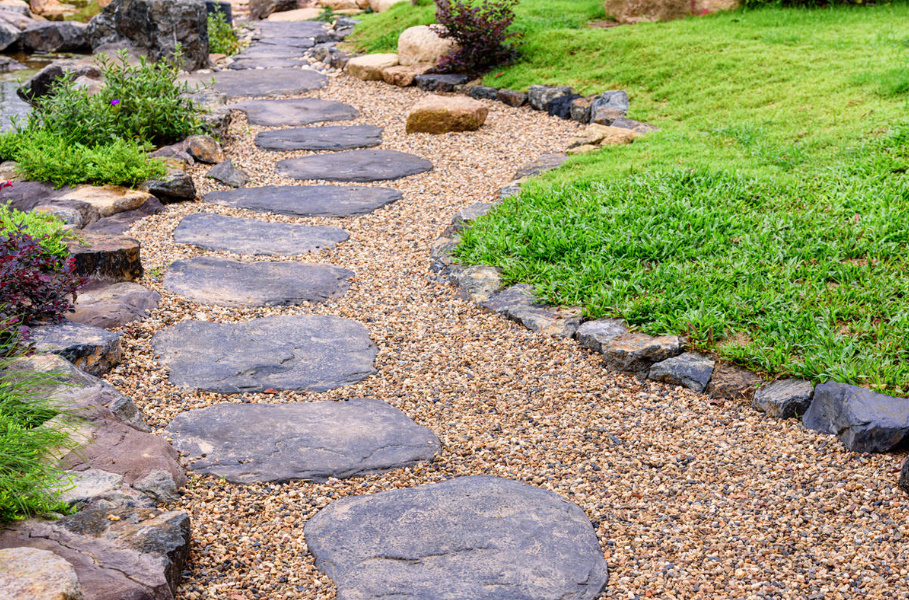
Stages of creating a combined coating:
1. In the chosen direction, it is necessary to dig a trough equal to the height of the filling layer (usually about 4-5 cm). In this case, the step elements can be the same thickness (4-5 cm) or thicker. Imagine that the material is still 1-2 cm thicker than the filling layer.
2. Spread out the step elements along the trough, dig depressions along their contours, taking into account the height of the sand cushion and the depth of the step tile by 1-2 cm.
Important! If the thickness of the stepping element and the filling layer is the same (for example, 5 cm each), then the stepping element can “walk” without having support on the sides. Therefore, it is recommended to deepen the step elements at least slightly, by 1-2 cm, relative to the lower level of the filling layer. If the filling is made of screening or crushed stone, it is important to lay a larger fraction at the bottom of the trough, which will help to fix the step element.
Also keep in mind that the surfaces of the stepping elements and the upper level of the filling should be located flush with the soil under the lawn. This will allow you to easily carry out a haircut and provide convenience during operation.
3. Install the curb.
4. After moistening and compacting the sand cushion under the stepping elements, it is necessary to cover the bottom of the trough with geotextile.
5. Put the step elements in their places, you can cut holes in the geotextile.
6. Make backfilling around the stepping elements and over the entire area of the trough. Check the level of final coverage.
4. Modular grating on the lawn
These are ready-made plastic elements that are connected to each other with the help of special clamps. Such a grid is designed to quickly create paths and platforms in “hiking” conditions. It can be laid on the base or directly on the lawn covering. But this option can only be used on a well-leveled surface, otherwise the tile will deform and break on irregularities when walking on it.
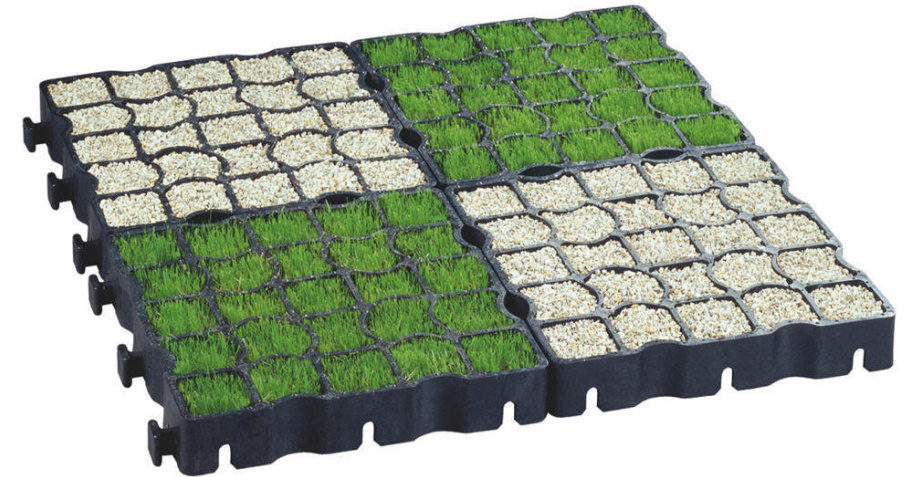
Installation requires minimal effort, it is enough just to lay the tile in the desired direction. Such a path must be mowed, as well as the rest of the lawn surface, since grass will sprout through the holes. There is another version of such a track — filling the cells with small stone screening.
5. Garden parquet or flooring
The so—called garden parquet — decking – can also be arranged on the lawn. Very often, WPC flooring (wood-polymer composite) is used for this option.
This is the most labor-intensive of the proposed options and the most expensive due to the high cost of the material. The coating looks expensive, looks great in the garden, but the high cost limits its use. There are cheaper options from the same WPC, but, alas, they show poor resistance to weather anomalies and do not last long. To extend the service life of the WPC flooring (to eliminate the risk of deformation), a high-quality installation is required on a concrete base laid on a sand cushion with the help of special guides.
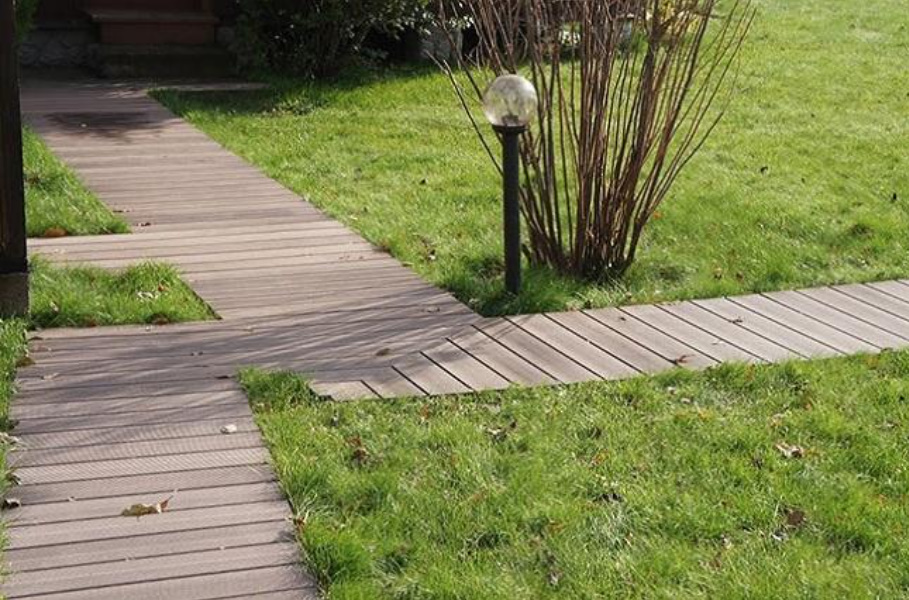
A decent alternative can be a flooring made of natural wood, which is mounted in almost the same way. The rather laborious installation process does not allow us to call this method quick and easy. This story is more about the arrangement of the main garden paths connecting the main zones and objects on the site.
