The need for interior decoration and alignment of the walls arises both during repairs in a long-finished building, and immediately after the construction of a new building. The technology of plastering walls in new buildings (both in apartments and houses) is slightly different from that used in the “secondary”. We will tell you about the repairs in the new building.
Initial stage: primer
The initial state is a wall made of foam concrete. In its original form, it is an easily crumbling, dusty surface, which must be pre-primed for plastering. For this purpose, we bought a ready-made liquid primer in a 10-liter bucket, a roller on the handle and a pallet in which the primer is applied to the roller.
Applying the primer is similar to painting with a roller. It is applied easily and quickly. It takes a day to dry. When drying, a rough layer of dark color is formed on the walls, which, when viewed closely, looks like a thin adhesive layer interspersed with abrasive particles.
One bucket of primer was enough for us on the walls with an area of about 30 m2. After work, the composition can be quite easily washed off from the roller and pallet, if you do not allow it to dry.
Preparation of plaster
So, we purchased a gypsum plaster mix, a large polyethylene construction bucket, and drill/screwdriver attachments for mixing the material. To do this with a conventional screwdriver is not difficult — it is necessary to dilute the dry plaster with water and stir until the consistency of sour cream 15-20% fat content. After a while, it is recommended to mix the prepared mixture again.
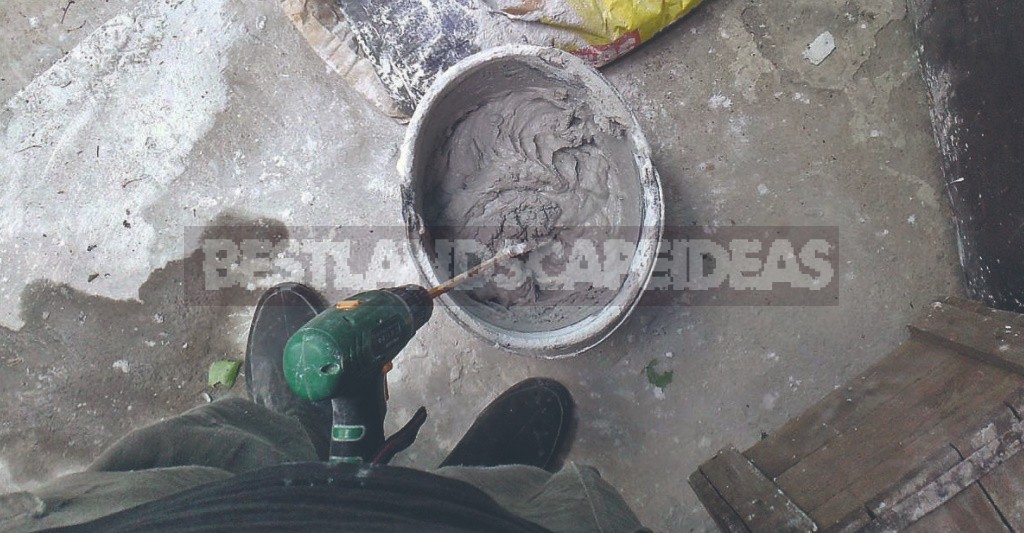
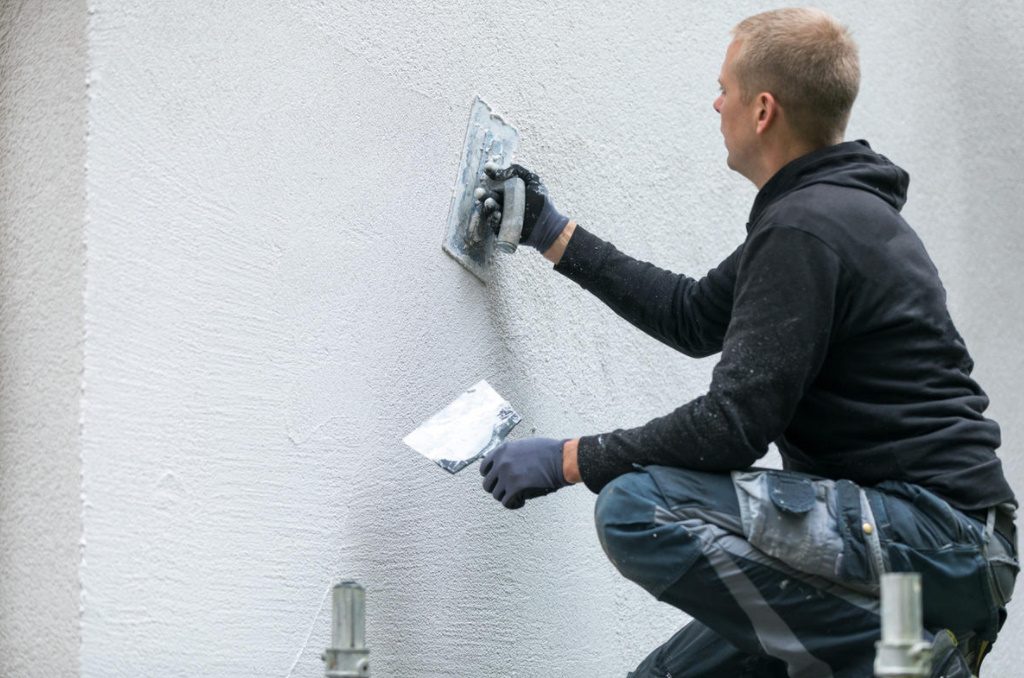
To apply the mixture to the wall, you will need a wide spatula with a handle. We used one spatula with a width of about 40 cm and another narrow one with a width of about 10 cm. With a narrow spatula, plaster was applied from a bucket to a wide spatula. The plaster was applied to the wall with a wide spatula.
Finishing process
The technique of applying plaster on the wall is different: you can throw the plaster on the wall and then level it, or you can immediately apply and rub the plaster directly with a spatula. We used both methods.
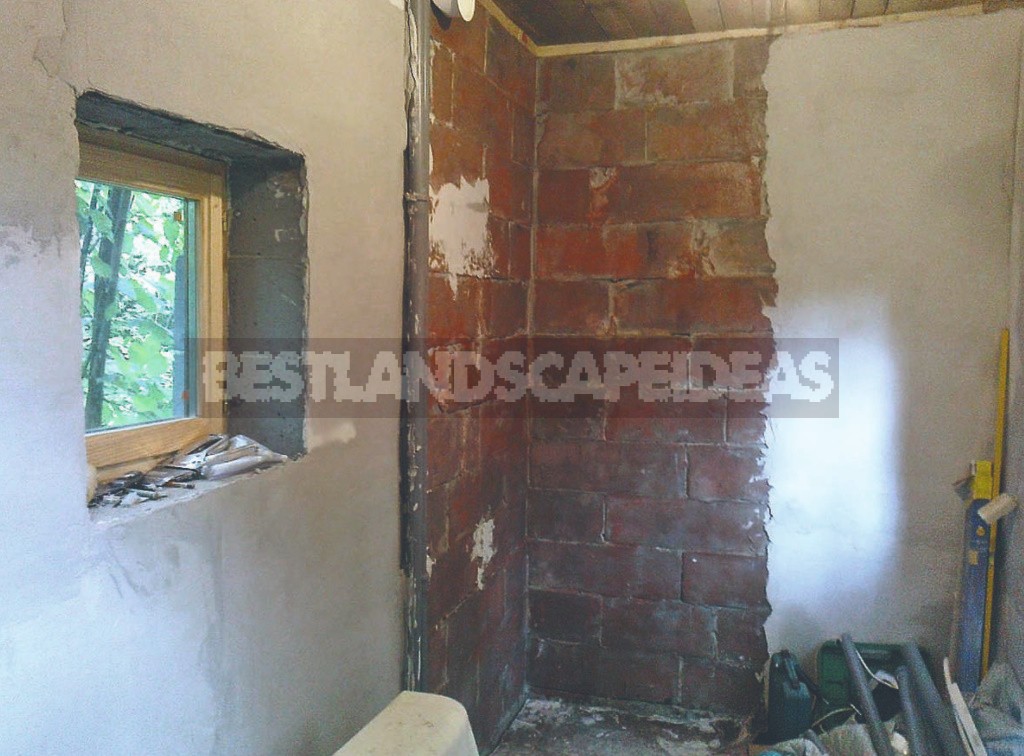
We strongly recommend that you think through the layout of the electric points in advance-even before the start of plastering work. At the same time, it is advisable to immediately break through the wall, lay a corrugation with a wire in the strobe and then carefully plaster everything. Unfortunately, we came up with the idea of one new outlet after finishing, and in the end it didn’t turn out as well as we would have liked.
When plastering, we did not use the technique of leveling “by beacons” — we leveled it by eye. The walls were flat, so we made do with a small layer of plaster up to one centimeter thick. The mixture was applied in narrow strips from floor to ceiling, without trying to finish all the work in one day-there was a break of about a week.
Leveling for painting
After finishing the plastering work, the task was to finally align the walls before painting.
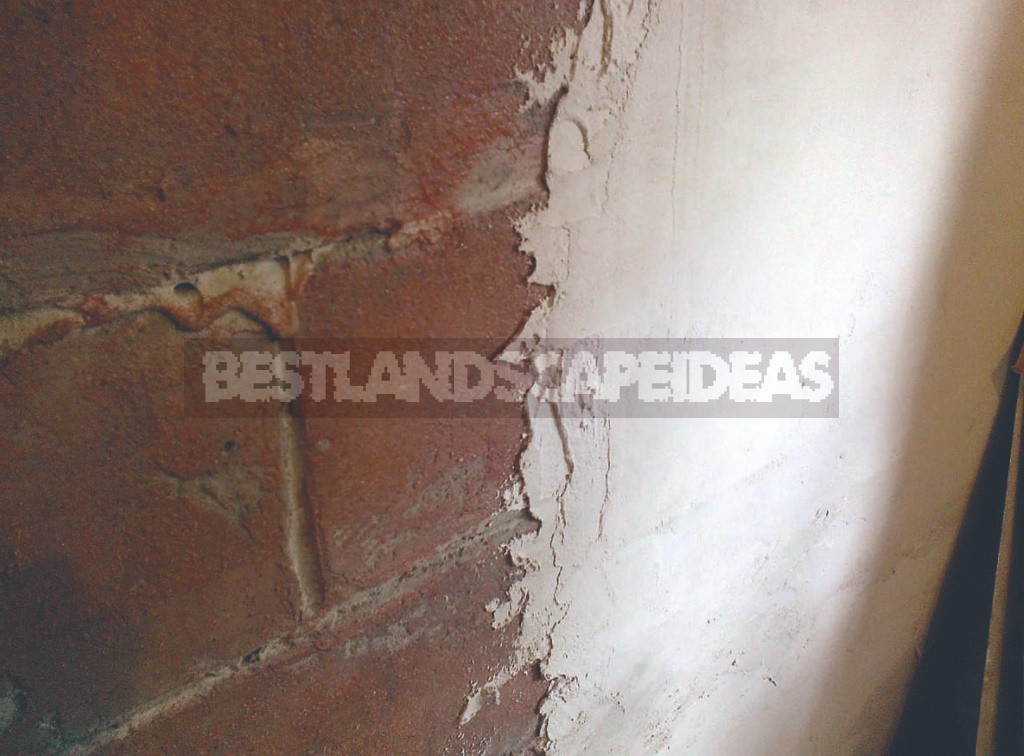
For the final alignment, we bought the appropriate dry mix, a long one-and-a-half-meter aluminum rule and a hand grater with a set of grids. After applying to the wall, the mixture was leveled with a rule. The operation is simple: the mixture has a pleasant consistency, lies down gently and evenly. After the walls were dry, the remaining irregularities were treated with a grater and a knife.
When leveling, it is important to organize the correct lighting — the light should fall at a small angle to the wall, then all the irregularities are visible especially well. The alignment does not cause any problems, it did not take us long and even left pleasant memories. Apparently, two factors influenced it: a very smooth finish layer and the satisfaction that arises when you create a clean and smooth surface with your own hands.
