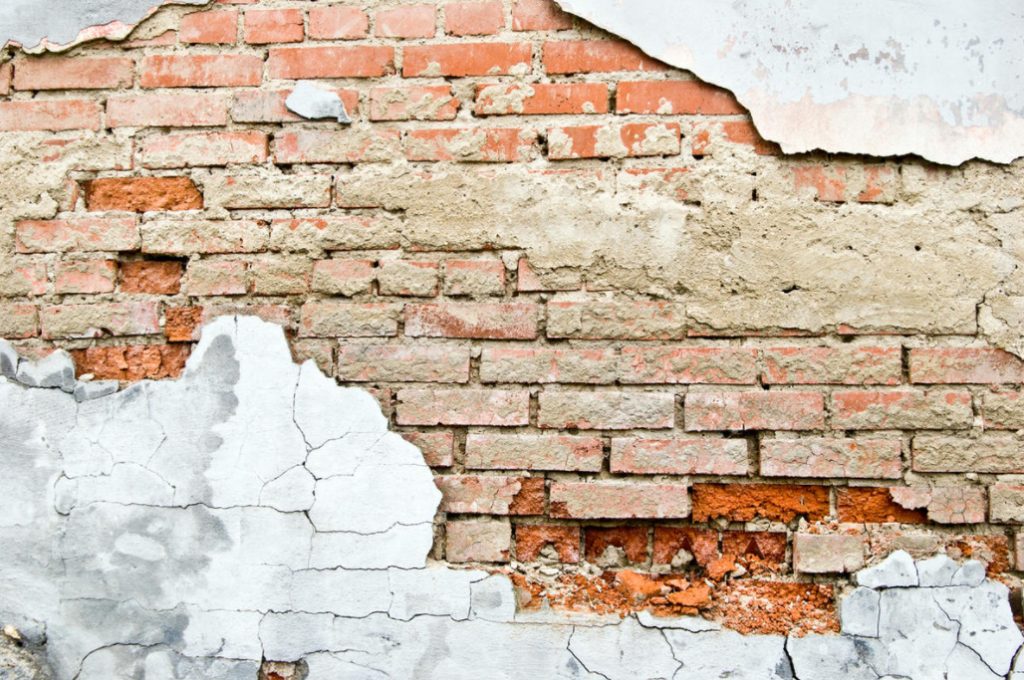
When you plan to apply any decorative coating on walls or ceilings, first of all you should pay attention to the plaster: there should be no cracks and holes on it.
Brick walls are usually covered with two layers of plaster: a thick first layer and a smooth covering layer. In old houses, the ceilings and internal walls are covered with thin wooden slats, which serve as the basis for plaster. In modern homes, drywall sheets are usually used — dry plaster.
Preparation of the plaster coating
First of all, check the plaster for strength and compatibility of its coating with the paint that you are going to use.
New plaster
If fading appears on the wall when the freshly applied plaster dries, wash them with dry burlap until they stop appearing. As soon as the plaster dries, you can cover the wall with ceramic tiles — but it should take about six months before it can be papered or painted (with the exception of emulsion paint for fresh plaster; in this case, the wall should be covered with an alkali-resistant primer).

Before wallpapering, the plaster must also be primed, otherwise it will absorb water from the glue so quickly that the wallpaper will simply fall behind the wall (vinyl wallpaper requires an antibacterial-fungicidal-primer).
Preparation of old plaster
Apart from putting on small defects (which we will discuss below) and removing dust, old dry plaster in good condition does not require preparation. If the wall is covered with stains, treat it with a universal primer, apply a liquid stabilizing compound to the loose plaster.
Do not rush to start finishing on raw plaster, first eliminate the cause of dampness and let the plaster dry.
Preparation of painted plaster
Simply wash the undamaged paintwork with soap and water. Glossy paint should be treated with a water-resistant medium-grained sandpaper with water, especially if you are going to paint walls or ceilings with emulsion paint.

If the ceiling is blackened, treat it with a primer against stains. It is used as a finishing coating and as a base for paints based on organic solvents or emulsions.
If you want to glue wallpaper over oil paint, first sand the wall, and then smear it with an adhesive primer.

- Under the heavy embossed wallpaper, paste the adhesive paper;
- Remove the peeling paint with a scraper or a hard brush;
- Rub the edges of the cleaned areas with a waterproof sandpaper, then treat the plaster with a conventional universal primer diluted with white spirit;
- If the edges of the old coating remain visible, prime these areas again and rub the edges;
- If the paint crumbles, apply a stabilizing primer.
Undamaged paintwork can be immediately lined with ceramic tiles.
Coatings with adhesive paint
Most finishing materials do not fit well on adhesive paints, therefore, after brushing off the detached material, apply a stabilizing primer to the surface.

Stucco can almost disappear under numerous layers of adhesive paint. You can clean it with water, a toothbrush and a pointed stick – or hire a specialist who will steam the paint.
Putty for plaster
Putty for interior work
General-purpose cellulose putty is sold either ready-made or in the form of a dry mixture – powder for dilution into a thick paste when mixed with water.
Deep filling putty
This ready-to-use light putty can be used to fill holes and gaps up to 20 mm deep without the risk of slipping. The ideal solution for ceiling repairs.
Quick-setting putty
The quick-setting putty sold in tubes is best suited for minor repairs. It hardens in 10-20 minutes.
Elastic acrylic putties
They are suitable for filling gaps between plaster and wooden parts. They are applied with a plunger gun, leveled with a damp cloth, and after an hour they can be painted. Skinning is not required.
Repair plasters
Significant damage is easy to fix with slow-drying types of repair plaster.
Construction mounting foam
Fill large gaps, depressions and voids with polyurethane foam from an aerosol can.

Fill up the remaining irregularities with cellulose putty or deep filling putty.
Sealing of recesses
Special emulsion and textured paints have been developed to eliminate thin cracks, but large cracks need to be plastered:
- Use a scraper to clean the crack from debris;
- Trim the edges of large cracks to ensure the adhesion of the putty;
- Moisten the crack with a paint brush, then press the cellulose putty into it with a spatula. Move the spatula with movements across the crack so that the putty penetrates deep, then run it along the crack, leveling the putty. Let the putty protrude slightly: then it can be cleaned with a skin flush with the surface.

Putty shallow cracks in one go. However, in deep cracks, the putty layer should be increased in stages, allowing each portion to seize before adding the next one, or use a deep-filling putty.
Leveling the surface
The surface in places of minor repairs is leveled with a wet brush or knife,so that in the future you will have to skin it less.
Gaps behind baseboards
Large gaps may appear between the baseboards and the wall plaster. Close the gap with acrylic putty or inject mounting polyurethane foam there.
Repair of damaged corners
Sometimes cracks appear in the corners between the walls or the wall and the ceiling. Seal up such cracks by running a finger along them with the putty typed on it. After hardening, sand it with a medium-grained sandpaper.
To repair the broken outer corner, first moisten the plaster, and then, working with a spatula on both sides of the corner, apply putty to the damaged place (see the photo on the left). Let it harden and then use a moistened finger to give the patch the desired shape (see the photo on the right).

After drying, sand the repaired area.
Repair of wall plaster on a crate
If the crate is not damaged, simply seal the recesses with cellulose putty or repair plaster. If some shingles are broken, reinforce this place with a metal mesh.
1. Clean off the detached plaster and cut the edges of the area inside with a stone chisel.
2. Use metal scissors to cut the grid according to the shape of the area, but slightly larger in size (see the photo on the left). The mesh is flexible enough, so you can bend it and slip the edge under the hemmed edges of the plaster (see the photo on the right).

3. With light blows of a hammer, align the grid along the shingles and, if possible, attach it with brackets to the rack of the wall frame (see the photo on the left).
4. Apply a single-layer repair plaster under the wallpaper and tile (see the photo on the right), and make a thin covering layer of repair plaster under the paint.

Alignment of textured walls and ceilings
Textured coatings can be leveled with a special light repair plaster, which is applied with a wide spatula included in the kit.
Repair of the ceiling with plaster on the crate
If the crate is not damaged, use a deep filling putty or repair plaster to seal the recess flush with the surface.
If the lath rails are broken, cut them off on the nearest beams and nail them with galvanized nails. Fix the drywall panel at the place of damage and apply a covering layer of repair plaster.
Related posts:
 5 Best Gazebo for Country House. Types and Features
 Hobbiton – Features, How to Find, Photos, Design Ideas
 8 Best Design Ideas to Improve Your Country House. Scottish Style
 Home decor beached style
 Grills and a Barbecue for Villas with Their Hands
 How to Make a Well in a Country House or Cottage?
 Types of Barbecues and Mangals
 Grill and BBQ: Where to Put How to Cook?
 How to Create Your Own Theater of Light and Shadows
 Insulated Flue – Saving Home from Fire
 Choice of Wood for Building a Wooden House
 Drainage Systems In the Suburban Area
 How to Choose a Place for the Construction of the Bath
 Tiles for the Garden With Their Hands
 Outfit for Your Windows: Hinged and Roller Shutters, Mosquito Nets and Awnings
 Drainage Systems in the Suburban Area Surface Drainage