We will specify at once — in this method plants are transplanted only with closed root system. The exception is if you know exactly the size of the root system of the growing crop in the open ground, and will be able to extract the plant with such a volume of soil that the roots remain intact. In principle-perhaps, in practice-it is time-consuming and not always it turns out.
Why you need a handling
In the garden, garden and flower beds (and who has indoor plants — and in the room), we are constantly transplanting something. Fruit and ornamental trees and shrubs, flowers, seedlings.
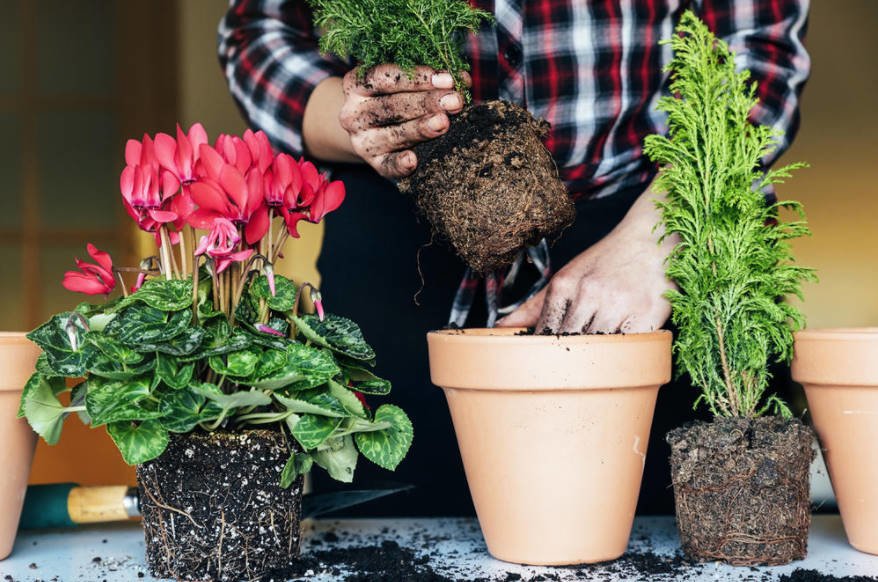
If we dig up plants from the open ground, we damage their roots. Naturally, they will need time to recover after the transplant. All the forces of the plant during this period will be directed to the restoration of the root system, the growth will stop, resistance to diseases will be reduced. By transplanting plants with closed root system, we preserve their root system as much as possible, so the method is called “sparing” transplant.
The sequence of actions when handling
First you need to prepare the place for landing. Not once in the recommendations for transshipment faced with a different order of action: first, pull the plant out of the pot, then prepare the place for planting. In my opinion, we need to act the opposite.
Houseplant
If you pass the houseplant, prepare a new pot (container, pots). In terms of volume, it should be slightly larger than the one in which the culture for transplantation is located. How much is in centimeters: add 2 cm to the size of the diameter and height — this will be the approximate volume of the new container. That is, if the seedling was bought in a pot with a diameter of 10 cm and a height of 12 cm, then transplant it into a pot with a diameter of 12 cm and a height of 14 cm.Of course, the value of 2 cm is quite conditional, if the size of the new container is more by 3 or 3.5 cm — this is not critical. But to transplant plants from small pots at once in very large is not necessary. The land, not braided roots, very quickly sour, which can lead to disease and death of the plant.
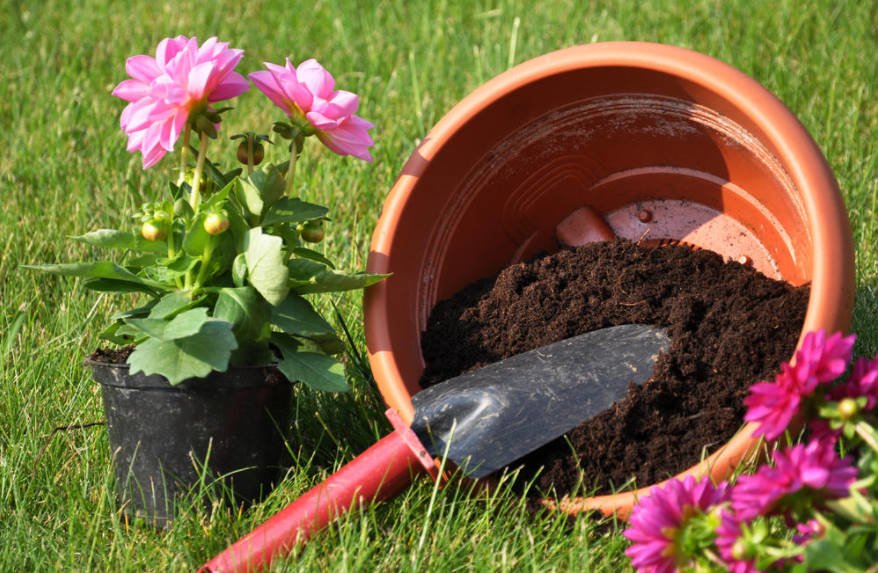
To transplant plants from small pots at once in very large is not necessary
And what about the large indoor plants, because it is impossible to increase the volume of planting capacity indefinitely? In this case, you will have to replace the soil minimally — slightly removed from the top (manually, very carefully, so as not to damage the roots). During the time that passes from transplant to transplant, the earth in the pot is compacted, its volume decreases. Therefore, when transshipment is always possible to the bottom of the same capacity to pour a little fresh soil mix. Plus a small layer add on top-instead of what you have removed manually.
How often do indoor crops require transshipment? I follow the guidelines read in the journal of indoor floriculture:
- young, actively growing-annually;
- adults (large) or plants, the growth of which should be limited — every 2-3 years.
Transplanting seedlings and seedlings in the ground
For transshipment of plants in the ground, the place also needs to be prepared in advance. For trees and shrubs — dig planting holes, make a drainage layer (if required), fill with compost, add fertilizer — depending on the requirements of the planted crop. I pay special attention to the preparation of places for planting coniferous crops-be sure to add a special ready-made soil for them.
Drainage
In containers for indoor plants, the presence of a drainage layer (even if minimal) is a prerequisite. What can be used as drainage: small granules of expanded clay, gravel, pebbles.
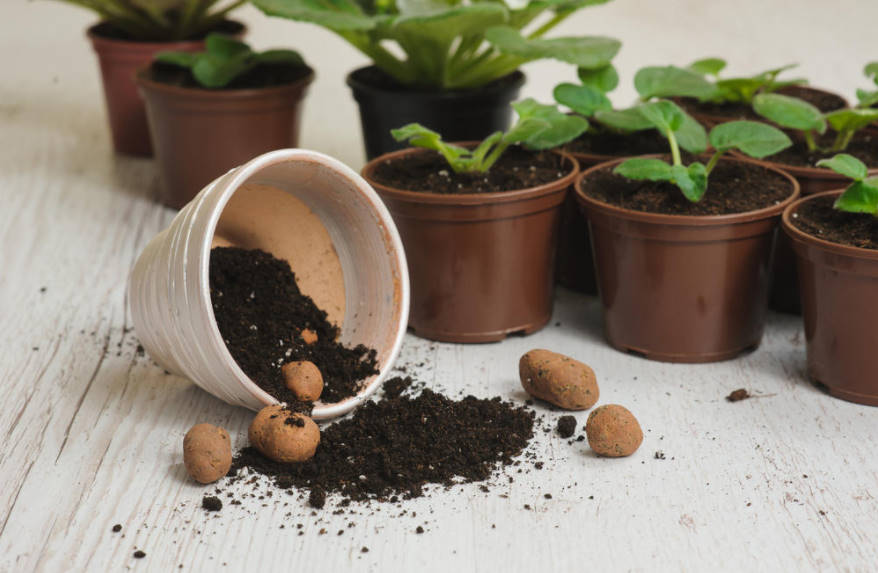
What can be used as drainage: small granules of expanded clay, crushed stone, pebbles
Many times I read the recommendations to use for the drainage layer of foam, broken into small pieces. At first glance-useful advice: lightweight foam (which is especially important when handling large plants — there is enough weight of the plant, pot and soil, do not want to add more weight and pebbles). But in practice, the advice turned out to be harmful. The roots of the plant easily sprouted through the granules of foam, remove them without damaging the roots did not work, so I had to carefully cut. That is, the basic principle of transshipment – maintaining the integrity of the root system-was not observed.
Soil additive
The drainage layer should be sprinkled with soil. How thick should it be? Again, look at the specific situation, given the difference in the size of the old and new containers.
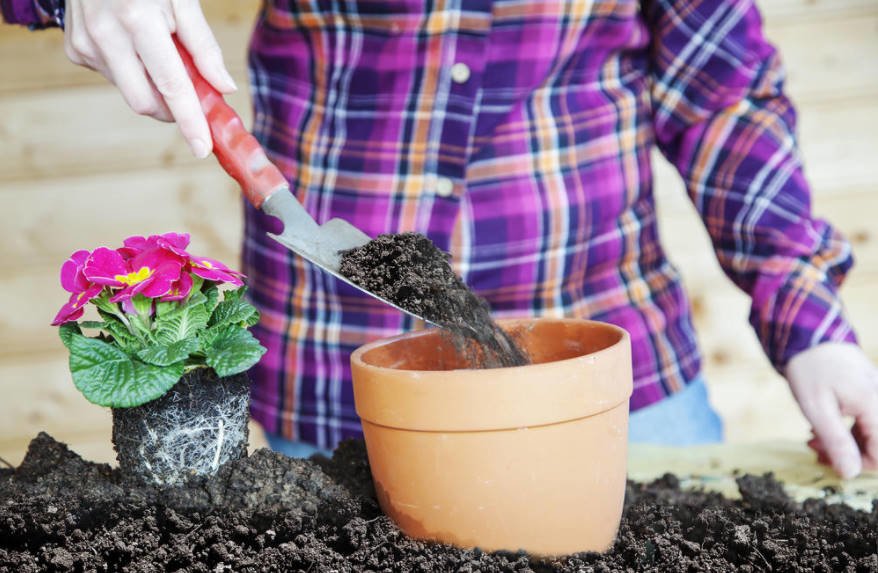
The planting capacity must be filled with soil in advance
According to the generally accepted recommendations, the planting capacity should be filled by about a third of the volume. I always put a little more under the weight of the plants, the soil trampled a bit, and when watering slightly settles. Now that the new container is ready to receive a tenant, you can move on to the next stage of work.
Removing the plant from the container
It would seem-what is difficult? Turned the pot over, pulled the stem – that’s all. Advice on this issue a lot, I tried to practice almost everything. For myself, I determined the best way, which I will tell you about. The first condition-soil moisture. There can not be a single correct recommendation for all, because the composition of the soil in which the plant is at the time of transplantation is very important. For example, if the substrate is loose, with a large proportion of sand, it is desirable to pour, to slightly increase the viscosity of the soil. I have, though I add when planting and sand, and purchased soil, because of the basis of the soil mixture-black soil, at the time of transplanting the soil in the pots is compacted. If it is watered just before transshipment, the plant will be almost impossible to extract from the pot. Therefore, stop watering 2-3 days before transshipment to the soil in the pot was moderately moist.
Remove the plant from the plastic container is easy: if it is small, then skip the crown between your fingers, holding the ground with your palm, turn the container. Slightly squeezing it from the sides (starting from the bottom), as if squeezing the contents.
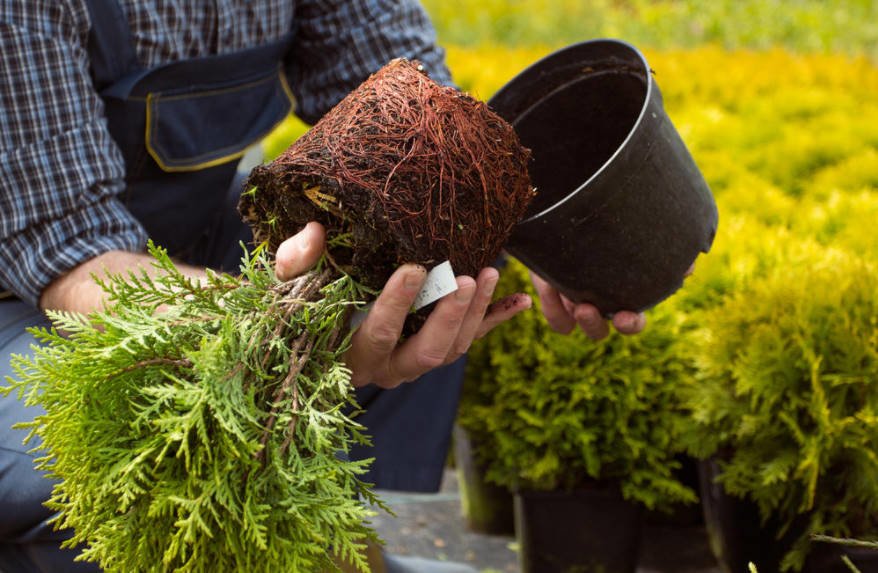
Remove the plant from the plastic container easily
If the flower is large, you need to hire assistants to keep dimensional, heavy crown with one hand is not always possible. But if the shoots are fragile, short-lived and break them in the process. You do not want to keep the root system of the plant, but to deprive it of the aboveground part?
It’s a little harder to extract a flower from a ceramic pot. I do this: put the container on the side, and lightly tap on it with his fist, gradually turning the pot. Then I turn it over, knock on the bottom. If the first time did not work, I repeat. By the way, a few words about the shape of the pots. I like “paunchy” pots, but to extract from them the plant without destroying the earth clod, virtually impossible.
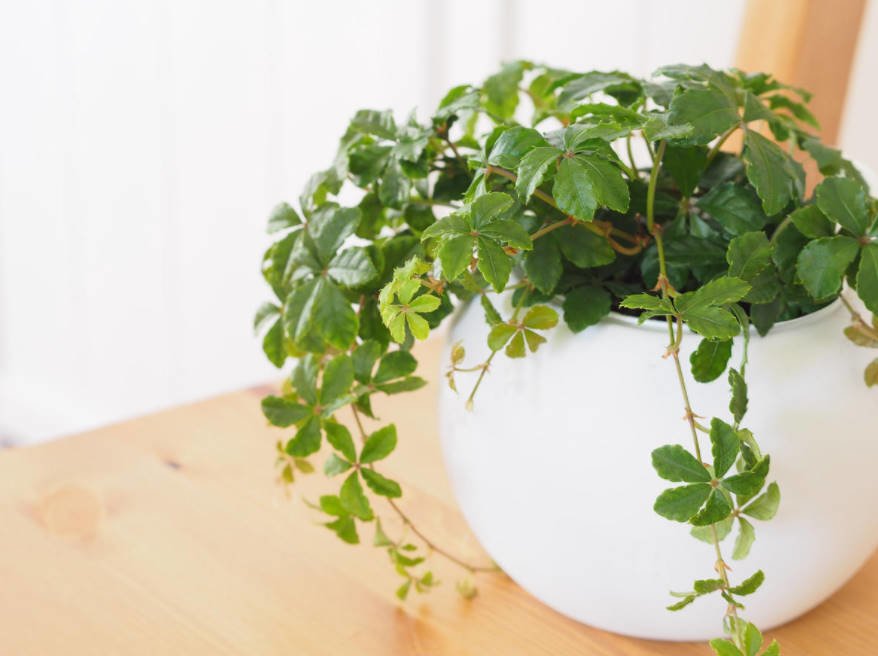
From a pot of this form it is impossible to extract the plant without breaking the earthen lump
So I had to give them up, replacing them with a less pleasant eye, but more comfortable — narrow at the bottom, gradually expanding upwards.
Fit into new container
The plant, removed the old planting containers, preferably immediately transplanted into the new. The root system should not be outdoors. That is, the smaller the roots are outside the soil, the better for them. Not once I had to hear and read that the root hairs are very sensitive, in the open air quickly dry up and die. I really wanted to know exactly how fast. But in authoritative sources, the data in minutes (hours, seconds) could not find, and retell what is written by someone unknown, I do not see the point. So not risk, transplanting immediately: took out of the old container-immediately planted in the new.
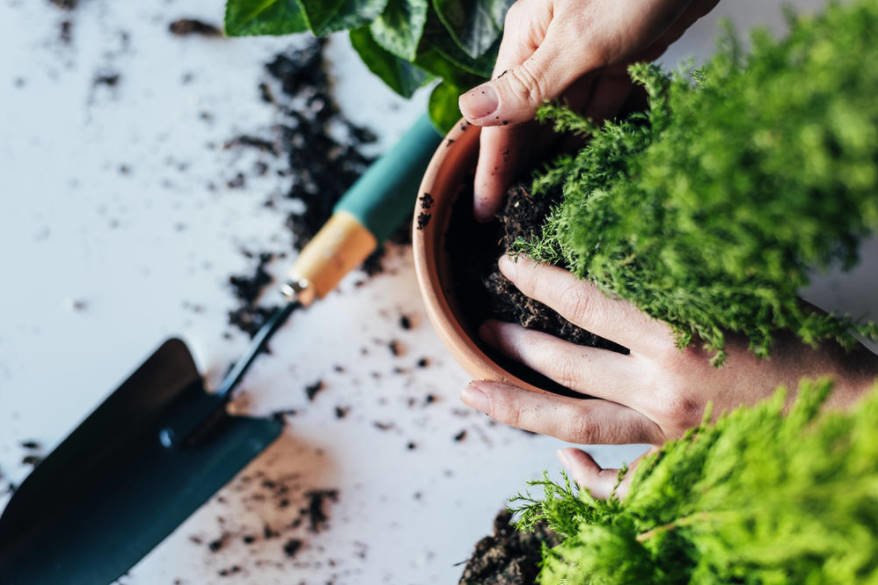
The emptiness between the earthen lump and the walls of the container is filled with fresh soil mixture
Let’s return to the description of the work: carefully removed the plant, so as not to disintegrate penetrated by the roots of the earthen lump (sometimes extracted from the pot at the cost of considerable effort), put in a prepared container. The emptiness between the earthen lump and the walls of the container is filled with fresh soil mixture. Slightly compacted her hands. Water. The soil will settle a little, so pour more, almost level with the edges of the pot (not reaching the top of 1 cm), with subsequent watering, it will gradually be compacted.
Care for the plants overloaded
As for indoor crops: if everything is done correctly, transplanted in a gentle way plants do not get sick, so some special care is not required.
Care for crops planted in the ground:
- immediately after handling watering, mulch the planting site;
- coniferous cultures shading from the sun. Pay special attention to the seedlings purchased in supermarkets — they stand for a long time in the trading halls, so they are not adapted to the open ground conditions.
Advantages of transshipment
If it is possible, I always use transshipment-why torture plants, if there is a way to transplant them painlessly?
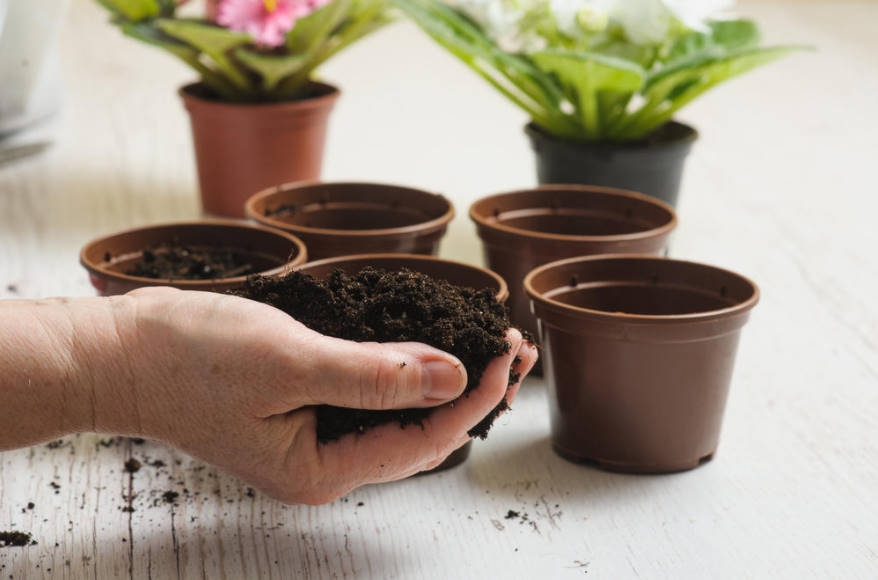
If possible, I always use transshipment
Do not discount the other advantages:
- plants can easily tolerate a transplant by this method;
- the seedling does not hurt, immediately moves off in growth;
- significantly increases the period of planting: if the open root system of the plant is recommended to be planted in the spring or autumn, necessarily leaving time for the period of adaptation to new conditions, the method of transshipment can be transplanted crops from early spring to late autumn. I, for example, even in the summer heat quietly pass strawberries all summer;
- transshipment will help to get plants that are extremely difficult to tolerate transplantation with an open root system.
Do you use the method of “Gentle” plant transplantation?
