Last year, the bottom of another purchased barbecue burned out. I quickly made an insert of galvanized steel into it, but in the process of making a new bottom, I remembered about an old gas cylinder in a shed that had been living there for twenty years. Where his father-in-law got it from, no one knows, but I know for sure that he wanted to make a barbecue out of it. This year I got my hands on it. After careful inspection, it turned out that the cylinder was not gas. Rather, it was an old hydraulic accumulator.
Preparation for the grill
The size of the balloon is just right for a normal mango, and, despite the rust, the metal is “alive”. On one side he had a rectangular hole cut out, so it would not be possible to make a barbecue with a lid instead of a barbecue.
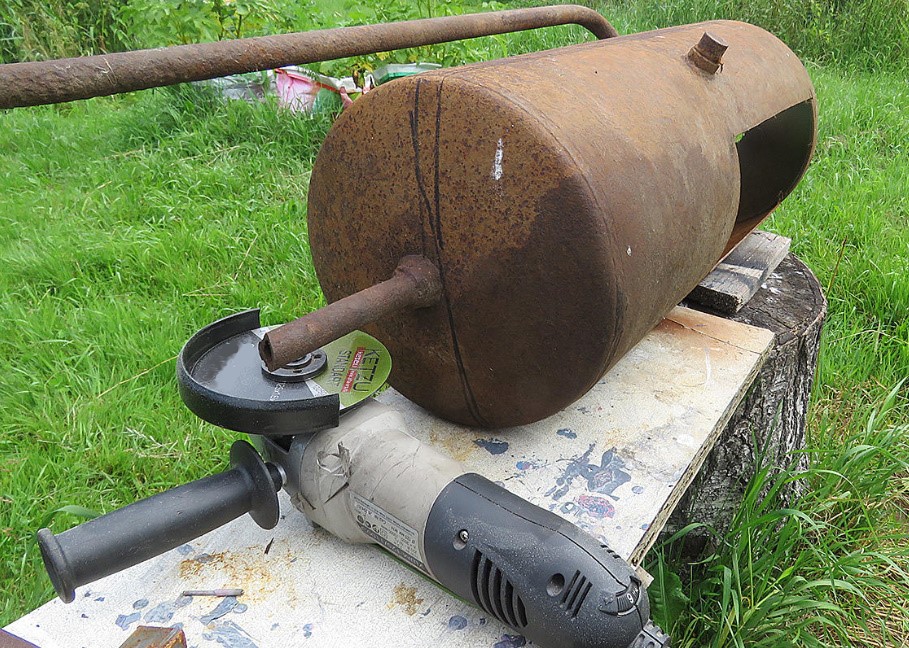
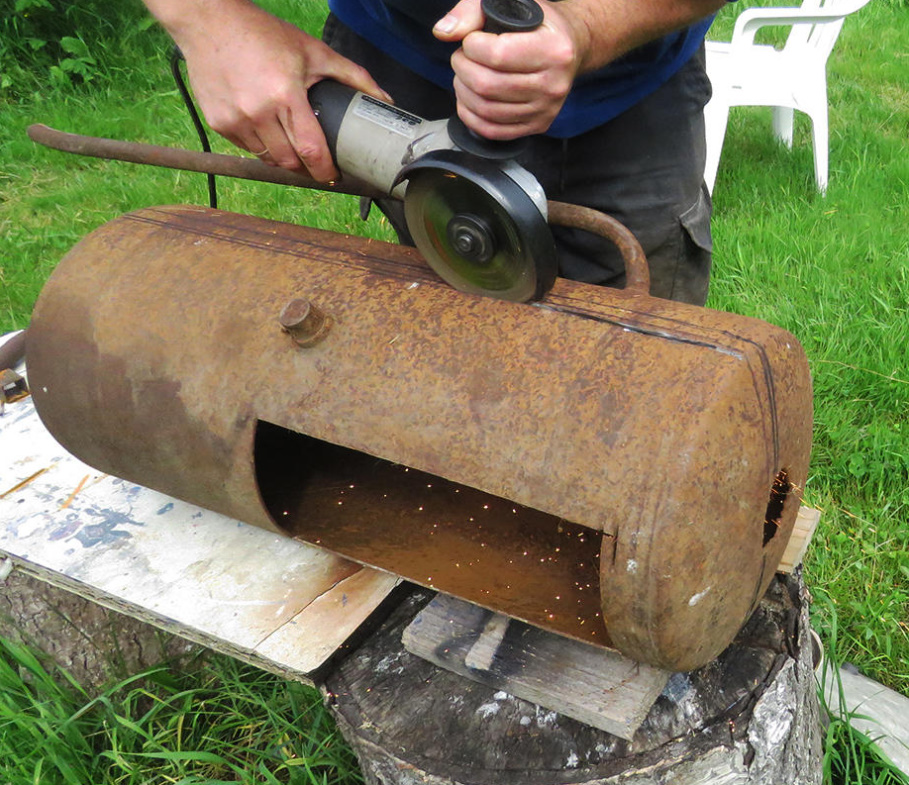
I thought for a long time in what proportions to cut it, because there was no spare cylinder for the second attempt. I decided to saw a little above the center so that the grill turned out deeper. Just for the assembly there will be a pipe, which will then serve as a handle for carrying the grill. I made a marker with a felt-tip pen. I took a grinder with a metal disc and after 10 minutes . conditionally cut off the upper part.
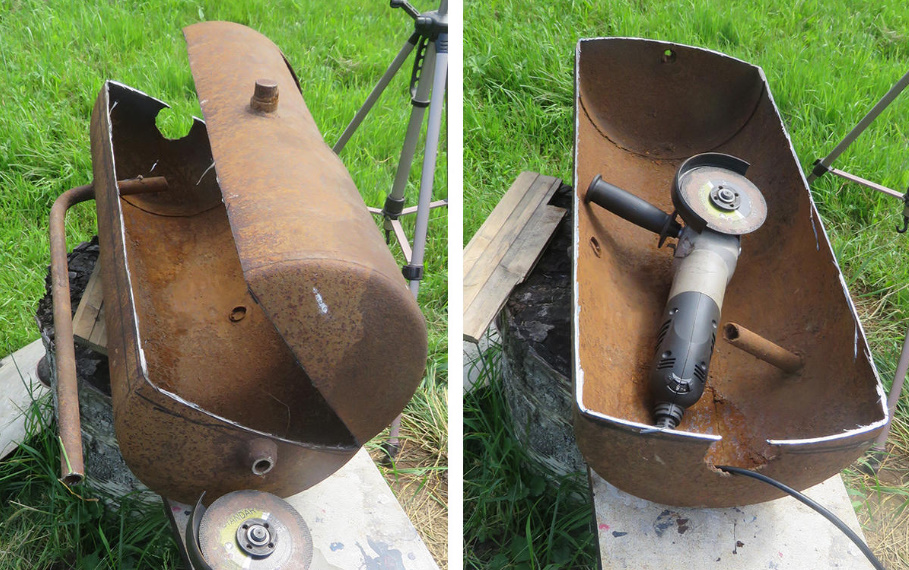
Now it was necessary to remove rust from the old half-cylinder. To do this operation indoors is unrealistic — it is necessary to polish only on the street. I changed the cutting disc to a grinding nozzle. I reduced the speed on the grinder, because at maximum speeds the skin wears out quickly, and pieces can fly from it.
Polished the workpiece for the grill for 30 minutes, removed most of the rust. Rusty dust stood in a column — it was good that a light breeze rose and scattered the dust around the site.
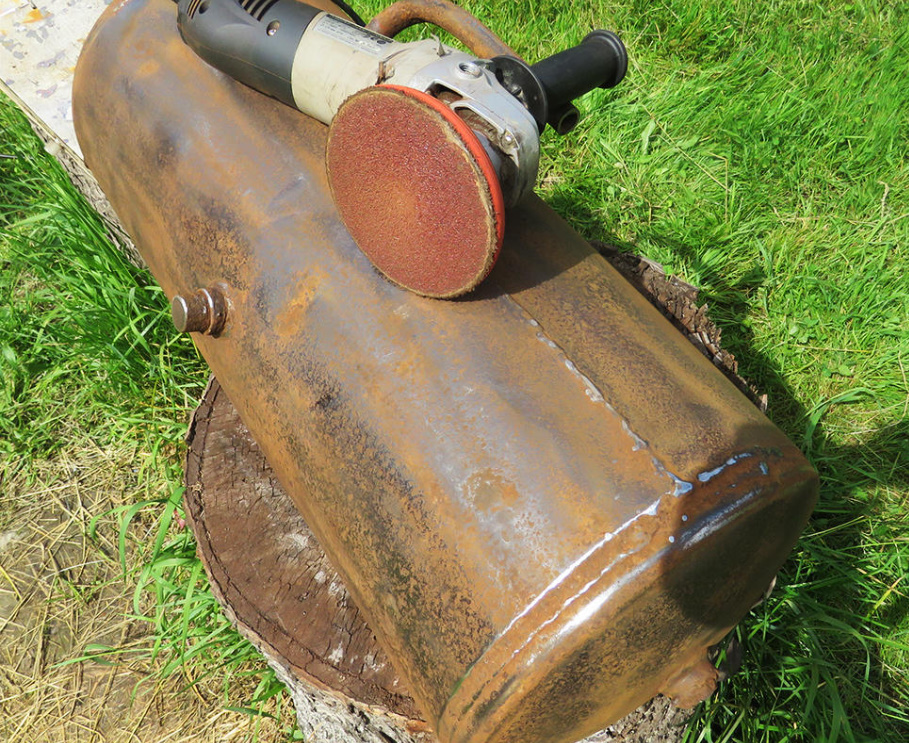
Then I walked through the cylinder with a grinder with a petal nozzle, and there was almost no rust left. I will not grind the workpiece inside. I’ll pierce the “trough” with an open fire a couple of times — the rust will fly around or burn out.
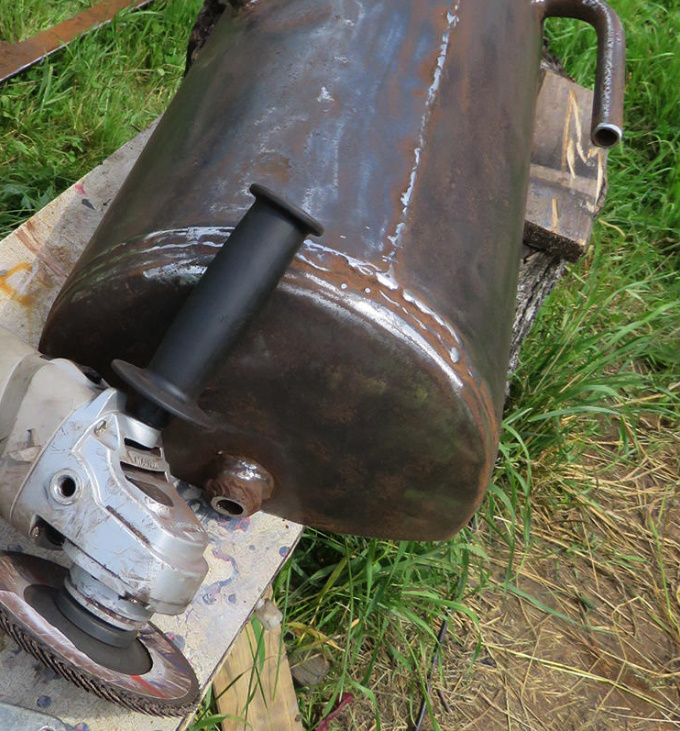
Then I cut triangular notches at a distance of 6 cm along the edges of the grill. They will allow you to fix a flat skewer on the edge.
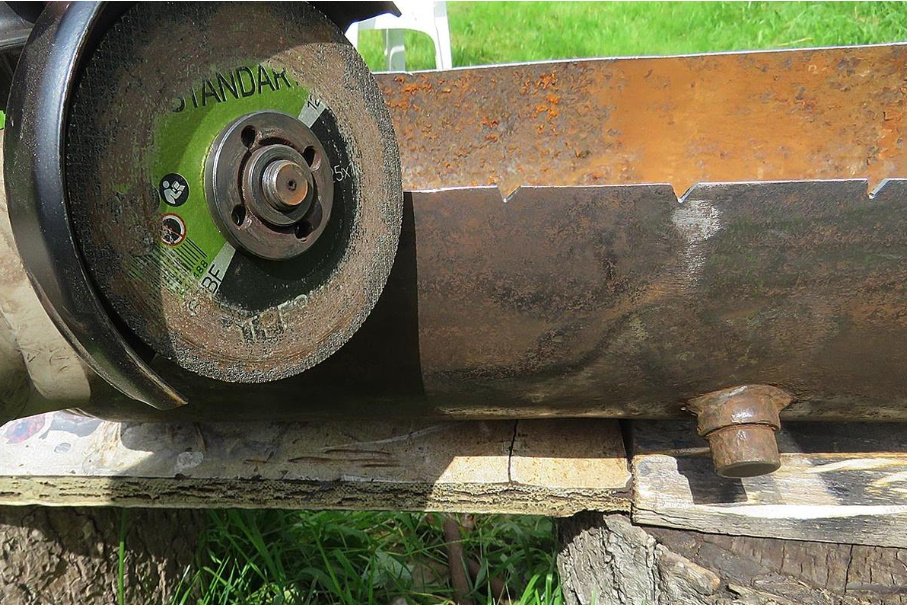
I was wondering how much metal was left after grinding. I made a couple of measurements around the perimeter — the wall thickness is about 2 mm.
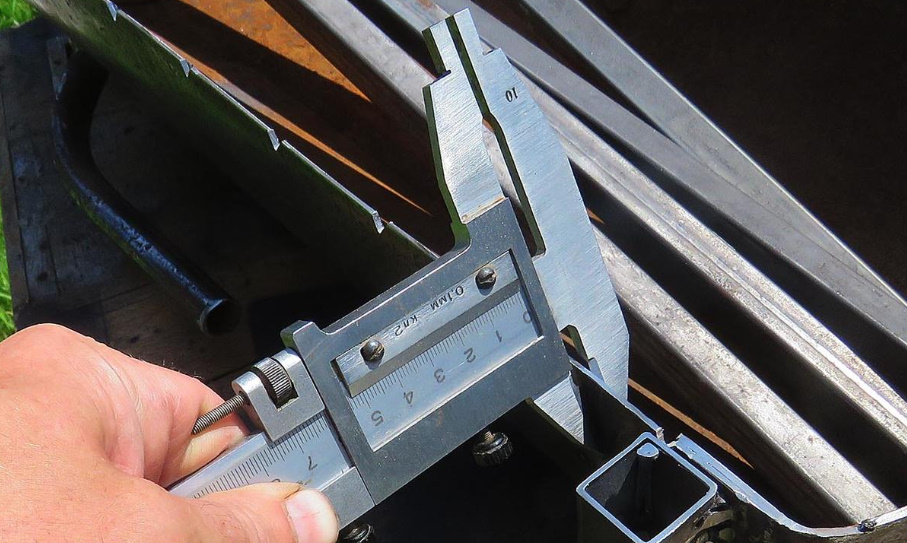
I make collapsible legs
I had in stock a square metal profile with a cross section of 20 × 20 mm. I’ll make legs out of it. They will be removed so that the grill takes up less storage space.
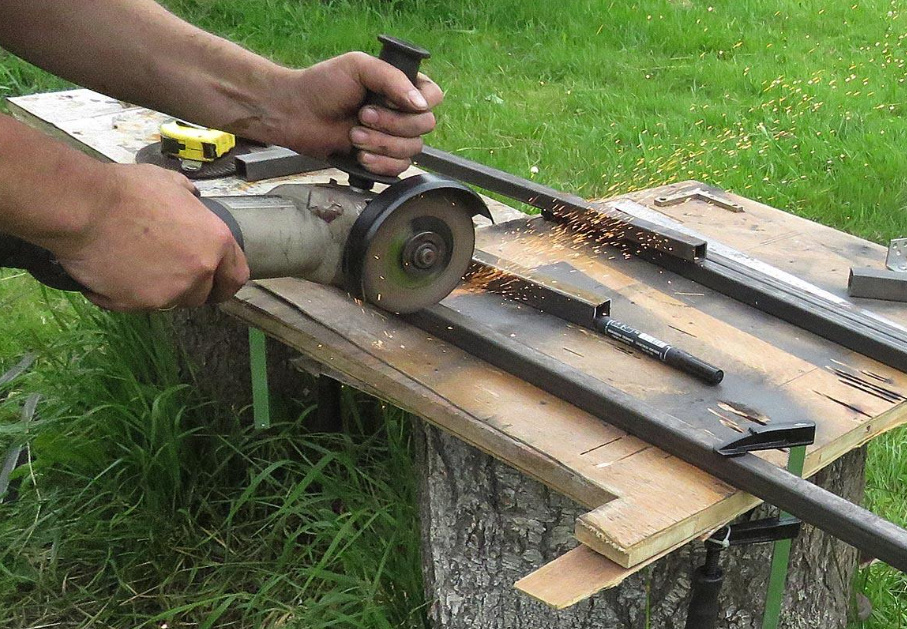
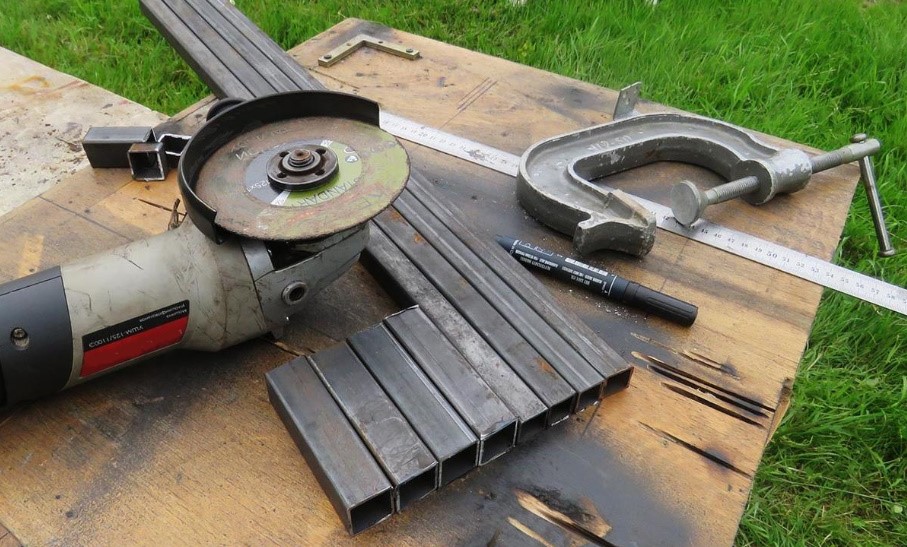
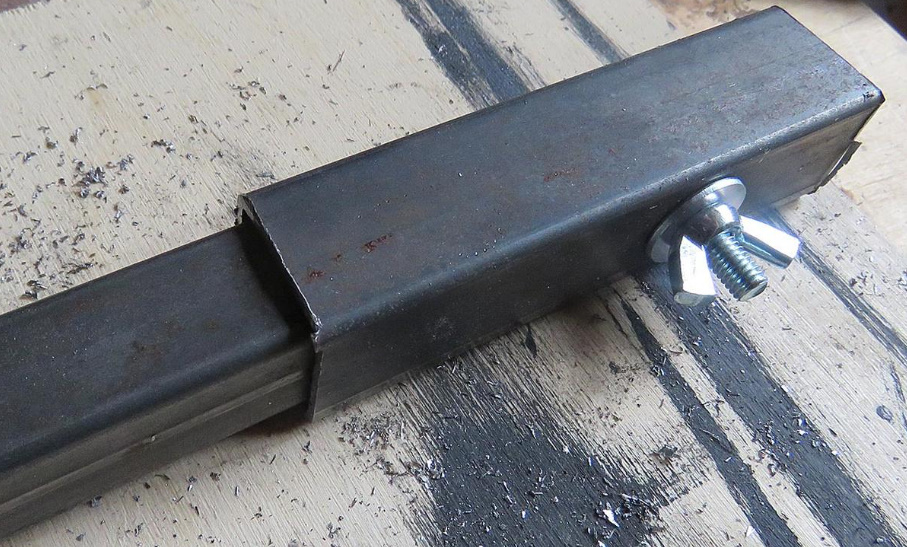
I cut the 25th profile into segments 10 cm long. Then, from the 20th profile, I cut off 4 legs with a length of 70 cm (the height of a standard table).
In a 10 cm long segment, I drilled a hole with a diameter of 8 mm, inserted the leg into the segment and drilled the same hole in it. When the holes are combined, the M6 bolt will connect the segment and the leg.
The next day, I welded sections from the 25th profile to the billet for the grill.
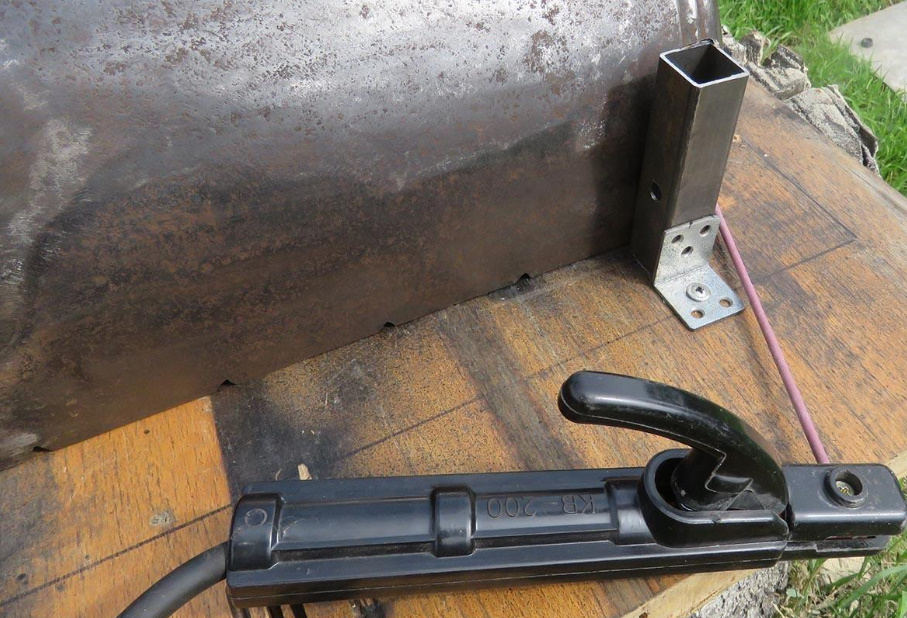
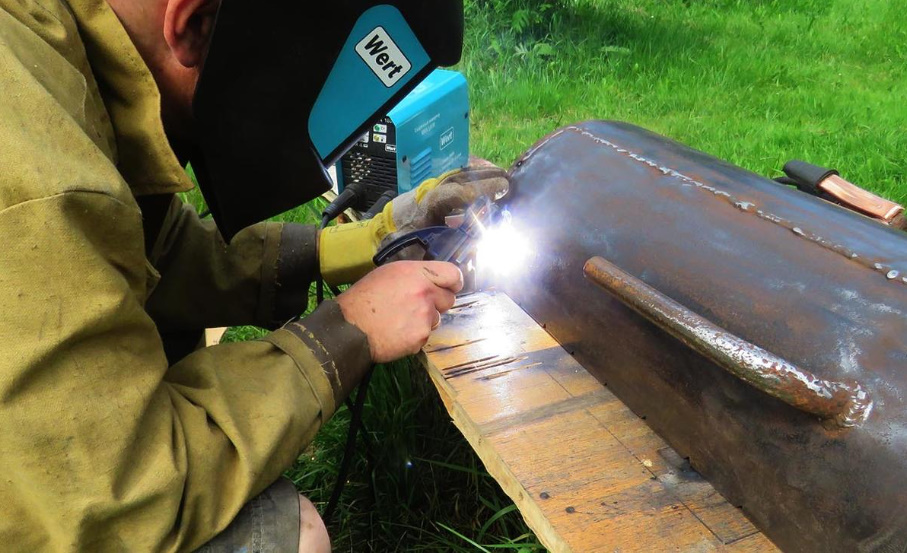
The legs will be inserted into the sections of the 25th profile welded at the corners of the “trough”.
Painting the grill
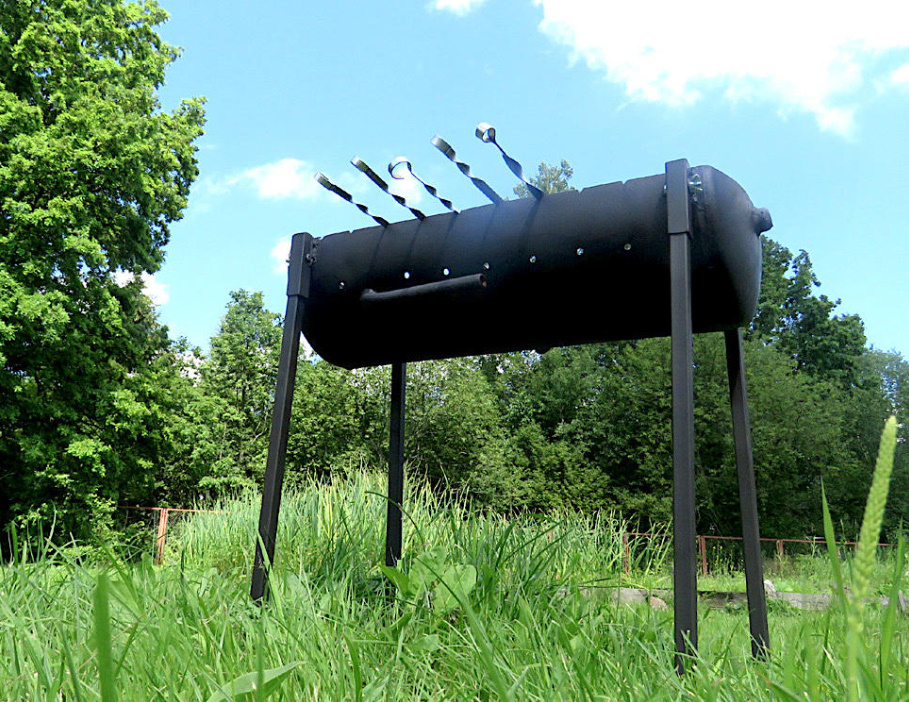
Yes, I was not mistaken — I will really paint the grill with a special heat-resistant enamel. In the description I read that it can withstand temperatures up to 750 ° C. According to my assumptions, the grill is unlikely to heat up more.
Before painting, I degreased the legs and the grill from the outside well. I will paint with a universal heat-resistant enamel. This summer I just got hooked on aerosol formulations. It turned out that it is convenient to work with them, the paints dry quickly and there is no need to spend money on consumables such as brushes and rollers. In addition, the volume of cylinders is smaller than that of cans of paint, which is good for small jobs. Painted — and you don’t bother your head where and how to store the leftovers.
I put the legs next to the grill, put two pieces of board under them to lift them above the surface of the table on a stump. At first, he passed a jet over the legs — the paint lay flat. Then I applied the first layer to the balloon.
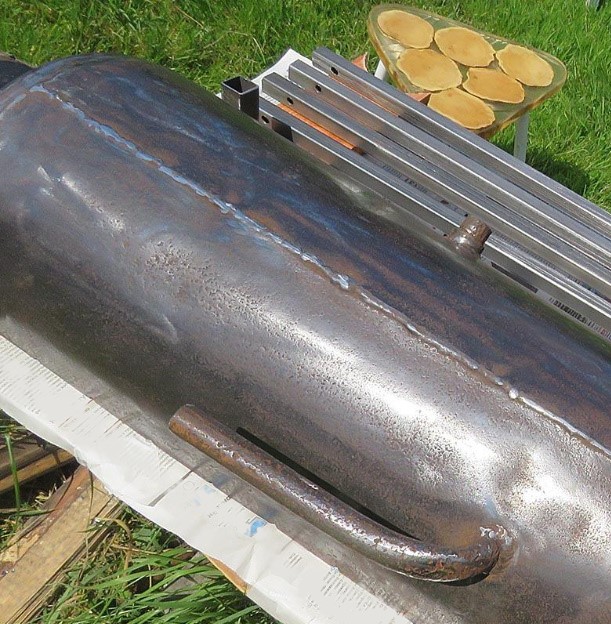
After applying the first layer, the grill began to look very decent, just like a new product. At some point it seemed to me that the coating is very similar to industrial. It is good to work in the sun: you can see how the paint falls and dries right before your eyes. At temperatures above +20 ° C, the heat-resistant enamel dries in 15-20 minutes, after which the 2nd layer can be applied.
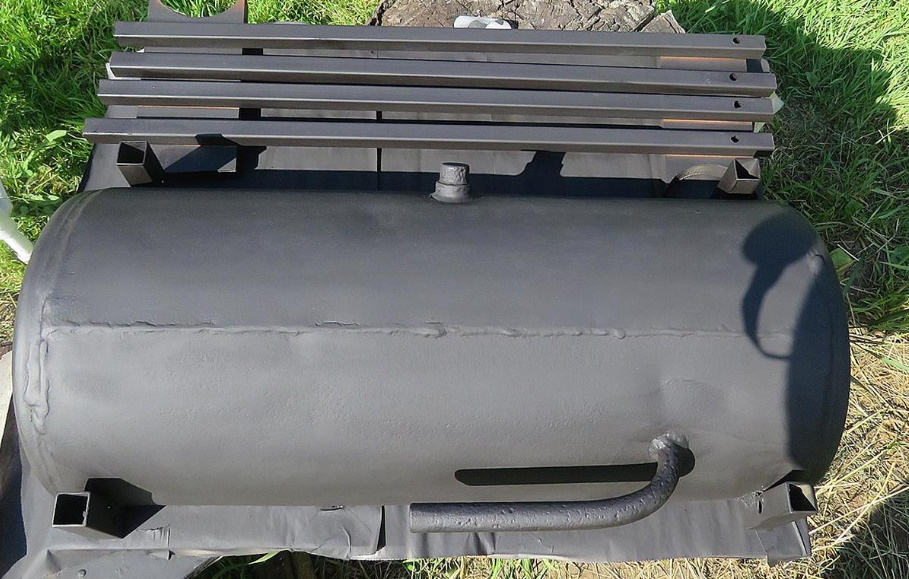
While watching the drying of the first layer, I felt a vague uneasiness. “M-yes, it looks like you forgot to make the blow holes,” my inner voice prompted.
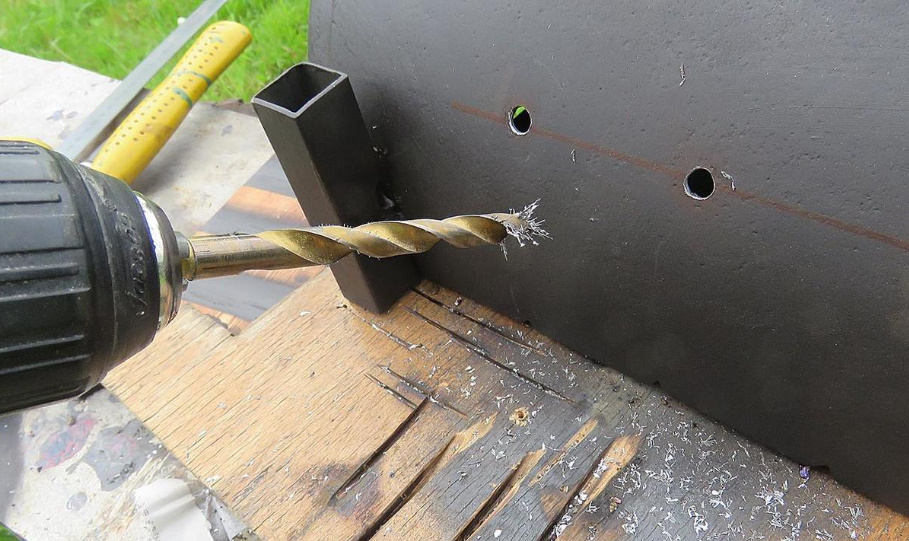
I quickly marked out the places for the blow holes at a height of 7 cm from the bottom point of the “trough” and drilled holes with a diameter of 8 mm in increments of 6 cm. They, of course, had to be done before painting.
I painted the balloon and legs with a second layer. Now the product according to the instructions should dry for 24 hours. At sunset, I brought the grill into the house: there was no smell of paint anymore.
The next day I took out the finished product on the lawn in front of the house: it was necessary to test it. I built a small fire in the new barbecue made of boards from the old fence. The boards burned down to coals — the paint became even stronger, since the thermal enamel completely hardens precisely when heated. After that, I became bolder and loaded a full brazier of birch firewood. They burned through safely, giving enough coal for a barbecue.
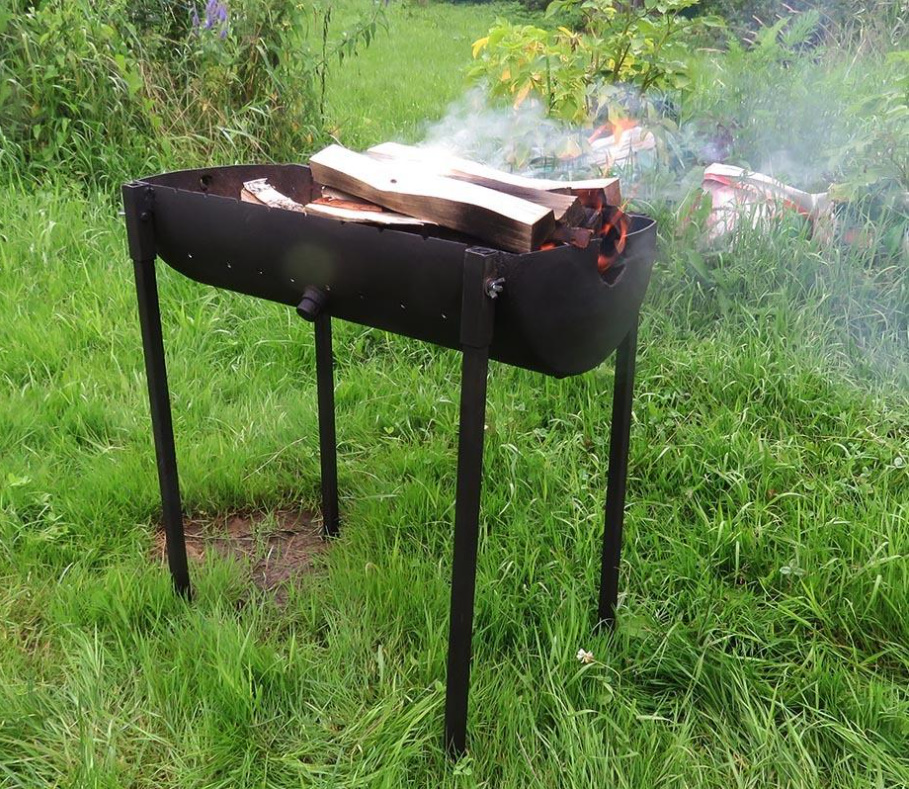
So, from an old hydraulic accumulator and a square metal profile, I got a barbecue with a cooking zone 70 cm long, 29 cm wide and 17 cm deep. The legs can be removed, and the grill itself can be put into the shed for winter storage.
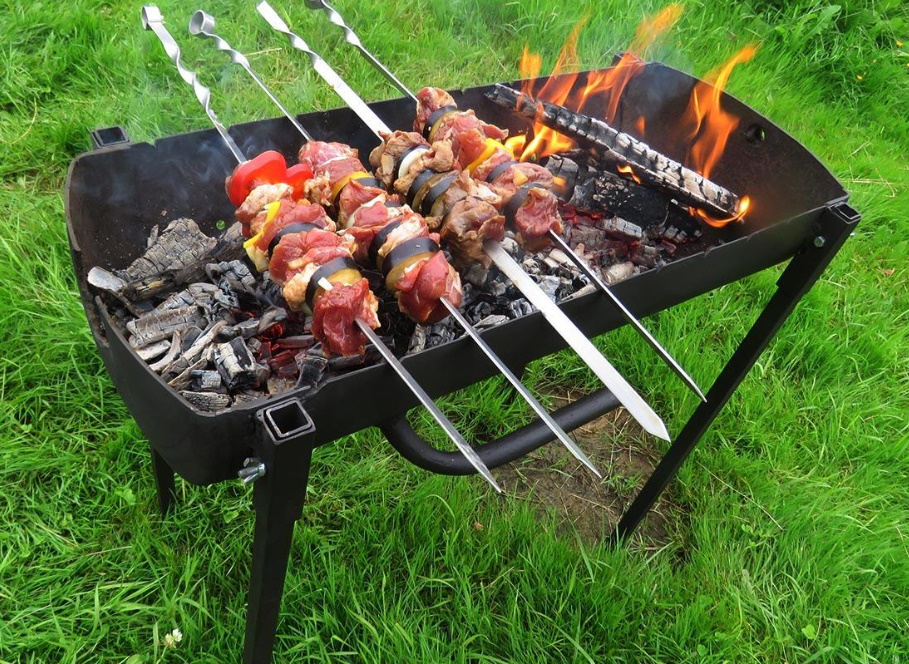
Next weekend we built a great barbecue for the whole family. The coals were hot for a long time, so I calculated everything correctly with the blow holes. Nothing happened to the paint after two full loads of firewood, so I officially declare: the grill has passed the test drive!
