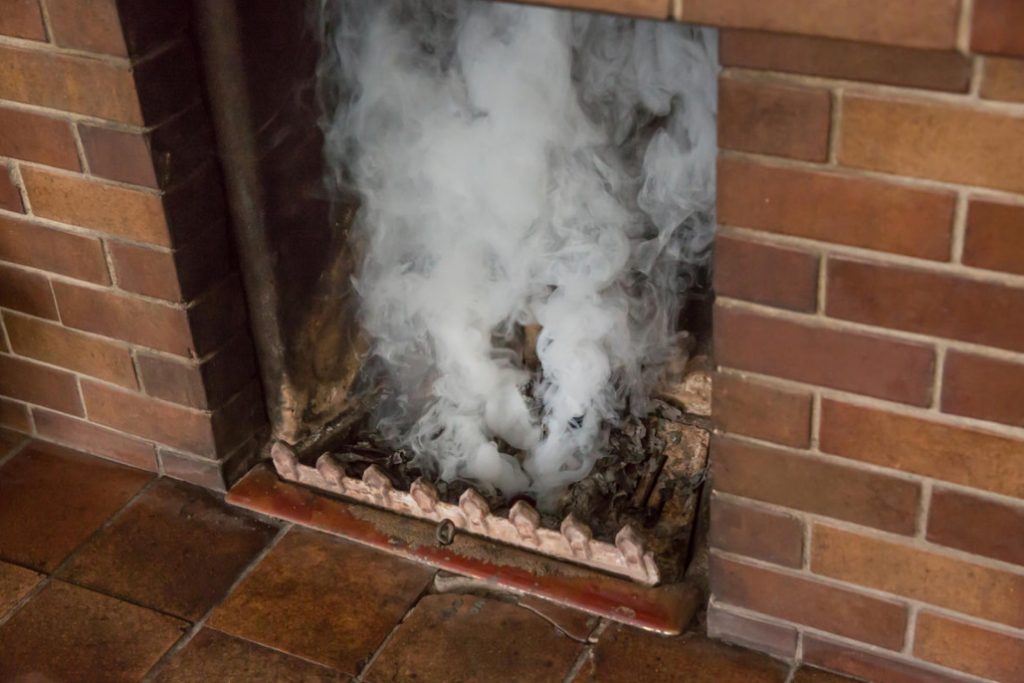
Persistent cold weather forces you to use heating devices in the country all the time. And suddenly trouble — you flooded the stove or fireplace, and smoke poured into the room. What happened and how to fix it?
1. New oven
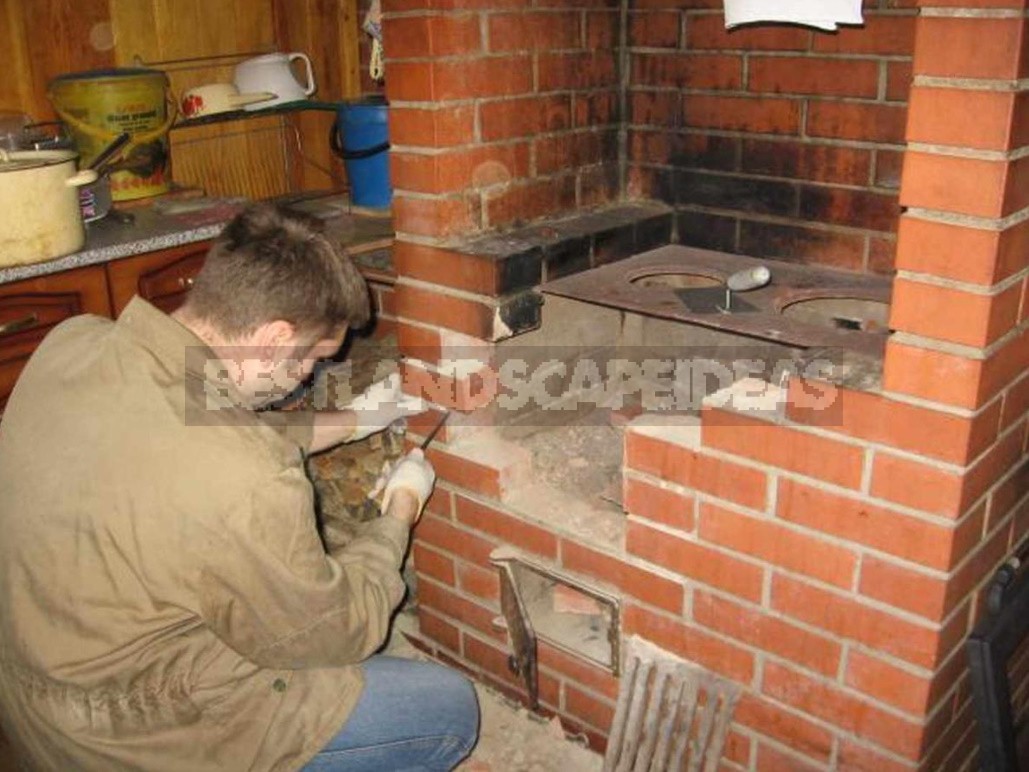
If your stove or fireplace is built recently, and they have never been used, the reasons for the appearance of smoke is not so much. One of them is not dry brickwork. Any stove maker will say that it should dry for at least half a month. To speed up the process, it is better to keep the fan and gate open, the air circulation will contribute to the weathering of excess moisture. To understand whether the furnace is ready for operation, you need to check the reverse side of the soot dampers after half an hour of heating: if there is no condensate on them, then everything is in order. Look at the latch: it should also be free of moisture.
2. Issues in furnace design
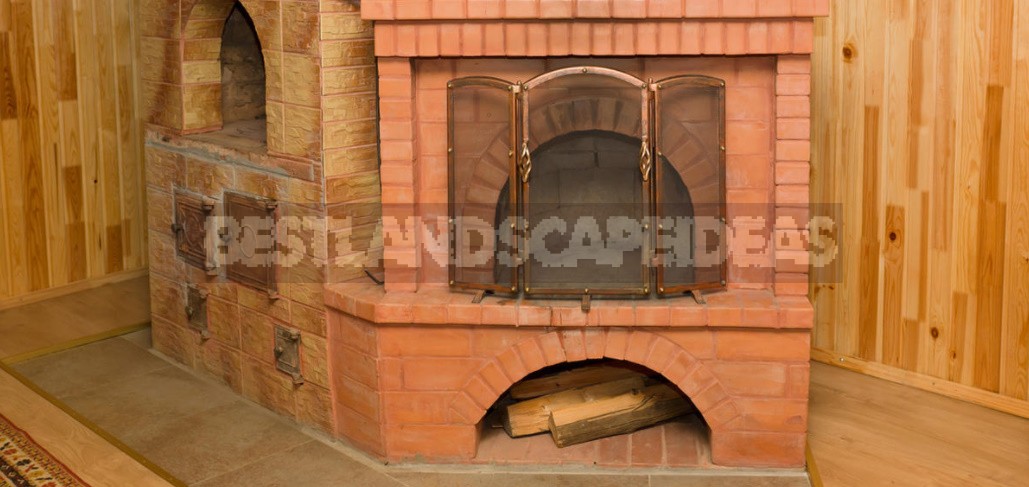
If the stove still smokes even with the furnace door open, you should think about the competence of the stove maker who put it. The most common mistake of inexperienced craftsmen is an insufficiently wide chimney channel. Its size depends, in particular, on the capacity of the heating unit. For example, for a furnace with a capacity from 3.5 to 5.2 KW, the diameter of the chimney must be at least 189 mm, and the cross — sectional area (if it is rectangular) – at least 0.028 m². Otherwise, carbon monoxide gases will tend to escape not only through the pipe, but also through the furnace. In this situation, you can only disassemble the chimney channel and put it back together. It is better to entrust such work to a professional, and it will cost less than building a furnace from scratch.
No less important is the height of the chimney. It must be at least 5 m from the grate to the head and at least 0.5 m from the roof. Otherwise, the updraft will be too weak, which again leads to smoke.
Sometimes the doorway of the furnace chamber is placed too high, its upper edge is much higher than the entrance to the chimney. And when the door is closed, the products of combustion try to get through the cracks between it and the masonry, and when the furnace is open, the smoke begins to fall in clouds. To fix this problem, it is enough to remake the entrance hole in the chimney. If this is not possible, you can do it easier: put a wall in front of it-a jumper, but not solid, but almost reaching the upper base of the camera. So the entrance to the well will be higher than the furnace door, and the smoke, rising, will now go in the right direction.
3. Pulls, but not there
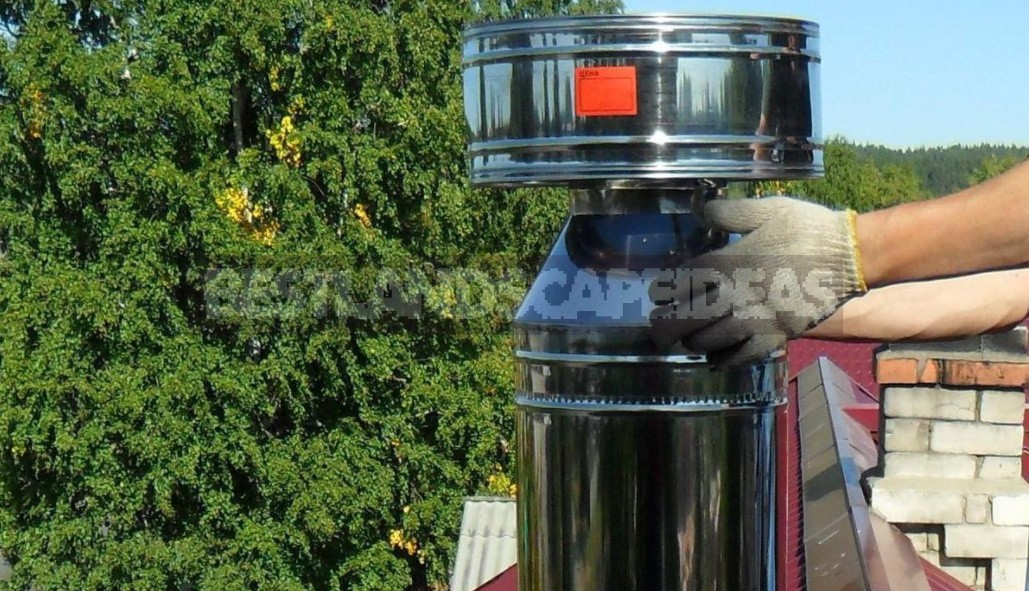
If the stove has not been used for a long time, there may be a “reverse draft” effect — a cold air plug accumulated in the chimney does not allow a warm stream to pass, and the smoke enters the room. What should I do? Raise the temperature in the pipe! To do this, open the flaps before laying fuel — and throw burning paper through the cleaning door. The flue duct will warm up, the heated air will go up, and the draft will be restored. If this does not happen, the operation must be repeated again. But now the paper must be thrown directly into the pipe directly from the roof. After the fire goes out, light a splinter in the furnace and see where the smoke goes. If on the street — so you can lay firewood. A special deflector attachment will help to eliminate the appearance of a reverse flow. This is a metal product of a cylindrical shape, which is installed on the chimney from above. Thanks to its design, the device creates an area of low pressure, increasing traction. In addition, the deflector does not allow air swirls to appear inside the pipe. Thus, it protects the chimney from strong gusty wind, which can also be the cause of the reverse flow of carbon monoxide.
4. Lit, but not in the camera
It happens that sparks suddenly start to fly out of the furnace, and after them there are also streams of smoke. This usually happens when the combustion process is moved from the furnace to the chimney channel. Most often, this disadvantage is eliminated when adjusting the traction. But sometimes even with strong air currents, the furnace still continues to smoke and spark. Try putting less wood in the firebox: check experimentally what amount of fuel will be optimal for normal operation of the stove.
5. Two stoves, one chimney
This also happens — two stove units are installed in the house, connecting each of them with one common chimney. The idea itself is not bad, especially for small buildings, but there is one caveat — in such systems, the masters often forget to install a bridge on the way to the chimney that would separate the smoke flows. As a result, when they collide, the traction characteristics deteriorate sharply, and the smoke begins to “walk”. To avoid this, the design of the stove will have to be improved by installing a separation box in front of the chimney. However, there is a cheaper solution — do not use both devices at the same time.
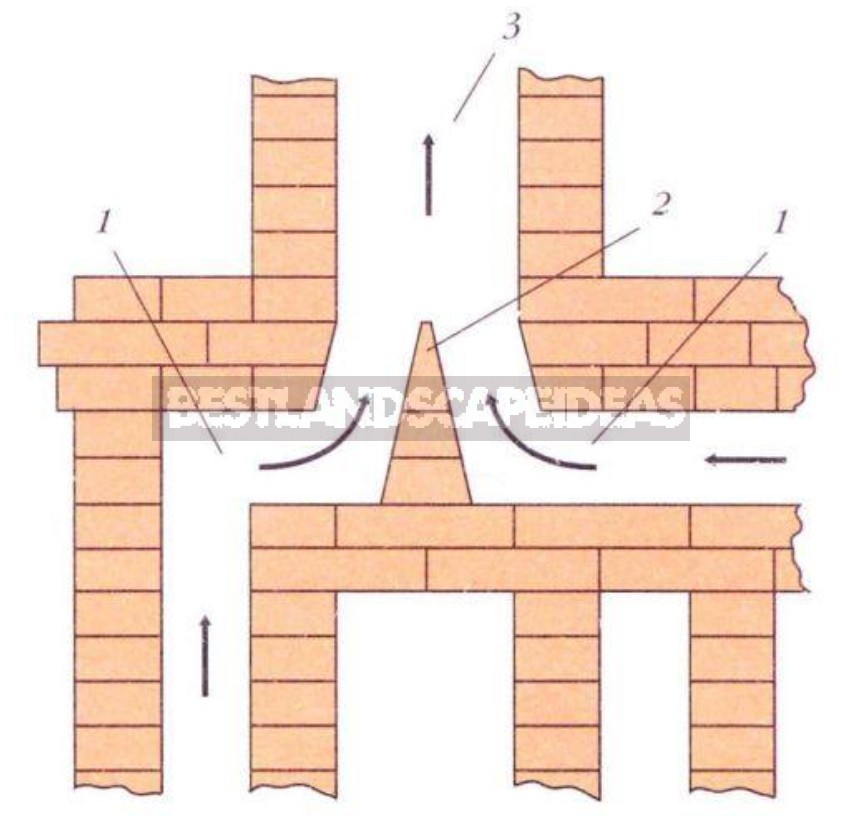
Diagram of connecting two stoves to the chimney. 1 — flue channels. 2 — separation box. 3 — chimney.
6. Cracks and soot
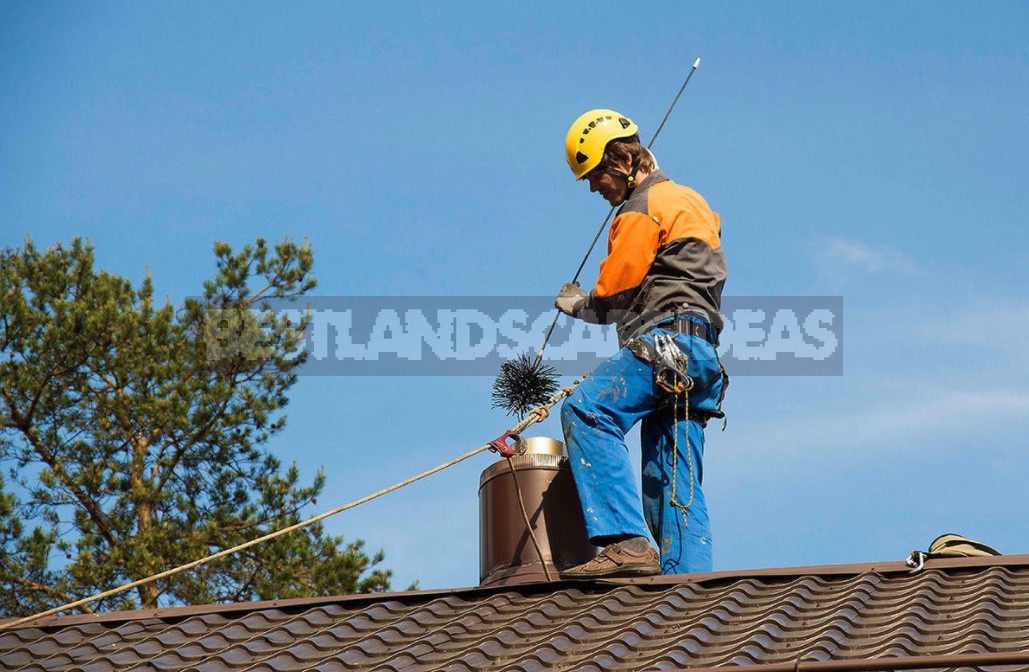
Over time, a thick layer of soot settles on the inner walls of the furnace, and the masonry begins to crack under the influence of heat loads. Together, all this can also be the cause of smoke. To remove soot, you can try using aspen wood. Their burning is accompanied by a very high temperature, at which the deposits on the chimney channel are loosened and taken out with the smoke. However, this method is more effective as a preventive measure: if the ash and soot have settled for many years, then firewood from aspen is unlikely to help. Various chemical agents in the form of special tablets, briquettes or pellets are also not a panacea. Best of all — mechanical cleaning. To do this, you will have to purchase tools — a core, a scraper and a ruff on a flexible cable. Before you start, don’t forget to open all the flaps and close all the doors. Once fixed to the roof, remove the pipe head and remove soot at the distance where the hand reaches. Then place the ruff in the chimney and scroll it down and down gradually. If you run into an obstacle that you can’t break through, use the core.
7. Cracks in the walls and in the chimney
Cracks need to eliminate! Even a child can make the oven solution that is necessary to cover them up. Mix well-sifted sand and ordinary clay in a ratio of 2:4, break up the lumps, and then splash a little water. The consistency should be like plasticine, so it is important not to overdo it with water. Mash the resulting mixture well until it turns into a thick and plastic mass, then cover it with polyethylene and let it stand for 12 hours. Mash the composition again.
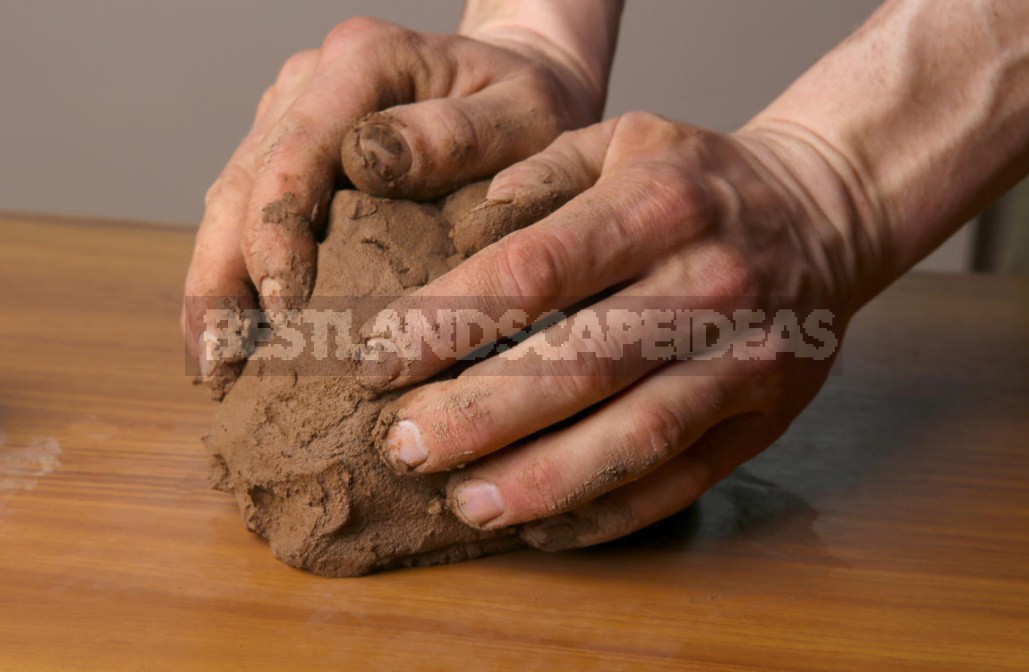
When covering the cracks, if possible, cover them with your hand on the back side, otherwise the solution may end up inside the oven. Each time, before you start working on another crack, moisten it a little with water. After the mortar on the masonry dries, see if its integrity is broken. If necessary, apply another layer. If the masonry is cracked in many places and has already begun to collapse from the inside, then it does not make sense to try to restore it — it is more expedient to disassemble everything and put a new oven.
