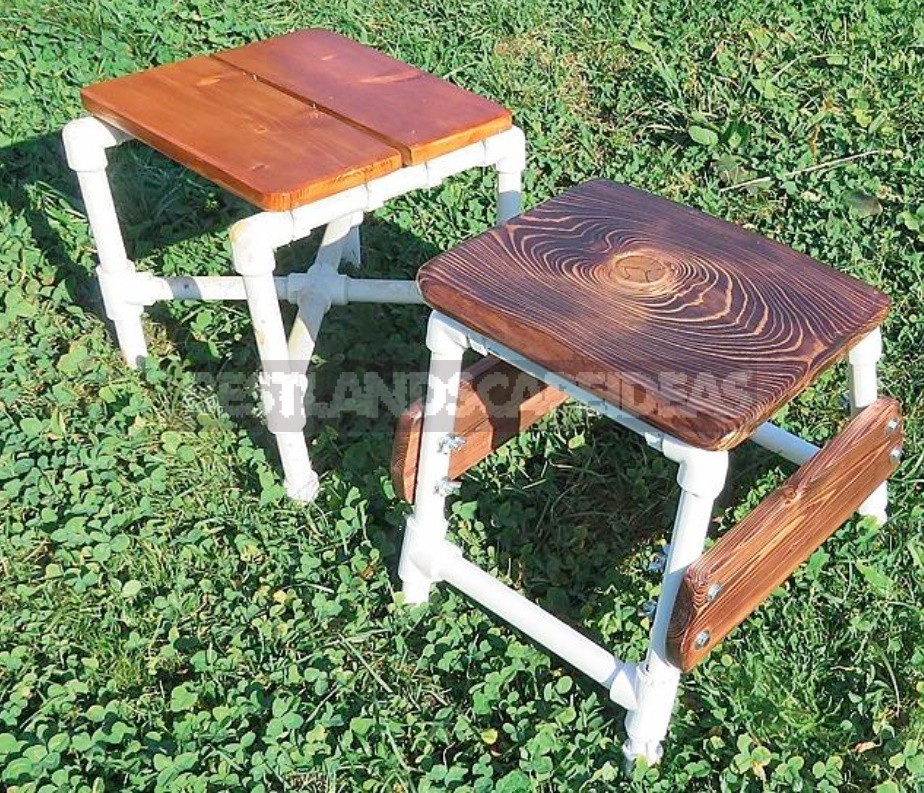
Everyone needs a folding stool. It is useful for fishing, without it you can not do a trip to a picnic, and you always need it at the dacha.
The theory of the ideal stool
The idea to make a collapsible stool came to me last year, when I made a collapsible table. After all, it is quite obvious that a folding table should be accompanied by folding stools. I’ve cut four different stools this season. In August, visitors to the dacha became frequent, and the stool deficit became very noticeable. Following the popular wisdom that says that there are not enough stools, especially when 7-8 people come to visit, I accelerated production. But not all my attempts to create the perfect stool were successful.
In the photo on the left: this design did not like the relatives at all. My attempt to connect the round with the square was not successful. Right: redesigned the seat, cut out of 20 mm plywood. The stool seems to become prettier.
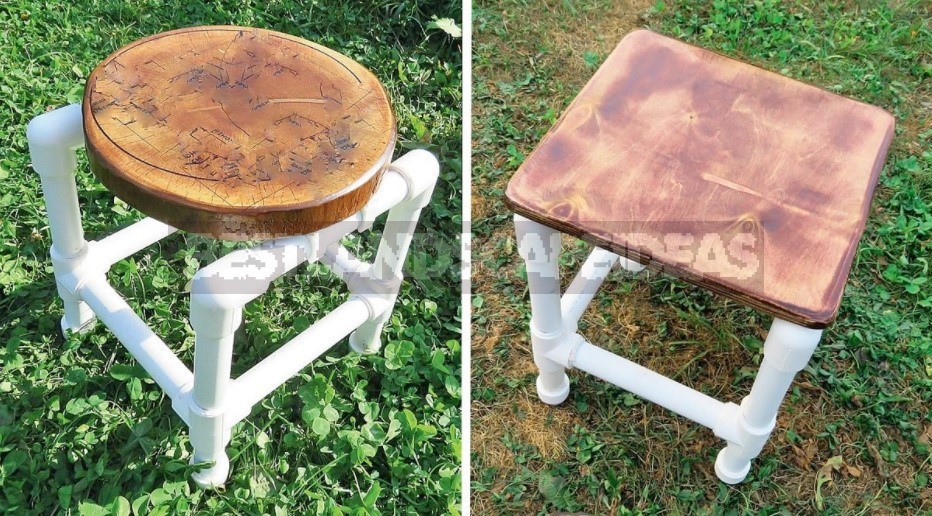
After this alteration, the idea of a stool with a removable seat came to mind. It can be useful for the manufacturer of author’s furniture. The point is that for a standard stool chassis, several seat options are made. The range immediately expands, and increasing the range leads to a potential increase in demand and, as a result, to an increase in profit.
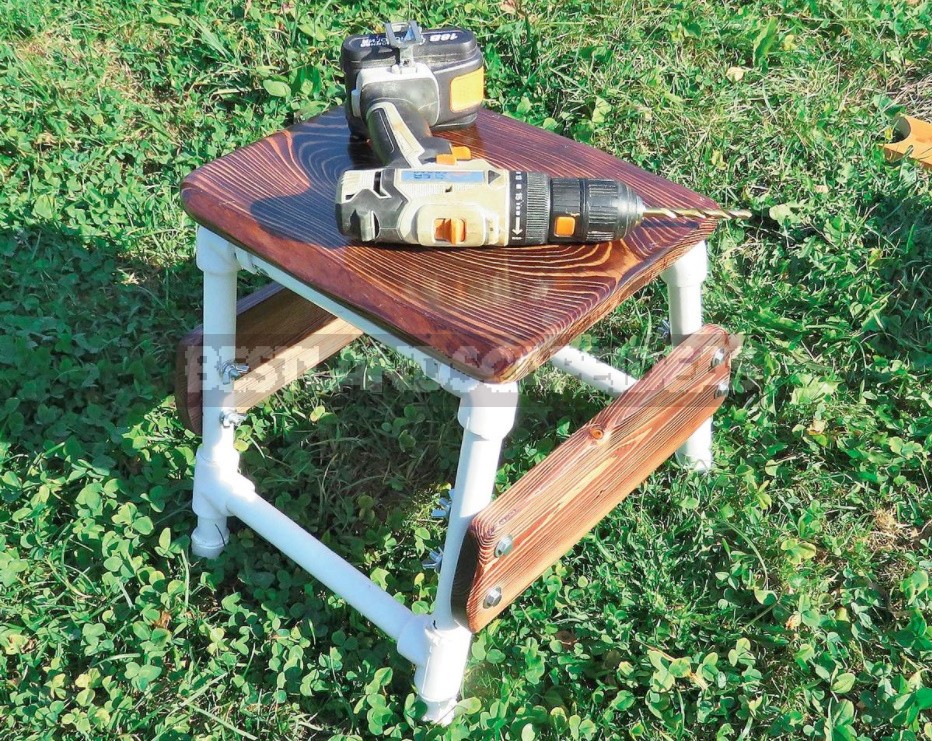
The most attractive of the latest prototypes was a collapsible stool. This is the story I will tell you about.
Master class: folding stool with your own hands
Making a seat
This piece of uncut Board was left from the roof sheathing. The pruning has been lying on the verandah for 21 years and is perfectly dry. Every year I came across it, and I kept thinking what I could make of it… And now his time has come: two seats will be made for stools.
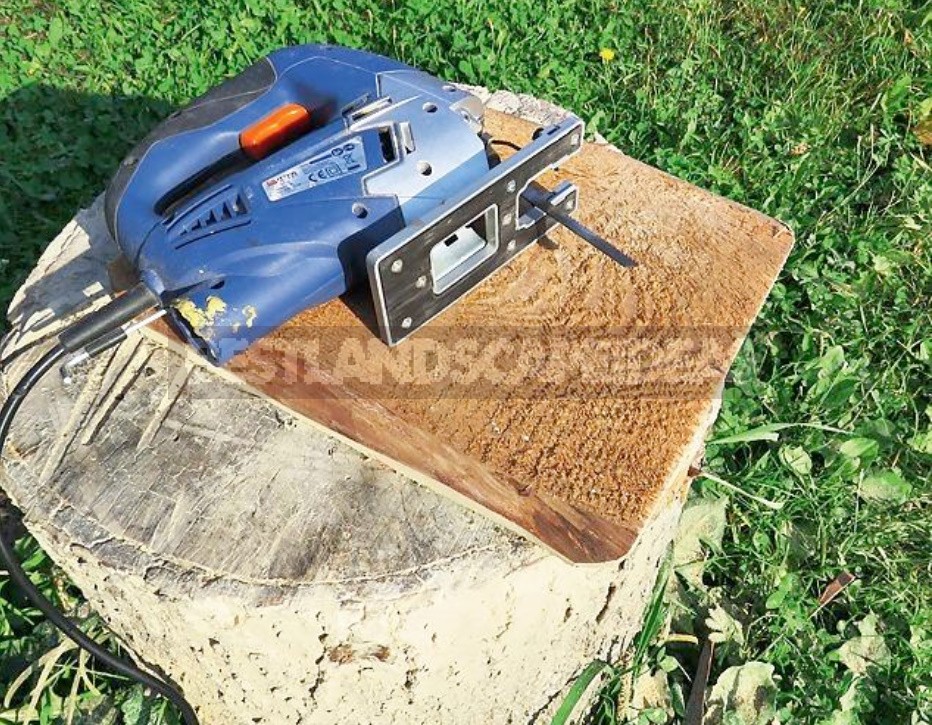
1. the seat Blank is cut out with a jigsaw. Width-28-29 cm, length-34 cm.
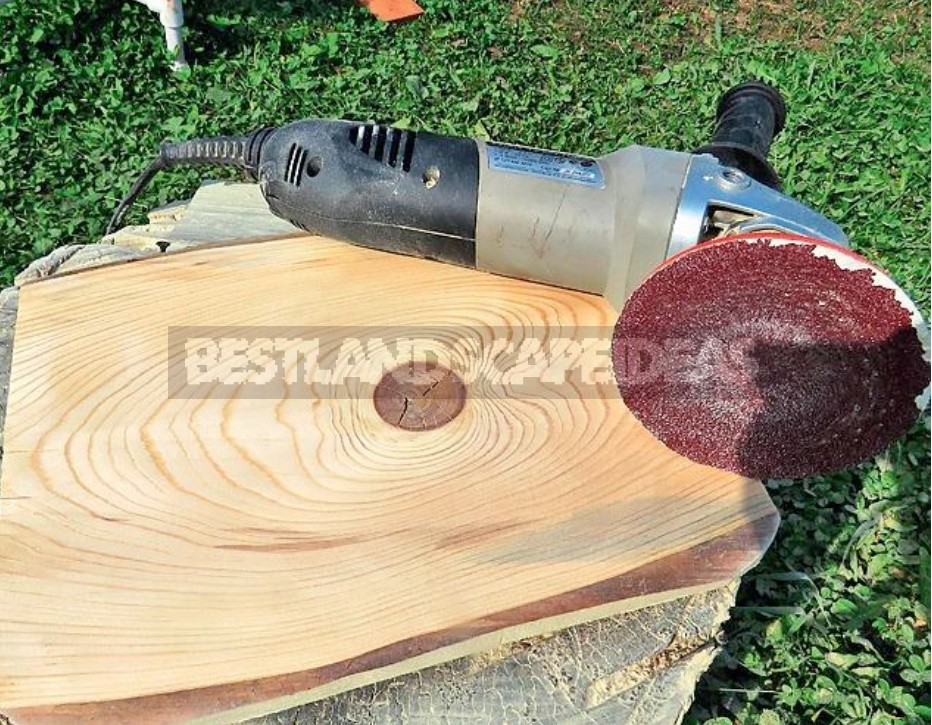
2. First removed the pile with a coarse disc grinder.
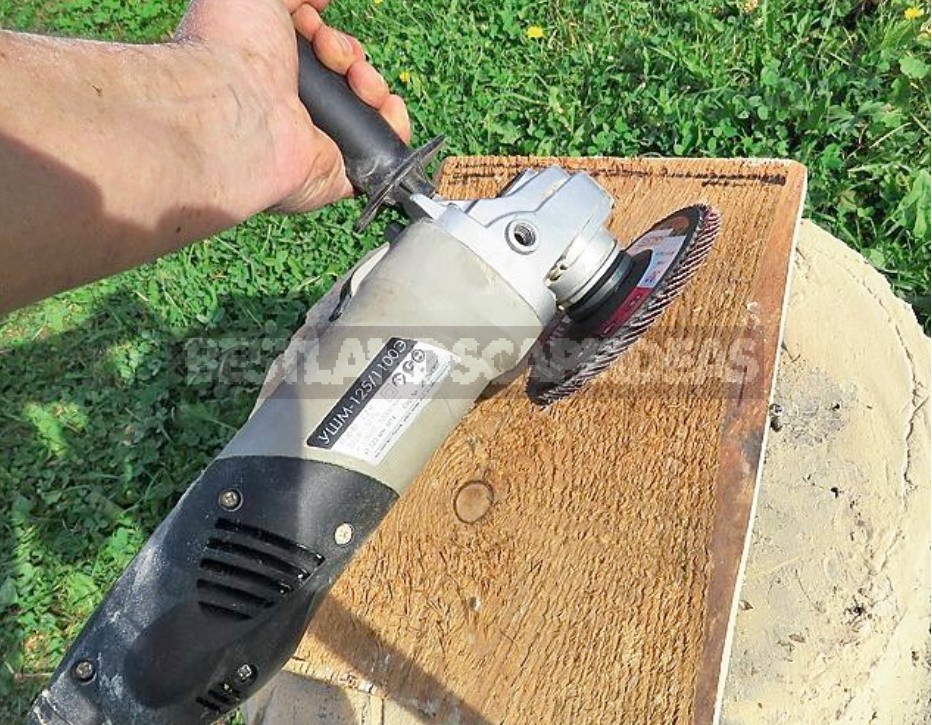
3. then I installed another nozzle and went through the skin with the grain P60.
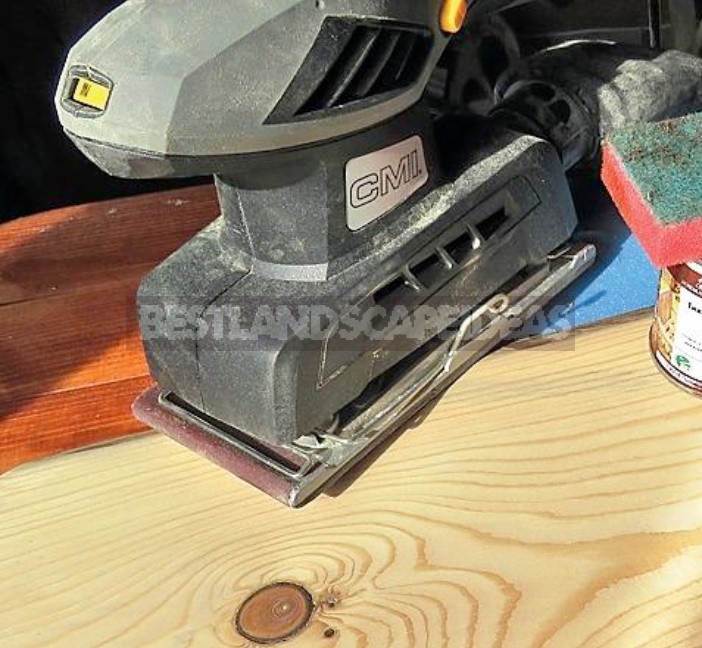
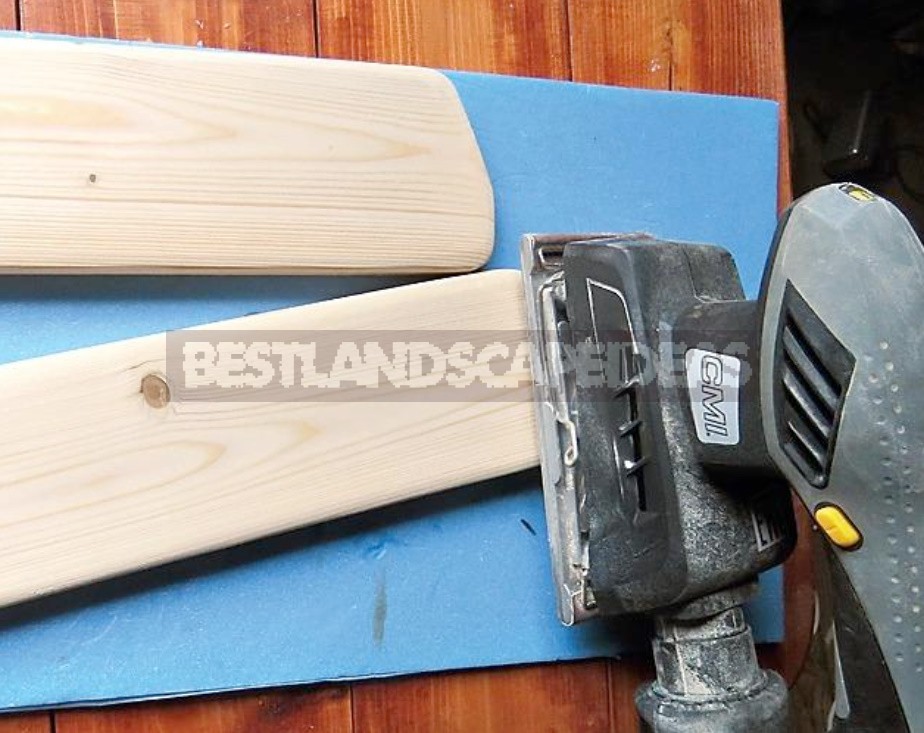
4. for the final sanding, I used a vibrating sander. Skin with grain P100 (old).
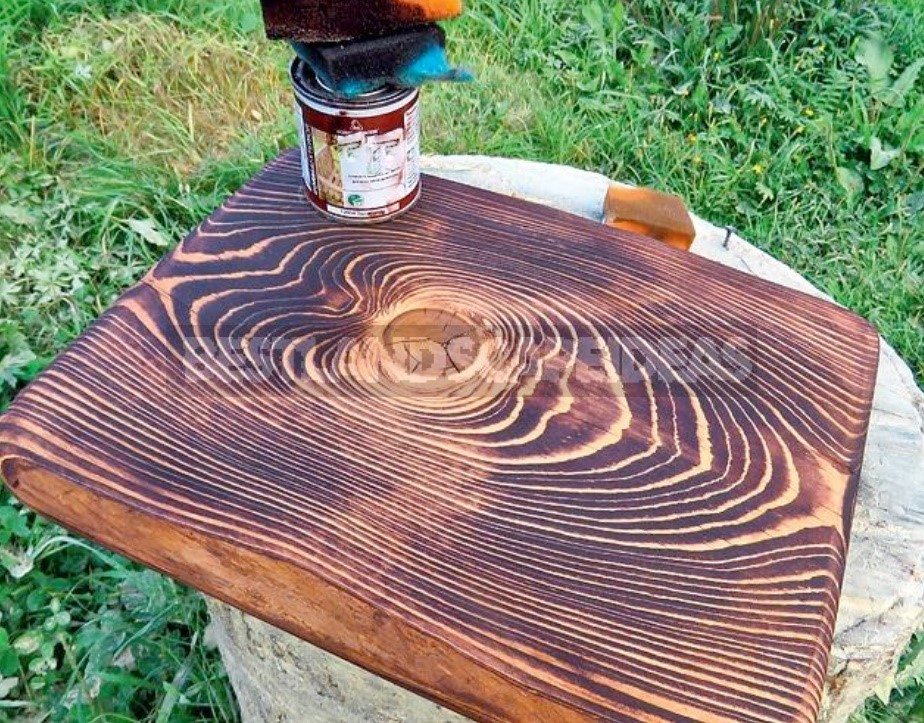
5. after sanding, the Board is covered with Borma teak oil, the color “rosewood”. The oil was applied with a sponge.
6. The oil has dried for about a day at +20…+23 °C. Then he began to apply a semi-Matt yacht varnish. The top of the seat is covered with three layers of varnish.
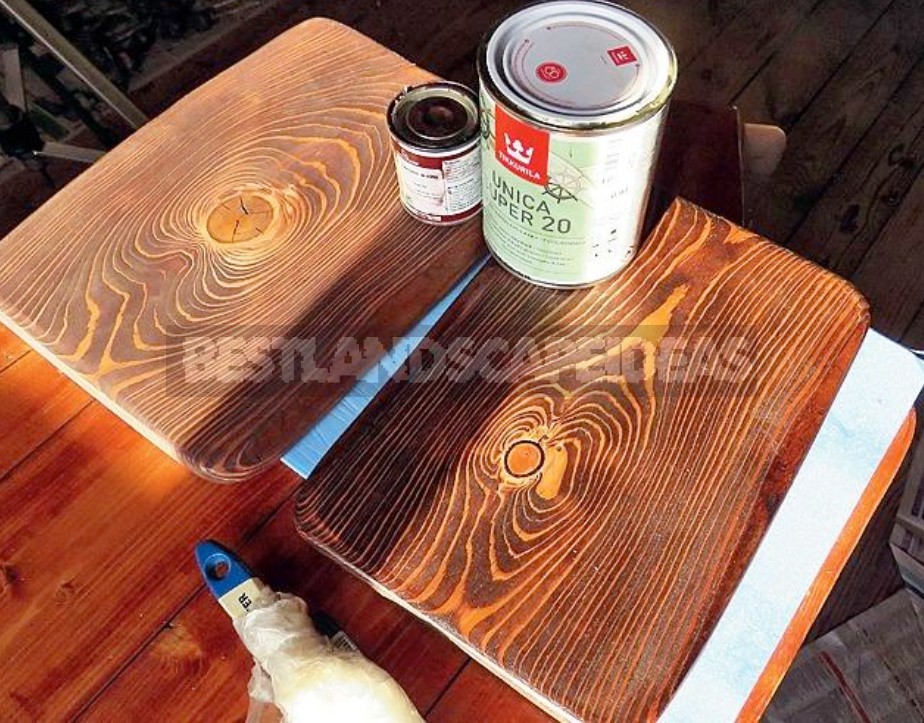
Each layer was dried for a day.
We assemble a frame made of polypropylene pipe
In parallel, I started making a stool frame from a plastic water pipe with a diameter of 25 mm.
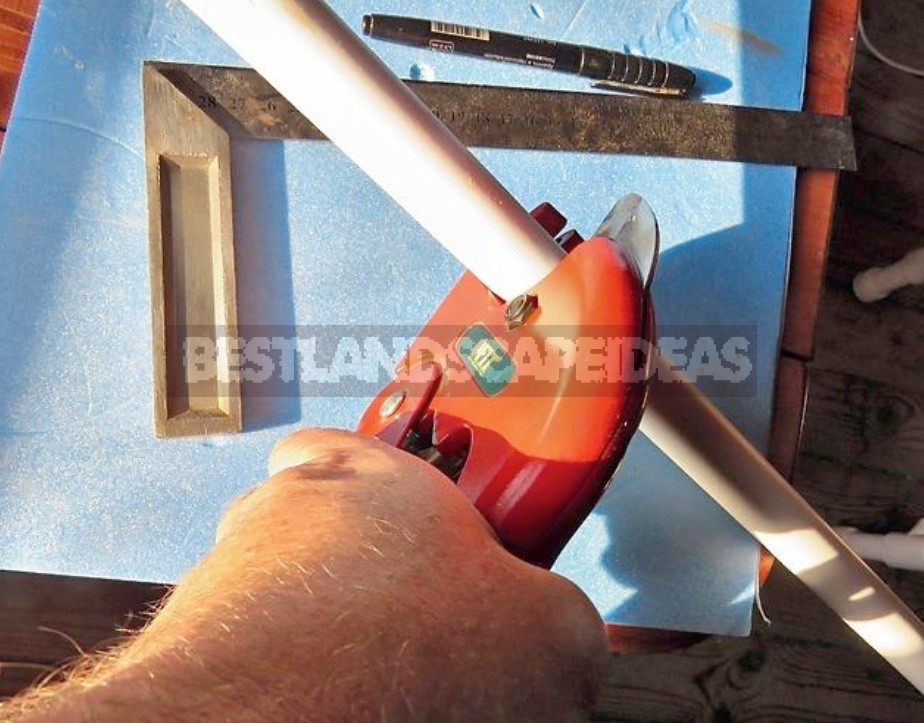
7. Cut the blanks. Marking and slicing takes very little time — about 20 minutes.
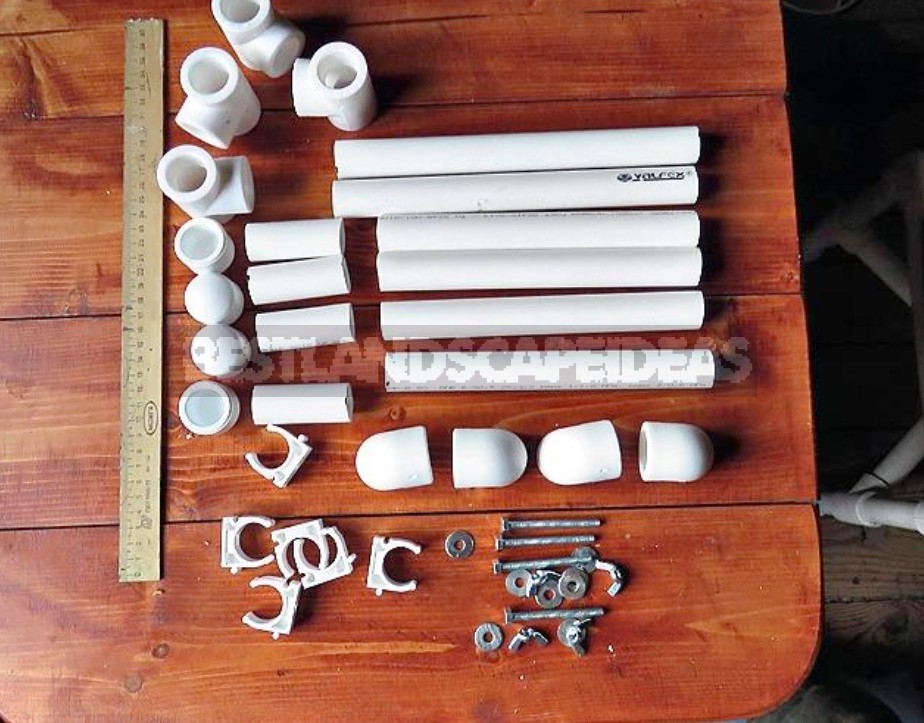
8. Frame components are prepared for Assembly. We must not forget to buy tees, 90° corners and caps for the legs.
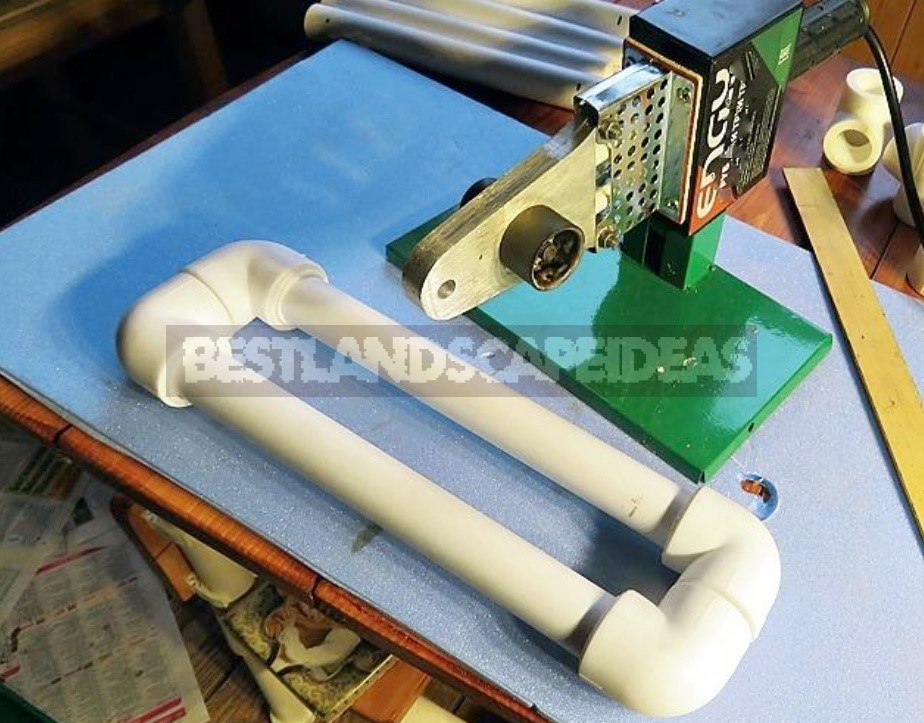
9. Start welding the frame. The welding machine for polypropylene pipes is used for welding. It is inexpensive and sold in large construction stores. It works very simply: the joint of the pipe and, for example, the tee is heated to +280°C, and then the parts are connected. The welding site cools down after about two minutes.
First, we weld the corners to the upper crossbars of the frame.
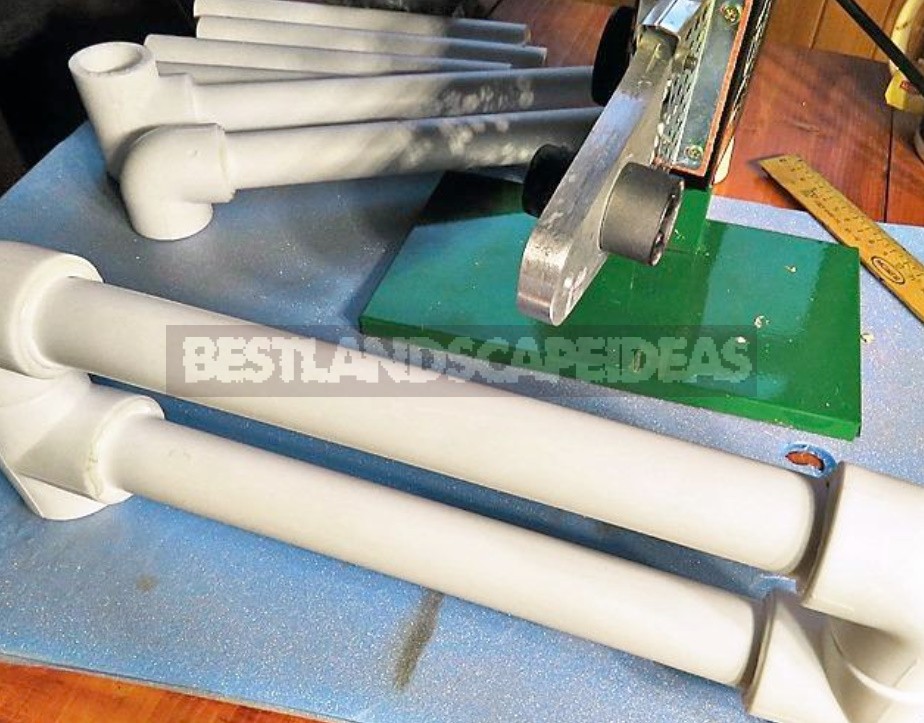
10. Weld the tees to the lower crossbar of the frame. While the welding place is not frozen, align the position of the tees on the upper crossbar.
11. Then weld the caps to the lower parts of the legs.
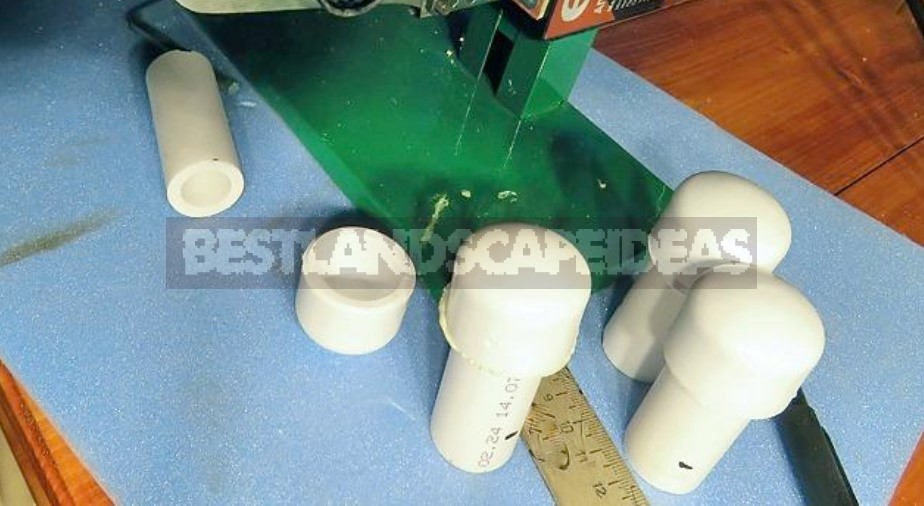
12. The legs are welded to the frame.
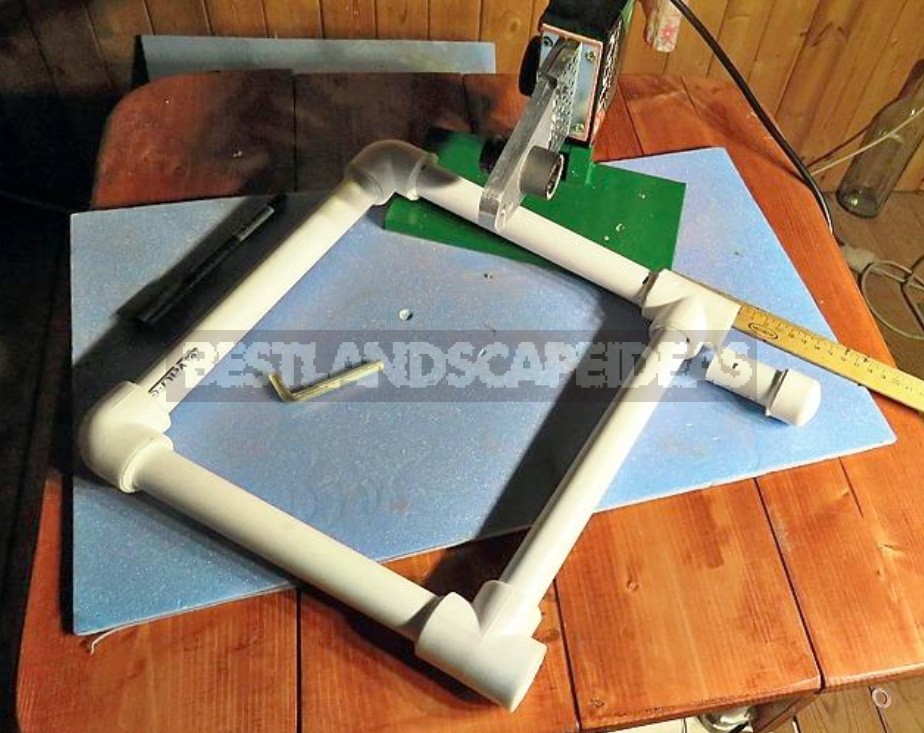
At first only three, the fourth will be welded after the final Assembly of the stool — to align all the legs in the same plane.
Wooden crossbars
13. Two parts of the plastic frame will be connected by two wooden crossbars. The crossbars are cut from a planed Board 100 x 20 mm.
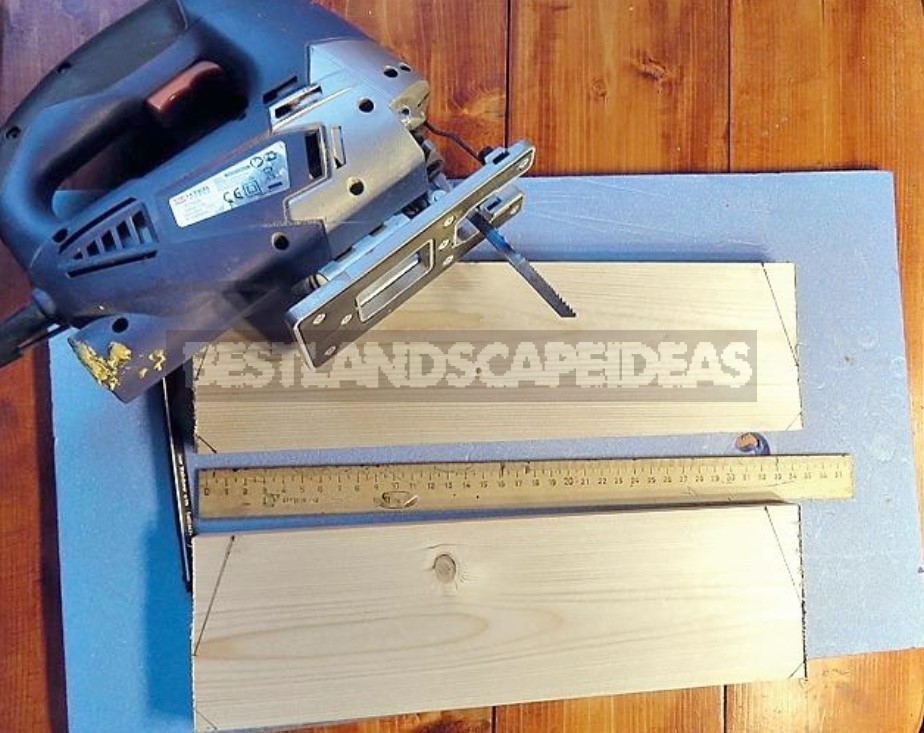
14. Strip to a rounded shape, sanded the same skin as the seat.
15. Cover with the same Borma oil color “rosewood”.
16. On each side, drill two holes with a diameter of 6 mm for screws M6.
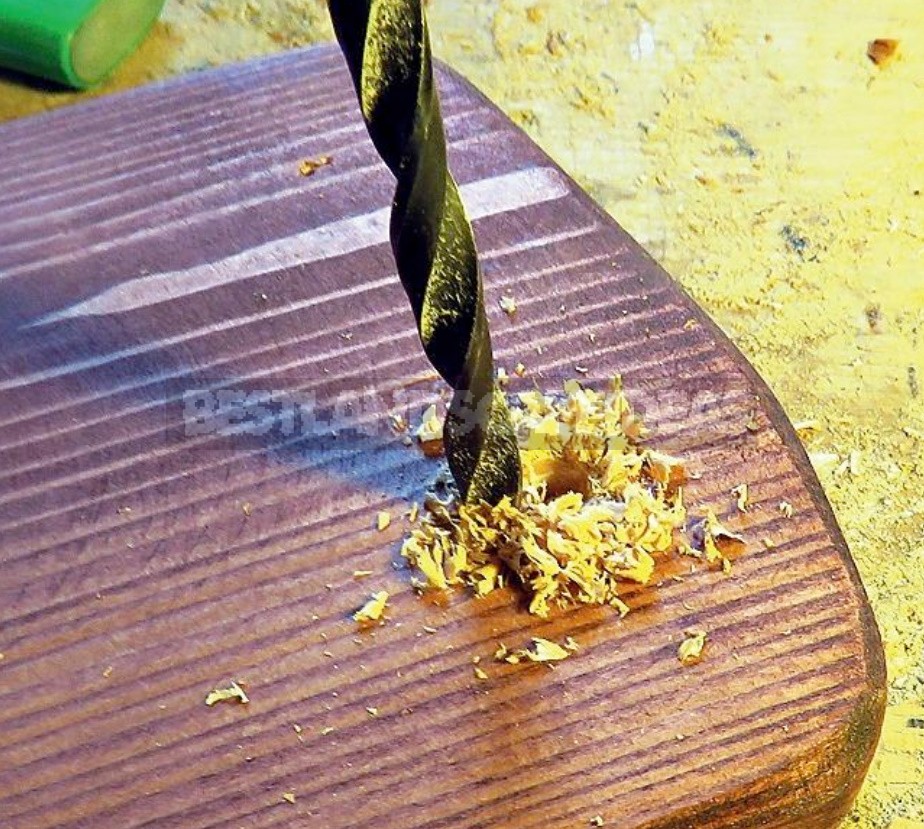
17. Cover with yacht varnish.
18. for Assembly, you need to stock up on eight bolts M6 x 60 mm, flaps and washers.
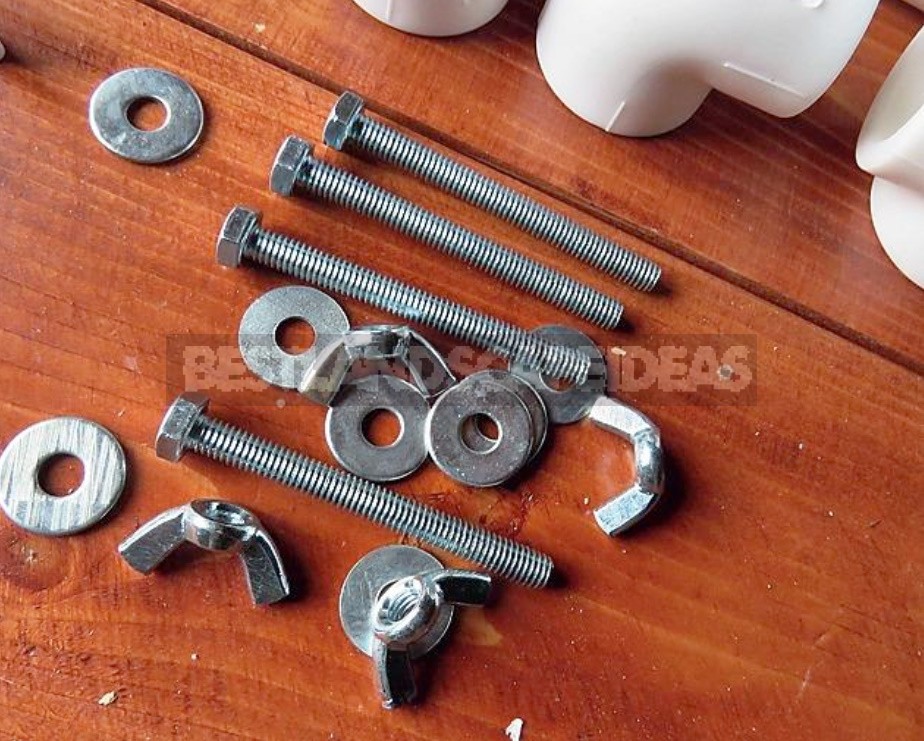
19. it Remains to insert the bolts into the holes in the wooden crossbars, attach them to the plastic legs to mark the holes on the plastic part of the frame for the bolts, and drill the pipes. The product is ready.
20. when disassembled, the stool is very compact and does not take up much space in the trunk.
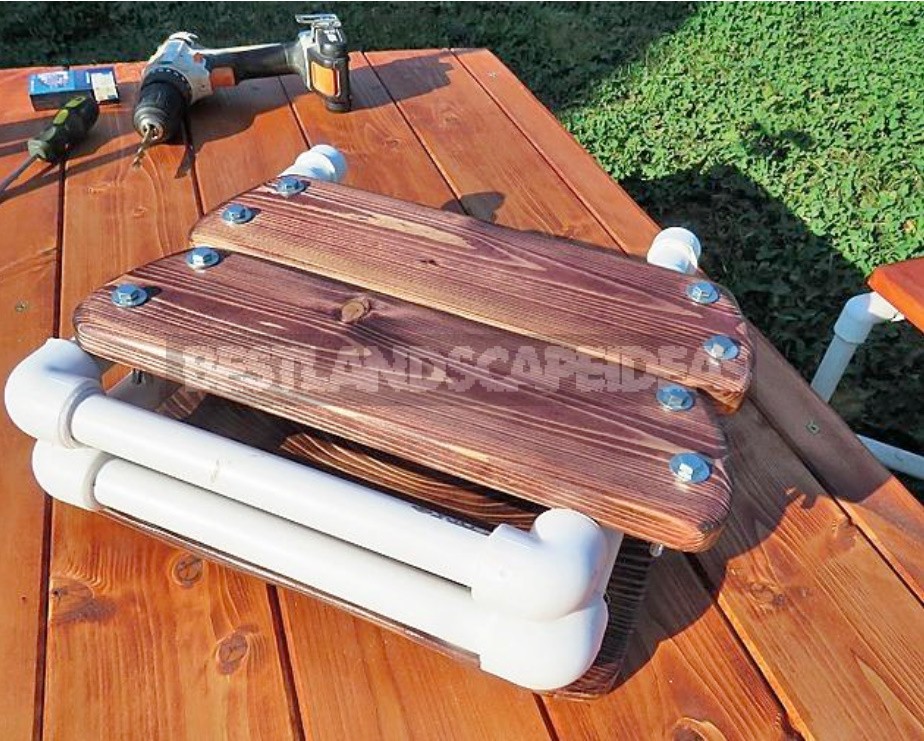
Assembling a chair
The stool Assembly is extremely simple:
1. Insert the bolts into the holes that are drilled in the pipes, throw the washers and tighten the flaps.
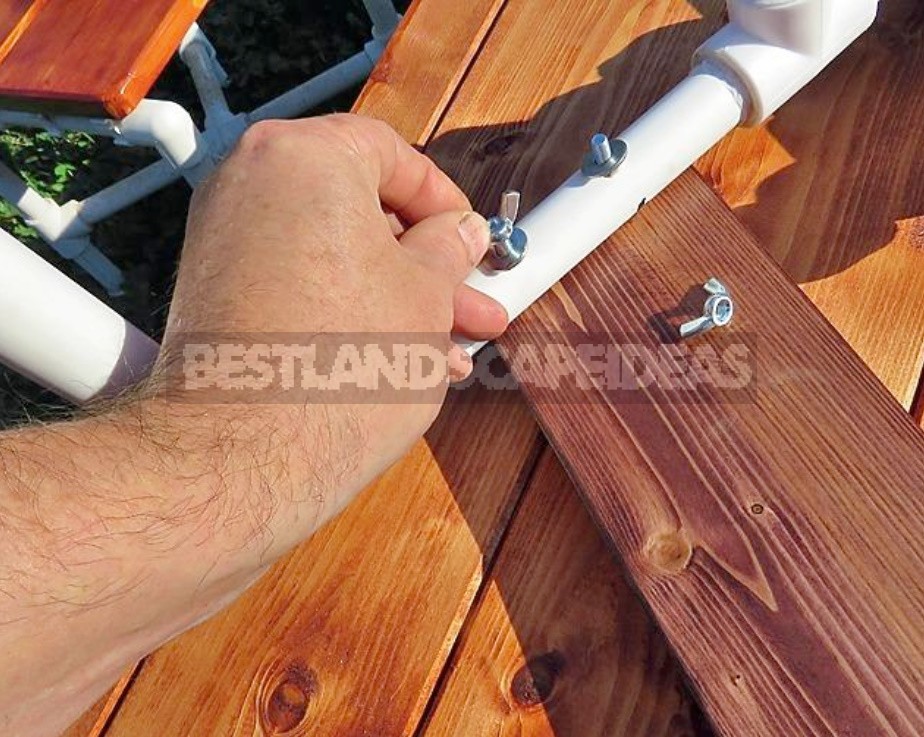
2. the Frame is assembled, it remains to install the seat.
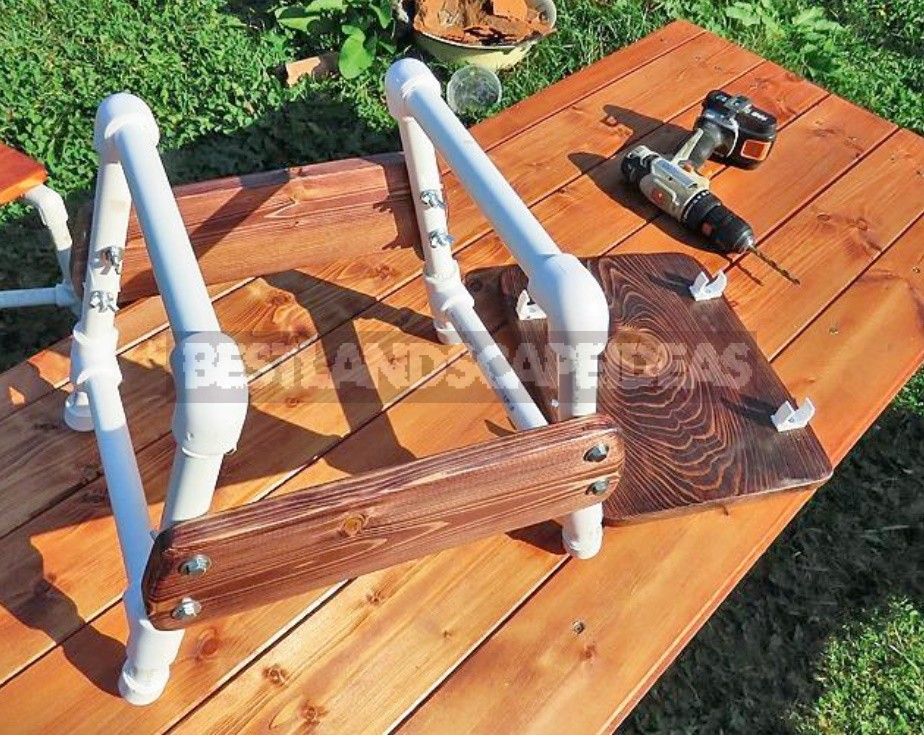
Four plastic clips are attached to the bottom of the seat. They snap easily on the pipes, and the seat falls into place.
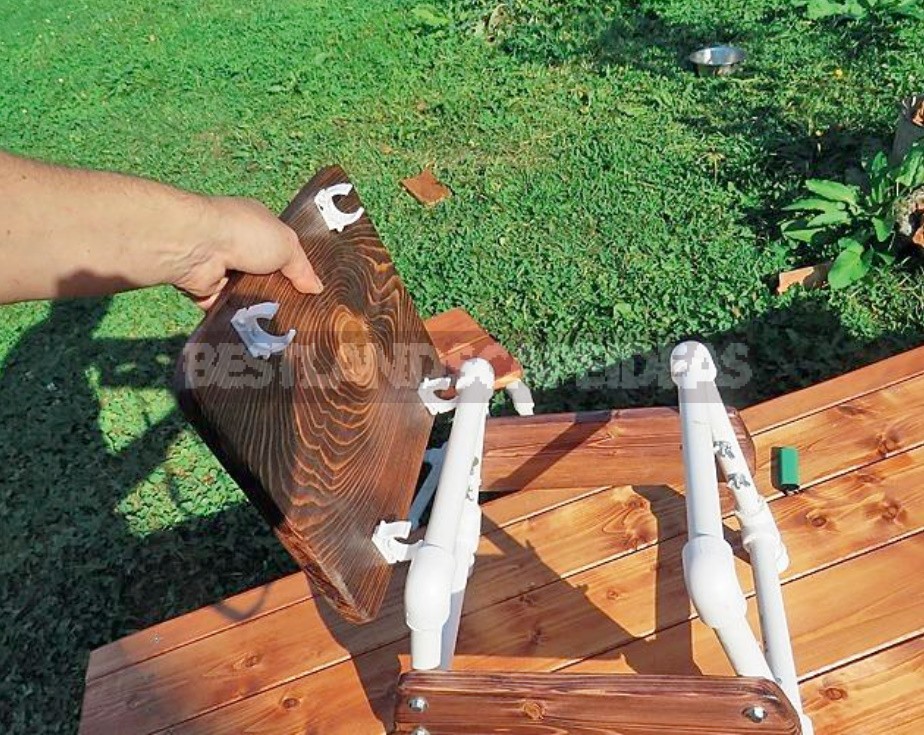
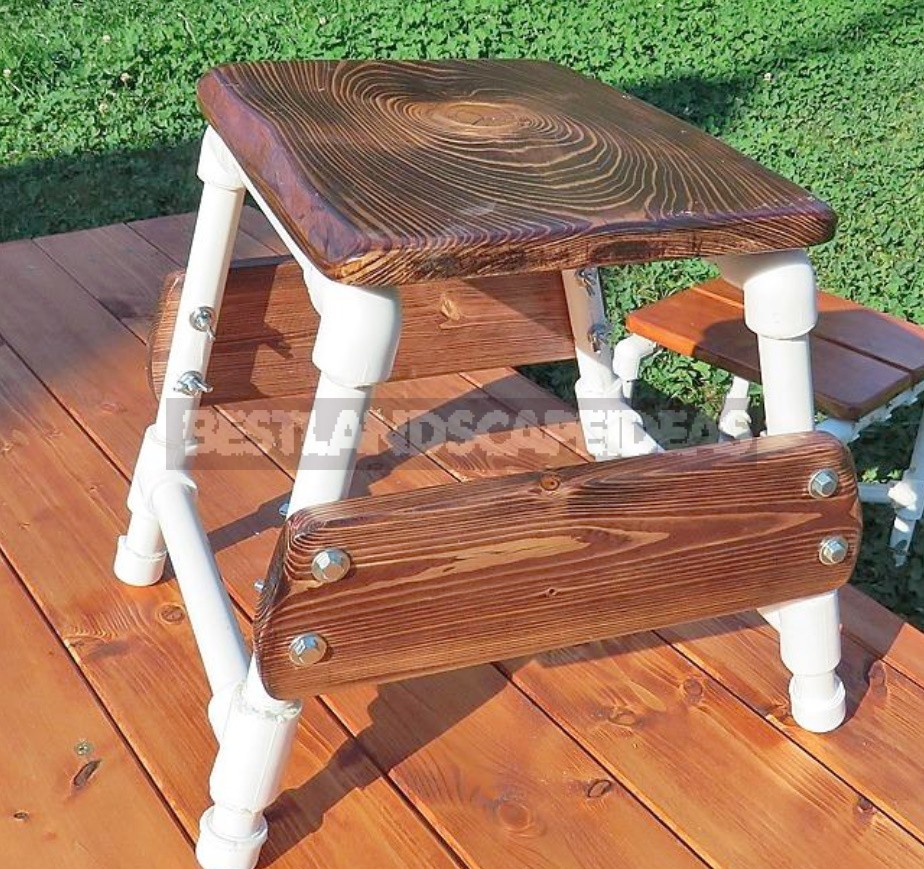
3. the Collapsible stool is assembled. The design turned out to be very stable.
Relative stool theory
The Bicycle was invented 200 years ago. Today it is funny to hear that “he invents the Bicycle”, but new original designs appear every year. I decided to go further and develop this direction-to invent a stool. What could be simpler? Just make a drone on your knee. The “unfinished stool” complex has been haunting me for the past few years. When all normal school children were sawing stools in the labor class, I was sharpening “rams” (a billet for a hanger made of aluminum in the form of a RAM’s head). That’s why I never made that one and only school stool in my childhood. Perhaps we can try to go back 35 years. I wrote this so that readers will understand how serious my research in the field of stool construction is. The perfect stool will be created, no matter what it costs me!
