Connect and conquer-perhaps, this is how you can describe the task of garden paths, which, like a thread, collect all the parts-the beads of the site. And yet-decorate and structure different areas of the garden. What are they? Very different!
On the way to perfection
Garden paths-arteries of the site, which runs country life. And as in any living organism, they all lead to the” heart ” — a cozy and hospitable home. So, just have to harmonize the surrounding space. What do you need for this? Scintilla:
- Define the purpose of the track;
- Give it the desired shape;
- Right to pick up satellites.
Let’s look at this process step by step!
Step 1. What role is prepared for the track: the main or secondary?
The performers of the main roles are responsible for the presentation of the garden (for example, the path leading from the street to the front door), as well as for the exercise and admiring the prospect that opens from certain points of the site. These” front-weekend ” garden arteries should be wide enough and equipped so as not to turn into a dirty swamp in the rain or snow. We recommend to pave them with durable material and pay close attention to the design.
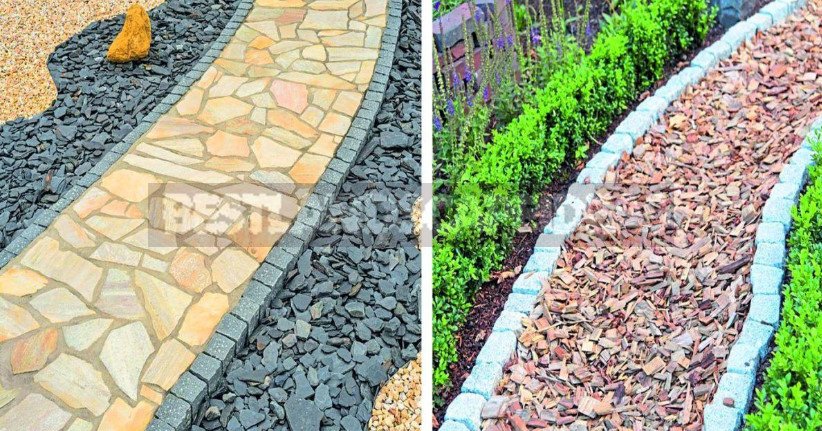
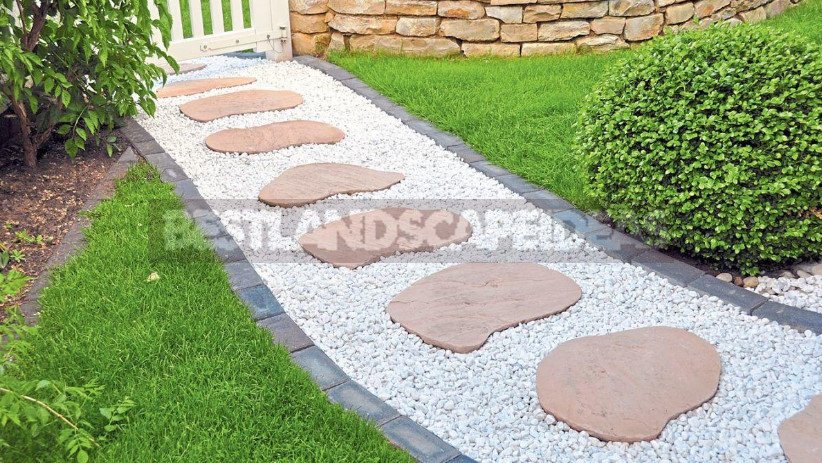
“Actors” of the second plan got more down-to-earth, practical “party” (for example, on them transport cars). These elements do not actually have any decorative function, they can be filled with loose natural material, such as gravel or mulch from the bark, or made from separate step plates.
Step by step — a great option for the lawn! The optimal distance between the plates-40-60 cm.
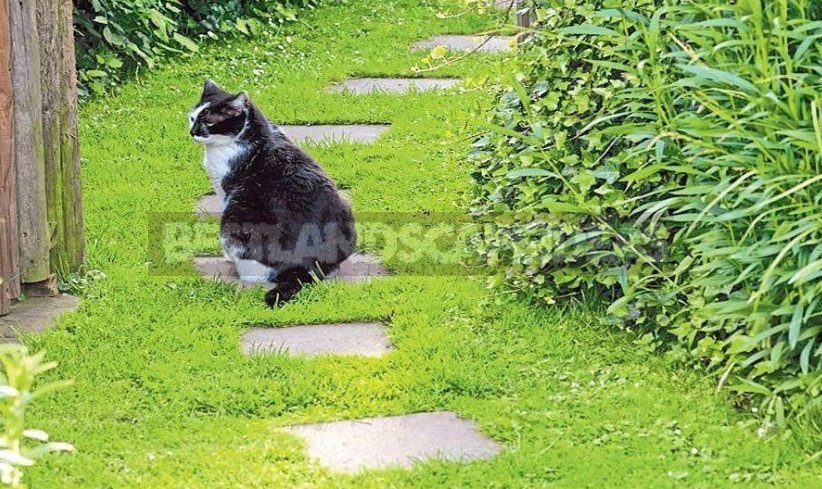
Do you prefer an exclusive approach in everything? Then personally make plates of concrete and inlay them with fragments of tile.
Step 2. What form do I specify the path?
It plays a crucial role in the style of the garden, because in the modern area more appropriate straight path with sharp rectangular turns, which can not be said about the garden of the village or Mediterranean style.
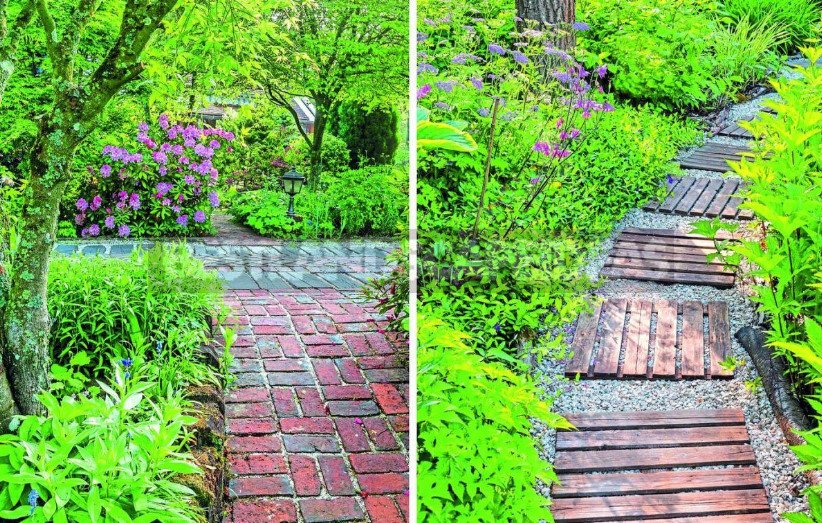
Fans of intricate turns landscape designers give this advice: the track should not change its direction without any reason. A good reason to change the trajectory can be a shrub, a tree, a large boulder, in a word, an object that makes the track “wag” to the side.
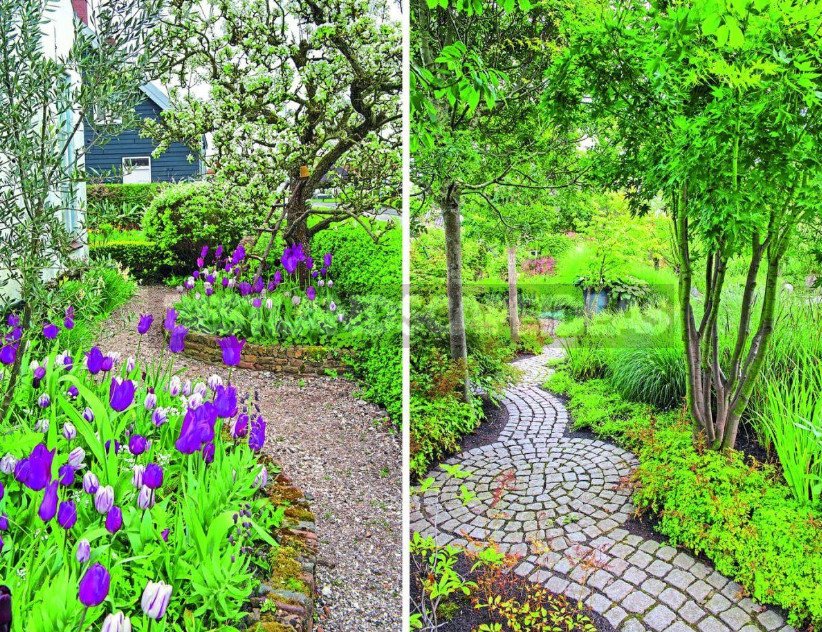
Tip: objects-obstacles can be placed after laying the track, thus justifying a daring turn.
Step 3. Satellite selection
Picturesque and harmonious view of the tracks give the neighboring plants. Blurred lines-to-face cobbled — flora successfully temper the rigor of the massive elements. Do you prefer a strict style and want to emphasize the clarity of the lines? Planted along the path low sheared hedge.
Important: a holistic impression of the house and the site helps to create the right color of the material.
- Warm colors (brown, beige, yellow, red) are appropriate in the rustic and Mediterranean possessions;
- Gray shades have a unique feature: they are in harmony with any environment in the garden;
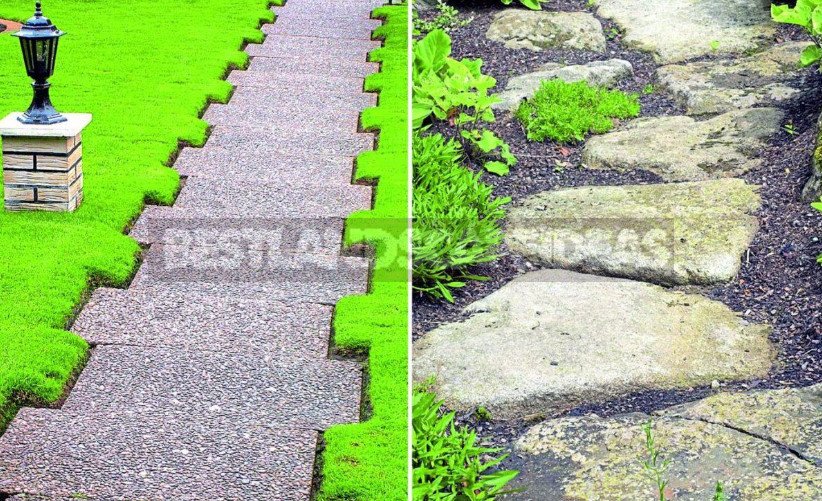
- On a modern site cold and reserved tone of a stone and concrete optimum look. The shape of the individual elements and their dimensions play a key role here: the more geometric and larger the slabs, the more modest they should look.
The joy of feet
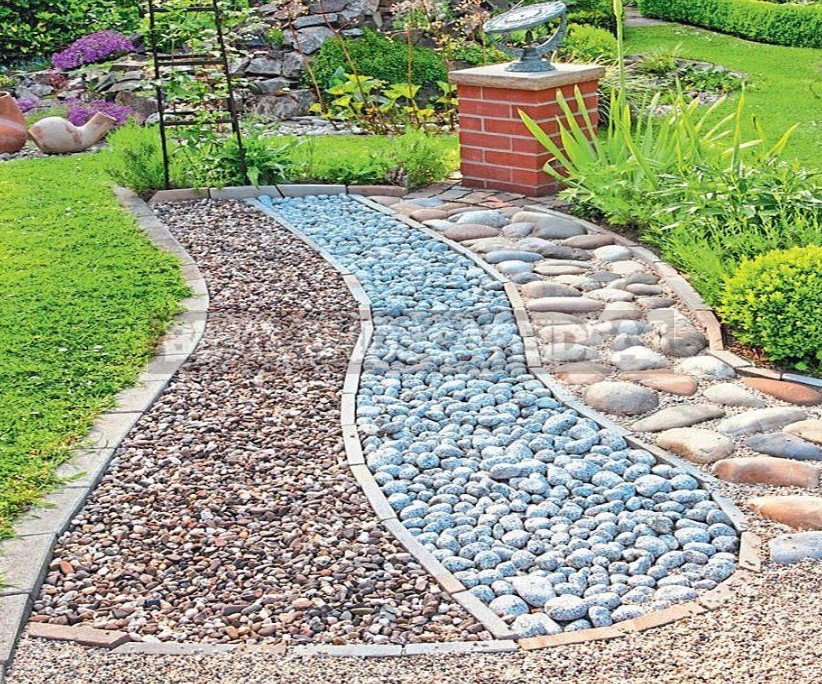
Why not create a path next to the house where you can walk barefoot? Massage is incredibly good for your health! Lay a beautiful path-massager is very simple:
- Divide the track into several parts and fill each with a different material, for example, the first – mulch from the bark, the second – gravel, and the third – sand or stones of different fractions.
- For a protection on perimeter of a footpath it is desirable to establish a stone blocks, and for differentiation on “sections” it is better to use a metal profile with the rounded edges.
Laying the groundwork
Gravel path
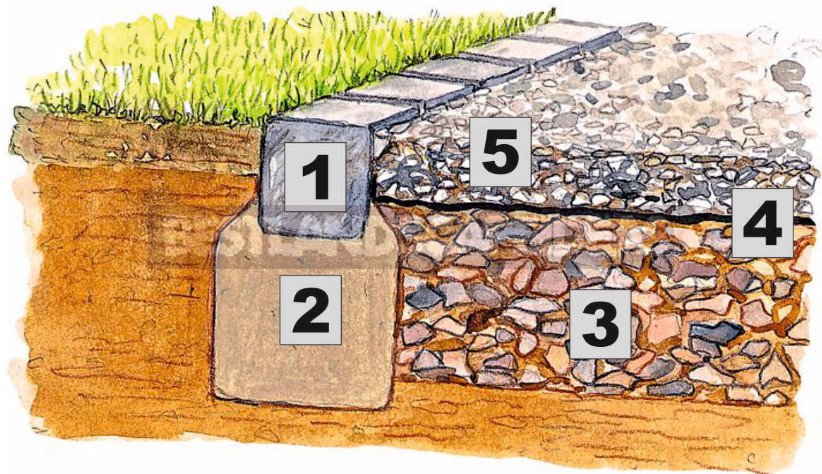
First you need to set the shape of the future track, and then remove the layer of earth and tamp the bottom. After that, you can proceed to the creation of the border, which will not allow the bulk material to move into the flower beds.
- Set the edging paving stone (1) in a cement-sand mortar (2) 15-20 cm thick;
- When the solution hardens, in the bed of the track, pour crushed stone (3) with a layer of 15-20 cm and cover with non-woven material (4), so that weeds do not germinate (fold the edges along the edging upwards);
- The last layer (5) is decorative gravel or pebbles.
The track is paved
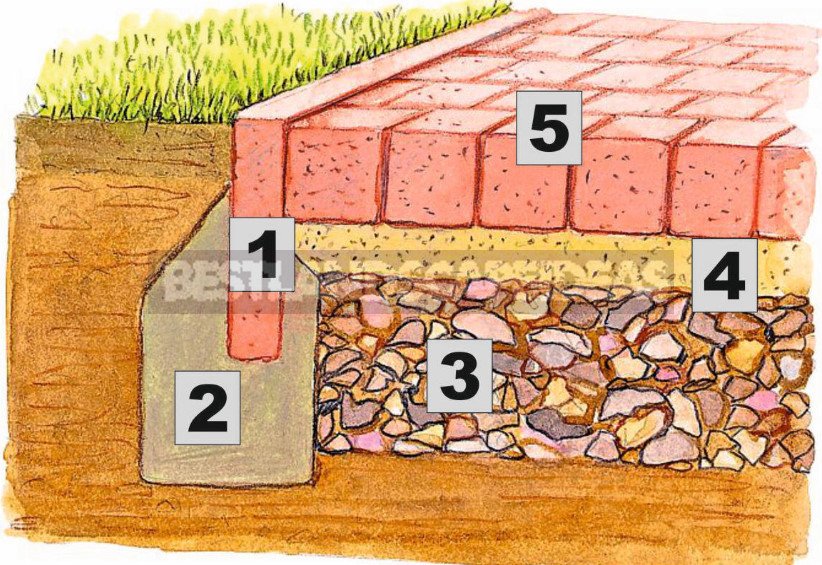
The laying of the paver track takes place in the same way:
- Install the border plates (1) in the strip Foundation (2);
- On the compacted bearing layer of crushed stone (3), pour sand (4) layer 3-5 cm;
- Finally, place the paving stone (5) on the pillow, notice the cement-sand mixture in the seams and wet.
Filler for seams
The paving stones are placed, leaving between blocks distance of 2-5 mm Joints filled so that they did not move, and beneath them was not formed the voids. For this purpose it is possible to use sand (for example, fraction 0/2 mm) or small crushed stone (for example, fraction 1/3 mm).

The most expensive fillers of seams, but also the most effective in fight against uninvited green guests – special solutions or sand with an admixture of the substances suppressing germination of weeds.
