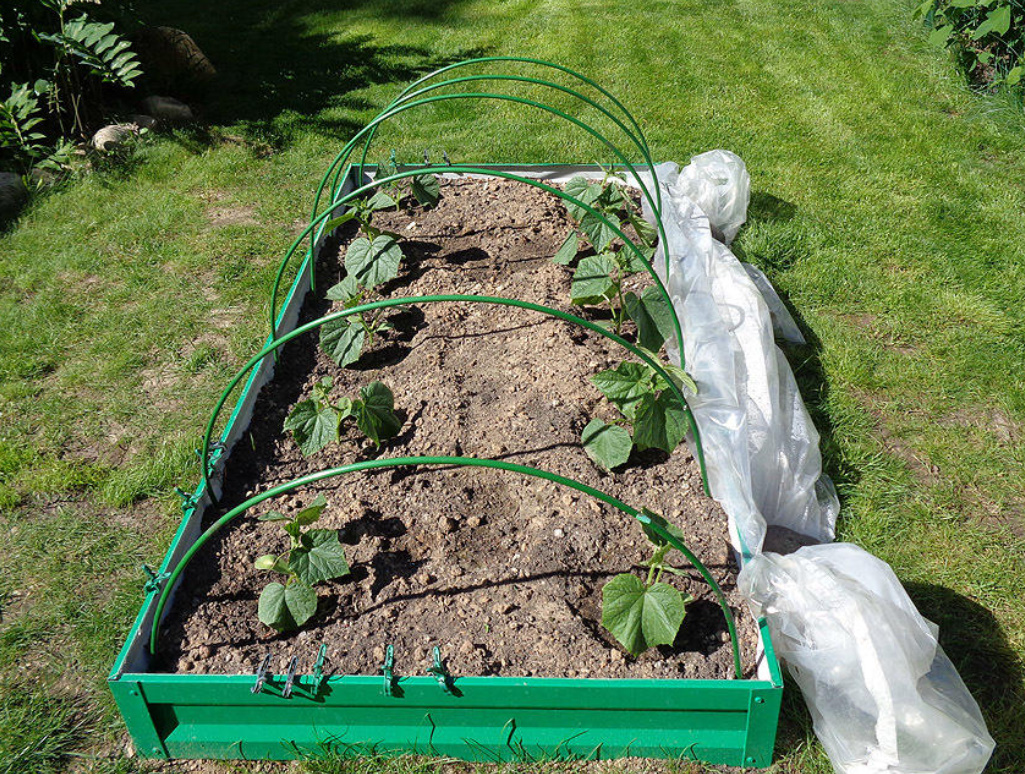
The garden path is the most important element of landscape design. It can be a winding path that runs away into the green shade of the garden, or a straight gray stripe that gives the site a clear geometry. But, unfortunately, summer residents often save on materials for tracks and do not comply with the technology of their device. After a year or two, the paths are destroyed, and they have to be repaired again and again. Let’s talk about the main mistakes that summer residents most often make when creating tracks, and how to avoid them.
1. The use of concrete and reinforcement for garden tiles
This, rather, can be called not a mistake, but a miscalculation. In principle, a concrete base for paving slabs is sometimes really required. But it is used only in places of high loads, for example, in a parking lot, or if there are complex mobile soils on the site: peat, dusty sand and others.
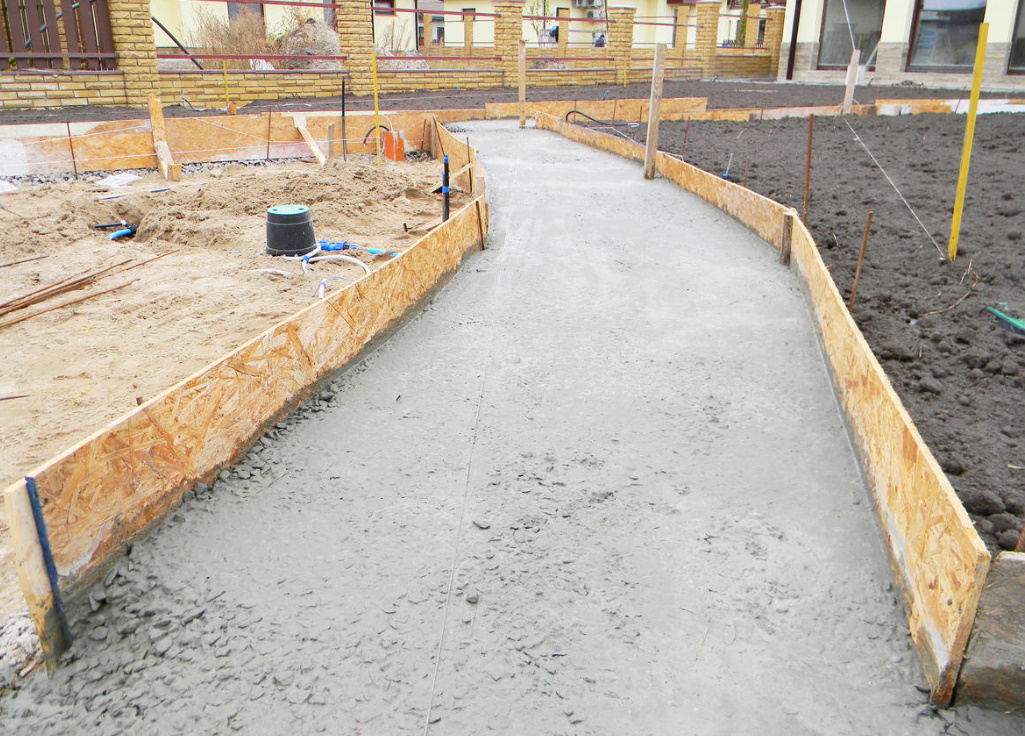
For an ordinary garden path, even for the one on which full wheelbarrows of fertilizers or crops will be carried, a gravel-sand cushion is enough, and sometimes just a sandy one. It’s scary to imagine how much a walkway with a reinforced concrete base will cost. Such expenses can only be explained by the psychological attitude “I want to do it for the ages!”. Although today there are simpler and more economical ways to do “for the ages”.
2. Violation of technology, lack of the right pie
What will be the pie of your garden path depends on many factors, including finances. There are several common options:
- Sand+geotextile+sand+tile.
- Geotextile+crushed stone+dry mix+tile.
- Crushed stone +reinforced concrete +dry mix+ tile.
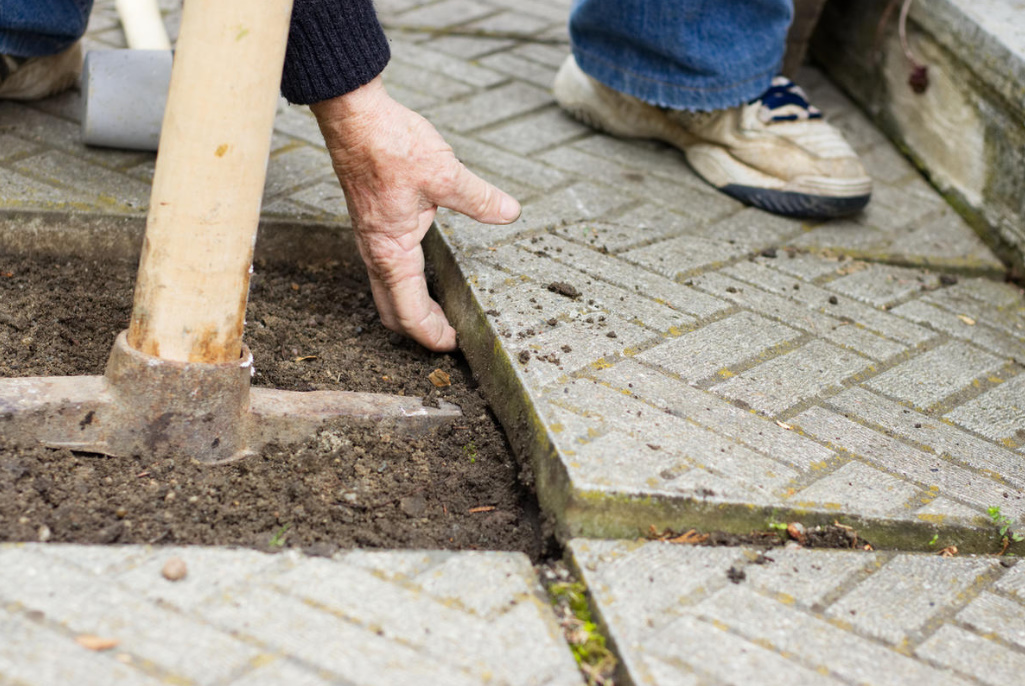
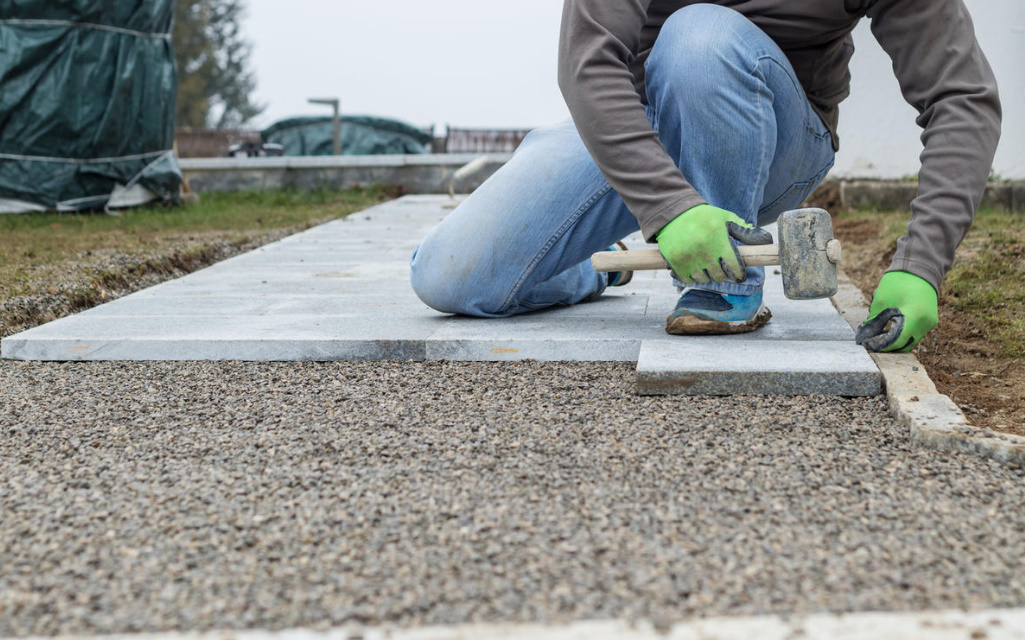
In any case, you need to remove the top layer of soil, prepare a trench. Sometimes it is necessary to arrange curbs that will protect the path from spreading to the sides. The base (sand and gravel) should be well compacted. If this is not done, the pillow will eventually begin to sag, the tile will swell, and the path will become wavy. Insufficient ramming is perhaps the main mistake in paving.
3. Lack of protection from roots and plants
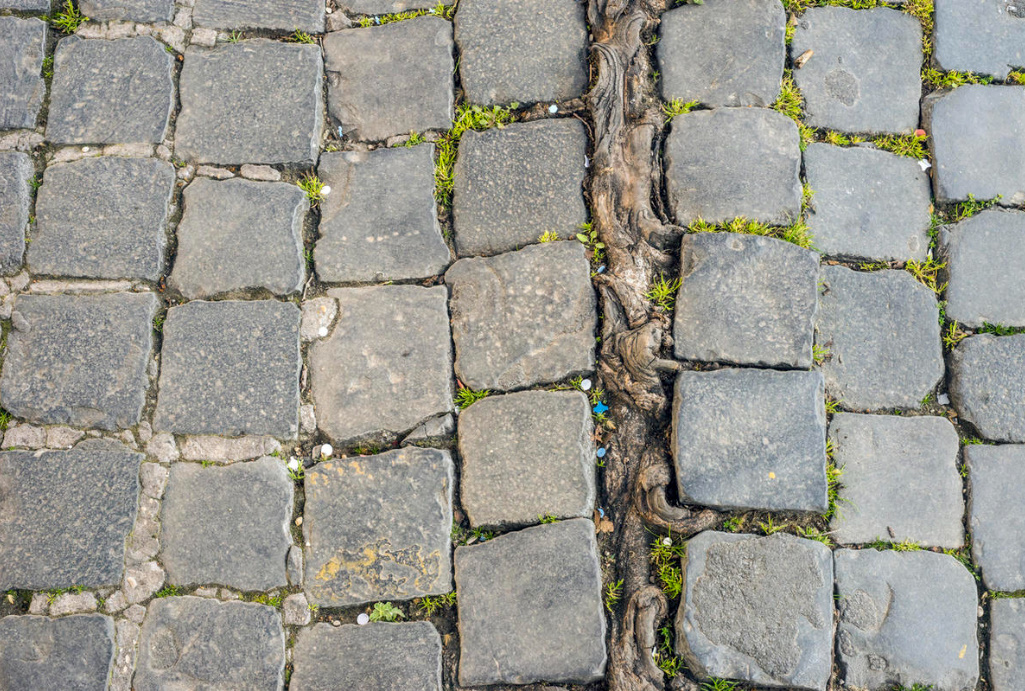
Nature constantly demonstrates its power. What is a tree that has grown on a stone worth? And if there are paving slabs with cracks between the canvases on the way of the plant, this is not an obstacle at all. Small sprouts are able to develop under the tile and lift it. Such a garden path becomes simply dangerous. Why is this happening? The source of the troubles is our belief that the roots will never grow through the gravel–sand cushion, and therefore additional protection from them is not needed.
4. No bias
We are talking about both the track as a whole and individual layers. In order for the path to dry out quickly after the rain, moisture does not accumulate and puddles do not form, it is necessary to make a slight slope when paving. If there is no drainage, the track will begin to collapse quickly. During freezing, the water will turn into ice, negatively affecting the coating.
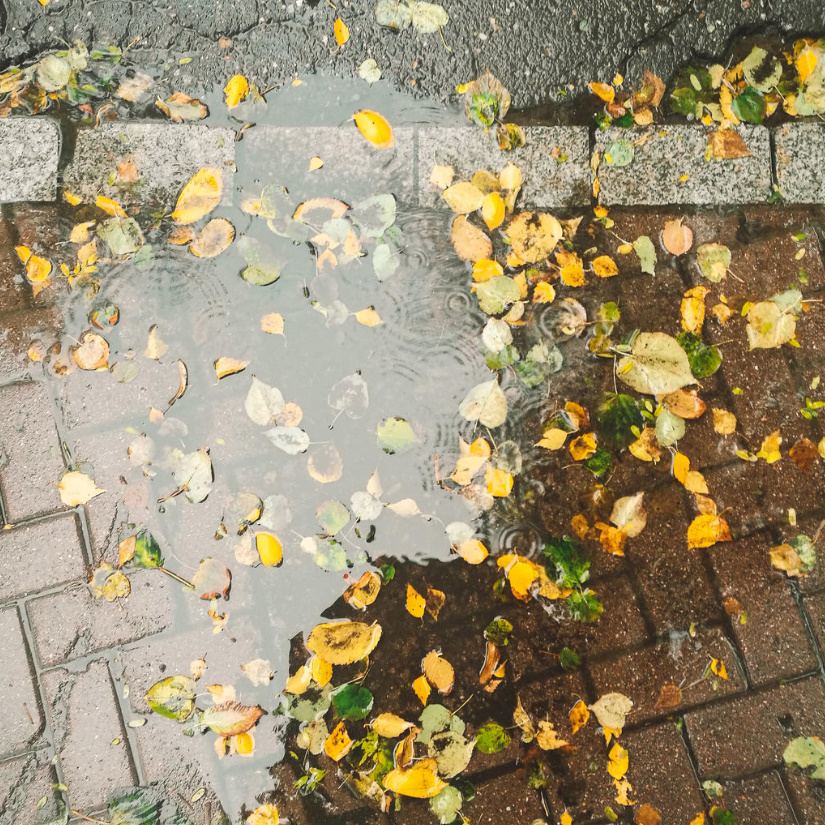
Sometimes, when paving, individual tiles are skewed. Over time, it only gets bigger. The protruding edges of the tiles turn into a dangerous obstacle on the way and a vulnerable place of the track during the same frosts.
5. Use of low-quality materials
The desire to save money is probably born together with the future summer resident. We will never throw away the remnants of building materials and will not overpay for what can be bought cheaper. Then, however, we pay twice. But the hope that “this time will be lucky” is always alive! Garden paths are no exception. If you can save money on tiles, we will definitely do it. Only few people manage to buy cheap high-quality garden tiles. There are also such materials that are destroyed after a week or two.
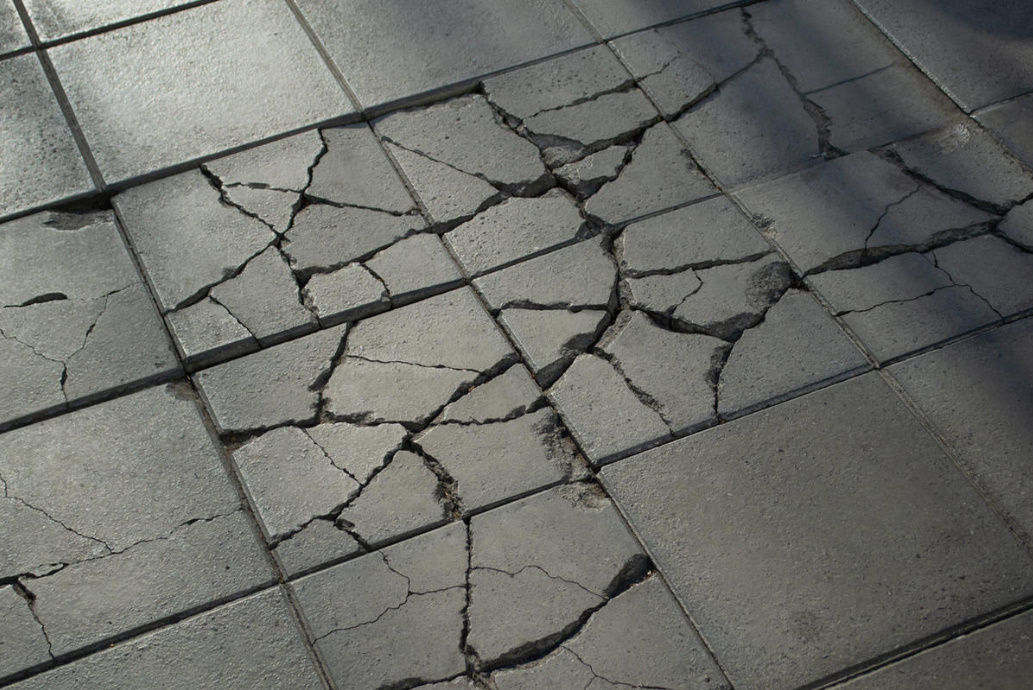
How to understand that garden tiles are of high quality?
- By sound. When a tile hits a tile, there should be a ringing (not deaf) sound.
- By color. If the tile is cheap, but at the same time has a rich color, most likely there is too much dye in it, which affects the quality of the canvases.
- On the wrong side. Streaks and yellow spots on the back side will tell about the clay impurities in the composition, and they should not be.
- According to a homogeneous texture. There should be no air voids and cracks in the canvases.
- By thickness. Even a fairly high–quality tile has one unpleasant feature – different thickness. This complicates the paving process, as some tiles have to be deepened more.
6. Use of unsuitable materials
This can include such “originality” as plastic lids or a completely unsafe option – glass bottles. In some cases, and unfortunately they are not uncommon, concrete also becomes an unsuitable material. It would seem that what could be more reliable? But the heaving soils do their job, and after a few years, the once perfectly smooth track begins to crack. Moreover, it is not always possible to purchase really high-quality concrete. In this case, crumbling cannot be avoided.
7. Miscalculations in sizes and shapes
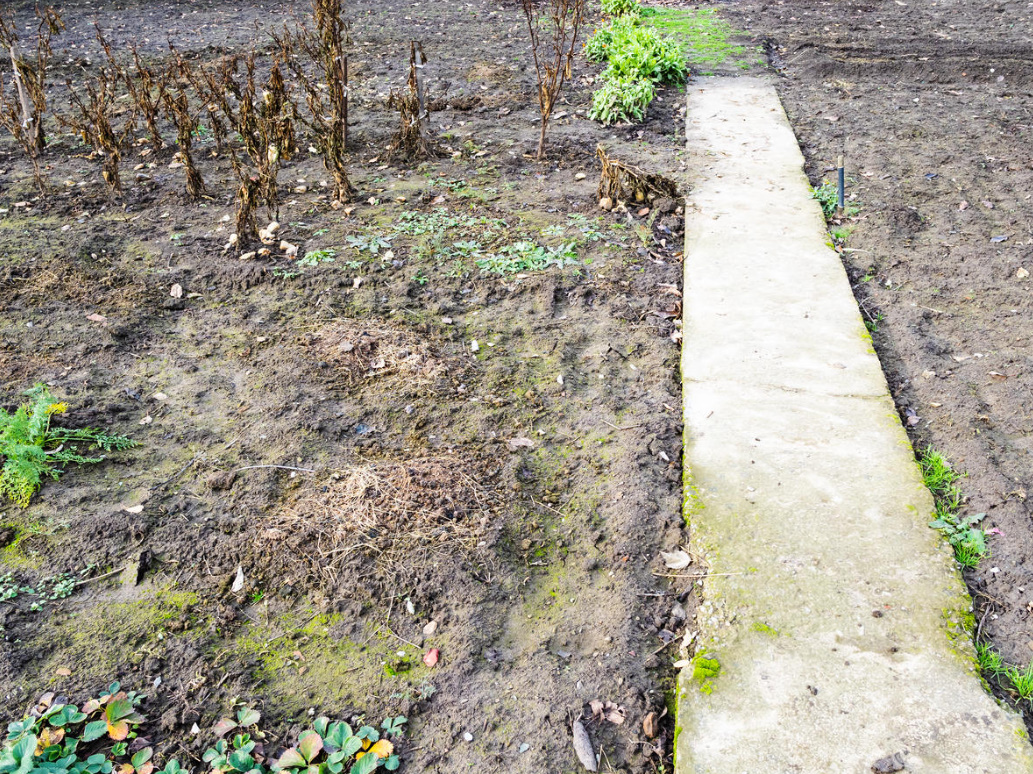
Of course, no one will oblige you to do on your own section of the track according to technical regulations, but it is necessary to be guided by common sense! Firstly, the width of the track should be enough not only to pass smoothly from point A to point B. It would be nice to turn around comfortably at point B. And if you need to bring a bicycle or a baby stroller… At the same time, it is necessary to calculate the width of the track in terms of the size of the paving material in order to avoid a large amount of waste. It is important to remember this if the track makes a turn or has a step.
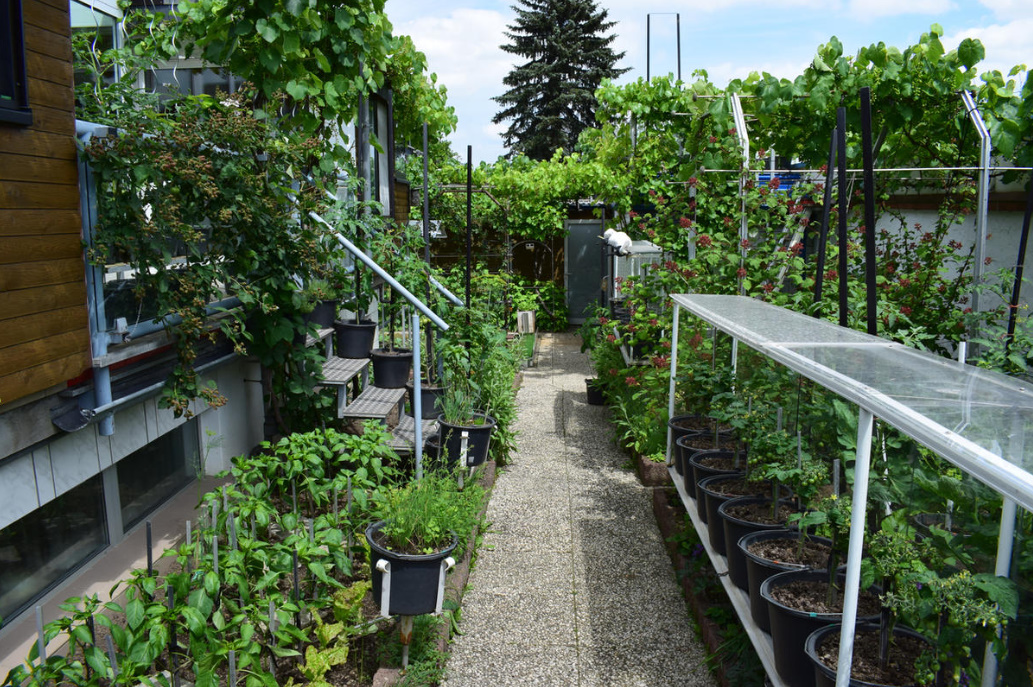
How to make a garden path without problems
A profiled membrane with geotextile will help to avoid some mistakes and problems both with paving and with subsequent operation. It is impossible to say that this is an absolute novelty, because the material is successfully exploited both in suburban areas and in public areas.
What is a profiled membrane
What kind of material is this? The profiled membrane is a canvas made of high-strength polyethylene with a thermally attached layer of geotextile. It is covered with special semicircular projections with a height of 8.5 mm. Thanks to them, channels (cavities) are formed, through which meltwater and rainwater are quickly and efficiently discharged. This eliminates the possibility of puddles forming on the track. In order for polyethylene to work well in our climate, it must be of very high quality, capable of withstanding various kinds of loads and impacts. The material from which the profiled membrane is made remains stable at temperatures from -50 to +80 ° C.
What is geotextile for?
Non-woven fabric serves as a reliable barrier between the soil and the membrane. It protects the channels on the membrane from clogging. Just imagine that we will fill and tightly tamp the sand directly on the profiled membrane, thus filling the drainage channels. As a result, the conductivity of the channels will become scanty, and water will accumulate on the surface of the track.
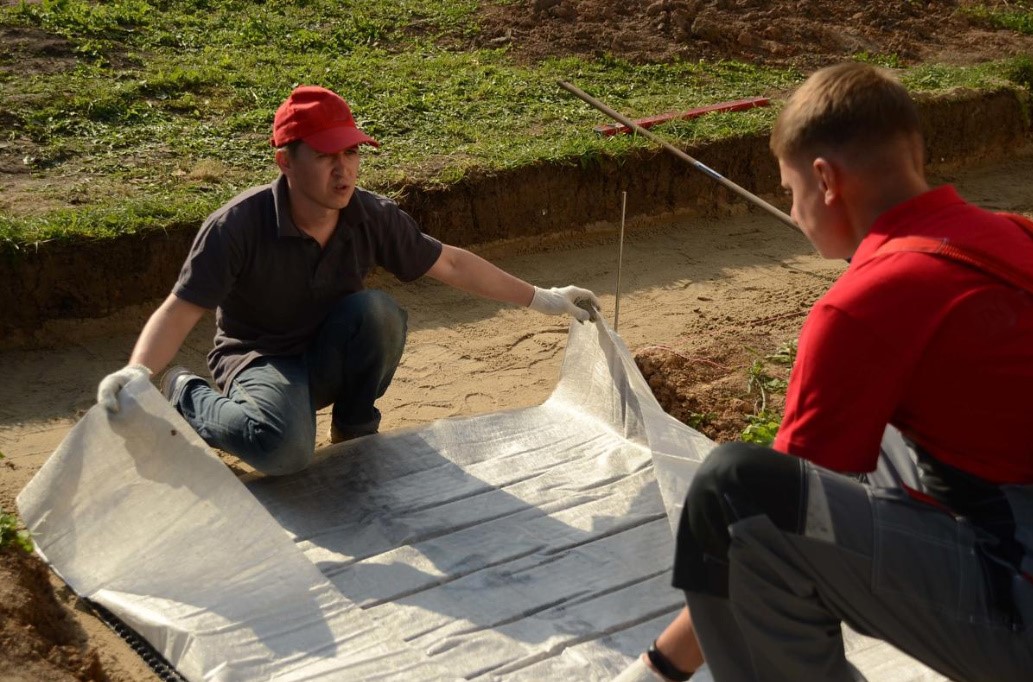
Important! The profiled membrane practically does not work without geotextile. No matter how much you would like to save money and buy canvases without non-woven fabric, you can not do this! Saving will turn into a senseless waste of money.
Under such loads, the geotextile must be of high quality and durable. Therefore, high-quality geotextile is used. It has an extended service life, is resistant to silting and mechanical loads.
Mounting the track “for the ages” in 5 steps
Stability is what we always lack so much. The track with a profiled membrane will last more than 60 years, since this drainage system does not decompose in the ground. It also allows you to maintain the stability of the underlying layer and increase the bearing capacity of the garden path. This means that the membrane evenly distributes the pedestrian load and prevents it from sagging in certain areas. You can be sure that the track will not float away in the spring and will not be washed away. At the same time, no technically complex and costly installation work is required. All the work can be done independently, moreover, alone.
Step 1. First prepare a trench of the desired width and length.
Step 2. Lay medium-grained sand on the bottom and form a slope of at least 3 mm by 1 m.
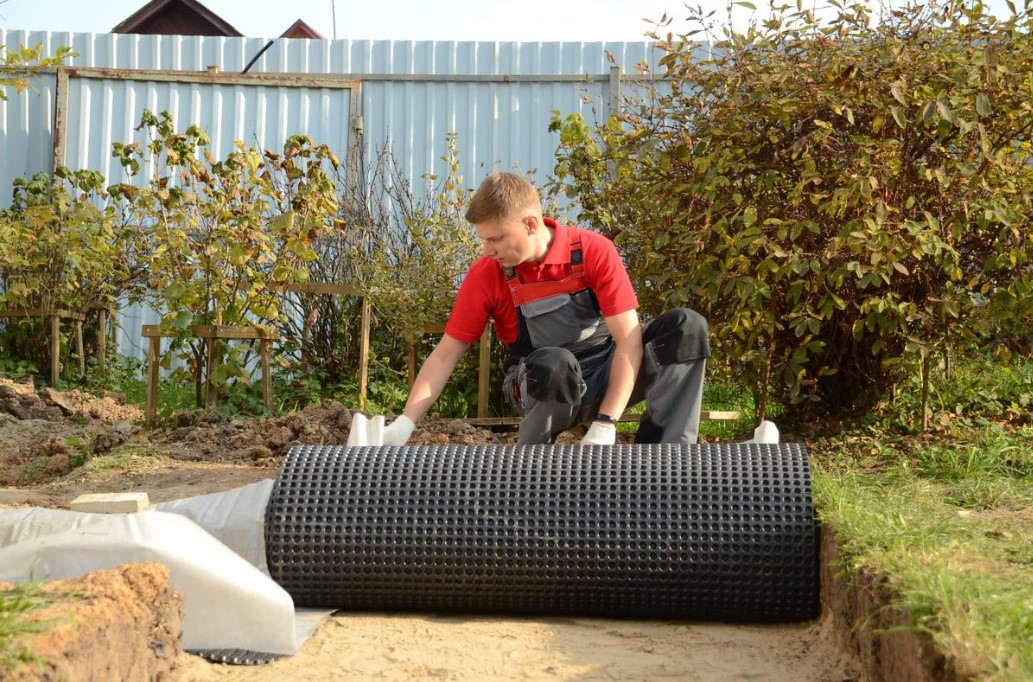
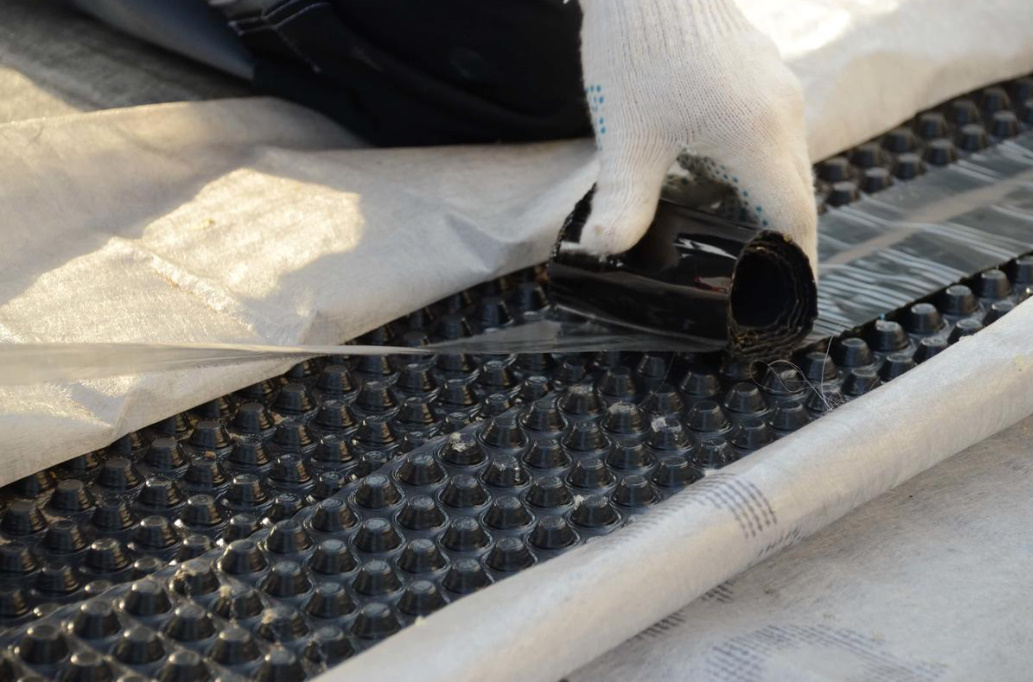
Step 3. Let’s start the installation. Lay the membrane geotextile up. We overlap the canvases on 4 ledges or 10 cm . To form a complete filter layer, we will tape the seams between the membranes, and we will fasten the geotextile with adhesive tape.
Step 4. Next, we form a bearing base of crushed stone or sand — the bulk material is selected depending on the expected loads on the track.
Step 5. Then we lay the finishing coating. At the same time, it is recommended to apply the technology of paving on sand, that is, to lay tiles on the underlying layer of sand with a thickness of no more than 5 cm.
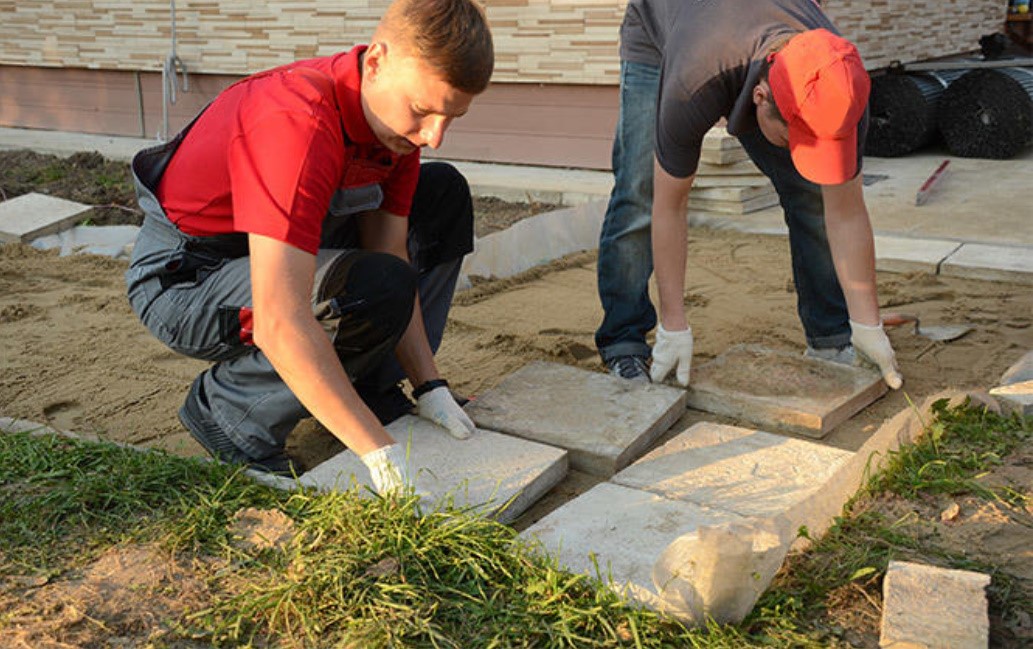
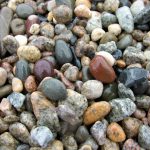
Almost any material can be used as a finishing coating for the track (but do not forget about item 6 from the list of errors). Instead of tiles, you can use, for example, gravel or pebbles.
