Growing grapes is a delicate matter, which has many nuances. The most important thing is to give the right start. Often, a novice grower, incorrectly planting even a high-quality zoned seedling, does not get a decent result and is disappointed, refuses to breed this culture. In this article we will provide you with clear guidelines for the preparation of smart planting holes for the grape.
Smart pit with drainage
On prepared, rather loose and sandy loam soils drainage does not play a big role: already in the second year strong roots leave the pit and feed far beyond its limits. In this case, it is better to add more coarse organic matter and expanded clay to the bottom of the pit. The heavy loam and dry southern lands are another matter. They are too dense, poorly pass water and air. In the pit, in addition to organic matter, it is recommended to add sand, but it needs a lot, otherwise the clay absorbs it almost without changing its properties. Here good development of bushes provides drainage from stones. Large rubble, gravel, broken bricks, expanded clay-all good.
We dig a hole usual: a cube with an edge of 50 cm or something similar. At the bottom we make a shovel of ash (potassium) and 1.5 cups of superphosphate (phosphorus), mix everything with the soil. From above-tier rubble or gravel 10-12 see in rubble, closer to wall, with hand convenient irrigation, stick in pipe diameter of 10-15 centimeters — plastic, either simple box from boards. It is important that the bottom of the pit had a slight slope from the pipe-otherwise the spilled water under the pipe will remain. The upper edge of the pipe looks out 10-20 cm above the soil. It is covered with a lid, so as not to be clogged with all sorts of garbage, mice and toads.
To rubble not swam the soil, it is laid chips, sticks, pieces of slate — not entirely, but so that the roots easily went deep. Then pour 10-15 cm of soil-the upper, fertile layer. Now in the center of the pit pour 3-4 buckets of humus. In it pour a couple of buckets of water. On a small humus cone straighten the roots of the seedling. The sapling is deflected to the North so as to expose its “tummy” and upper kidney to the sun. The pit is filled with the remaining soil so that only the upper Bud of the seedling remains on the surface, and mulch.
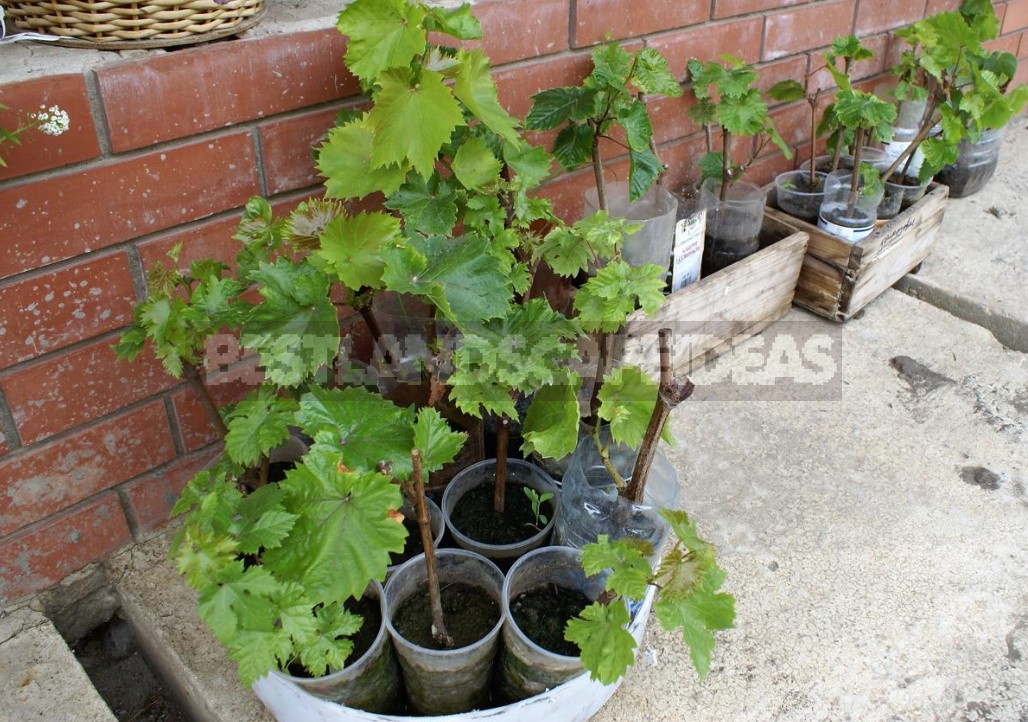
In General, the best fertilizer for feeding grapes is humus. This has been experimentally confirmed by winegrowers in Germany, and has long been used by many masters. In the first year, the seedling is not fertilized, but only poured into the pipe weekly by a bucket, and in drought-a couple of buckets of water. In search of moisture and nutrition, the roots grow quickly and master the soil space both in the pit and outside it. In the future, through the pipe, it is easy to make liquid fertilizing — they will be used by neighboring bushes. At the same effect on watering it is spent twice-three times less water, and it feeds the main roots.
As already mentioned, on relatively easy soils drainage is hardly useful, and it is better to put a pillow of humus (compost) and fertilizers on the bottom of the pit. Indeed, humus is actively pulled apart by soil living creatures, the walls of the pit are loosened and mastered by the roots more actively. In addition, deeply embedded organic matter rots slowly, nourishes the roots not immediately and is used for several years.
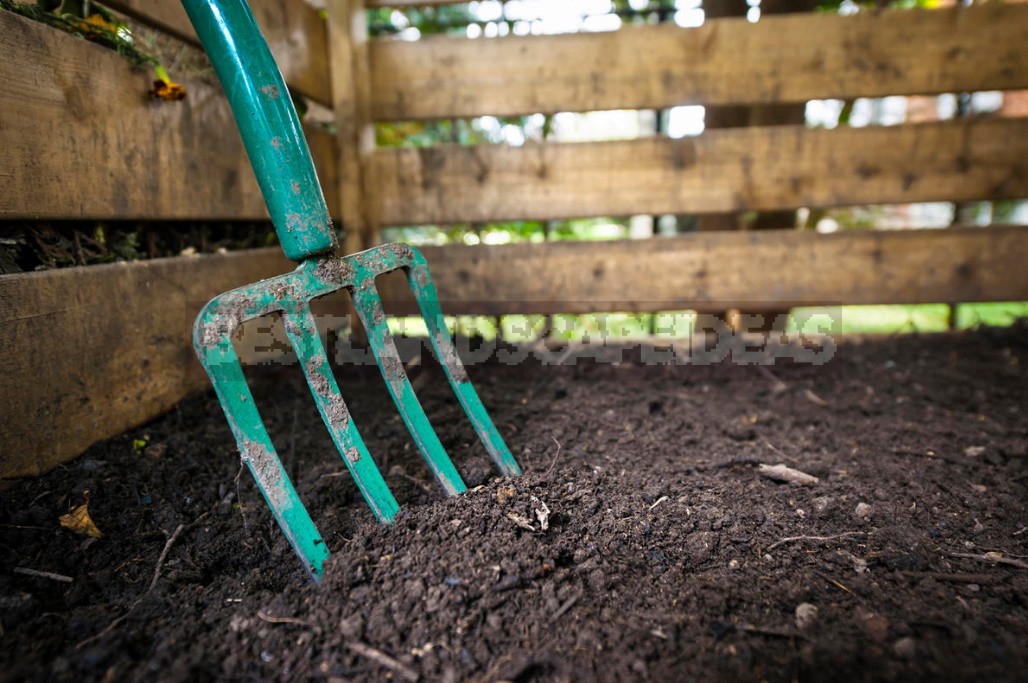
Sunflower or corn stalks, shavings, straw and other volumetric organic matter should not be put in the pit in large quantities-rotting, they will strongly settle, and the roots of grapes can suffer. I will add: it is impossible to use for filling of holes and fresh manure, droppings and feces-to grapes excess of nitrogen is categorically contraindicated!
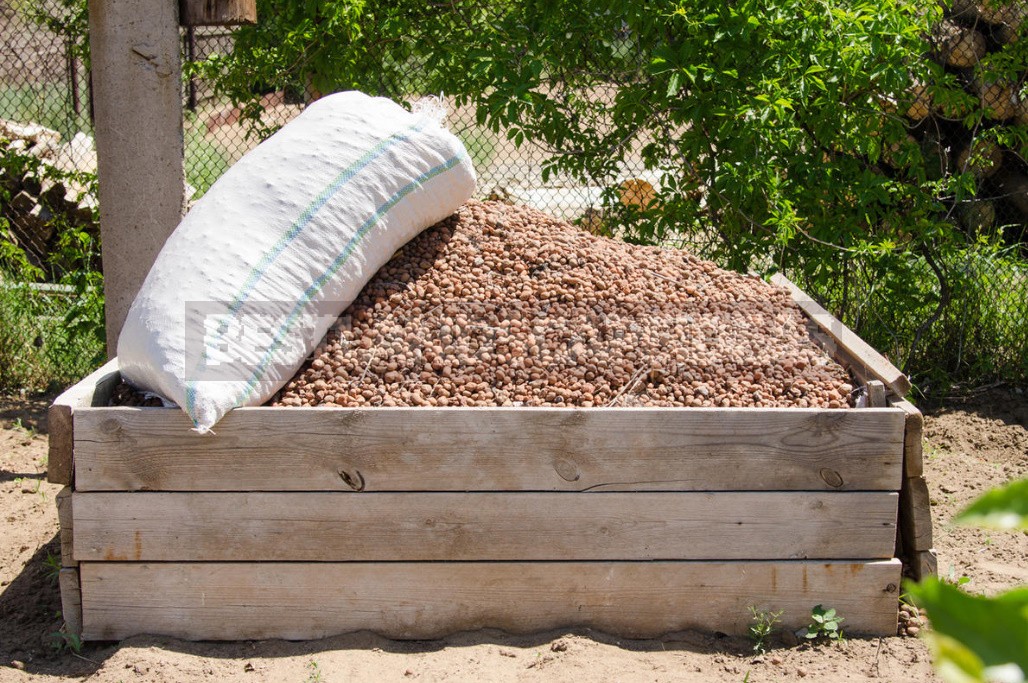
If possible, instead of rubble is better to use expanded clay. It is very moisture-absorbing-a great buffer that smoothes out moisture surges. In addition, it does not condense, better passes the roots and contains air. Finally, it is light, does not settle into the soil so quickly, can be used as a mulch, and is much easier to work with.
An even better buffer and moisture reserve is hydrogel. Now it is not uncommon-because sold American “Terawet”, European “AquaSorb”, “Aquod” and “Stockosorb”. Under the Bush is enough half a Cup of hydrogel. In experiments, bushes planted using “Terawet” developed twice as powerful as control ones.
Trench landing
In fact, it is the creative development of elongated pits to their full fusion. The advantage of trenches is that at their bottom — organic matter and solid gravel drainage, each Bush-its own pipe for watering and liquid fertilizing. Racks of a trellis we put in half a meter-meter from a trench. We plant the bushes in the trench, and to the trellis they are brought along the groove in the manner of layering. You can feed and already planted bushes: dig a trench in the aisle. For example, to arrange an organic vegetable patch. A year will not pass — all the roots will be there, you can be sure.
Of course, there is more to be done digging trenches. Another difficulty-a flat bottom, without depressions, which will accumulate water. But it creates an excellent, extended zone of increased comfort for the roots of the whole series. Perhaps this is the only real way to ignore the shortcomings of any soil other than swamp. Own-rooted shrubs are confident double, and graft — triple load, braiding gazebos and increased L-shaped trellis. So, if the soil is hard, and the intentions are serious, carry gravel, humus and drive the tractor without hesitation!
