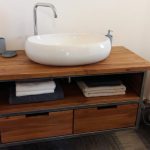
How much does the kitchen cost for the cottage? Not the one that will start to fall apart after a season, but a solid, high-quality one? Extremely inexpensive. Don’t you believe it? Then read it!
We decided to update the kitchen at our parents’ dacha. The task is to make it convenient, reliable, durable, but cheap. It is simply impossible to find kitchen furniture that fully corresponds to this list, and even taking into account the specifics of the room. Therefore, we will do everything ourselves.
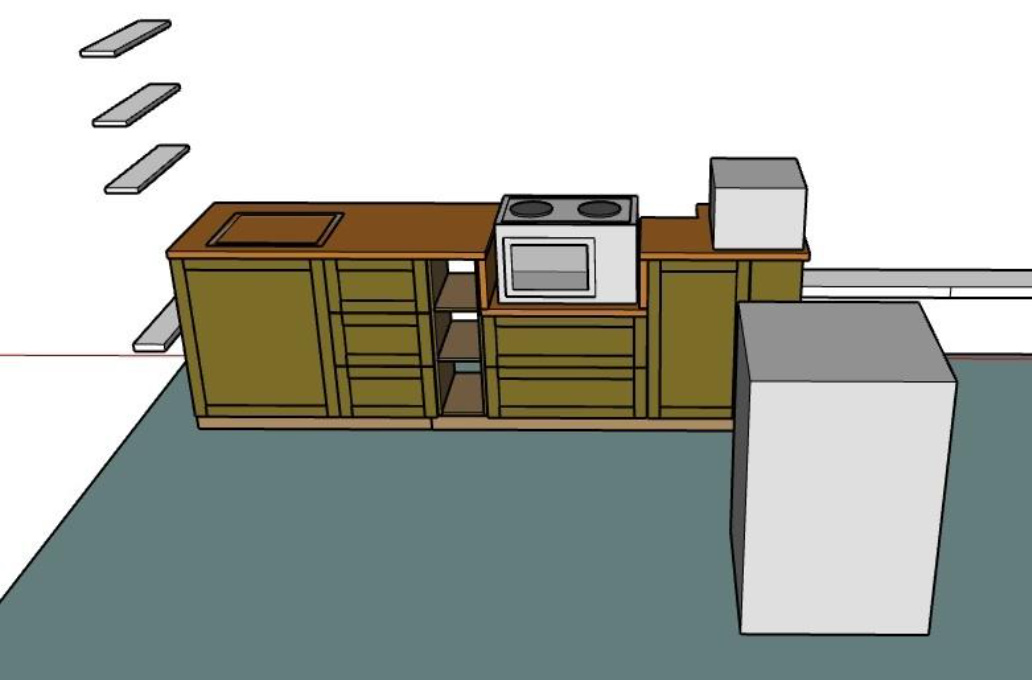
I will not give specific sizes, since our room has its own characteristics, but I will show the layout of the parts on plywood sheets. It will be so convenient for you to orient yourself to the size of your space, if you are going to update the country kitchen.

Materials
It took me two sheets of 15th plywood plus a couple of old scraps, a sheet of 10th plywood and a sheet of 6th plywood, a furniture board. You will also need Kreg screws, hinges, paint, varnish and oil for countertops.
Day one. Facades
It took me several days to get to work. The first one started with cutting plywood for facades. The thickness of the sheet is 10 mm.
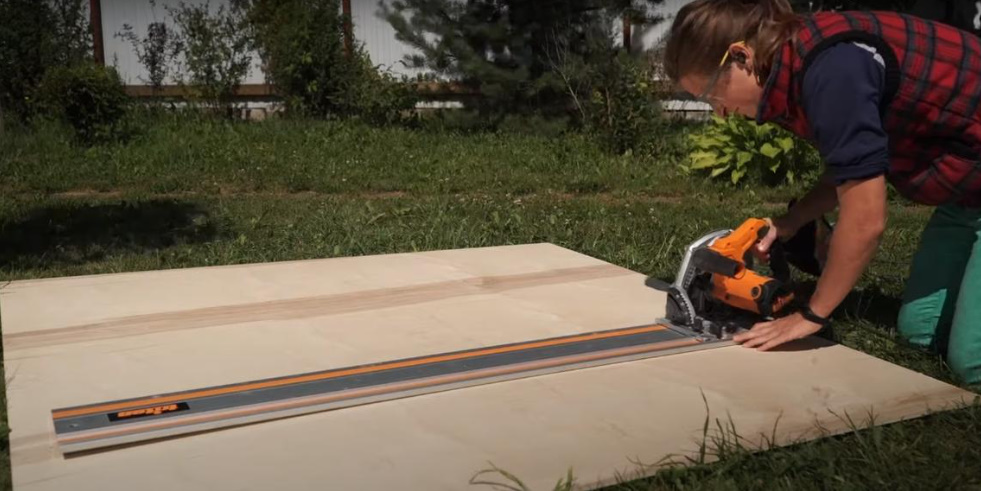
I did almost all the work with a circular saw, and where small parts were needed, I used a sawing table.
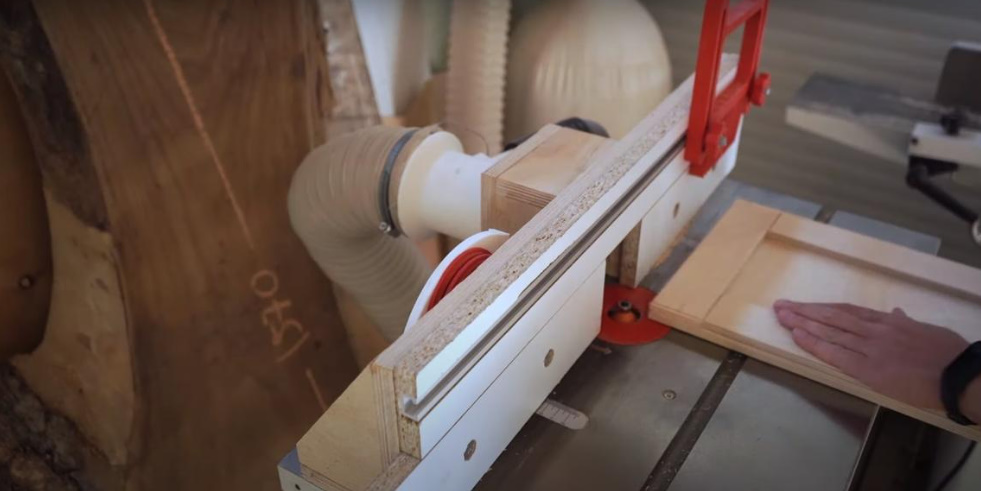
In addition to the canvases, they also cut out narrow slats for decorating facades. I decided to remove the chamfer from the front side of them so that our kitchen would look decent. I did it with a 45-degree cutter. I attached decorative details to the canvas with glue and, in order not to wait for them to grab, I shot them with a hairpin.
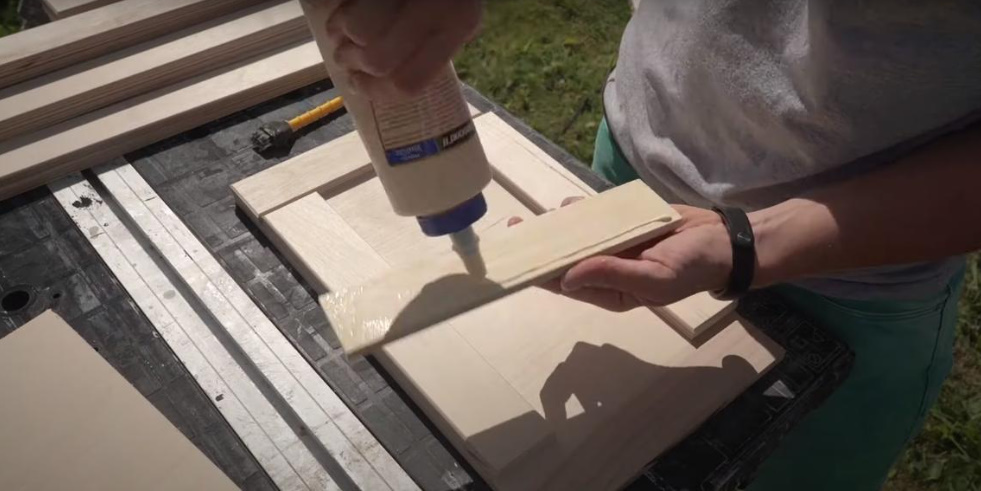
The back side of the doors was also processed with a milling cutter, so that it was not only beautiful, but also tactile pleasant.
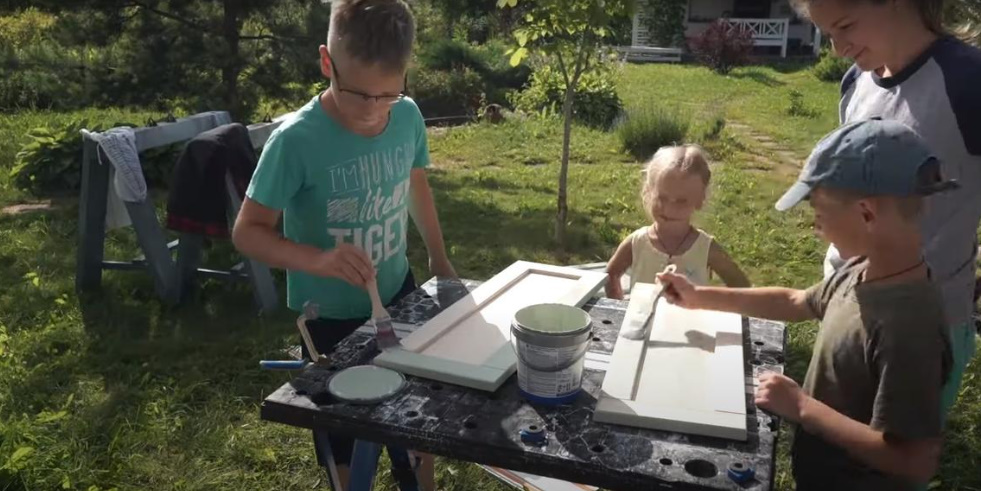
The finished facades were covered with inexpensive acrylic paint, which is designed for work in kitchens and bathrooms. And since the project was originally planned to be inexpensive, I chose an inexpensive paint. At first, the result disappointed me. But after applying several layers of coating and scalding, I was very satisfied. The facades turned out to be glossy, beautiful in color. Then they were covered with acrylic varnish. In general, it is very convenient to work with acrylic compositions: they dry quickly, and it took me about two hours to do all the work.
Day two. Drawers and racks
The second day was spent assembling the boxes. For the walls I used plywood with a thickness of 15 mm, for the bottom — 6 mm.
I cut the plywood and milled the walls of the boxes with the 8th cutter, then to insert the bottom there. I was collecting boxes with an oblique screw. It turns out quickly and at the same time very accurately. I recommend using Kreg screws as fasteners. I ran out of them during the assembly process, and I had to use ordinary screws. The difference is palpable. Kreg is held much stronger, and the design turns out to be more stable. When all the boxes were collected, they were slightly scalded.
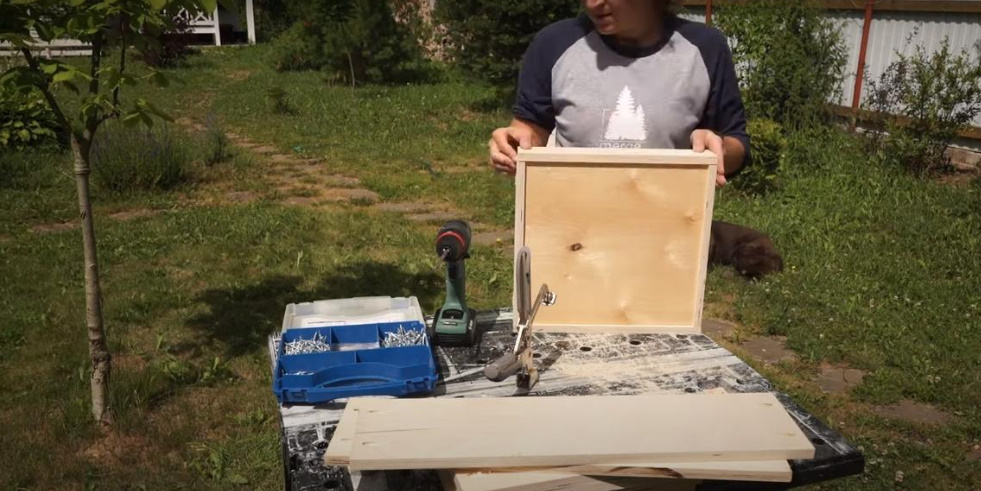
The next stage is an open shelving for the kitchen. I also use 15 plywood for it, and fiberboard for the back wall. I had never encountered the opening of fiberboard before and at first I thought that I could handle an ordinary knife, but it turned out that it was not so easy. I armed myself with a Japanese saw, and then completely cut with a circular saw.
I mill all the workpieces at the same angle. I painted it to match the facade. So it harmonizes with the main furniture, and the ends of the plywood are hidden. To make the rack look neat, where the connections are visible, I attached the parts to the shkant. But the bottom was still fixed on the oblique screw. This is both faster and gives rigidity to the structure. The back wall of fiberboard is nailed with ordinary finishing nails.
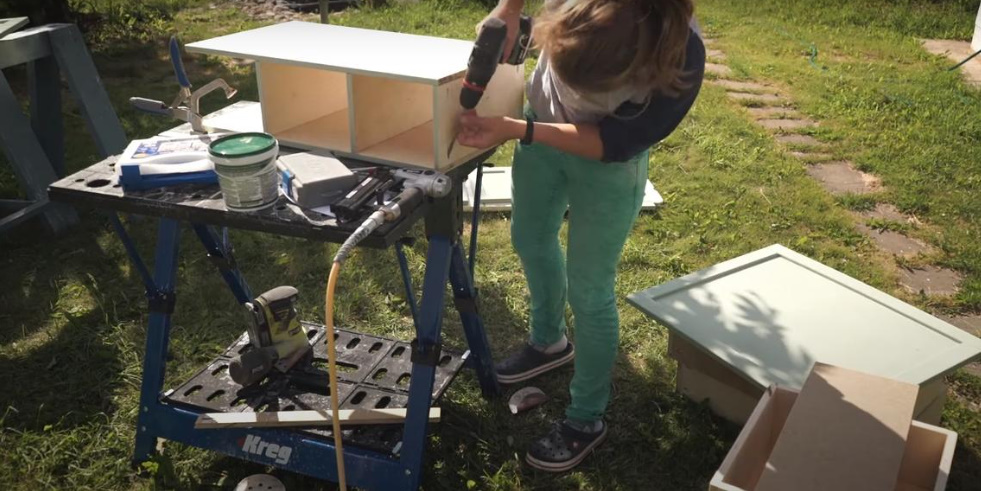
Day three. Frame for cabinets
A shelving is planned from the end of the kitchen. It has a more complex shape, as it repeats the geometry of the wall with a ledge. And so that he does not get out of the general idea and at the same time does not load the view with a monotonous wall, I decorate it with slats, as well as facades.
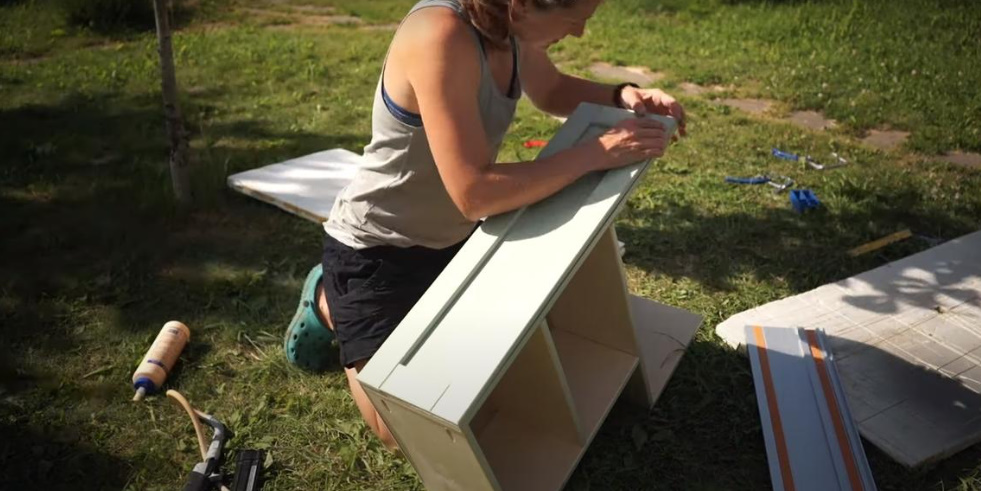
Now it’s time to frame cabinets. I will make it from slats prepared from a sheet of plywood 15 mm. That is, the walls of the cabinets will not be solid, but in the form of frames. Thus, we will save on the material. I will have cabinets of several heights, so I have prepared two types of frames.
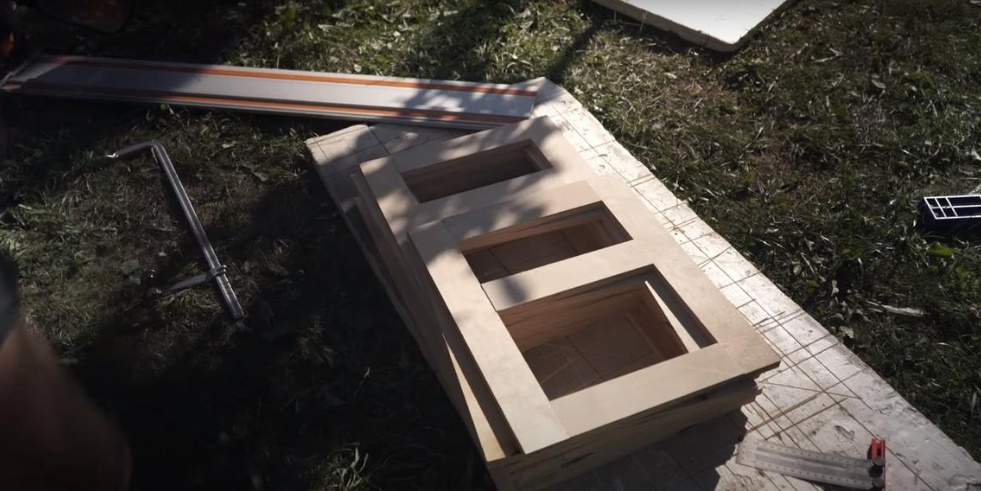
Since the floor in the kitchen is curved and sloping, we had to make a frame from an old beam to bring the structure to the level.
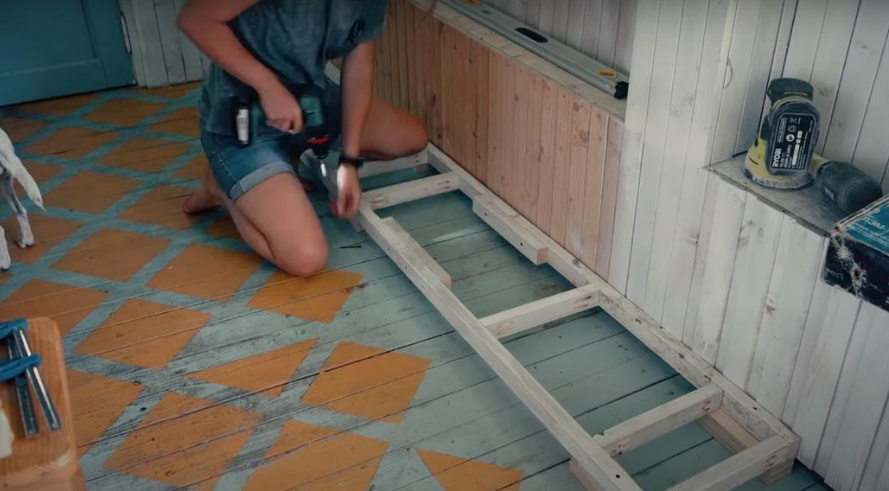
When all the parts are ready, you can start assembling. I arranged the frames of the cabinets, fastened them together and hung the facades. To mount loops, I use special templates. It is more convenient to work with it, and the markup turns out to be accurate.
For internal shelves, I drill several rows of holes at once so that it is possible to adjust the shelves in height.
I used guides for the drawers. And in order to perfectly fit the facades in height, I hang them after installing the boxes themselves.
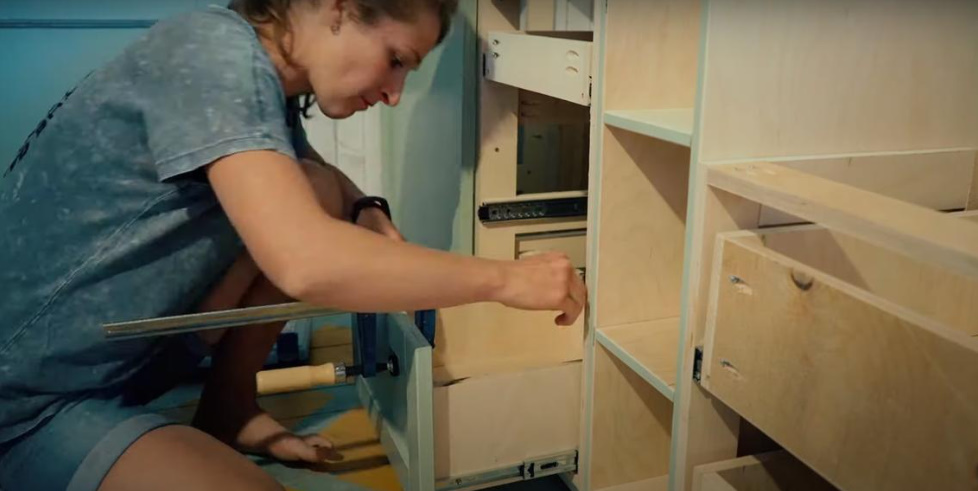
The countertop will be made of a furniture shield. Thickness — 28 mm, width — 600 mm. Since I have a working surface in several levels, I had to prepare several elements. It occurred to me that the connection of angles at 45 degrees would look better. As a result, I suffered with him, spent a lot of time, but it didn’t give any superdecoration. A 90-degree connection would look no worse.
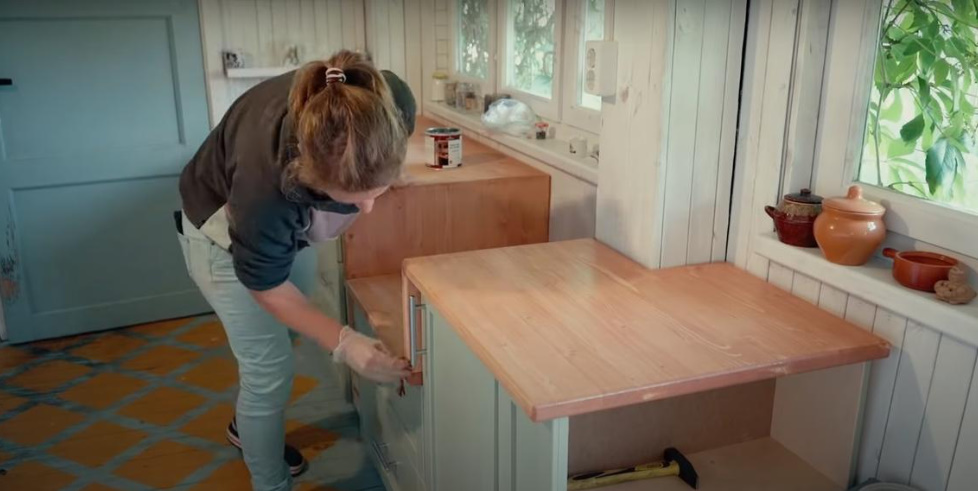
As a coating, I chose solid oil for countertops. I used it to process already mounted canvases. Then I installed the sink.
The result is a comfortable kitchen corner that does not load the room and is quite functional at the same time.


