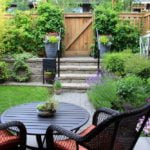
So, you have a new country house, and next to it is empty. Stunted islands of some kind of greenery, driftwood and a dull gray earth. Have you ever wondered where to start gardening? With the development of a plan, of course! Because you’ve already decided on the ideas, right?
If you like to experiment, you can create a landscape design with your own hands. What is needed for this? A little imagination, a little skill, a lot of desire and diligence.
Plan a landscape design with your own hands
Special programs will become indispensable assistants when developing a landscape plan, where with the help of a mouse and creative imagination you can recreate any picture on the screen: here you will build a bathhouse, there will be a lawn. There are others, but these two, in my opinion, are the most convenient:
- Sierra Land Designer 3D 7.0
- Realtime Landscaping Architect
But if you don’t want to work with 3D images, landscape design consists of drawing on millimeter paper at a scale of 1:100. As a basis, use the existing plan of the dacha plot. Transfer it to paper and start zoning.
Zoning a plot with your own hands
Think about where you will have outbuildings, where you plan to allocate a place for a lawn and where you intend to plant a garden, flower beds, beds, and so on. Mark the routes on the site. First, determine the main road from the gate to the house, then from the house to outbuildings, garage and recreation areas – gazebos, pond, lawns and so on.When zoning, try to avoid straight lines, let your paths and sidewalks be figuratively curved, so the site will look more aesthetically pleasing. Immediately decide on the size and configuration of those objects on the site that you do not plan to change in the coming years: a garage, a gazebo, a swimming pool, a sauna, and so on.
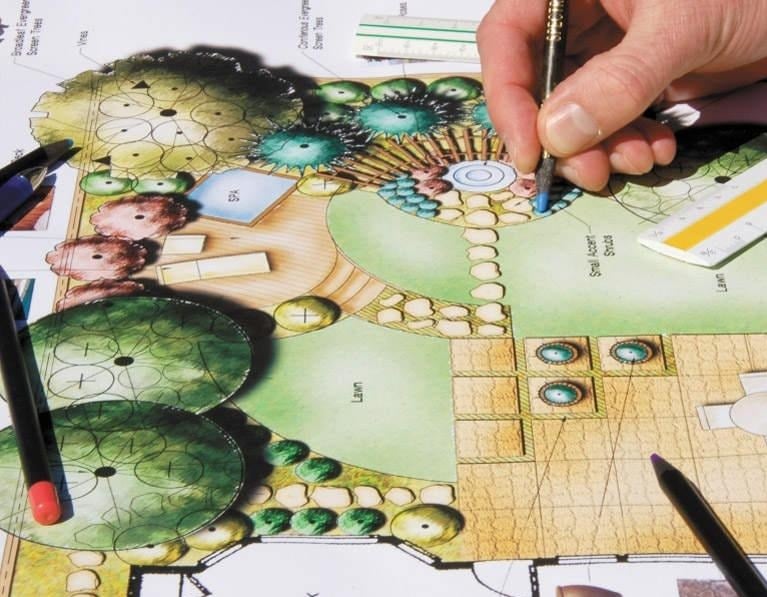
When zoning a plot, take into account its characteristic features and terrain. Determine the direction of the drainage ditches (if they are necessary), consider the lighting plan and the wiring of the power cable. But when you get to the landing zone right on the ground, use wooden pegs, connecting them with an ordinary rope, only you need to adhere to the plan that you draw on paper.
Buildings on the land plot
The second stage of creating a landscape design with your own hands is construction. You can build a wonderful bathhouse, a summer shower, a cozy gazebo, sports and/or playgrounds on your site, for example, as in these beautiful pictures.
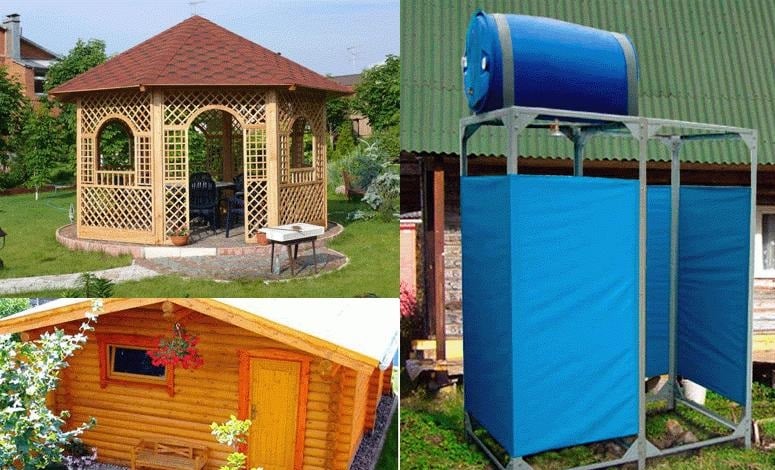
When building country houses, for which it is required to dig a pit, the land should either be evenly distributed over the area, or you need to choose how to use the resulting earthen hill.
A little imagination
The earth extracted from the pit is a dark gray mound. Make it exclusive! Create a multi-stage alpine slide, and if the terrain allows, and there is water on the site, align the slide with a small tank, in which you will use a fountain and beautiful garden figures.
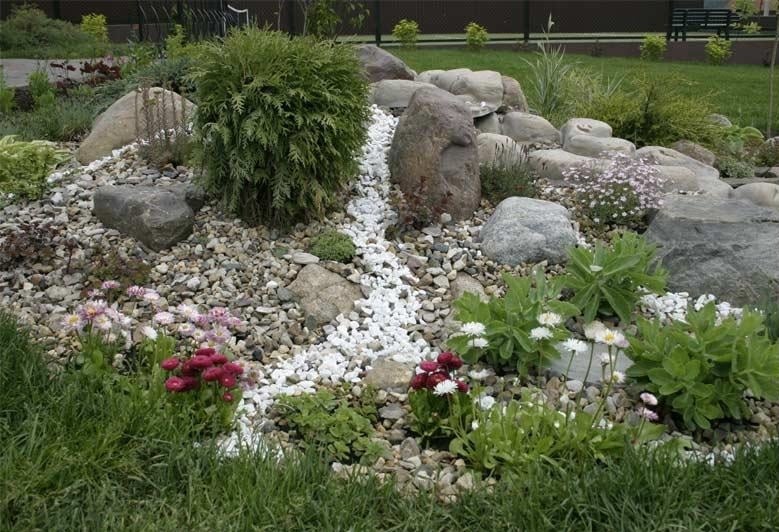
You can decorate a mound of stones in the form of a pyramid (they say this is beneficial for the energy zone) or make it a kind of podium for garden flowers. Fantasize!
Garden paths with your own hands
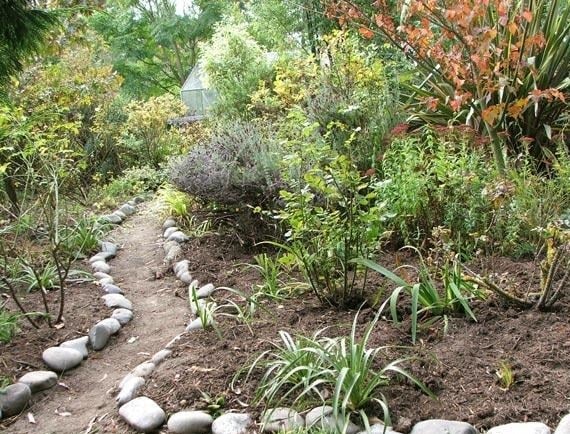
So, you have decided on zoning and buildings. But before planting greenery on the site, it is necessary to lay an entrance path and paths between buildings to the main site. It can be equipped with your own hands. The simplest form of the device of garden paths can be seen in the photo below, it does not need tiles, stones, soil preparation. It clearly gives an understanding of how a track of this type is equipped.
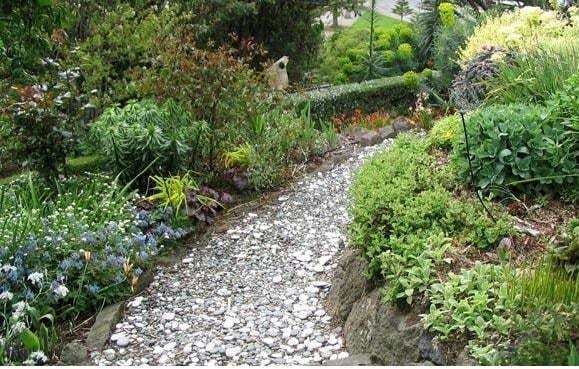
The second method is to equip garden paths with a pebble or fine gravel covered with a base. Dig it out in layers to a depth of 10-15 cm (3.9-5.9 in), cover it with a non-woven geotextile cloth, strengthen the curb side with a special tape (sold in stores) or a low decorative fence. Then the reinforced layer is covered with pebbles or gravel. That’s it, the voluminous garden path is ready. Here’s how it looks in the photos.
If you plan to pass a large load in the garden (for example, for the passage of a vehicle), you will have to work hard and build a path on a solid fill base.
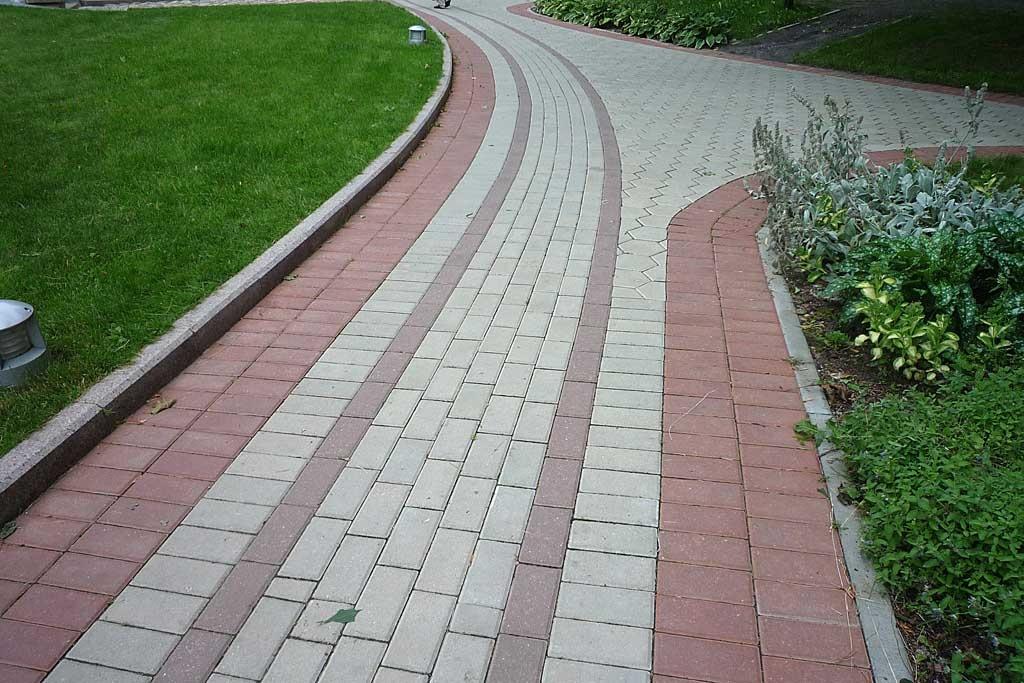
To do this, the channel of the track deepened by 10-12 cm (3.9-4.7 in) is filled with sand to a height of 5 cm (2 in), it is rammed, the sides of the track are strengthened with a curb tape or roofing material and concrete, or paving slabs are applied.
Green spaces
Only after you have decided on the zoning of the plot, buildings and design of garden paths, you will finally be able to relax a little. And then start decorating the landscape with greenery.
Create a lawn with your own hands
First of all, level the lawn and free it from weeds and large stones. Then fill up the entire area with some universal fertilizer and dig it out. After that, it is necessary to compact the soil. The plot should stand for a month and a half to give a natural shrinkage. After that, proceed to sowing. You can outline the field with evergreen crops.
Flower beds, rock gardens and mixed borders with your own hands
That’s really where there is really room for imagination! What kind of flower beds, rock gardens and mixed borders you will not see in suburban areas!

Look at these pictures and turn on your own imagination, inspired by them.

Perhaps you also have unnecessary items in your country house that can be used to create a flower bed.

And to create such a beautiful rock garden, there is enough space in 1×1 m (3.3×3.3 ft).

A pond with your own hands
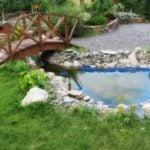
It is difficult to imagine a rural area without any kind of reservoir: a pond, a swimming pool or a garden fountain. To do this, you need to dig a small hole with a depth of 1.5 m (4.9 ft). The walls need to be formed at an angle and put old linoleum or plegku on them. On the edge of the pond, you can pour large pebbles. After that, the pond needs to be filled with water.


