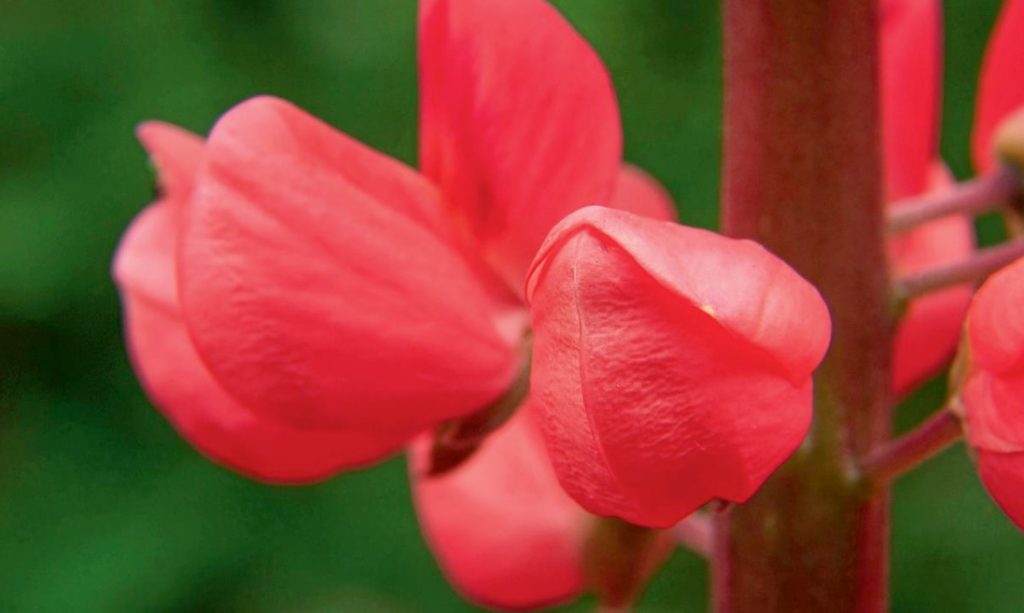
Flowers-leaves-blades of grass, taken very close-up — one of the favorite genres of Amateur garden photographers. If you want to make mini-masterpieces out of such frames, listen to our recommendations.
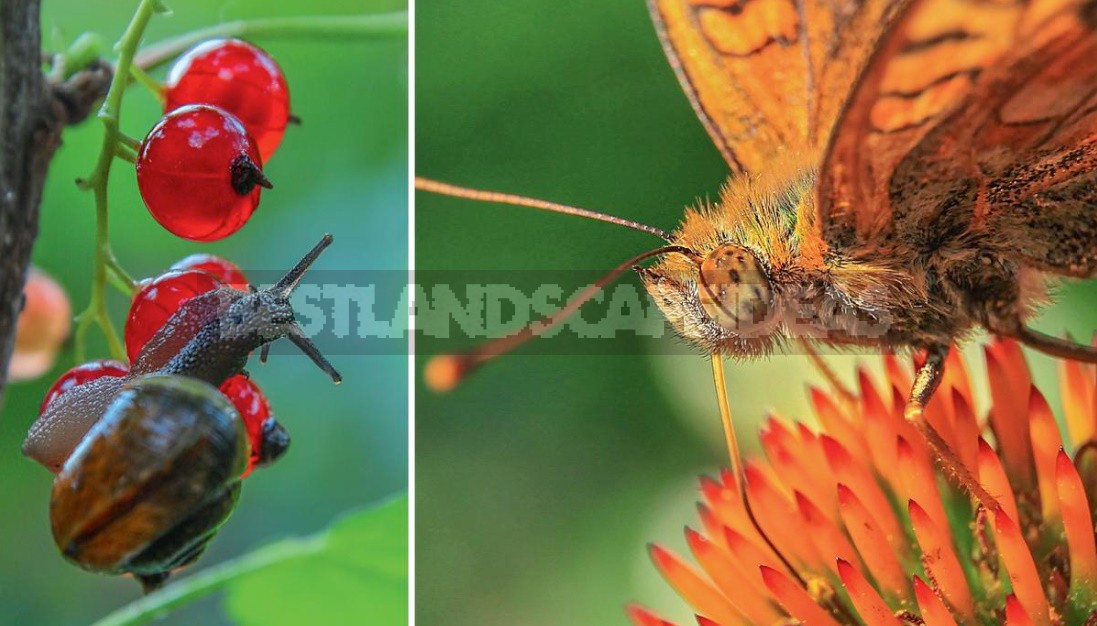
I’m sure many of you are familiar with the concept of macro photography, and some of the readers probably use this method of photography during photo sessions in their garden. This is not surprising, because it is in the gardens that you can find beautiful objects for shooting large and super-large plans: flowers and their small details, fruits, berries and cones, various insects and other small living models.
A creative photographer will find many other interesting subjects for “macro”, such as the texture of bark or leaf veins. Let’s take a closer look at this difficult photographic technique and see how to use it to get impressive macro images.
First, we need to find out what macrophotography is. This is a cross between close-up photography and microphotography (through a microscope). It is generally assumed that objects are usually taken at a scale of 1:1 (sometimes 1:2) and larger, that is, when the entire image is placed on the camera’s 24×36 mm matrix, for example, strawberries measuring 3.5 cm.
To obtain macro images, it is advisable to use special equipment. Of course, any simple camera is the macro mode, usually it is marked with the image of a flower. This mode allows you to shoot with the camera from a distance of several centimeters, but shooting is only possible in the wide-angle position of the lens, which slightly distorts the image. Yes, and get close to the insect at a distance of 2-3 cm to get a successful macro picture is unlikely to work. However, some macro scenes in which your model does not try to escape from the frame, it is possible to shoot in this way.
A full-fledged “macro” can be obtained by shooting with SLR or system cameras using special macro lenses, the optical scheme of which is adapted for photographing close objects in the foreground. These macro lenses have a relatively large focal length, which allows you to shoot not close to the object, but at a distance, and it is also possible to set large aperture numbers, which increases the depth of field in the frame. Otherwise, taking a macro-portrait of a butterfly or ant, we would get a sharp image of only one tendril.
Macro lenses cost a lot of money. But everything is not so sad, there are alternative solutions that allow you to turn ordinary lenses into macro. For this purpose, a special MicroConverter — lenses that screwed on the lens, and extension of extension tubes, they are placed between the camera and lens that allows close approach to remove small object or creature.
A known disadvantage is the lack of illumination — because you often have to shoot with small aperture holes, and it happens that the camera itself obscures the light when focusing closely. In such cases, the use of reflectors for illumination or the use of flashes saves. Special types of macro flashes have been developed that are placed directly on the lens and illuminate the object from two sides or in a circle (ring flashes).
When shooting with large aperture numbers (f16, f22, or even more), you have to use long exposures, in which shooting with hands becomes problematic. Alternatively, you can shoot from a tripod, but this is not suitable for all subjects, because small living creatures will not pose for you in the frame. This is why many photographers take the macro off their hands by raising the light sensitivity (ISO) of the matrix or using a flash.
Another tip for those who shoot bugs and spiders in the garden is to shoot in the early morning hours in the cold, while your models are sedentary. It is also sometimes convenient to disable the camera’s autofocus and focus manually by shifting the camera back and forth a little and shooting in small batches.
When shooting “macro” scenes, pay special attention to the background, which will be the background of your picture. In previous publications, we have already talked about the importance of the background in photos, about the beautiful bokeh — an elegant blurring of the frame. It is good if the background is uniform, without bright spots and stripes. Lines in the frame, such as tree trunks, twigs and blades of grass are always very noticeable and they can distract from the plot center. To “dissolve” the background, you need to make sure that there is a sufficiently large distance between it and the main object. In addition, light objects look better on a dark background and Vice versa, do not forget about the rules of harmonious color combinations.
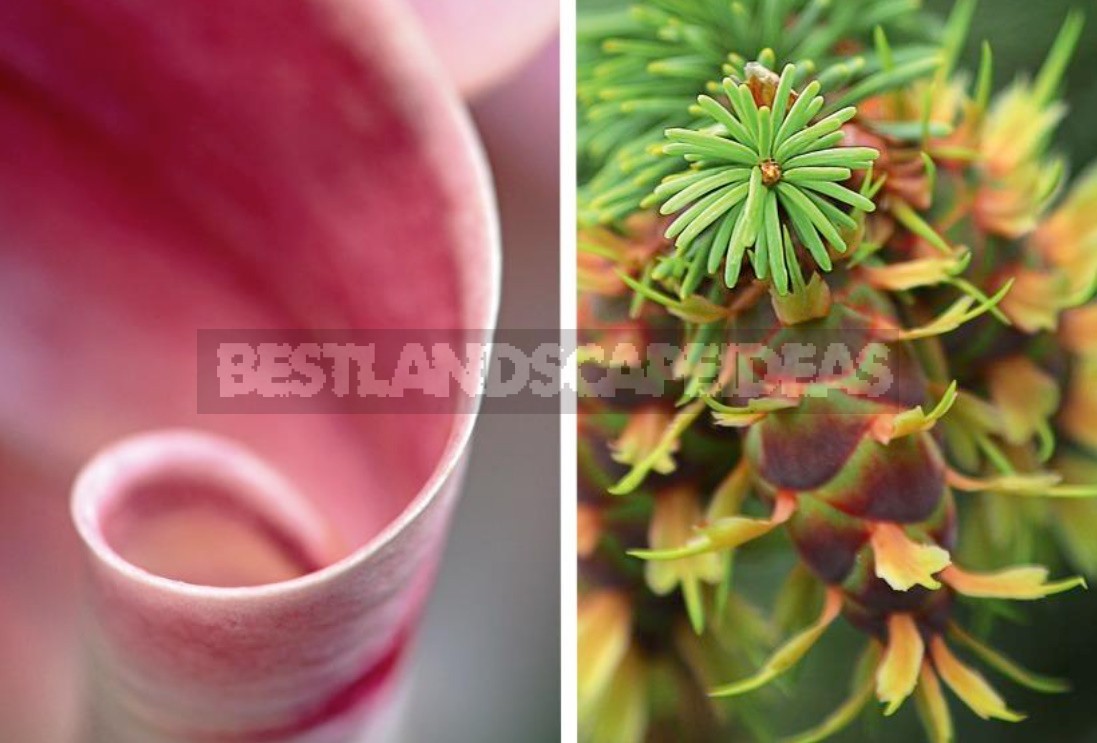
Knowledgeable photographers use a special method of shooting — stacking — it allows you to achieve sharpness of the entire object, not just a fragment of it, and at the same time keep the background blurred. To do this, several “layer-by-layer” images are taken focusing on different parts of the object, which are then combined into a single frame in the image editor. Knowledge of the nuances of macro photography techniques, regular training of skills and a desire to touch the secrets of the garden microcosm, I am sure, will help our readers to make amazing and noteworthy pictures.
