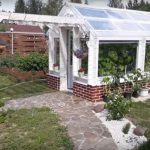
My favorite summer occupation is to facilitate the work of my beloved. And what else to do in March, when nature, as on purpose, every day pours snow, and in the greenhouse is already warm in the spring, and I want to start working soon?
Keeping in mind that the spring planting euphoria is quickly replaced by working days, I focused on one of the most time — consuming summer work in the greenhouse-watering. Several times I met on the Internet reviews of drip irrigation systems, so I decided to study the information more carefully.
A little theory
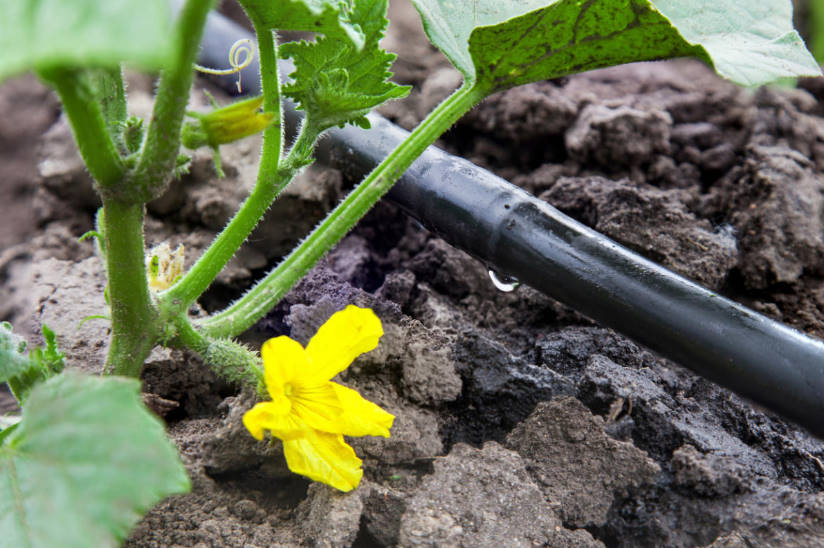
I read about the “promising technology”, reviewed a couple of hundred pictures and diagrams. The whole point of the structures presented there-the supply to the root zone-targeted, so to speak, a small amount of water. Small and long, like the rain, slowly wetting the ground. Plants on the street from time to time fall under the rain, and in the greenhouse they are deprived of this pleasure. The hostess came in, watered the beds from a watering can or from a hose: the top layer of the earth is wet, and deeper — it is unclear. Every time you loosen and will not look. And to water very slowly, carefully moistening the earth, often simply there is no time.
That is why I decided to arrange drip irrigation in the greenhouse, to bring the method of soil moisture to natural conditions. In addition, the system allows you to save:
- time and effort, as watering is carried out almost without human intervention, except for the need to open-close the tap and collect water in the tank;
- water, giving it not to the entire area of the garden, but only under the plants.
The easiest way to supply water for drip irrigation — gravity, when it comes from a container located above the beds. There are more complex systems with the installation of the pump, the irrigation sensor with a timer switch. But I did not consider them, because there is no need. We do not visit the site, and live here all the time, so go to the greenhouse to turn on-turn off the system at any time. In my opinion, it was easier to buy a ready-made set. There were several proposals, they differed in price and irrigation area.
Build process
I decided to collect a kit for watering one garden.
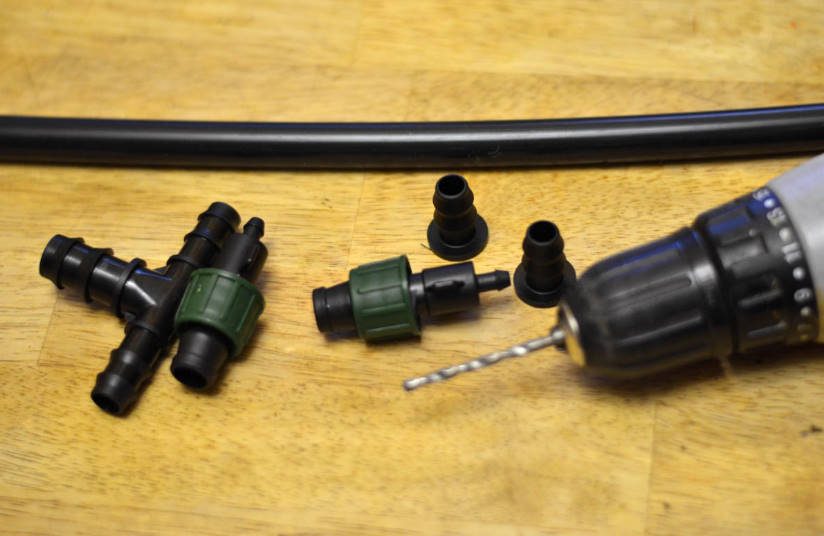
Assembly kit
It took a drill and a drill.
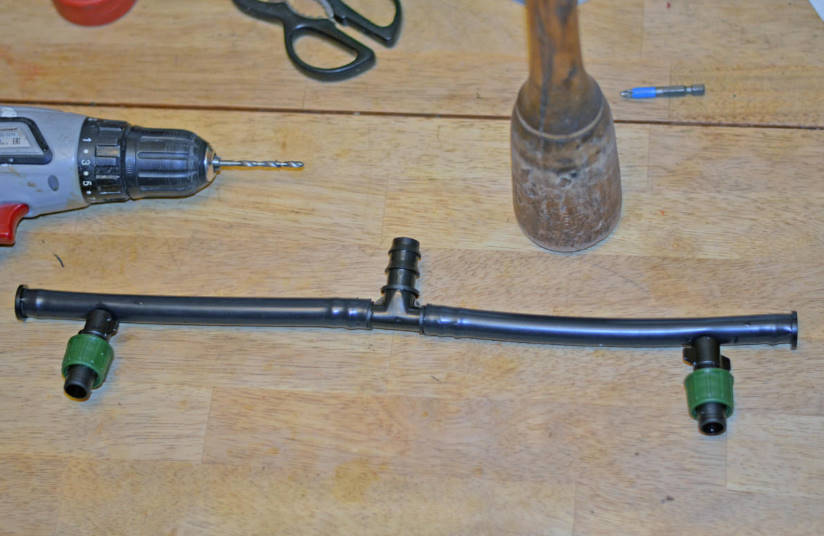
The build
It remains to connect the hose, fix the tape for drip irrigation and … one bed is ready!
And I have them in the greenhouse — three … Now I have to turn on the imagination to turn it all into a convenient irrigation system.
Water container
Very lucky to buy a 200-liter tank of oil with a convenient plug. The top was cut by a grinder, the edge was sanded with a file-here the husband tried. You do not have to weld anything, you only need to buy the necessary fittings.
For such a weight capacity will need a solid base, and even so, to raise it above the beds. Suitable cutting timber 150×150.
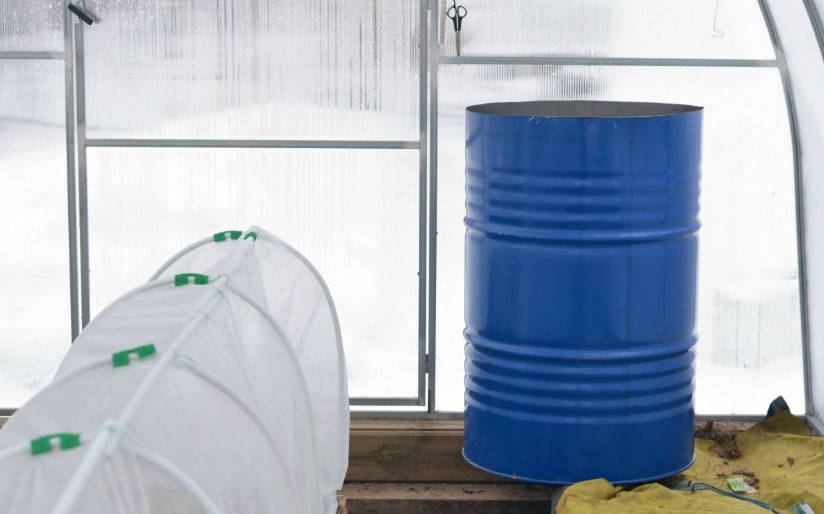
Barrel in the greenhouse
I read that for a good pressure to raise the barrel to 2 m, in the greenhouse it will not work, will have to install it on the street. But then I’ll lose the ability to use it as a heat capacitor…
Of two evils choose the least — I’ll try to raise it higher in the greenhouse. Walked the entire site-in the eyes got a good stump of the appropriate size, which in the summer is a cache of flowers, and the remains of the kitchen countertop came in handy.
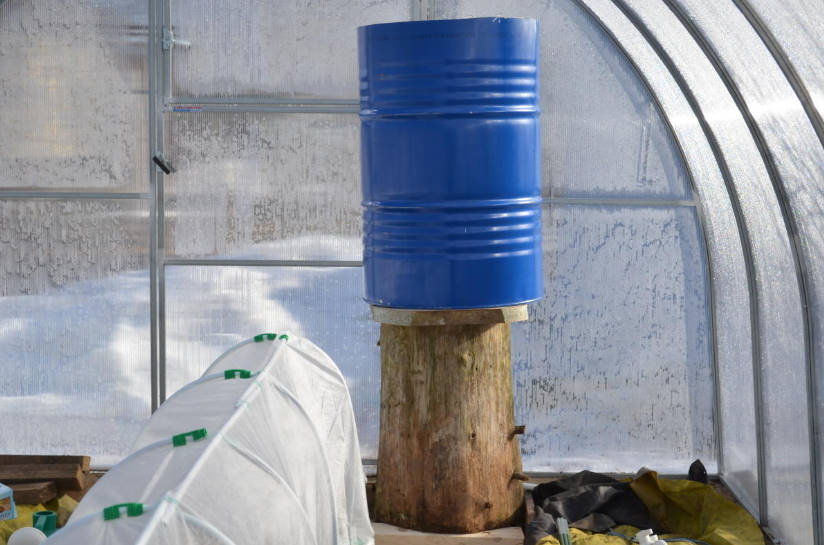
Stand under the barrel
The next step is to ensure the delivery of water from the barrel to the drip irrigation tape.
You will need a filter, ball valve, hose adapters. Conducted an audit of home stocks-something useful in the Assembly, and the missing will have to buy.
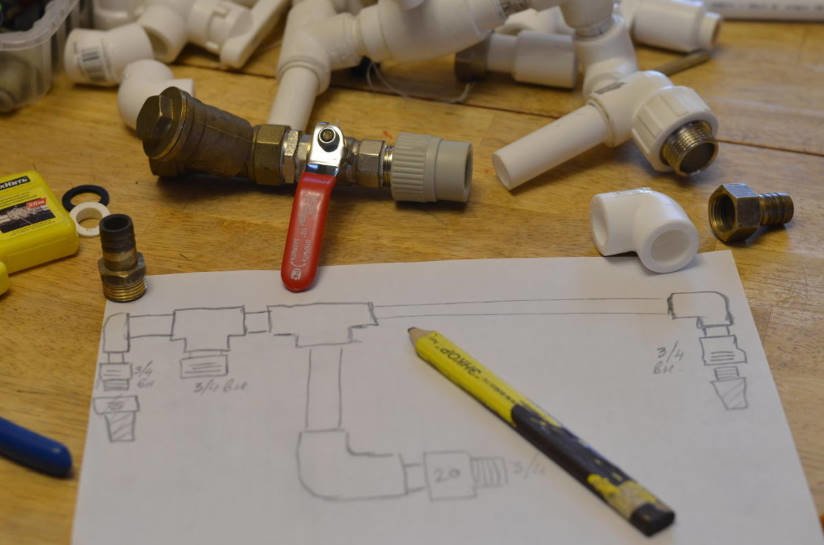
Missing in home stocks recorded
After a visit to the plumbing store set of “very skillful hands” ready to work. Welding machine to help me.
Lyrical digression
What a good person-the inventor of the welding machine for polypropylene pipes! I would have put a monument to him!
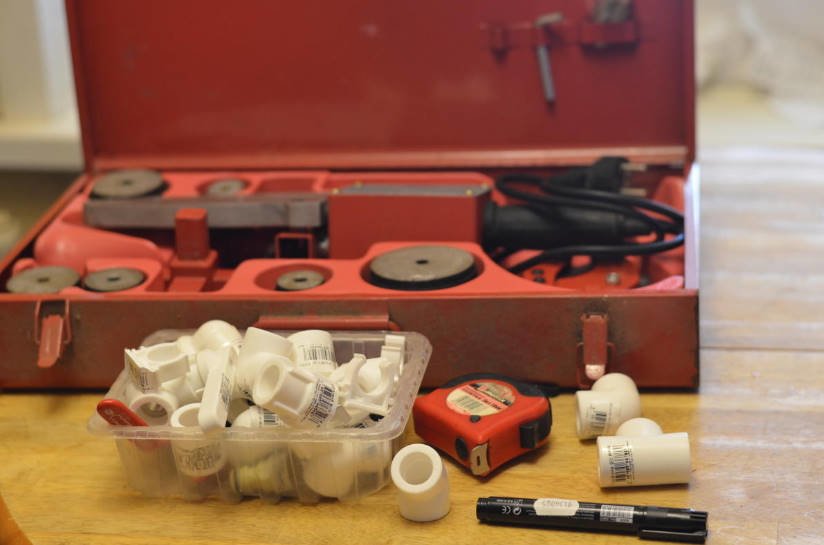
Apparatus for welding polypropylene pipes
To simplify the installation could only be a genius.
Welding pipes
It is enough to cut a piece of pipe of the desired length, mark it with a pencil-how much you will need to push it into the connector, heat it on the soldering iron.
- Inside the connector there is a mark to which the pipe (1) should reach.
- Measure the depth (2) and note this distance on the pipe (3).
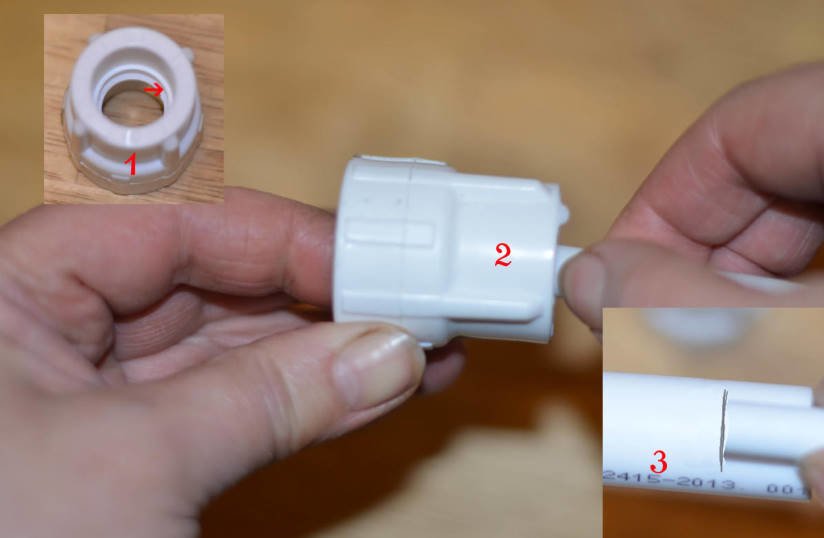
Assembly steps
- After heating the pipe will need to be inserted exactly to this mark. If you push deeper-the melted mass will close the lumen in the pipe.
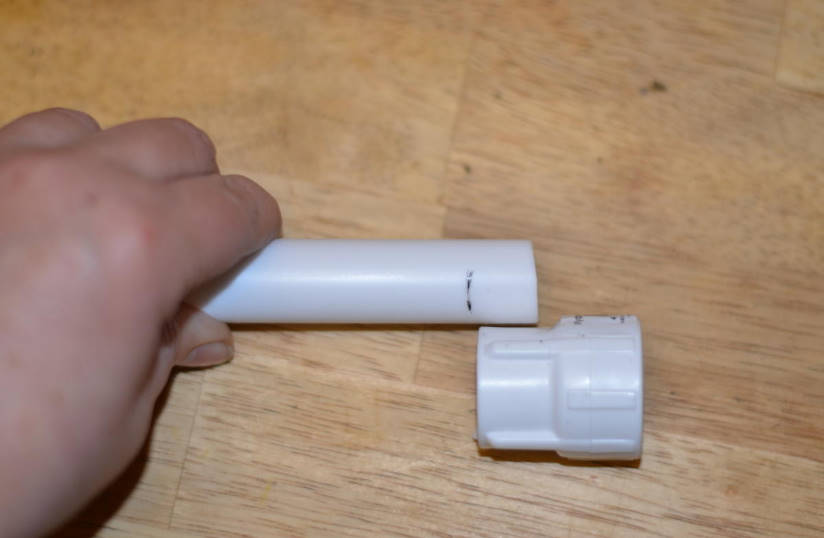
Details connection depth
- If the pipe is overheated on the soldering iron – it also will be melted with liquid plastic.
Six seconds is enough to heat the parts. Another moment, and they are forever soldered to each other. Now I realize my idea (just a few times I walked to the greenhouse with a fitting). The result is such a mysterious design.
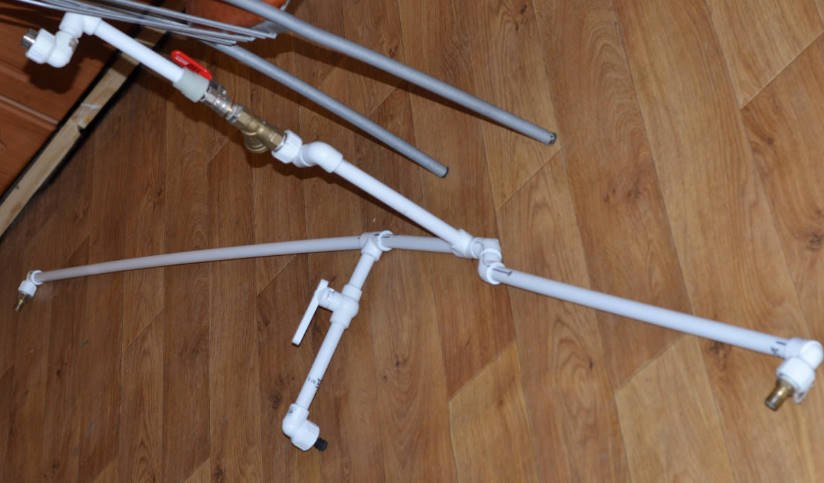
Pipes for wiring for three beds
Carry the creation of their hands in the greenhouse.
Installation of irrigation system
To fasten it to the barrel was easy (it was more difficult to bring the whole structure to the greenhouse). To my delight, nothing had to be redone. You can lay out the tape for drip irrigation.
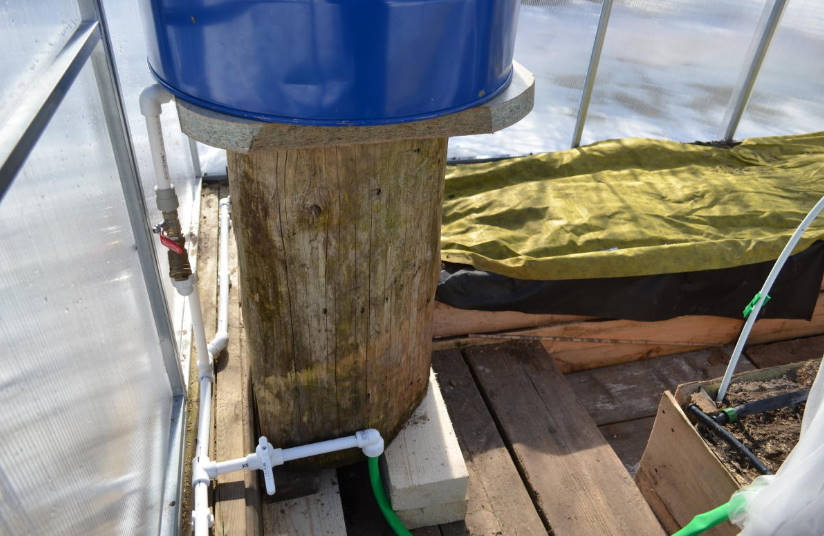
Pipe connection to the barrel
Trying to use a hose from a collection fails, it in creases, the water on it does not pass. Cut off a piece from the watering — went perfectly. The hose when not needed, can be removed, so as not to stumble. The tap will not allow the water from the barrel to drain.
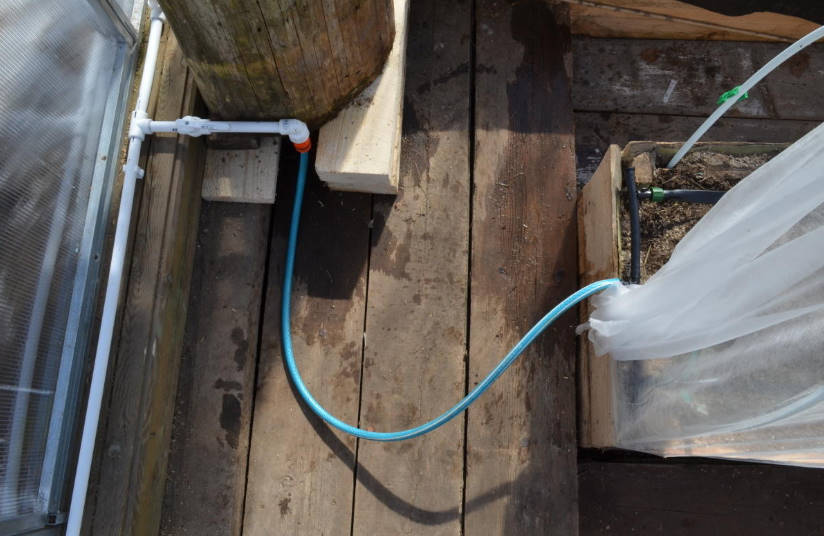
Connection to the Central garden
Drip irrigation tape is tightly secured by a clamp.
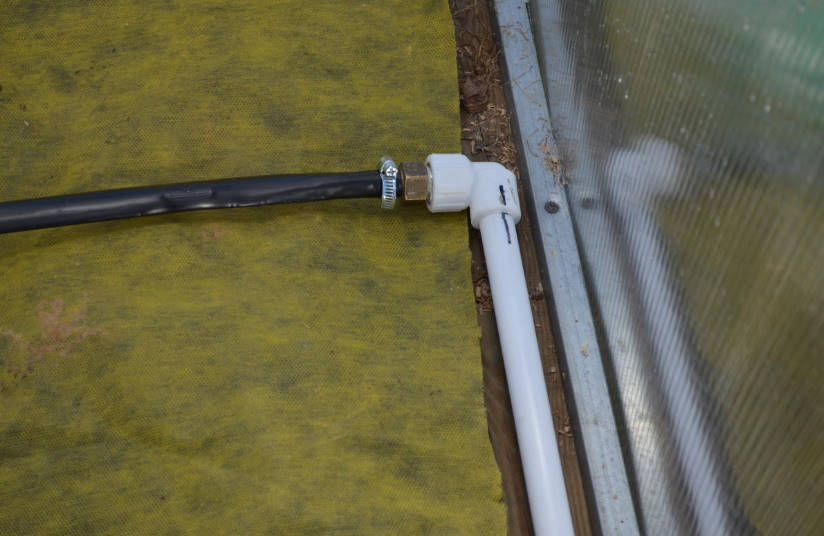
The tape is fixed to the pipe
The entire length of the secondary ridges (edges) in the winter, planted dill, parsley, carrots — they watering provided.
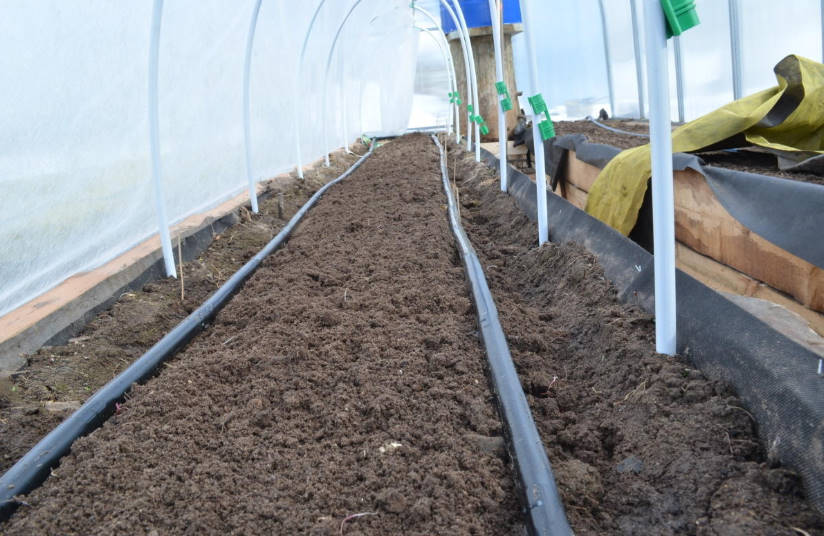
In the center will plant tall tomatoes
On extreme beds it turned out to lay on one tape. I don’t know if it’ll be enough to water it. But, if necessary, it is never too late to add a second one. For some reason, the package does not provide plugs for the tape. After laying had to just wrap a few times the cut end, like a tube of toothpaste, and wrap the tape, so as not to untwist.
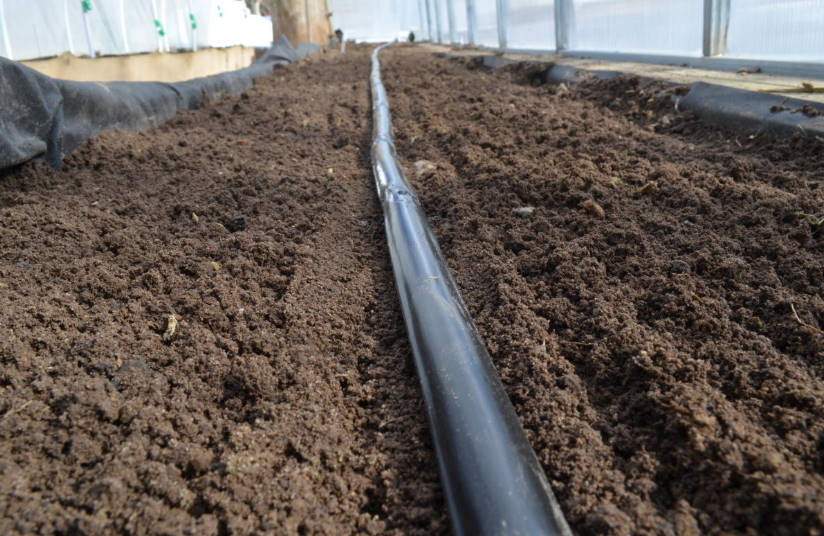
The right bed
I covered the left bed in autumn with a thick layer of mowed lawn grass. Now the ground under it is wet and loose.
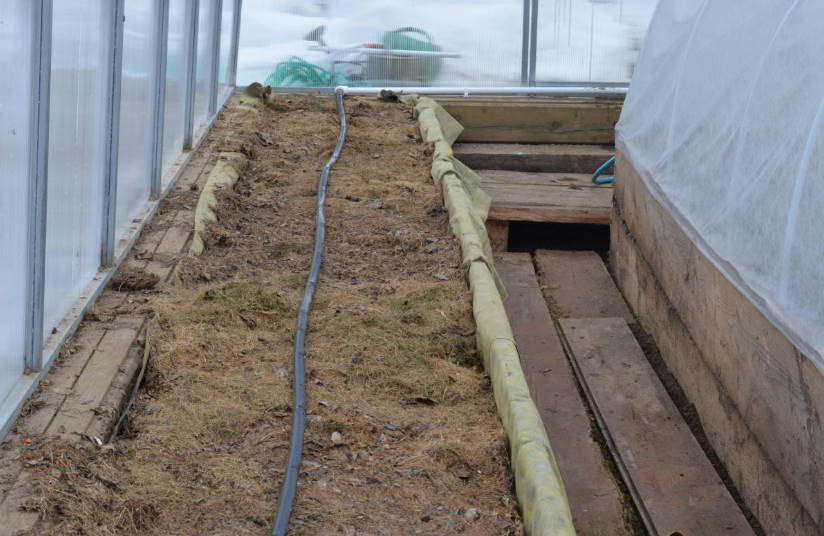
The bed is mulched with mown grass
Installation is completed, you can start field tests of the system.
Everything is ready for the tests
Poured into a barrel of three buckets of water to check the operation of the irrigation system.
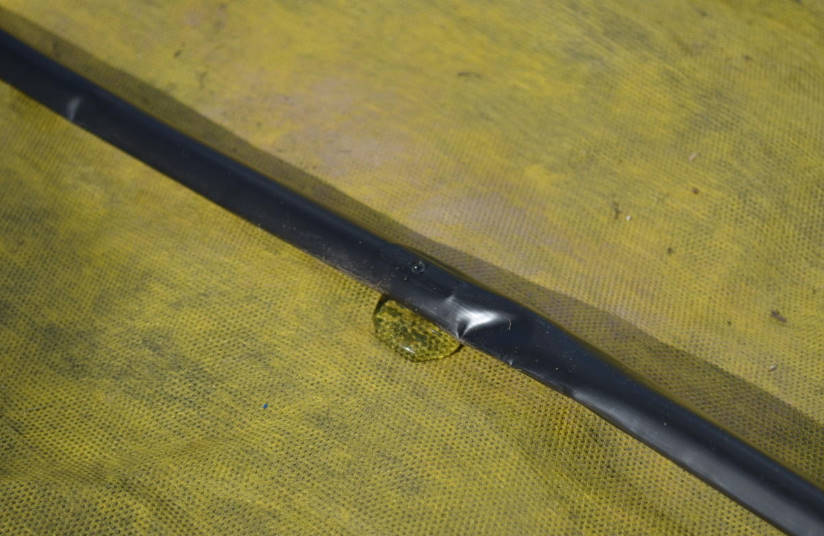
The process went
Straight spring drops!
The temperature in the greenhouse during the day, in cloudy weather-about +20 °C, in the sun rises to +30 °C.
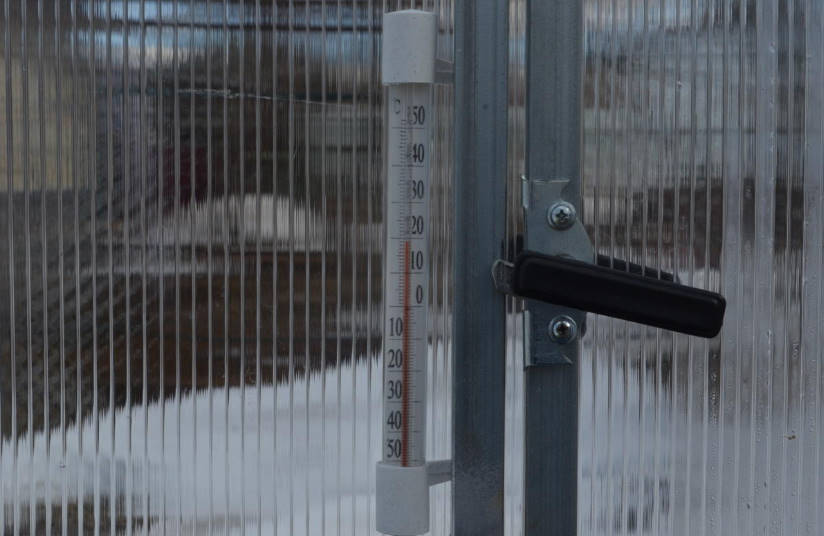
Without sunshine
The ground in the beds is still cold. At a depth of 10 cm temperature +3 °C.
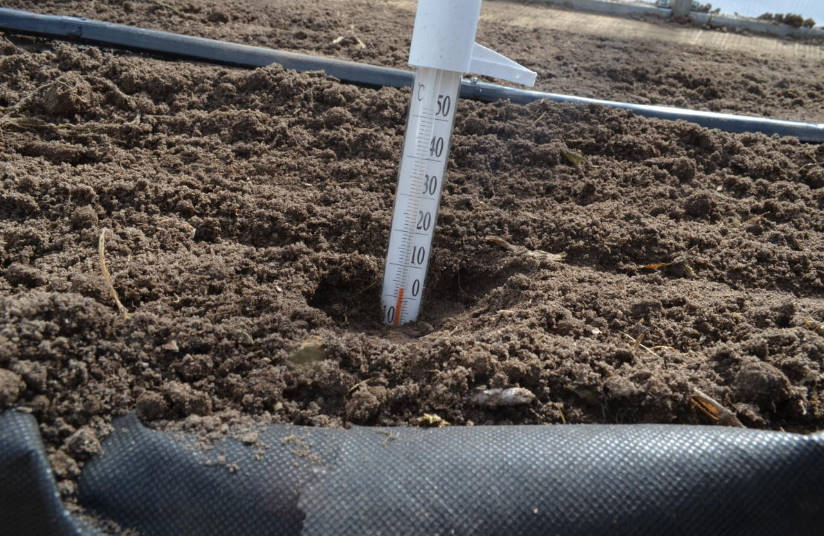
In the garden
Closed the beds with a covering material, poured a full barrel of water — let the day heats up and at night gives the heat. And went home to wait for spring.
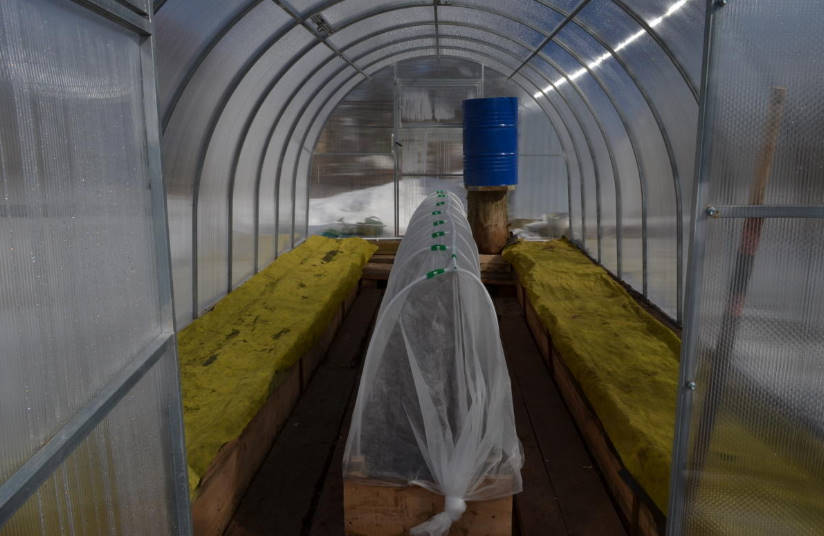
In the greenhouse
At the same time think about how to make a set of water in the barrel, if not automatic, then at least more convenient. Each time not to worry — do not forget to close the tap when the keg is filled. I have about this one thought — to use a valve with float, which was in the older models of tanks to toilet… there is No limit to perfection.
Tees, plugs, connectors, tape for drip irrigation, hoses — all this can be purchased separately. That’s what I’ll do when I put drip irrigation in the second greenhouse. If it is not possible to install pipes made of polypropylene, it is possible to do the usual hose, connecting it to the tape with these components. The entire Assembly does not take much time and does not require much effort.
In addition to the tape with built-in drippers can use a hose with adjustable drippers. I bought a kit on a Chinese site, but it seemed not very convenient.

Photo from site ebay.com
At first, long collected all the components, cut the hose, connected the tubes — lead, tees and drippers. Droppers should be regulated, water pressure was not enough for the last, at the end of a hose. After the summer, at the end of the season the kit was put away in the attic and credited to the caption “negative experience”. Maybe I just didn’t have the patience to get this system working.
And how do you organize the irrigation in the greenhouse?
