Special metal profiles for the manufacture of interior partition frames are very popular today. On their basis, you can build a wall of any, even the most complex configuration.
Types of profiles
There are several such types. The first of them is the rack profile. This is a U-shaped product, in which the back and two shelves are distinguished, bent at an angle of 90°. The free edges of the shelves are also bent inwards at right angles. Some manufacturers, such as Knauf, designate this profile as C-shaped.
Along the entire length of the shelves there are three grooves, of which the central one serves to indicate the joint of the drywall sheets, and the side ones are needed for the convenience of screwing in screws. In the back there are holes Ø33 mm for laying cables of various types.
This type of profile is produced with different back widths-from 50 to 100 mm. The width of the shelves in all versions is 50 mm — this is the standard. The length of the metal product is also standard and is 3 m. But both one-and-a-half-meter and six-meter racks go on sale.
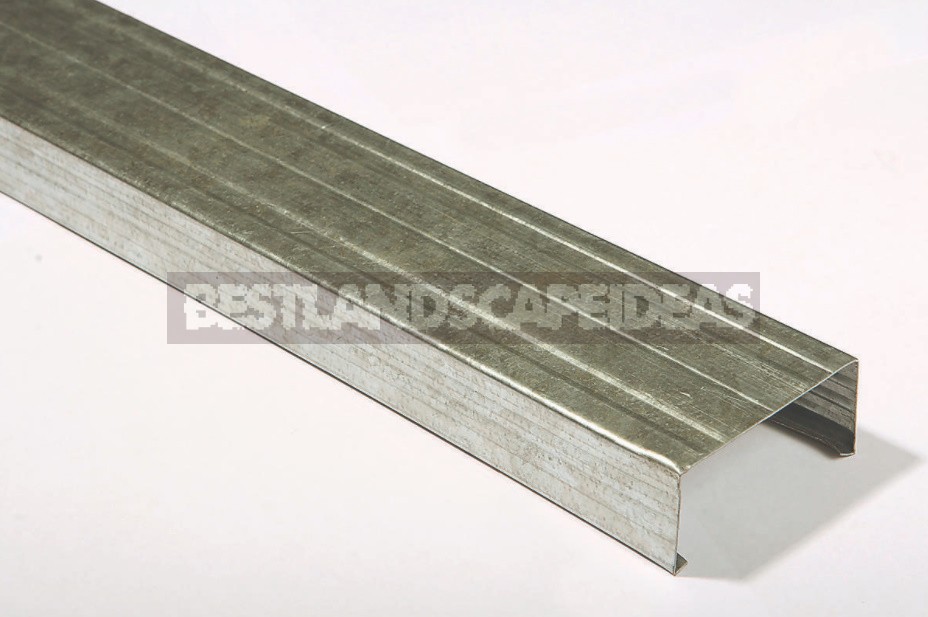
The base for the rack profiles is the guide profile. Also, it is made of various types of jumpers for connecting the elements of the frame. In the section, this product has the appearance of the letter “P”, but it is slightly different from the rack (the ends of the shelves are not bent). The width of the shelves is 40 mm.
The backs of the guide profile have dimensions that correspond to the same dimensions of the racks. Mark it in the same way as the rack, only the letter “C” is replaced by the letter “H”. Two stiffeners run along the back, and along its entire length there are a number of holes for dowels Ø8 mm for attachment to load-bearing floors.
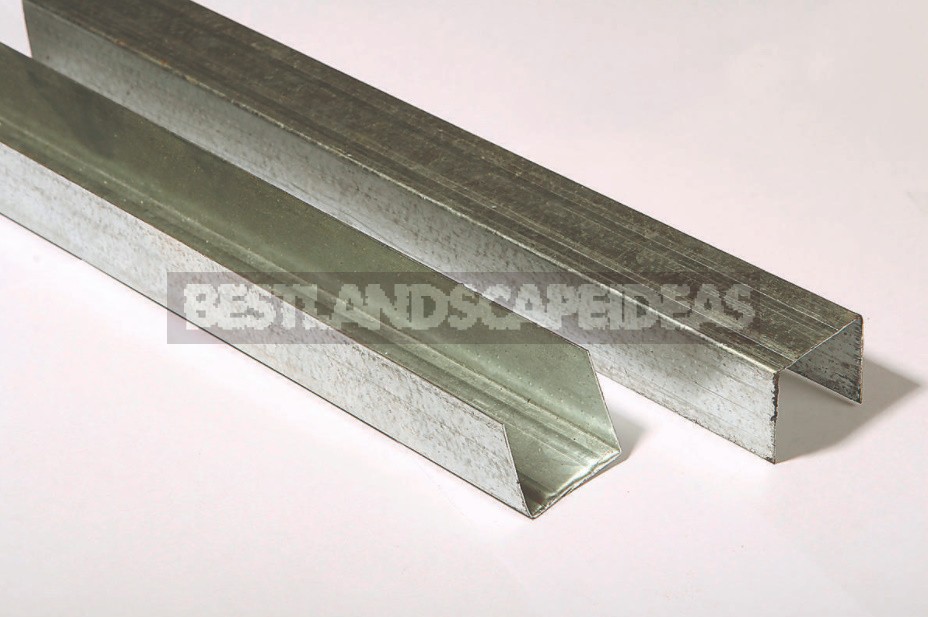
The corner profile is installed in those places where the drywall sheets converge at right angles. It is intended for protection from mechanical influences of not too strong external corners of a drywall covering and for giving them geometrically correct outlines. The PU has two shelves that converge at an angle of 85° to each other.
Both shelves are perforated along the entire length for reliable adhesion to the adhesive composition, with which the corner is fixed to the drywall. In addition to the classic corner made of galvanized iron, aluminum products are also produced.
The standard dimensions of the corner profile are 25×25 mm with a length of 3 m. In addition, arched corners made of plastic are produced, with the help of which it is easy to repeat the shape of even the bizarrely curved edges of the skin.
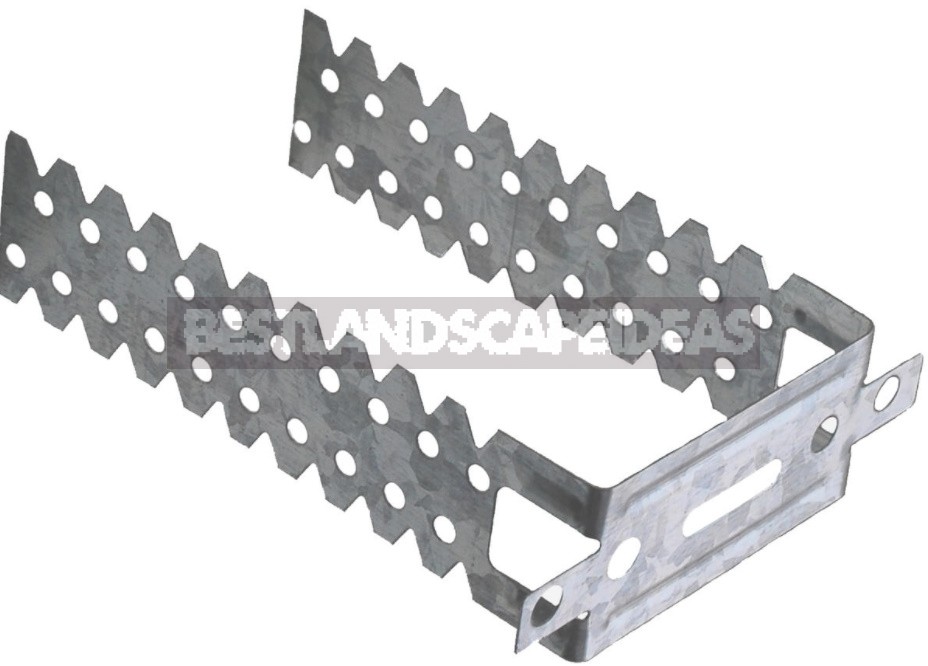
And another very important type of profile is a straight suspension for attaching the frame to the ceiling or wall. The suspension allows you to adjust the distance between the frame and the wall or ceiling.
To fasten the elements of the frame, as well as to fix the sheets of drywall, use self-tapping screws with a sharp end, which pierce the connected parts, as well as fasteners with a drill at the end. The first ones are used for fixing drywall sheets to elements with a thickness of no more than 0.7 mm, and the second ones – to elements with a thickness of up to 2.5 mm.
For fixing drywall on a metal frame, self-tapping screws with a small thread pitch are used. This is a prerequisite. If you don’t pay attention to the thread pitch, you can ruin everything.
Working rules
When installing a steel structure, you must follow a few general rules:
- When cutting profiles, it is best to use metal scissors, since when working with a “grinder” near the cut, the protective zinc layer is broken, and the unprotected metal will be corroded;
- You can extend the profile by extension only as a last resort, since the slightest defects in the connection of the profiles can lead in the future to a skew or a break in this element of the frame;
- When connecting the metal elements of the frame with each other, it is necessary to use self-tapping screws, the thread of which reaches the head itself;
- Before attaching the guide profiles to the supporting structures, a special insulating tape is glued to the backs of the profiles or a sealant is applied to them. This is done to improve the adhesion to the floors, as well as to increase the sound insulation of the partitions.
Installation of partitions
For the simplest version of drywall partitions with a metal frame, two types of profiles are required — rack and guide.
First, you need to determine the size of the future partition and calculate the amount of material. They always buy it with a margin of 10% of the calculated amount. Then you should make a markup. It is performed directly on the floors. First of all, determine the extreme points of the structure on the ceiling, since it is from there that the installation begins.
If the partition has no openings and is intended for decorative purposes (to divide the space), then its thickness may be minimal. Another thing is if this design is intended for the insulation of premises and the laying of engineering communications: in this case, the width of the profile should be maximum.
According to the marking, the guide profile is attached to the ceiling with special anchors. The mounting step must be at least 40 cm. Then, with the help of a plumb line, it is necessary to mark the position of the floor guide profile. It is fixed to the floor with dowel nails.
Next, install vertical racks from the rack profile, the dimensions of which must correspond to the dimensions of the guide profile. For example, if a guide profile with dimensions of 100×40 mm was used, then the dimensions of the rack profile should be 100×50 mm.
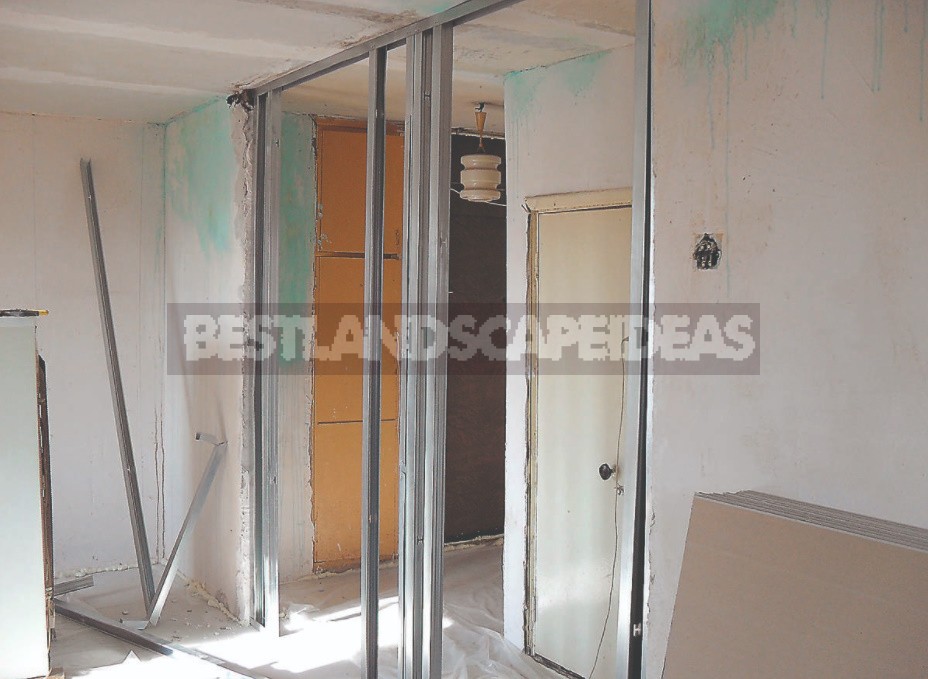
Cutting the rack profile, its length is determined by reducing the distance from the floor to the ceiling by 5-10 mm. So the cut-out part will be easier to install in the groove of the guide profile. As a rule, drywall sheets are oriented vertically when covering. They do this for convenience: when the sheets are arranged horizontally, more jumpers are required between the vertical posts. In addition, you have to cut more sheets than with their vertical arrangement.
Guide and rack profiles are fastened together either by the method of cutting with bending, using a special hand tool-skrepprofil, or with the help of self-tapping screws.
Install rack profiles with a step of 60 cm. When installing them, special accuracy is required, since it depends on whether the joints of the drywall sheets will fall on the racks or not. Near the wall, you need to install additional racks that are attached to it with straight suspensions.
If the structure has a large height, then horizontal lintels can be placed between the posts, strengthening the frame. In addition, these jumpers will create an additional support for fixing sheets of drywall.
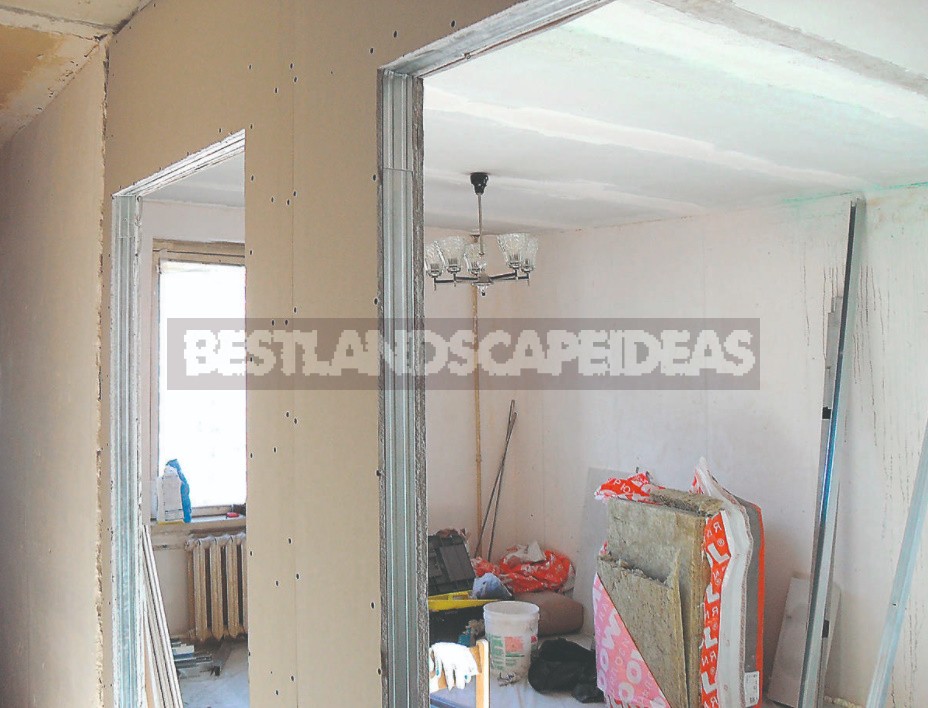
Laying of thermal insulation
Before you start sheathing the frame with drywall, you need to lay the insulation. The thickness of the insulation sheets or plates is selected in accordance with the width of the back of the vertical profile.
The insulation material is carefully inserted between the shelves of the profiles and picked up with glue. Later, in the process of covering, the plates are additionally fixed with self-tapping screws.
