Among the floor coverings, cork is still not the most popular, although in many respects it is not only not inferior to other materials, but to some extent surpasses them. In addition, to lay a floor made of cork, you do not need to have special qualifications.
Features of the cork floor
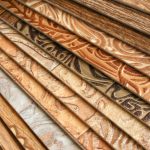
As a floor finishing layer, the cork is most often produced in the form of square and rectangular slabs (with dimensions of 30×30 cm and 30×60 cm, respectively), as well as parquet boards.
Like conventional parquet and laminate, cork parquet consists of three layers: the upper face, the base of a high-density fiber board and the lower compensating (to relieve internal stresses).
The disadvantage of such a coating is that its thickness (10.5 mm) is significantly greater than the thickness of the plates (4-6 mm). Of course, this can cause some difficulties during installation. But you do not need to put insulation to protect against shock noise, which is not the case with other wooden floors.

An important indicator of the cork floor is, first of all, the density of the upper working layer (the standard density is taken to be 500 kg/m3). Other characteristics also depend on the density of the top layer. Such as indentation resistance and impact noise protection efficiency.
Cork parquet goes on sale without finishing, or already covered with varnish, drying oil or wax. The presence of finishing, or its absence, is not an indicator of quality. Pre-finished boards are naturally more expensive. However, the final finish, carried out after they are laid on the floor, as a rule, is of higher quality, since it eliminates gaps at the joints.
Experience shows that the varnish acts best as a protective layer: it provides a longer service life of the floor and does not require special care. However, tinted cork plates can be left without finishing.
Connecting the slats
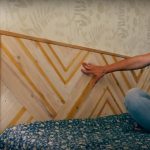
Boards made of cork are laid only in a “floating” way, that is, without attachment to the base. To do this, the next one is applied obliquely to the previously laid lamella, insert it with a comb into the groove, and then lower it. In this case, one board is snapped to the other and the connection is closed.
When joining along the length, the ridge of the end of the board is inserted into the groove on the end of the previous one, knocking the billet being laid with light blows of a hammer through the wooden lining.

Styling recommendations
If desired, you can lay a cork coating on the floor yourself. The main thing here is to prepare the base well, which should be smooth and clean. To reduce the hygroscopicity, it is desirable to treat the surface with a deep penetration primer.
Cork panels, with the exception of parquet, which is laid in a “floating” way, are laid with their entire surface glued to the base. To do this, use the so-called contact adhesives, which are applied to the base, or on the back side of each tile.
After applying the adhesive composition, it is given about 30 minutes of exposure and only after that the material is laid and pressed tightly to the floor. Contact glue is best applied with a long-pile mohair roller, a notched spatula is too rough for this.
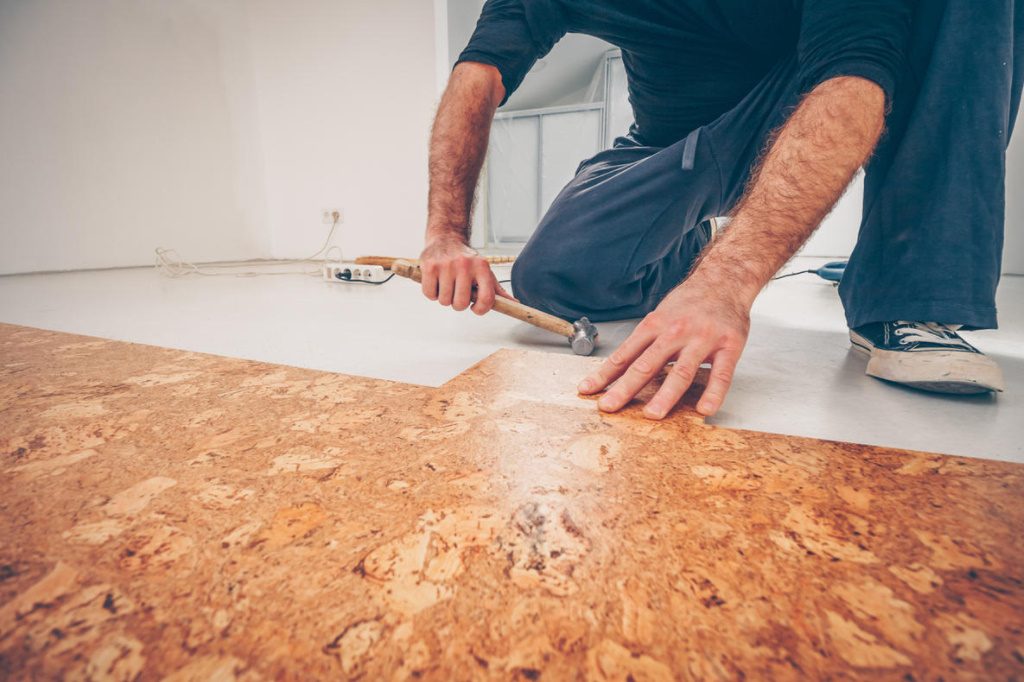
It is advisable to use materials from the same manufacturer, so that there are no problems with their compatibility with each other. The technology of laying cork flooring is clearly shown in photo 1-8.

Photo 1. First of all, an auxiliary line is drawn on the floor along one of the walls at a distance that is 2 cm less than the width of the cork slabs. Photo 2. Along this line, contact glue is applied to the prepared base. After pausing for about an hour, until the glue becomes transparent, apply the glue to the underside of the cork plates. Photo 3. After the expiration of the exposure time, in accordance with the instructions for using the glue, lay the plates on the glued base and press them tightly, pressing them with your hands. Photo 4. Having laid the first row, mark the plates adjacent to the wall. Photo 5. They are cut with a universal knife according to the marking. Photo 6. After laying the coating over the entire surface of the floor, cut out the cork plinth plates. On the wall at the level of the pencil draw a line at the desired height from the floor. Photo 7. The plinths cut out of cork slabs are glued to the wall. Photo 8. Before painting the cork coating with a roller, varnish is applied along the edges with a brush.
How to align the base
The easiest way to prepare the floor surface is with a self-leveling mixture. It only needs to be diluted in a container and poured on the base so that it spreads evenly over its entire area. On the cement screed, a layer of 5-10 mm thick is sufficient, depending on the size of the irregularities.
If the base is laid out of chipboards or boards, the thickness of the leveling layer should be already 15-20 mm. In the latter case, in addition, more elastic compositions are used, which are able to perceive the loads that occur when the wood is moistened or dried. In addition, a special reinforcing mesh made of fiberglass is laid in the leveling layer.
Related posts:
 Grills and a Barbecue for Villas with Their Hands
 Tiles for the Garden With Their Hands
 Garden Swing With Their Hands
 Gazebo in a Country House With his Hands
 Unusual Country Furniture With Their Hands: Use Fabric. Floor Pillows.
 Children’s Swing With Their Hands
 Update Old Furniture. Decoupage.
 Casting Paving Slabs With Their Hands
 Children’s House With Their Hands
 Fence in the Country With Their Hands
 Easy Pergola for Garden With Your Own Hands
 A Partition Made Of Foam Blocks With Your Own Hands: Photos And Step-By-Step Instructions
 LED Lighting In The Kitchen With Your Own Hands
 How To Lay Linoleum Correctly
 We Make a Headboard For The Bed From Scraps Of Boards
 Interior Partition On a Metal Frame