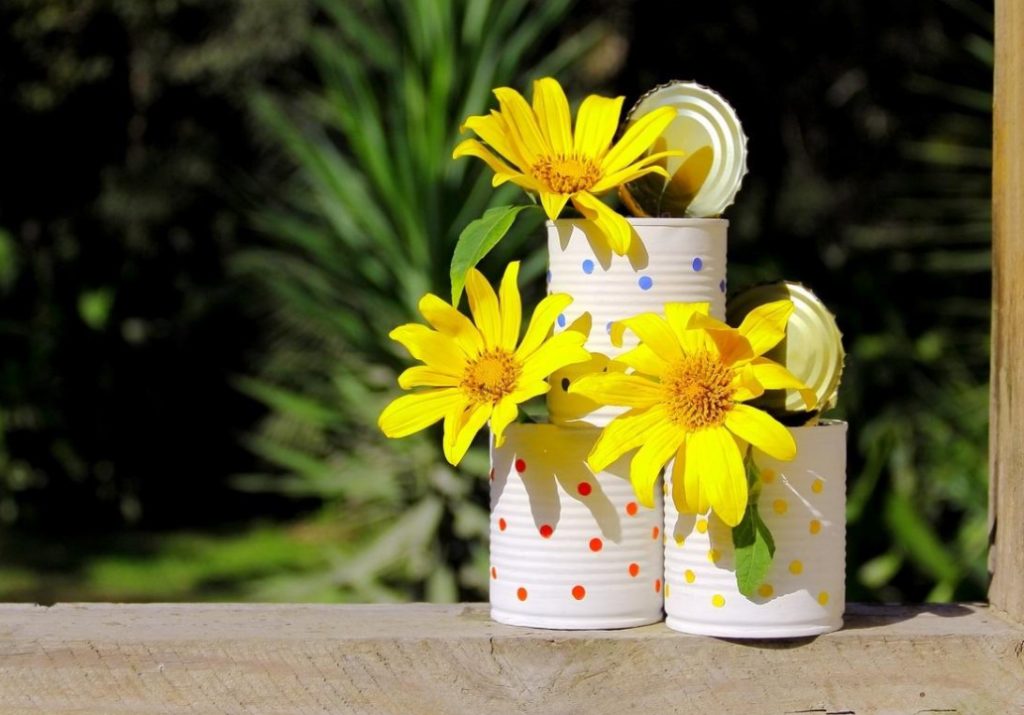
Do you throw away cans? And in vain: they can make a lot of useful and beautiful things for the home and garden. You will need a minimal set of tools and materials to work with, and you will not be looking for inspiring ideas. Choose!
Let’s start with the simplest.
Planters and flower pots
Unpretentious succulents do not need a large amount of soil, so they will grow perfectly in these cute pots.
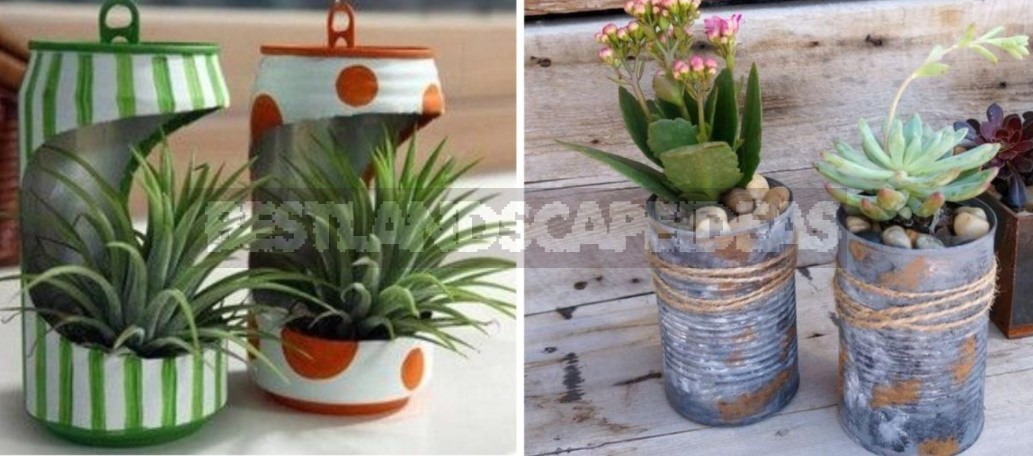
If there are larger banks, feel free to plant other plants with a small root system in them. But in both cases, do not forget about the drainage holes, so as not to turn the jar into a swamp.
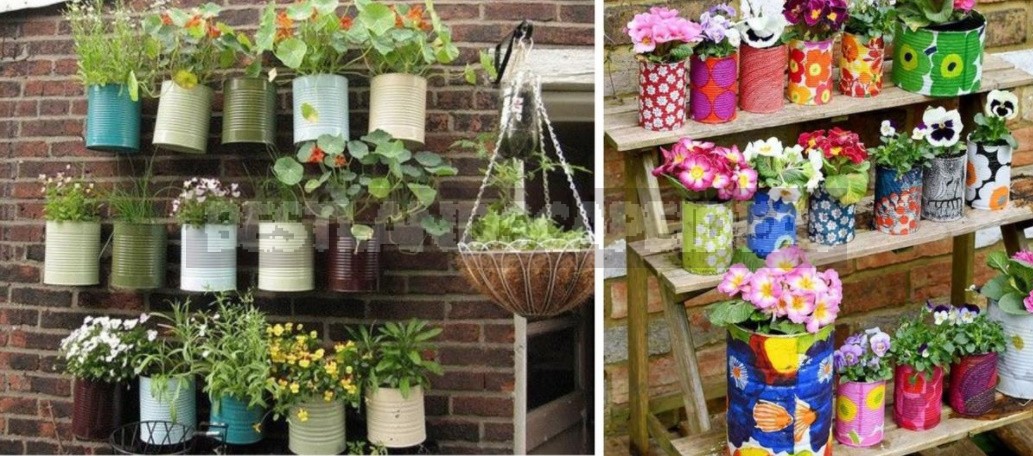
Just look at how you can decorate a boring fence or turn a blank wall of a shed into a vertical flower garden!
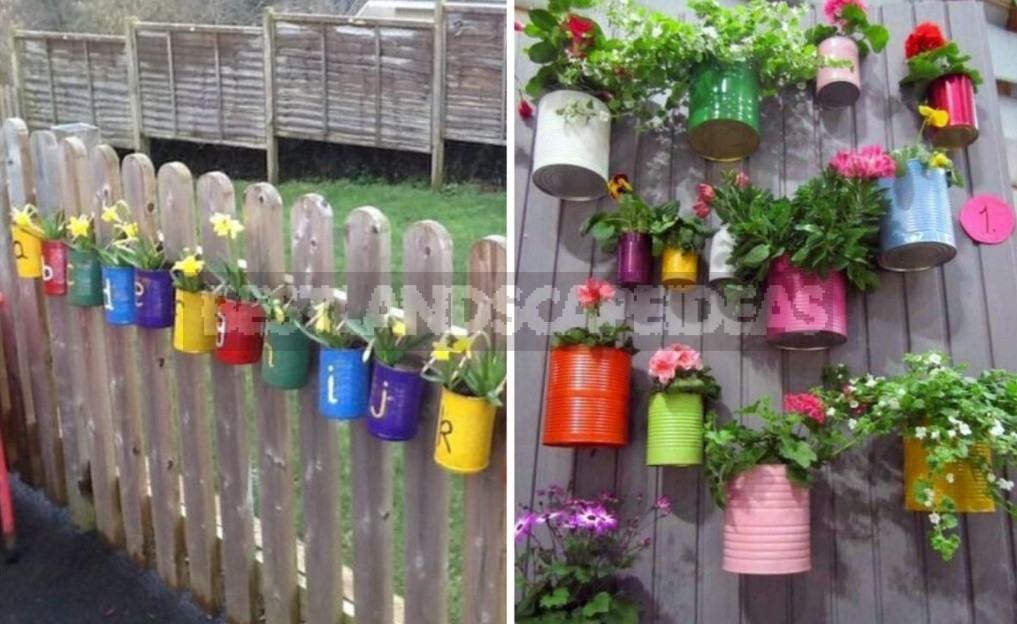
You can make a delicious planters in a matter of minutes: cut the jar to the desired length, attach clothespins-done! Or glue (glue gun) simple pencils, tie twine from natural fibers — what is not a designer thing?
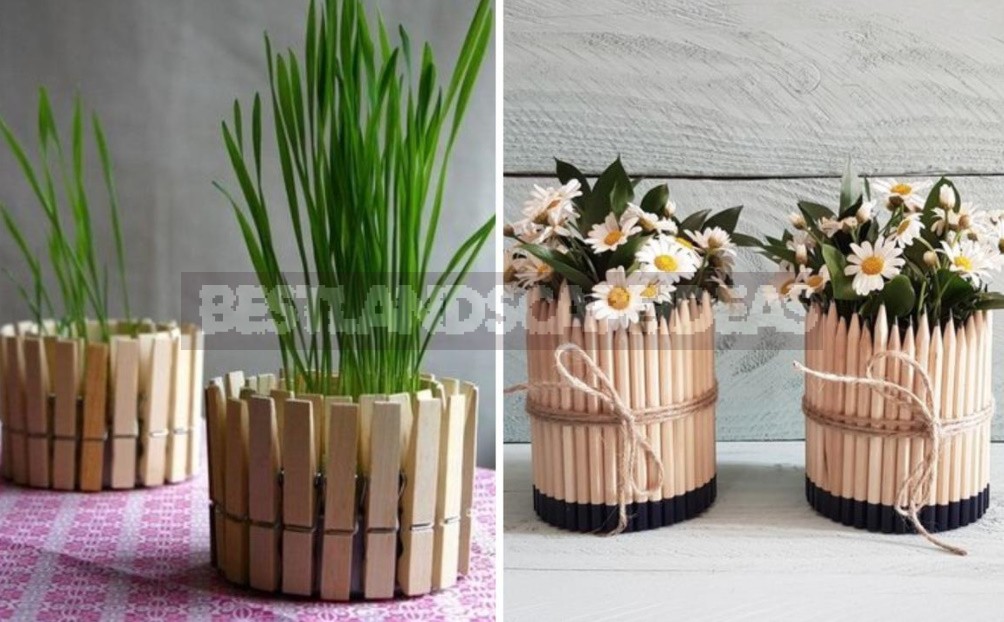
Not only is it difficult to find such planters in the store, but you will also save a lot of money: products made of natural wood cost a lot.
Candlesticks and lamps
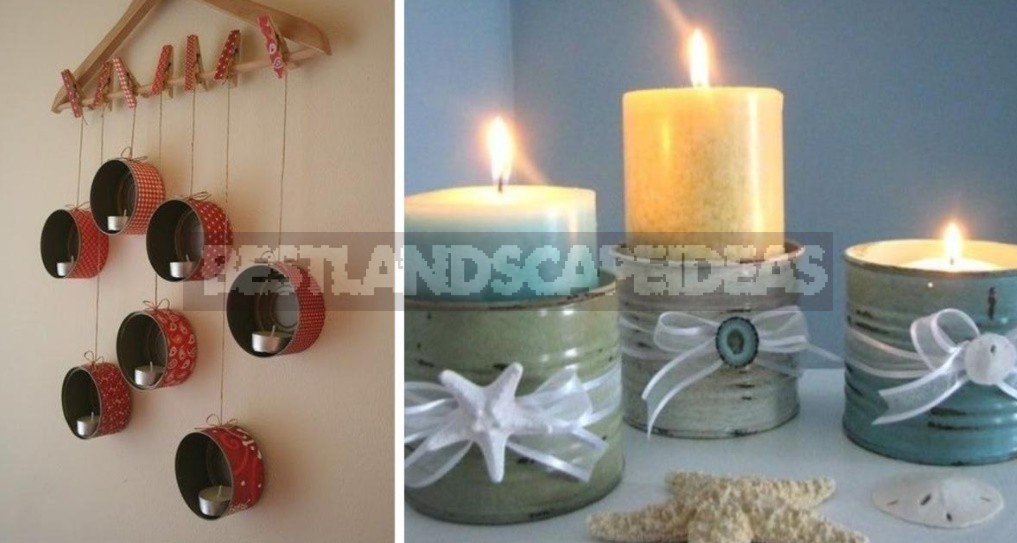
Favorite theme of the craft world… What are they made of? But from tin cans, they turn out to be just unrealistically spectacular.
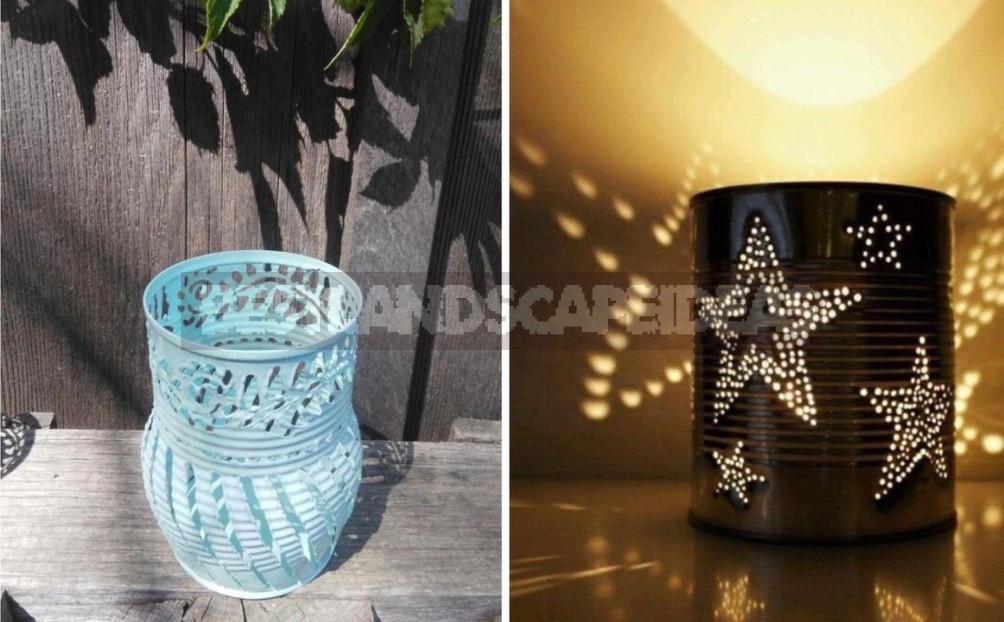
And don’t think that you can’t do it: a good office knife, a hammer, nails (or a drill with a thin drill), a little patience — and an exquisite piece of furniture will decorate your cottage.
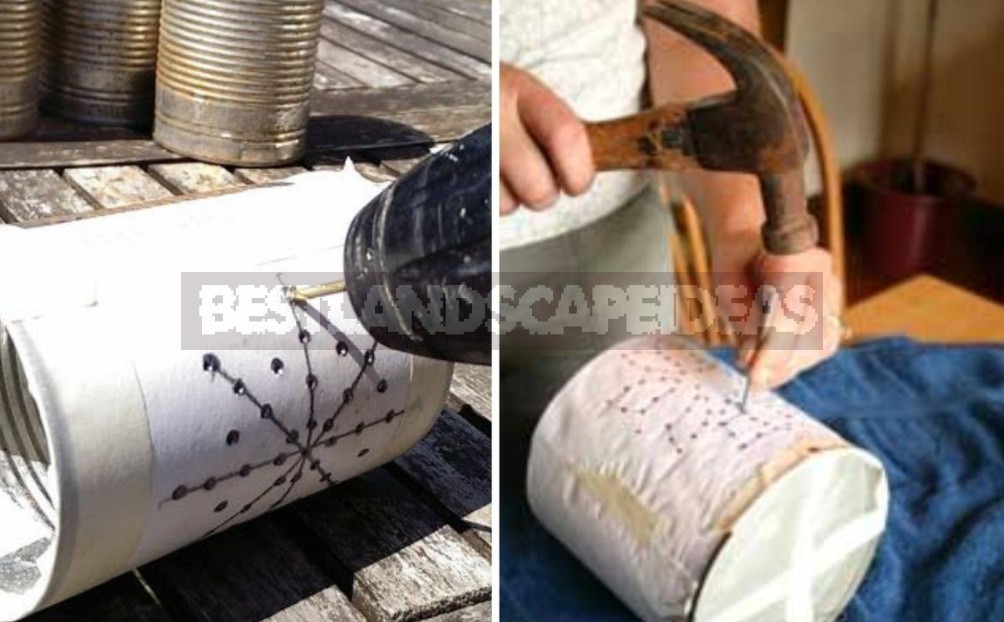
Would you like a candle holder like this? Easy! First make punctures, then cut the jar into strips of the desired width and lightly press on the top edge. Press lightly — the gaps between the strips will be small. Make more effort and they will spread wider. If desired, you can paint the product in a pleasant color to your eye.
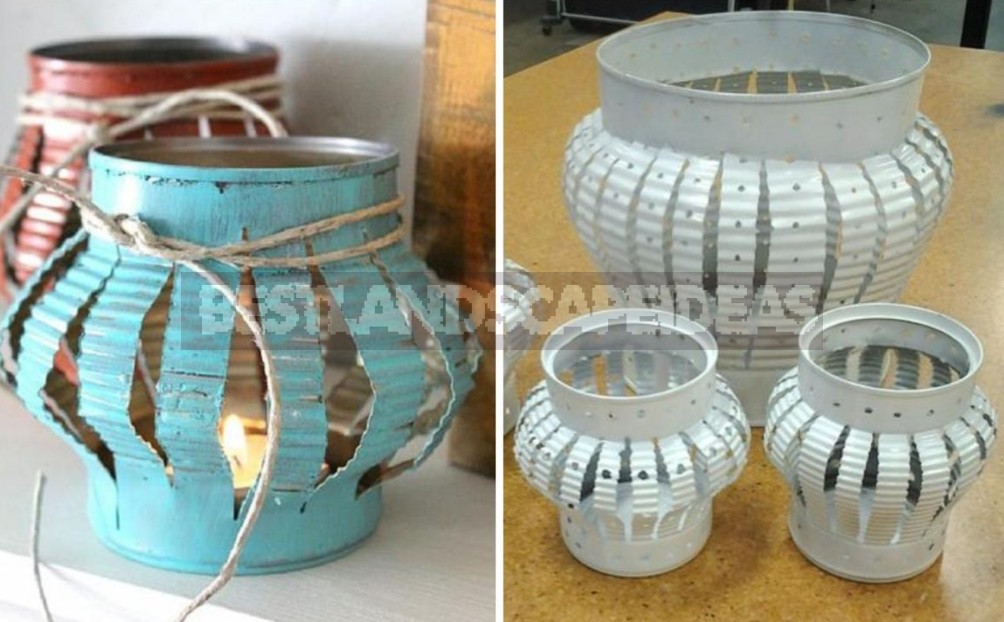
With a little practice in metal carving, you can easily master more complex versions.
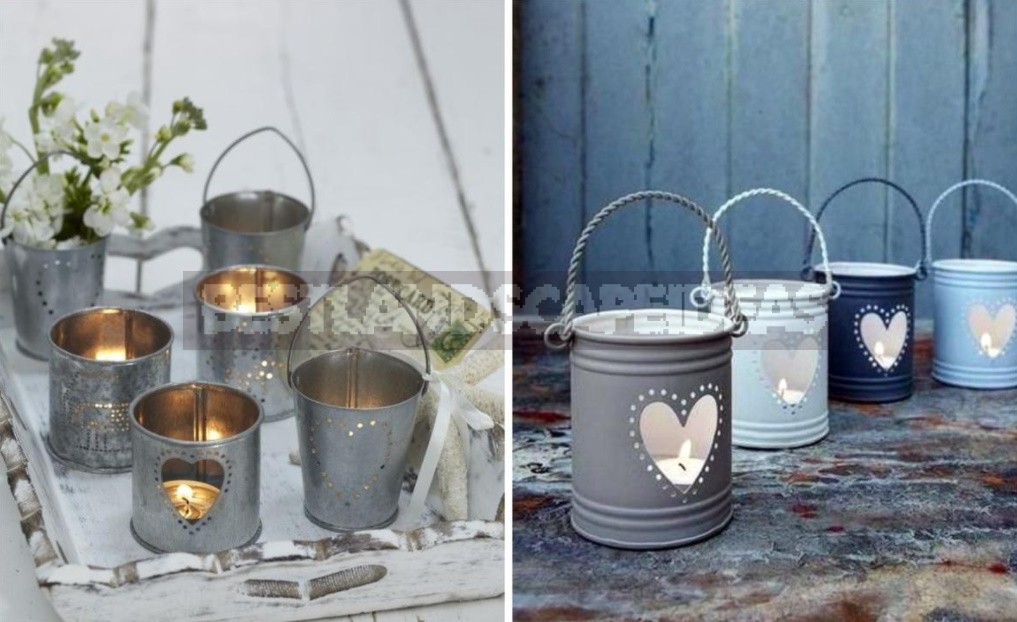
Well, if all this seems too complicated to you, take a closer look at these simple, but no less cute solutions.
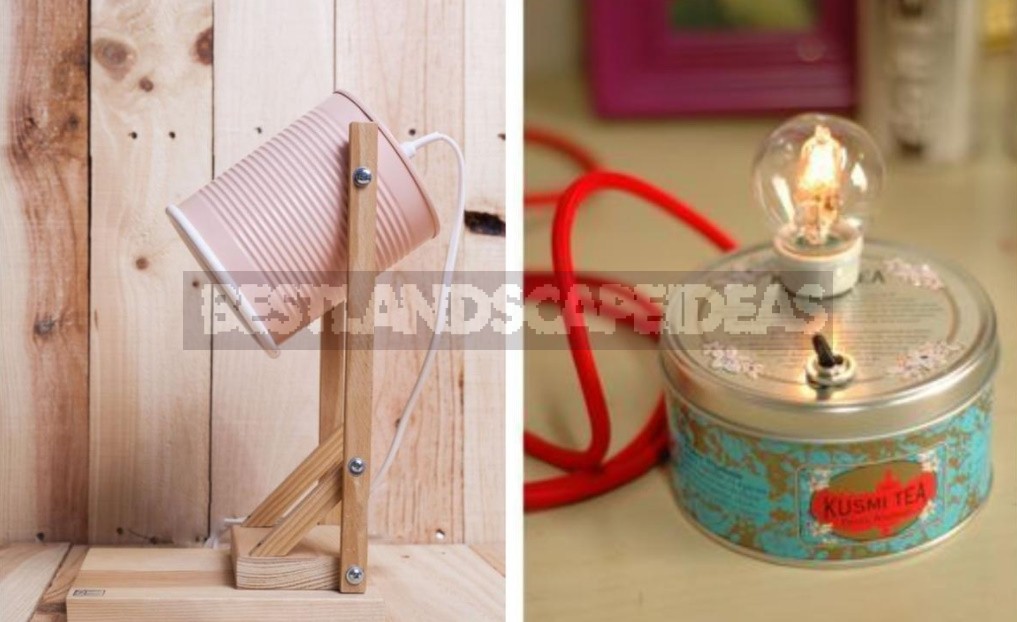
For those who are familiar with the device of electrical appliances, it will not be difficult to make a table lamp. Perhaps, in the interior of a city apartment, such a lamp will look out of place, but for a country house or garden shed — just right!
Organisers
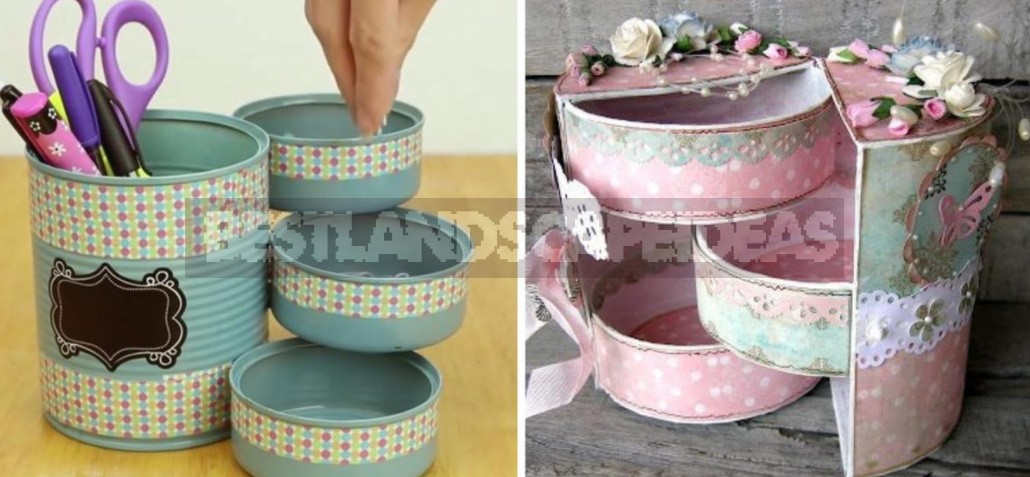
In the house there are many small things that should always be at hand and easily accessible. Purchased organizers are difficult to choose to your liking: the shape does not like, the size is too small, the price bites. Feel free to attach tin cans to the case, they can be used to make cool storage containers! For example, it is convenient to place office supplies in them.
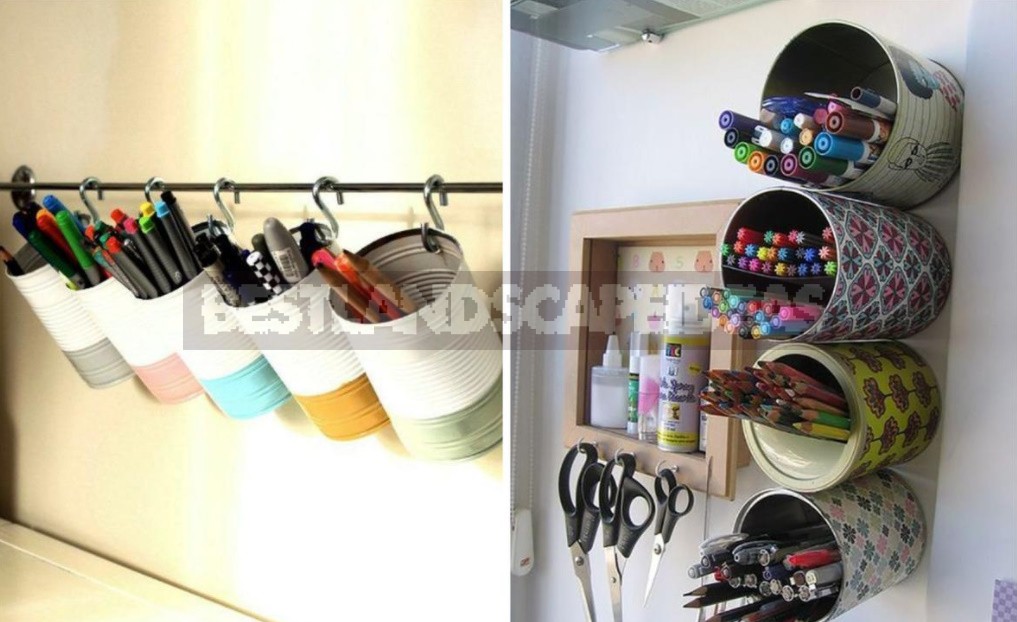
And from several cans, you can even build such structures.
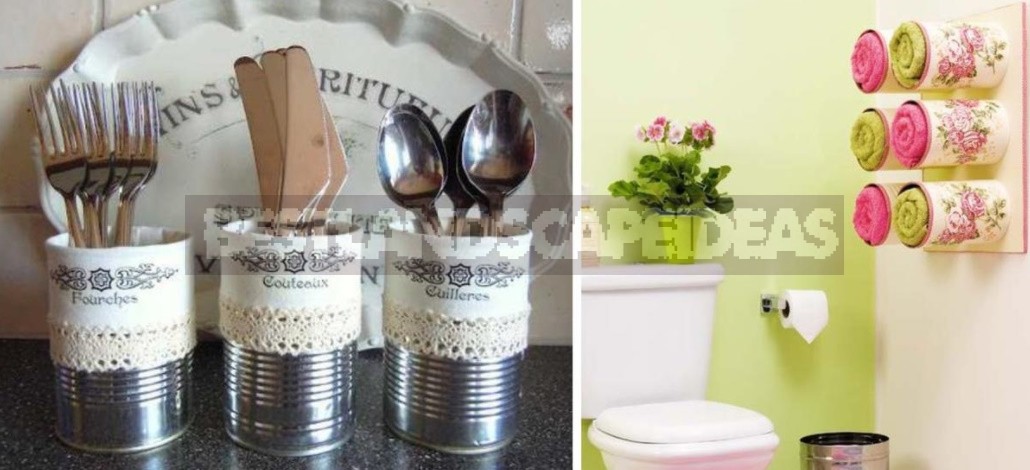
Even a simple napkin collar and lace belt will turn an ordinary tin can into a beauty. And the original shelf for towels can be made by everyone, and it looks better than many factory ones!
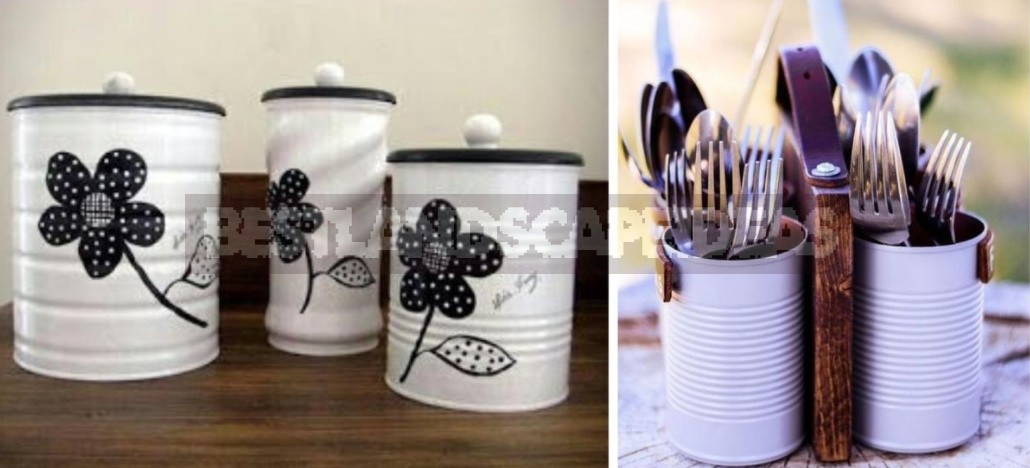
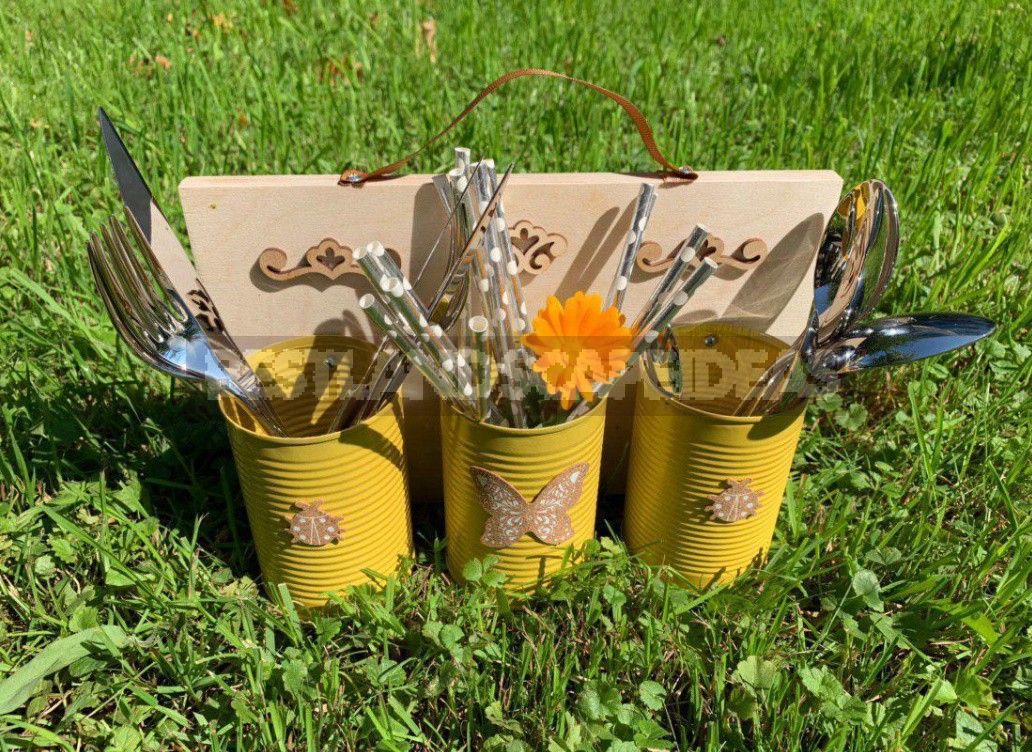
Having provided the jar with a lid of a suitable diameter, you can safely store cereals, flour or sugar in it. How do you like the Cutlery stand? It’s hard to imagine how much it will cost in the store! And yet it is not difficult to make it.
Master class: making an organizer for Cutlery
I suggest you make a convenient and very original organizer for Cutlery-a dacha variation. To do this, you will need:
- a piece of plywood measuring 28 × 18 cm (1 cm thick),
- cans (3 or 6 PCs.),
- enamel-better in a can,
- can opener,
- hammer,
- nails,
- screwdriver,
- self-tapping screws — I have 3 × 12 mm,
- skin,
- gloves,
- decor — any at your discretion,
- glue gun and glue for it,
- tape or belt – for the handle.
I have a lot of jars. Initially, I chose 6 pieces of the same size for this master class, as I planned that the cans would be on both sides of the Board. However, in the process, I liked the option when the banks are located on one side. So I only attached 3 pieces. You can use all 6.
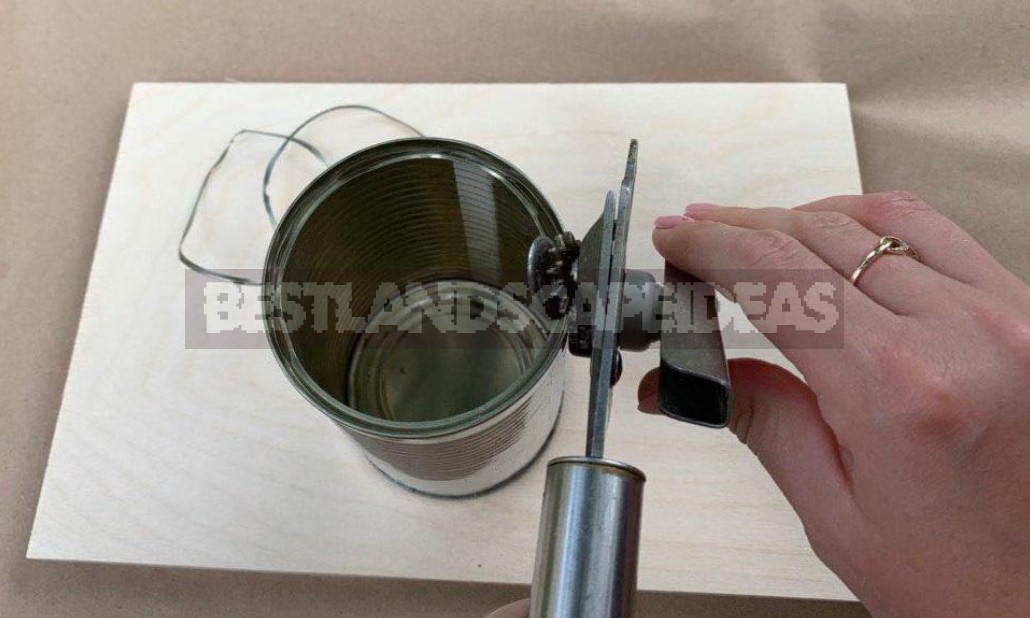
Important! Before you start working with cans, you need to remove the sharp edges with a can opener, otherwise you will not avoid cuts. I also recommend removing the remaining burrs a little. After we have secured our pens, we can start the main work.
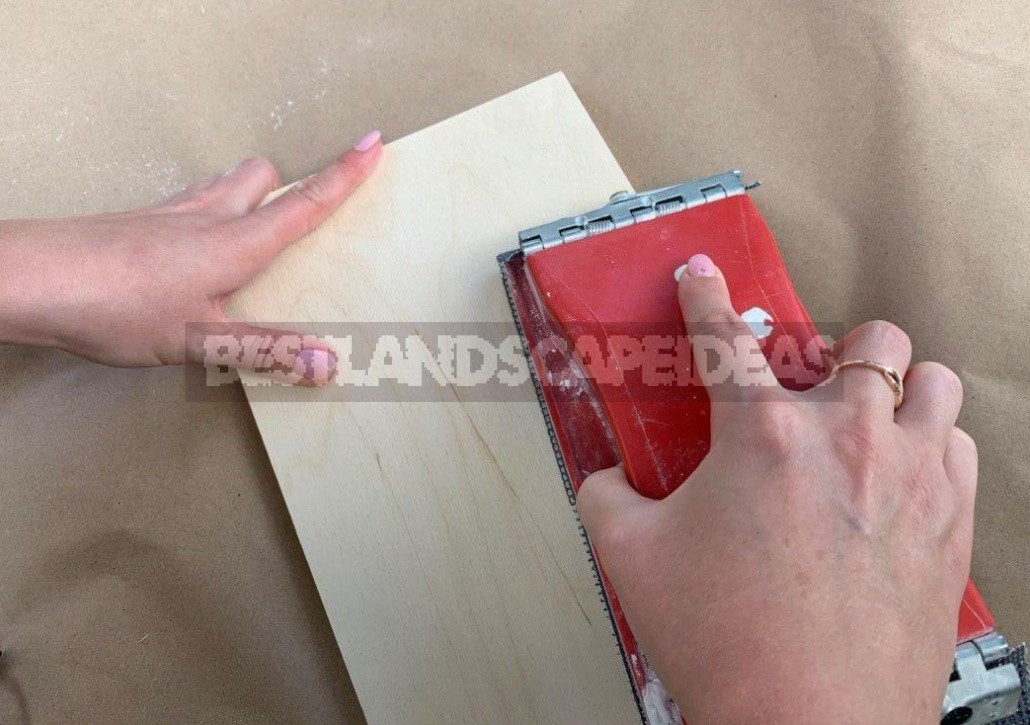
I have a piece of plywood as the base for fixing the cans. You can also use a suitable piece of the Board, if you have one. The main thing is that it was thick enough, as it will have to screw in screws. The plywood I have cut.
For painting, I used a primer-enamel. I chose it according to the principle that it was quick-drying, beautiful color (I fell in love with this mustard shade!), it held well and was sold in the form of a spray (it is more convenient for me to apply it). Among other things, the spray says that it is resistant, does not fade in the sun and does not crack. And although my cans were not rusty, I decided that this is just the perfect candidate for my cottage crafts. And I was right!
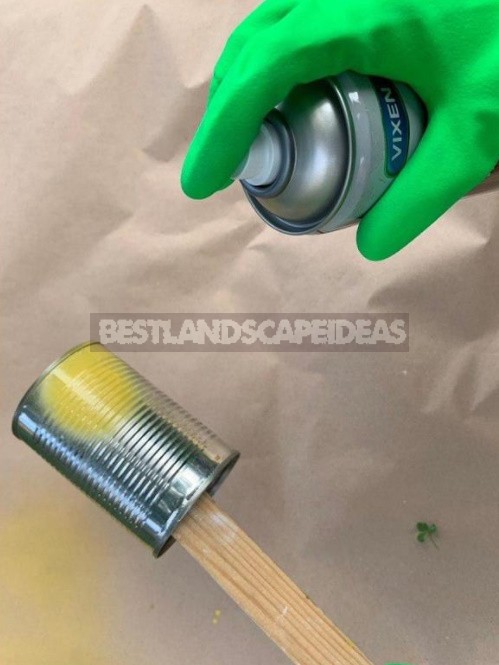
The cans were painted both inside and out to protect them from the moisture that would run off the Cutlery. The paint is well laid on the surface, a dense layer. I gave it a night to dry, then continued working.
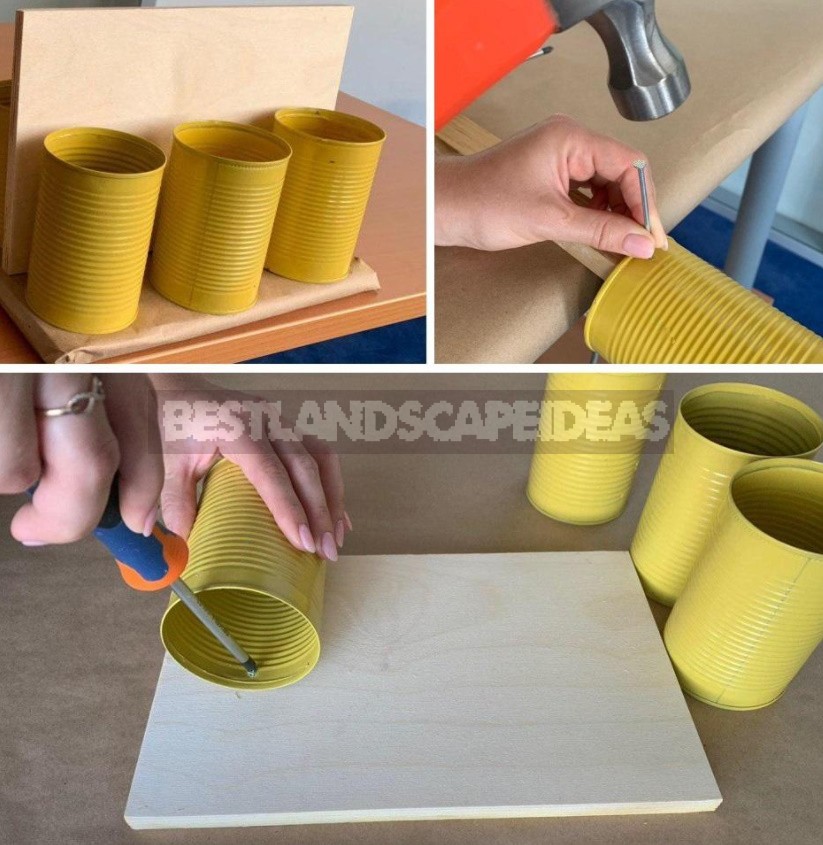
First, I punched holes in the cans with a nail. Then I put them to the plywood to mark with a pencil where these holes are located. In the designated places, I made depressions with a nail, because screwing a self-tapping screw into a single piece of plywood is not an occupation for women’s hands. In the holes punched by a nail, the self-tapping screw enters much easier.
According to my idea, the organizer should have a handle — I used a piece of thick tape for it. I also marked the holes in the plywood with a nail, and then screwed the screws into them, thus securing the handle.
Next, the most pleasant moment is the decor. My organizer was decorated with ready-made wooden monograms and cork insects, which were purchased for the occasion in a craft store. I fixed them with a glue gun.
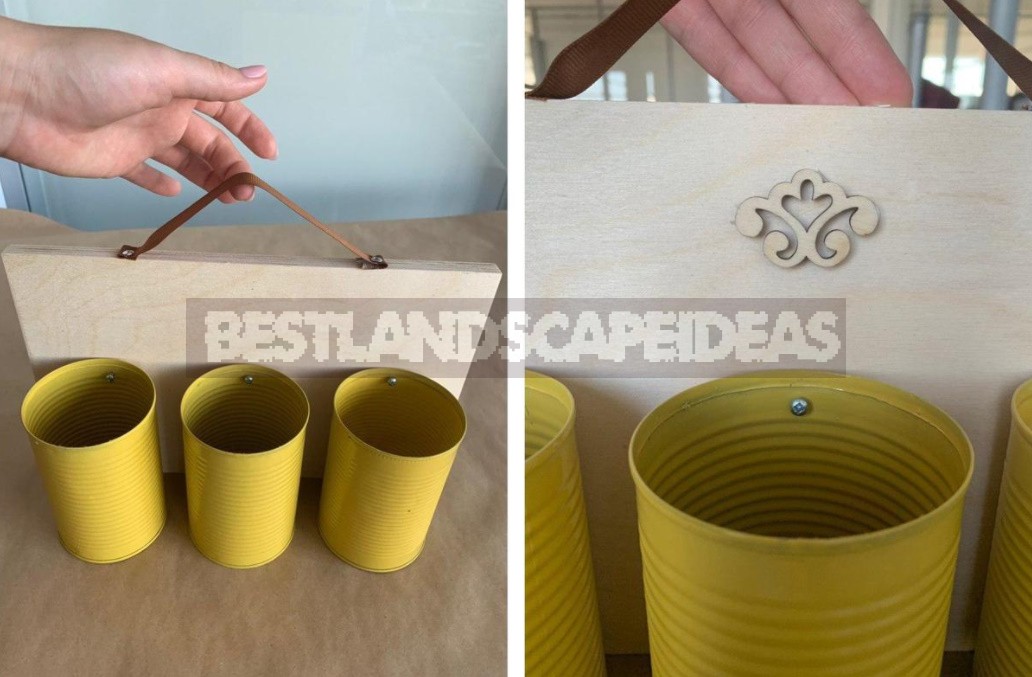
This is the result of my labors. I got a very dacha and a little naughty organizer for Cutlery. I already want a second one, but more, for small garden tools (pruners, hoes and shovels).
Baking pans
The tin can successfully cope with the role of a baking dish, and you can also cut out any cookie cutters from it: how much can you be satisfied with the meager purchased sets!
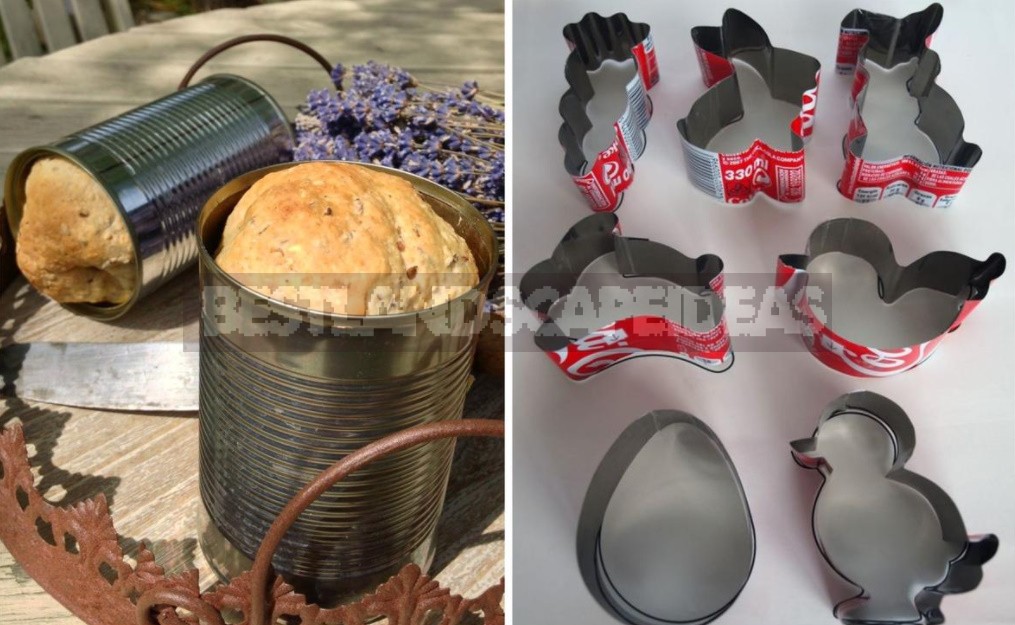
When the girls were little, I baked them tiny cakes in a jar of baby food. The children were delighted! The small cakes tasted much better than the big ones.

Garden things
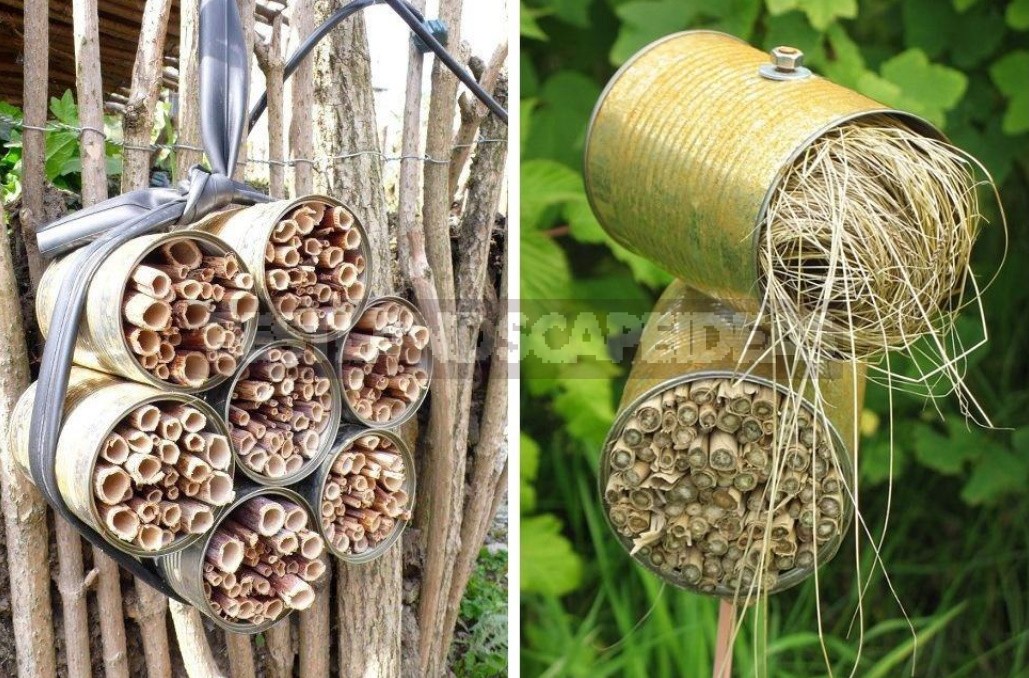
And now let’s go into the garden: what are we all in the house and in the house? Every summer resident probably knows how important it is to attract useful insects to the garden. They will fall in droves on your site if you equip them with a home-a house for bugs.
So, we have already taken care of the bugs, and now we will think about the birds in the winter and off-season. There are many variants of feeders from cans.
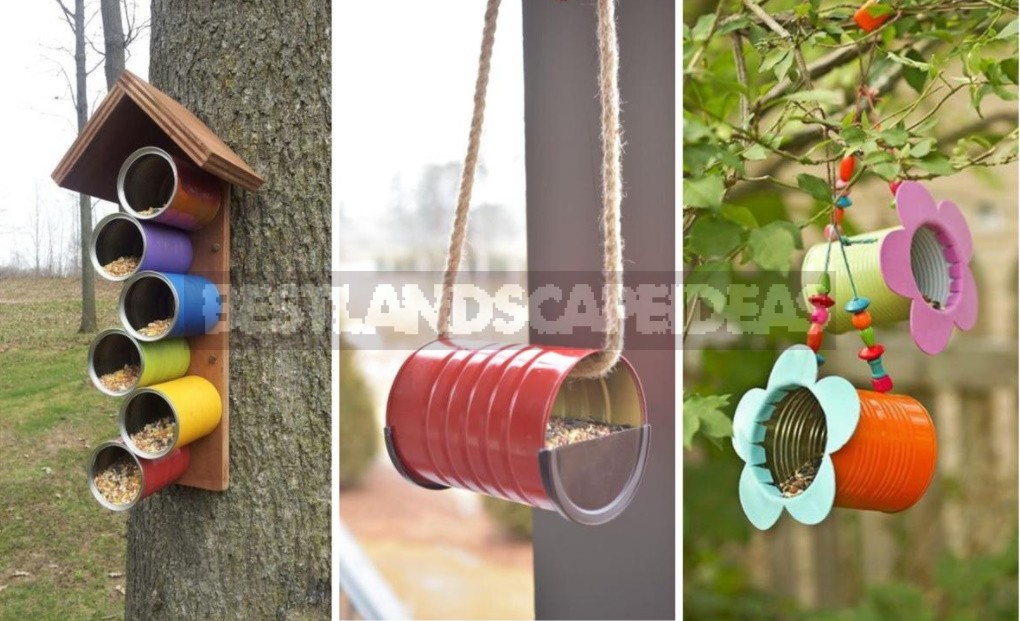
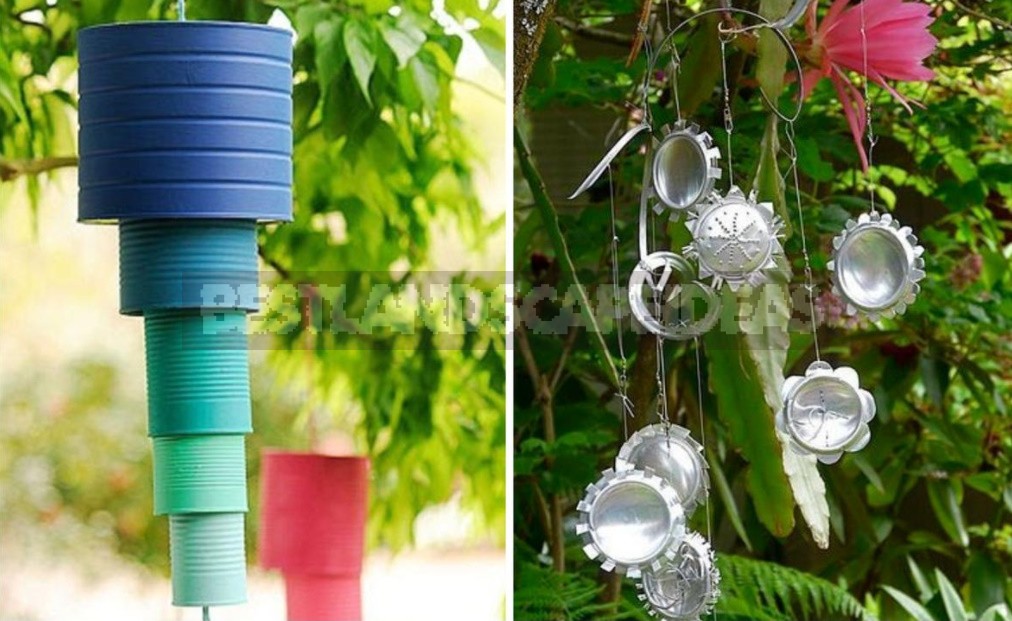
If you like mobiles, take a closer look at these options. The structure on the left will definitely ring noticeably in windy weather, and the one on the right — barely audible. Personally, I prefer the sounds of wildlife — I would accept a constant chime only temporarily, if it will scare away birds encroaching on the berries. Has anyone tried to send off feathered thieves in this way?
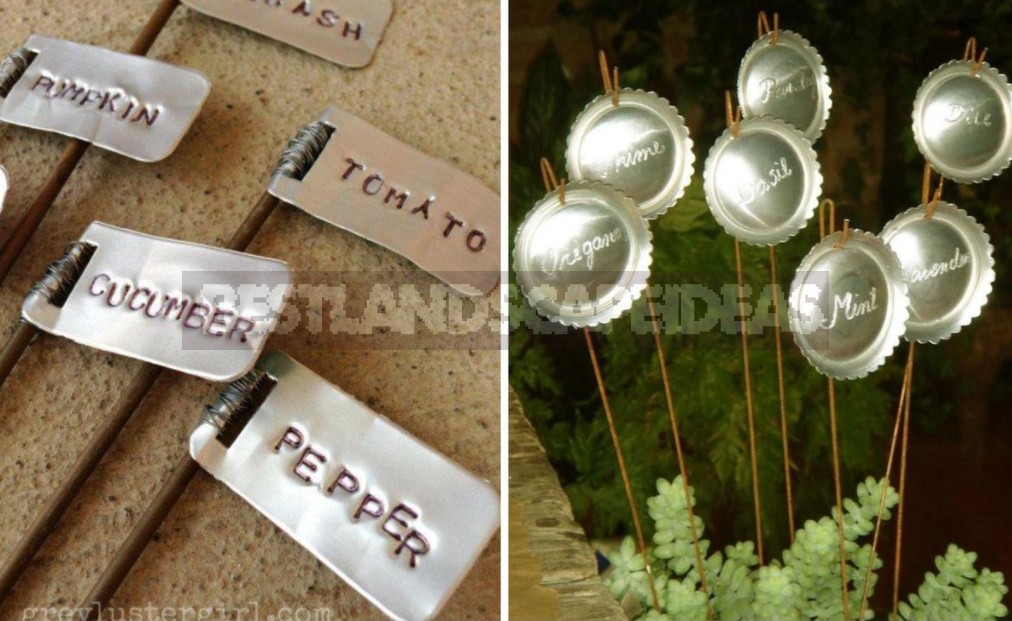
So we got to the idea that I always use on my site — unbreakable labels for marking. I couldn’t choose the best of the two options, so I’ll take both: for vegetables — rectangular, and round will look organic in flower beds. There is a lesson for long winter evenings…
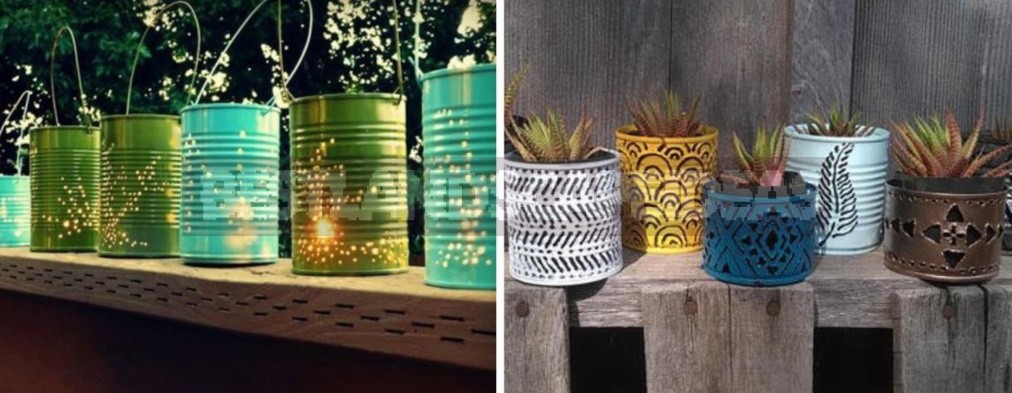
The recreation area can also be refined: carved (with the same stationery knife) planters will delight the eye during the day, and elegant candlesticks will create a fabulously cozy atmosphere in the evening.
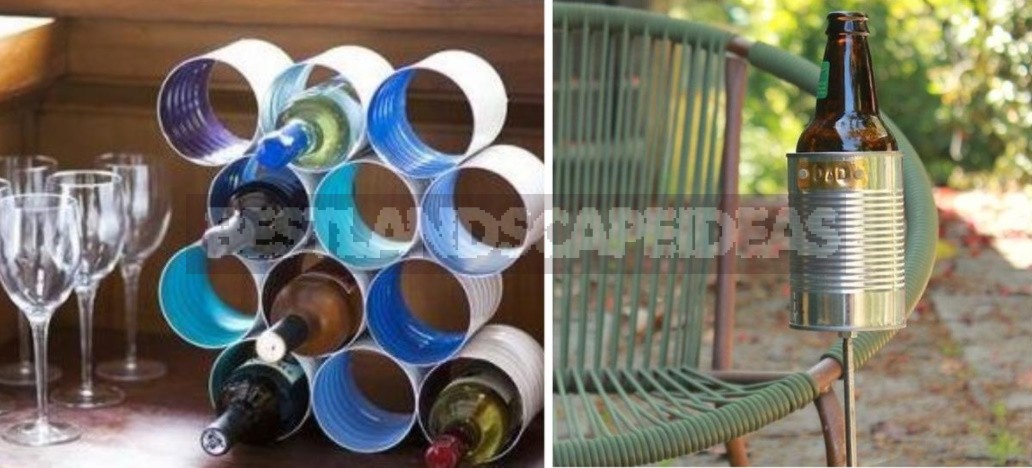
Speaking of holidays, you don’t have to worry about the safety of glass bottles if you have such a wonderful stand for them. And to avoid warming the drink in your hand, make these holders.
Vases
In conclusion, I would like to note that the options for decoration for cans do not count, it remains only to look for suitable ones for you.
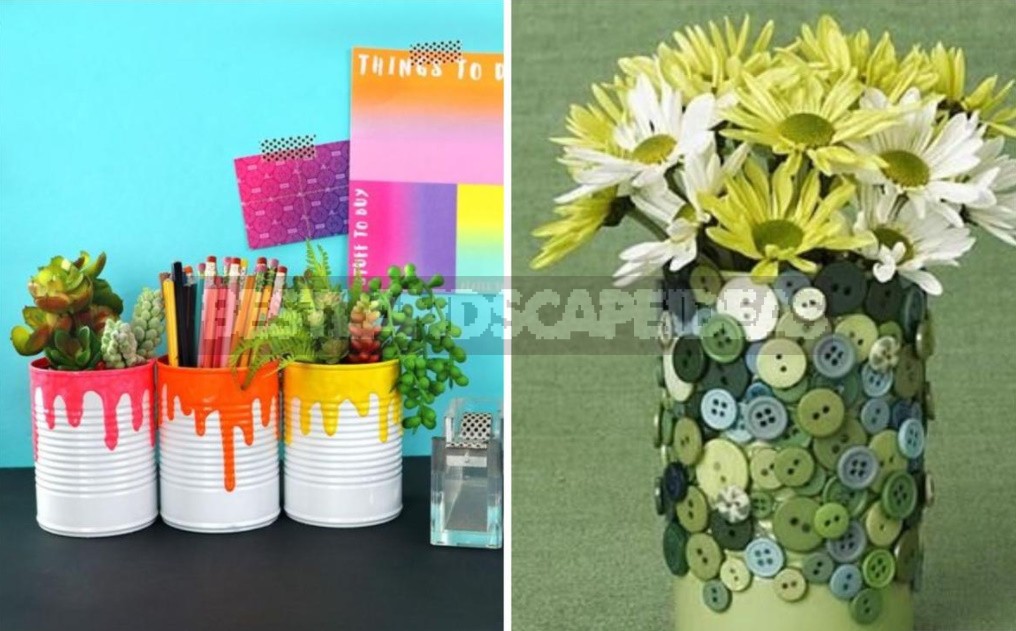
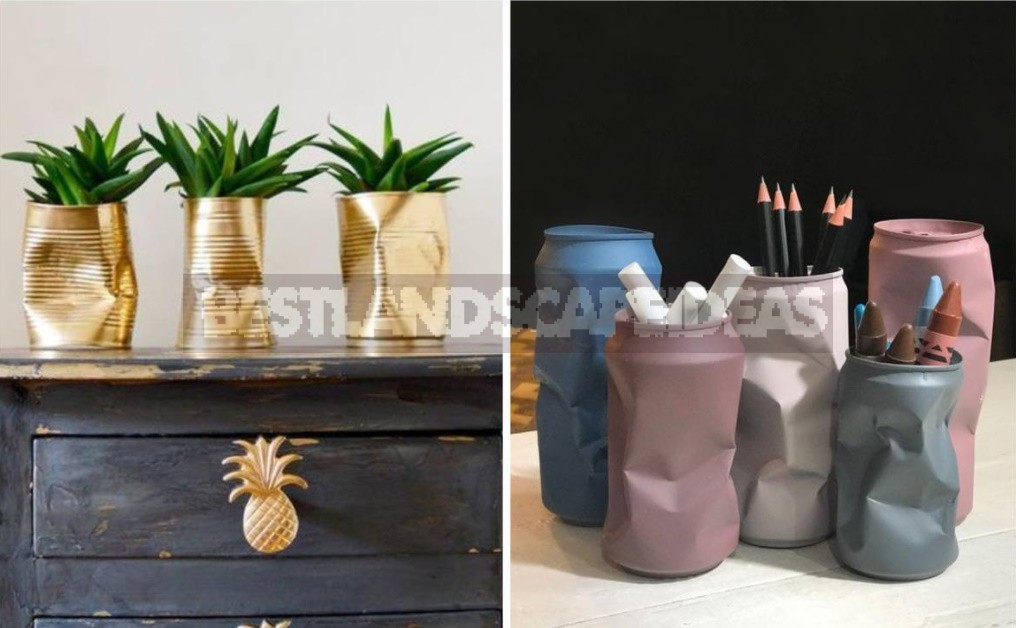
Even slightly battered life banks can be ennobled with paint.
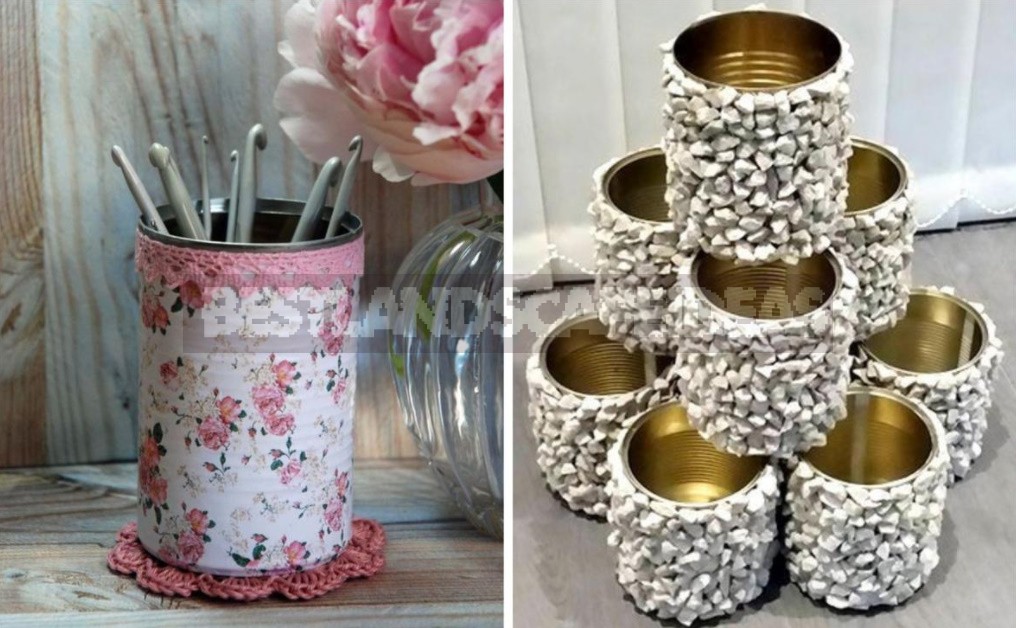
At the same time, you can attach the remains of beautiful napkins and lace, brought from the sea stones.
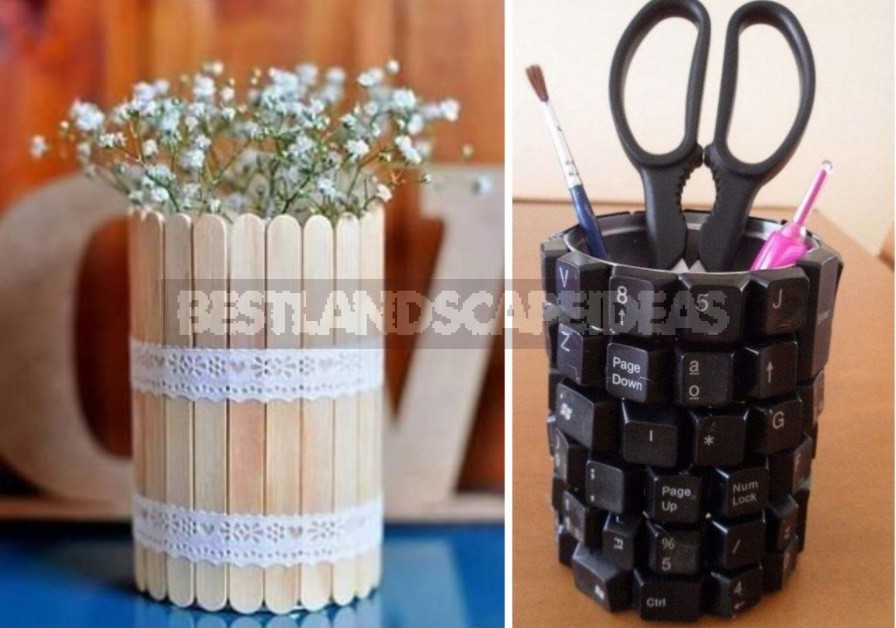
Or how do you like these ideas for ice cream lovers and for the computer table?
You can even make a handle out of twisted wire and decorate it with beads.
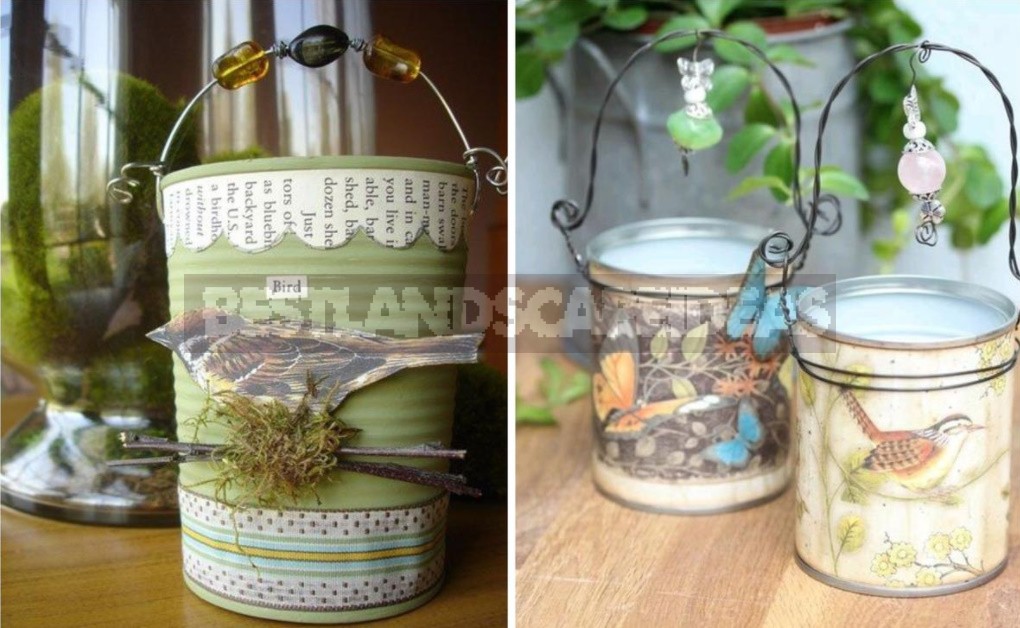
You can cover the jar with an old newspaper or stamps, or donate a page of an old music book. Natural materials look very beautiful — twigs, shells, seeds. Fabric, lace, cords — everything will be fine, as long as you like it. And it is much better to adapt a decorated jar, you will surely find. Although … for some reason I am sure that our summer residents already have experience in transforming tin containers into practical and beautiful things. Am I right?
