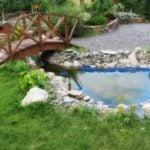
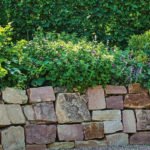
One of the fashion trends of recent times – to do in the garden gabions (this lattice box filled with stones). Lattice baskets come in a variety of sizes and shapes, and fill them easily, while filling can be very different.
We will have, of course, to sweat, but to make any fatal mistake is simply impossible, because in this case there is nothing complicated. Yourself boxes are also easy to assemble. In addition, when terracing the site on the slope of the gabions can do without drainage, unlike the walls of dry masonry. After all, the water flowing down the slope, freely seeps through the box with the stones.
However, for the stability of the gabions need a Foundation of compacted gravel depth of about 80 cm (at a depth of soil freezing in winter, this figure in your region should be based to determine the thickness of the Foundation).
When constructing multi-row retaining walls, as in the case of dry masonry walls, each above the located series of gabions should be installed with a small shift, so to speak steps. High gabions, which do not serve as retaining walls, must be installed on a concrete Foundation with a thickness of 80 cm.
The retaining walls of the high bed are made of gabions. To the longitudinal walls of the boxes were killing me, the jumpers connect the longitudinal sides of each of the gabion.
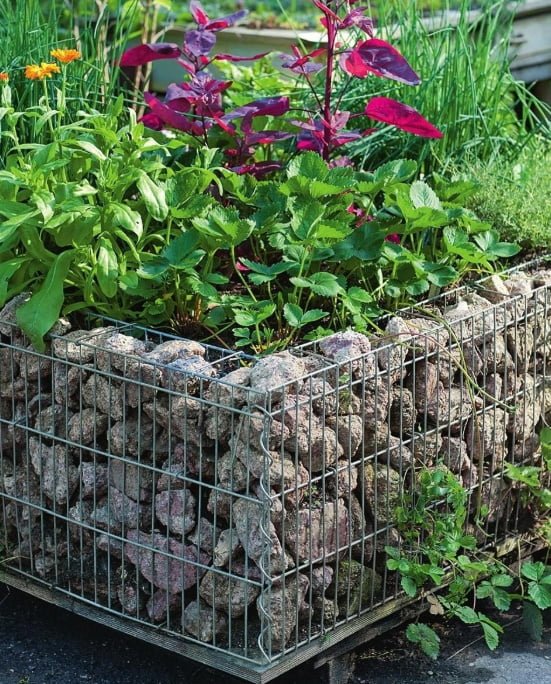
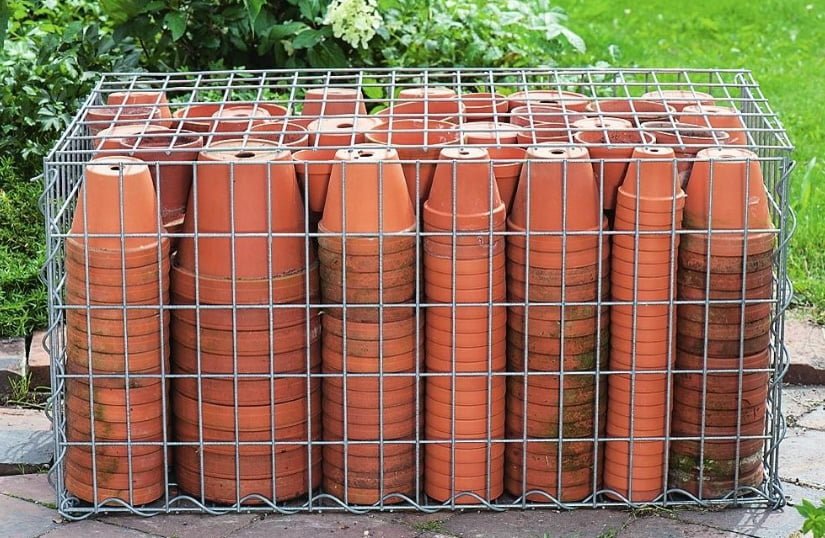
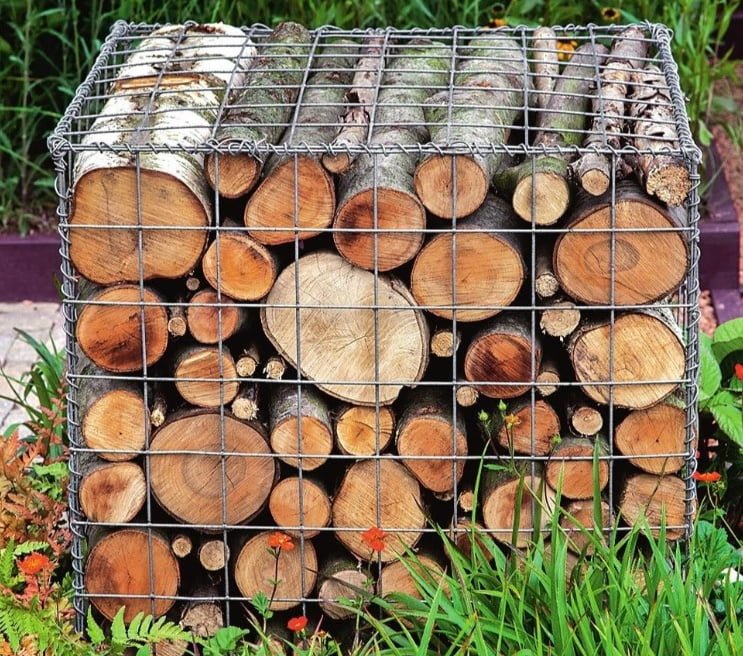
As for the filling of gabions, here you choose the material. If you do not want to use stones for this, replace them with wood, bottles of colored glass, clay pots or any other material to your taste.
The tree gives the gabion a cozy look. But for durability soak it with special tools.
If you put a low gabion boards, remaining after the construction of a terrace or a high bed, you get a comfortable bench (the optimal height is 45 cm).
Master class 1: assemble the gabion from the pots
Of such a gabion is a great bench.
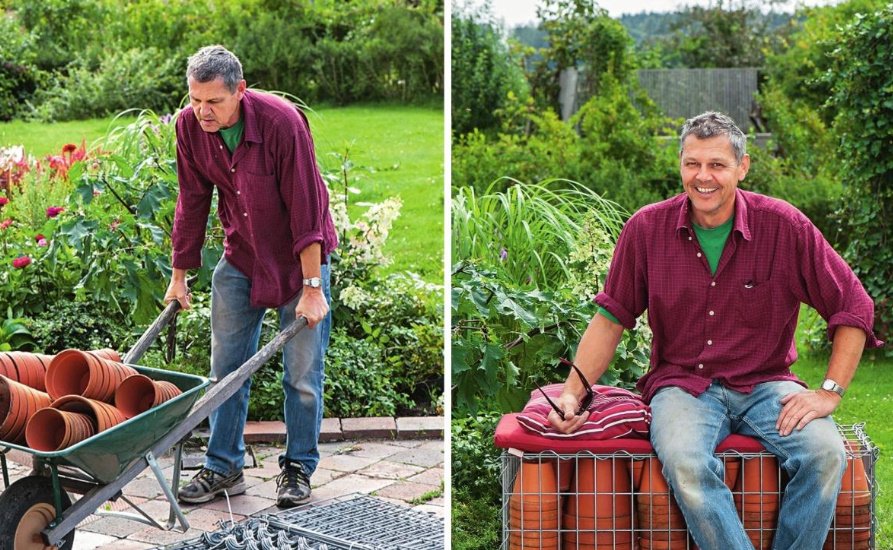
You will need:
- disassembled grid box made of galvanized steel;
- metal spirals for fixing gabion walls (usually included in custom and ready-made kits);
- identical clay pots.
Operating procedure:
1. The walls of the box spread out on the ground. Spirals connect the sides to the bottom (first longitudinal sides, then end). You won’t need any tools – the spiral is freely twisted.
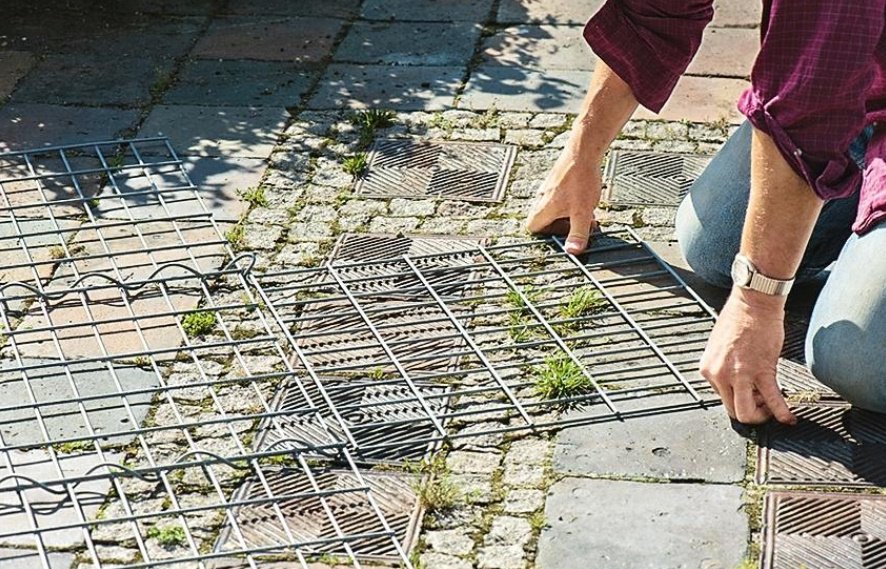
2. Now connect the sides of the box. For convenience, they can be temporarily grab the wire to the wall exactly adjacent to each other.
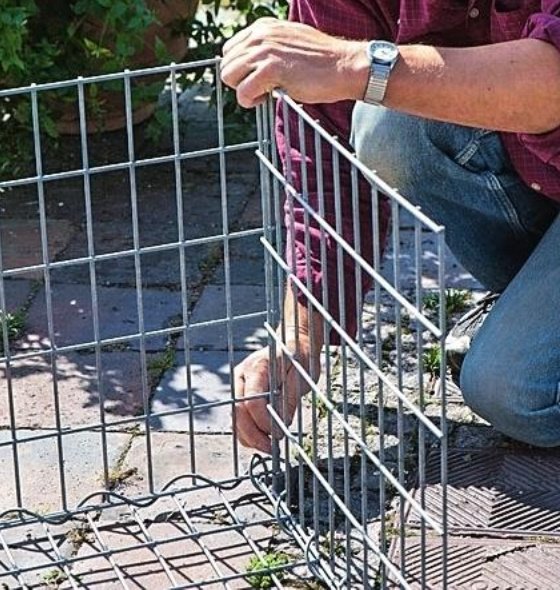
3. Carefully put stacks of clay pots in the box. Then fasten the top of the box in spirals.
4. Put the pillows down and check if it is comfortable to sit.
Tip: the gabion is advisable to order or buy ready-made kit unassembled, because not every metal grille suitable for gabion. The grid for it should be very strong. To rectangular box with longitudinal sides not bend under your weight, the sides should be further connected by bridges (spacers with hooks at the ends) or diaphragm. This is particularly important in the case if you are filling the gabion, bulk material.
Master class number 2: gabion rock garden
Box-cube can be planted with plants.
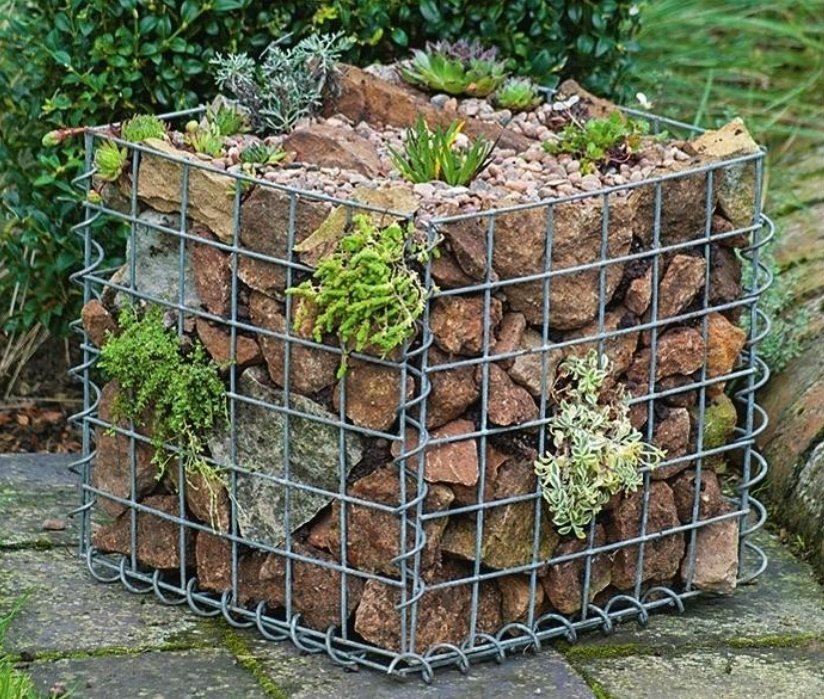
Operating procedure:
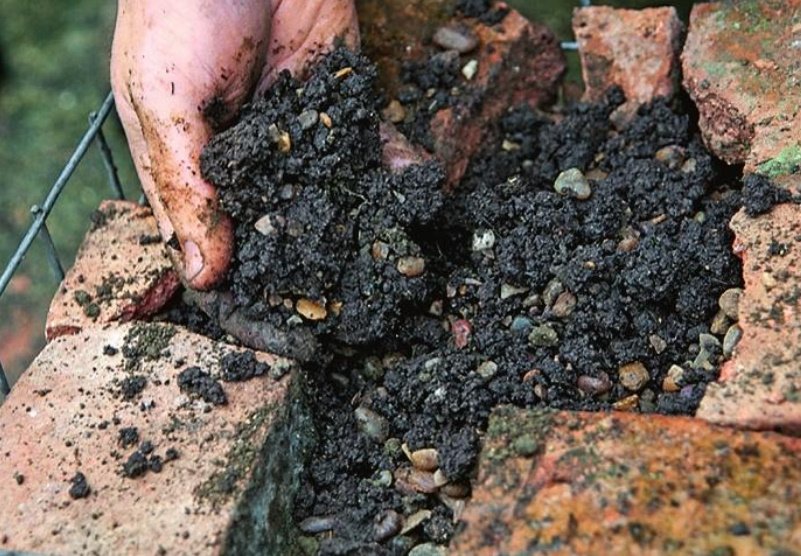
1. When gabion is filled with stones, look for places where you would like to plant plants. There pour the earth mixed with small gravel.
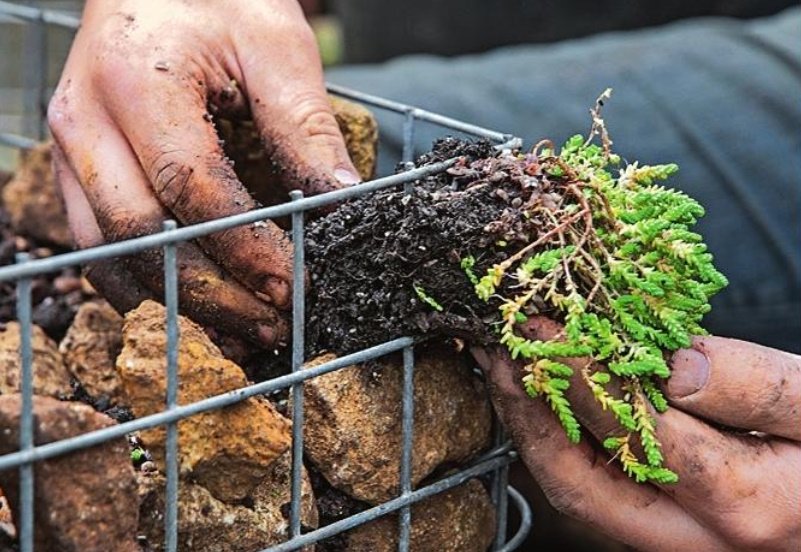
2. Plants gently pass through the bars and plant. If necessary, sprinkle some more earth.
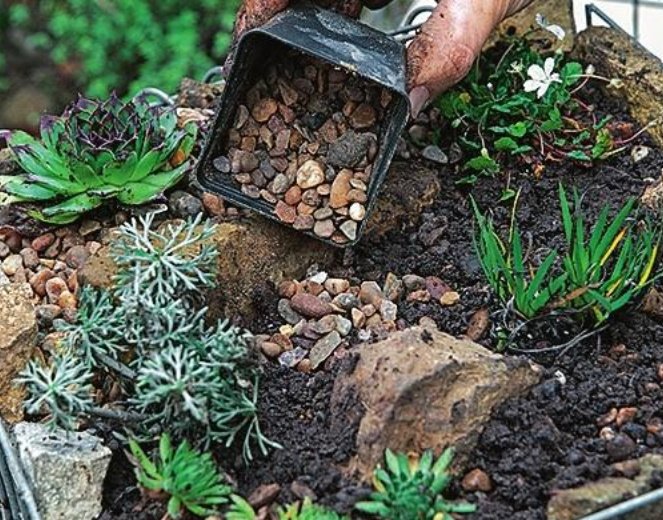
3. A layer of red gravel, for example, made of red granite, will emphasize the beauty of such plants for rock garden as Sisyrinchium and Thumis.
Especially nice stones for a decoration.
Tip: do not put the gabion rock garden on a wooden terrace-it can spoil the flowing water.
