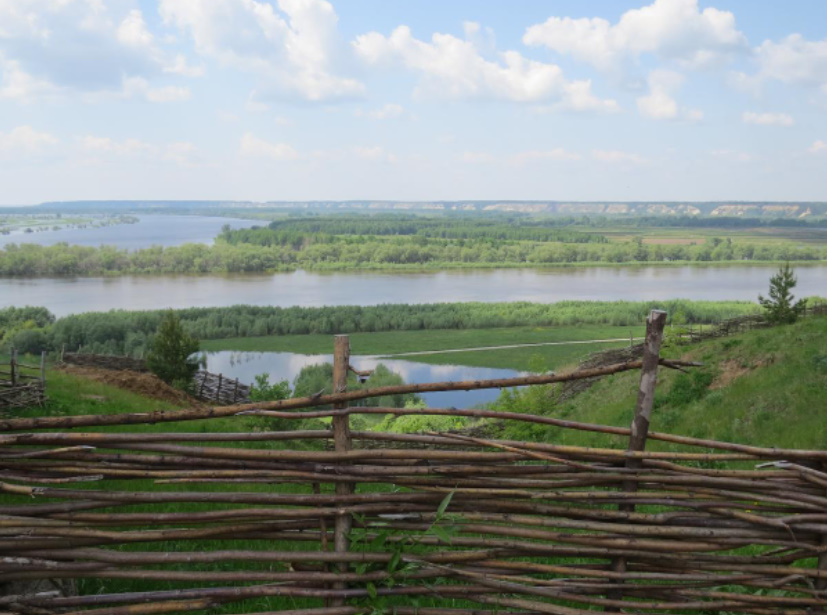
Horizontal fence
In this case, it is very important to choose the right distance between the vertical posts-risers and the ratio between their thickness and the thickness of the braid bars. Novice weavers are advised to take branches for weaving 2-3 times thinner than risers.
It is best to weave right on the spot. The risers should be sharpened and driven deeper into the ground — about 20 cm. For strength, the first two rows can be woven in a way that weavers call “a rope in two rods”. This type of weaving stabilizes the vertical position of the risers and generally weaves like this when they want to give additional strength to the weaving itself. The whole fence does not need to be braided like this— it will not add beauty, and the branches will go twice as much.
")
So, a rope in two rods. We weave from left to right: we lay the first rod between the first and second riser, bend the second riser from the outside, the third from the inside and bring it out between the third and fourth risers. We lay the second rod under the first one between the second and third risers, bend the third riser from the outside, the fourth from the inside and bring it out (to ourselves) between the fourth and fifth risers. In this way, we continue weaving to the right, skirting the left (first), outward-pointing rod with one riser from the outside and the other from the inside. Now the second rod turns out to be the left one. We do the same with him, etc. Try it yourself — it’s only hard to read, but it’s easy and pleasant to weave!
An important point in weaving is the extension of the rods, that is, the addition and weaving of new branches. According to the rules, they build up by putting a vertex to a vertex or putting a lump to a lump, but when weaving hedges, decorative fences, you can build branches without any laws, the main thing is that the new branch must overlap the finished one by 1-2 steps, already woven, so that holes do not form.
")
So, we have weaved 1-2 rows with a rope in two rods, and then we weave with a simple weave as many rows as we need to gain the right height. During weaving, we make sure that the distance between the risers set at the bottom is maintained, and they are all in the same plane.
While there is still a lot of experience, you can fix the top of the fence by clamping it between two auxiliary rails knocked down with nails. The extreme vertical posts of the fence should be taken thicker, so that it is easier to turn the branches around them.
If the branches break when turning, feel free to cut them. It is enough that the extreme poles in 3-5 places are braided with good flexible branches with a turn. So our fence will not disintegrate, it will confidently keep its shape.
")
The fence can be made in small removable sections, on legs, by inserting iron fittings along the edges together with risers. Removing the fence for the winter in the barn, you will extend its service life for several years.
Vertical fence
Previously, it was very often possible to meet this kind of hedge in rural areas. Now many people do not even know what this easy-to-manufacture, reliable and very “landscape” fence looks like.
")
It is woven in a simple way by inserting branches between three horizontally fixed on poles with sticks. This fence allows you to use almost stiff branches, even dry ones.
")
A kind of vertical — oblique wattle looks very beautiful. In this case, the sticks are inserted between the beds obliquely, at an angle. Such hedges are very common in Scandinavia. Any thin trunks are suitable — both coniferous and deciduous.
Flower bed in a basket
If you have mastered a simple horizontal wattle, then weaving in a circle (or, as they say, along any closed contour) you can do it easily too.
")
To begin with, we stick the riser sticks into the ground. Then we fix their position with one or two rows of “two-rod ropes”. We make sure that all the risers stick out of the ground evenly or with a given slope, but not somehow. We gain the necessary height by simple weaving. We must try to make the number of risers odd, then the weaving will work out immediately. With an even number, you will have to jump over 2 risers with a rod in each new row to make the weaving work. However, until you try it yourself, you won’t figure it out.
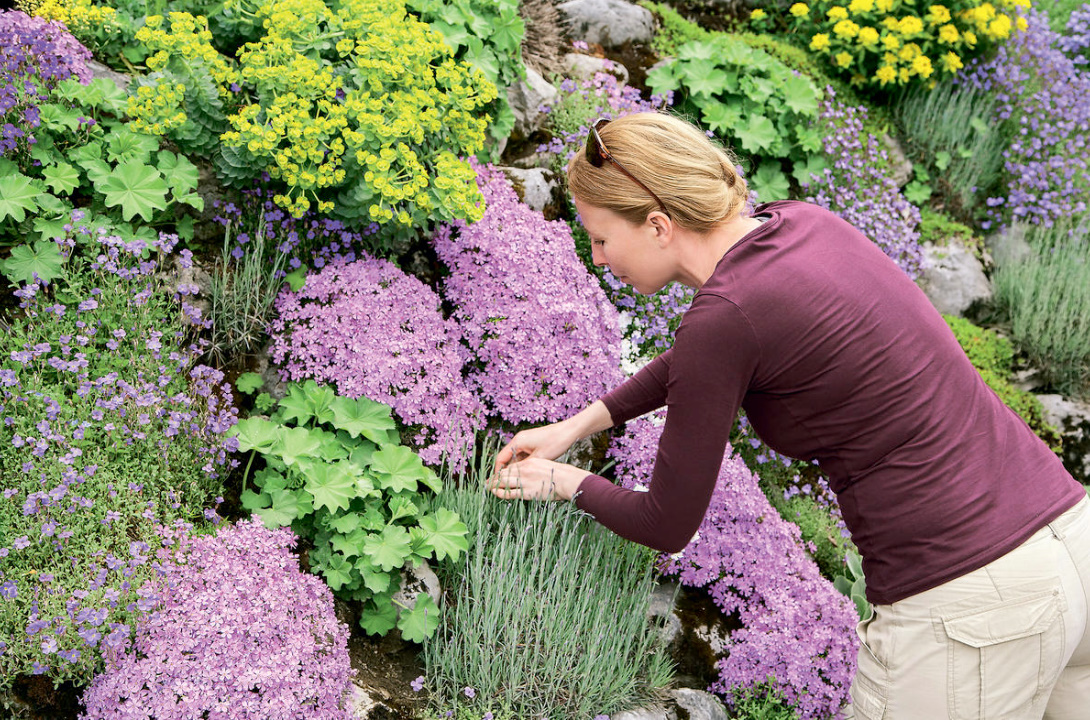
Look at how we weaved a small flowerbed, where valuable primroses grew for us. To protect them from the paws of our dog, we made a rather deep basket for the plants, so that the flowers are not even visible from a distance. It is beautiful when the braid of the flower bed is low, and it is slightly convex in shape.
")
The top of our peculiar basket can be decorated with a so-called “bend”. A bend is a weave of risers along the upper edge of the product. Look, many baskets on top have just such a completion. For decorative wattles of small height, a bend is optional, but it is not just a beautiful design of the edge, the bend affects the strength of the weave and hides the protruding sticks of risers, preventing possible injury.
For bending, it is necessary to insert one additional rod to the right of each riser. The simplest bend is done like this: take a rod, bend it just above the fence itself, bend it around the riser on the right from the inside, bring it out, then another one from the inside and one from the outside.
")
So they braid all the rods in a circle, braiding the last ones under the first ones. Then all the protruding ends are cut off. You can come up with the bending option yourself, the main thing in this case is to observe a certain rhythm of weaving and not break it. When you have experience, you will want to weave without any rules, inventing your own types of wattles, or even pull on the creation of voluminous braided objects.
The hobby of weaving usually develops into collecting willow varieties, growing hedges, individual bushes and trees that delight the gardener all year round and supply the weaver with its own source of material. The harmonious life of the plant and the person cultivating it, the amazing properties and morphology of varieties, the beautiful color scheme of bark, shoots and buds, the possibilities of green construction and the variety of wicker products — all this is willow.
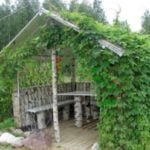
We hope that weaving will bring beauty to your garden and bring joy to the whole family. In one of our next materials, we are ready to share with you the secrets of weaving cones, balls, as well as making wicker huts and houses for children.
Related posts:
 Hobbiton – Features, How to Find, Photos, Design Ideas
 8 Best Design Ideas to Improve Your Country House. Scottish Style
 Home decor beached style
 Roof in Eco Style: Stone and Wood
 The Basics of the Design of the Suburban Area
 Practical Cottage Crafts Made Of Concrete Blocks
 5 Best Gazebo for Country House. Types and Features
 6 Best Decorative Elements for a Patio in your Garden
 The American Country House in Retro Style. Design Ideas
 Best Spanish Decorative Ideas for your Country House
 American Country House in the Style of Bohemian Shabby Chic
 Grills and a Barbecue for Villas with Their Hands
 Landscape Design with Their Hands: the First Stage
 Ideas for Landscaping
 How to Make a Well in a Country House or Cottage?
 Types of Barbecues and Mangals