After pouring a new blind area for the house, I had a bag of cement left. It is not stored for a long time, it quickly loses its characteristics and in a couple of months it can simply turn into stone. That’s when I started thinking: what is useful to make from the remains of cement? I searched for information — and realized that almost anything can be done. I’ll show you how to make outdoor furniture, a flower bed and a small pond.
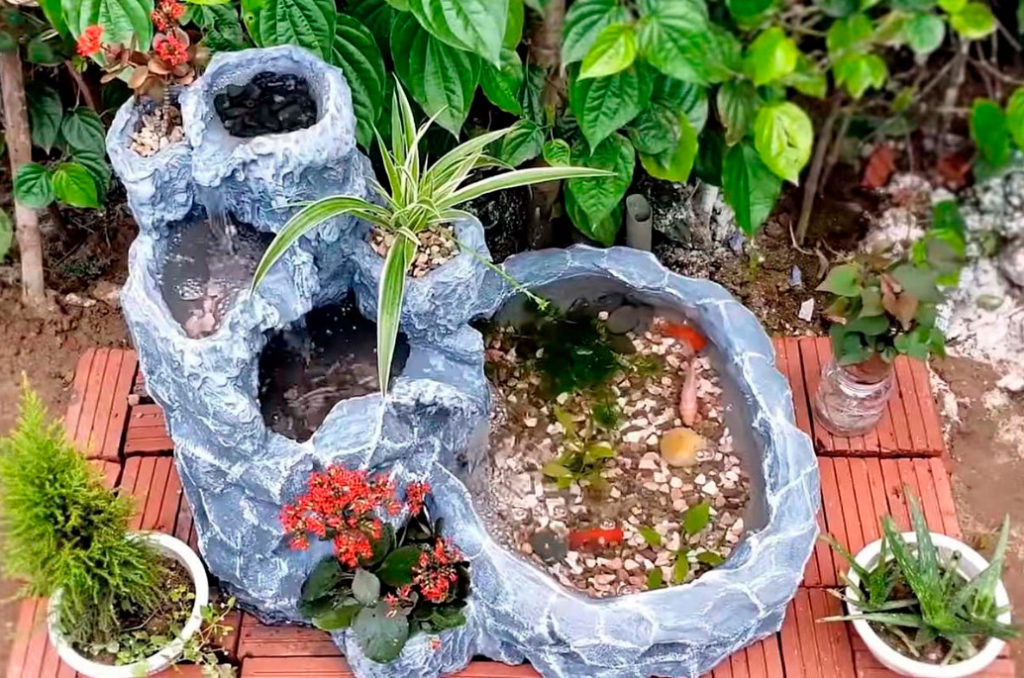
Waterfall with mini pond
As a basis for the design, we take an ordinary sheet of foam. This insulation is sold on the construction market.
The technology of making a sculpture from such a material is simple — you need to make a foam model and coat it with a thick enough layer of cement mortar.
Therefore, first draw the outline of the base on a sheet of foam. We cut out the part along the contour with a stationery knife or a heated soldering iron. Special precision is not needed here.
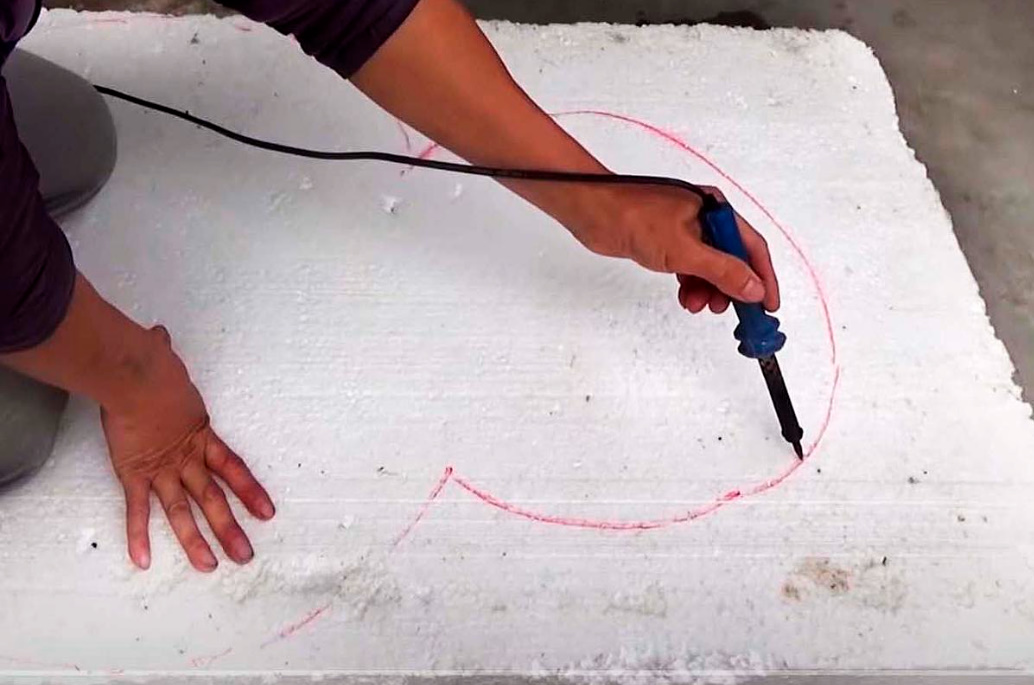
Choose a recess under the pond.
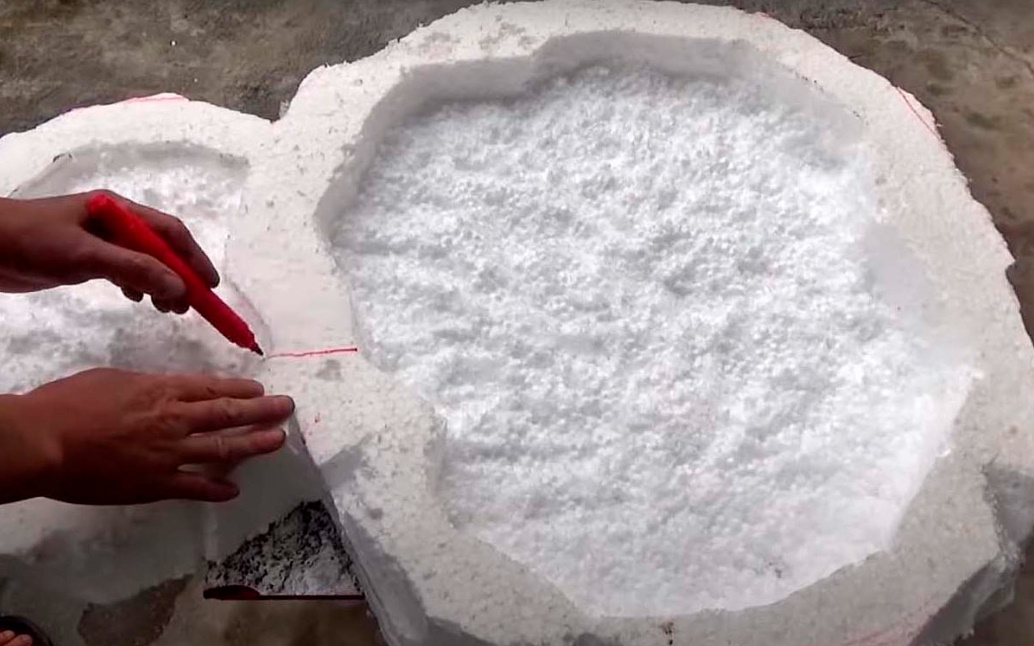
We make a liquid solution of cement and sand and apply it to the foam with a brush.
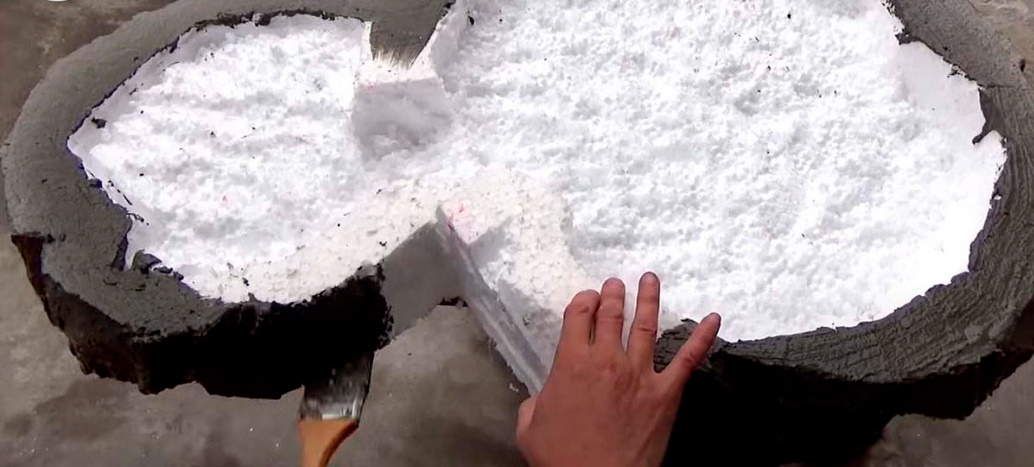
We build up the structure with the next levels of foam, fastening them together with bamboo sticks for sushi. We lay the water supply pipe and apply the solution again.
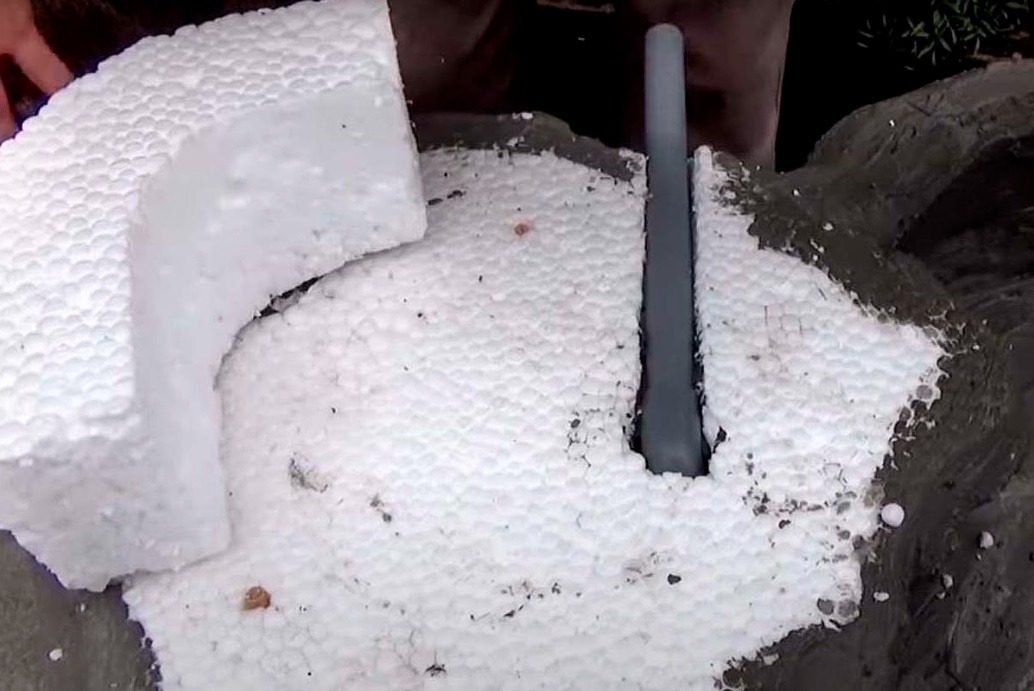
We install foam parts of the next level of construction.
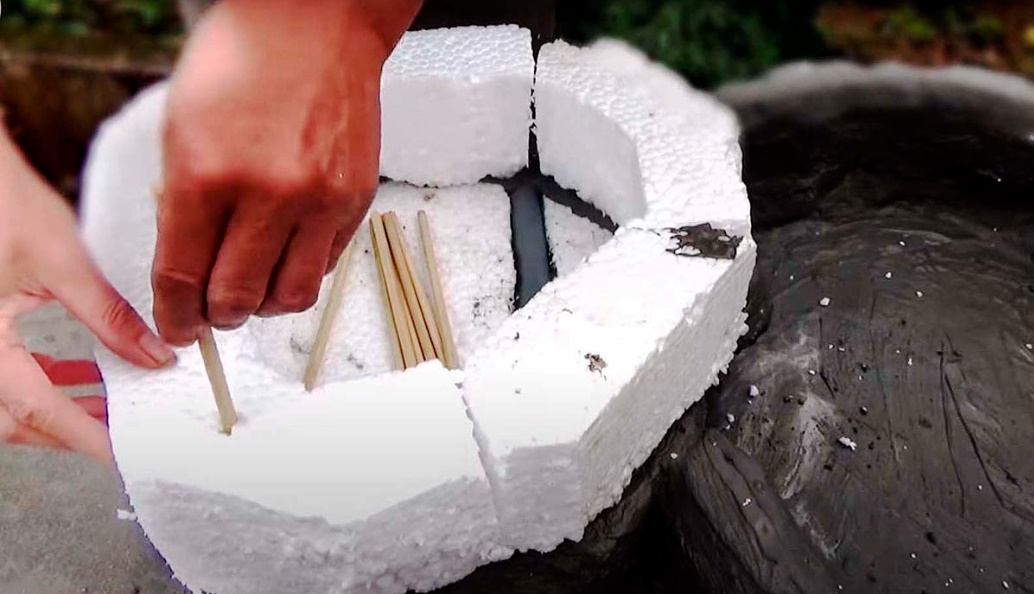
We connect a corrugated hose to the water pipe and brace it with a solution into the “wall”.
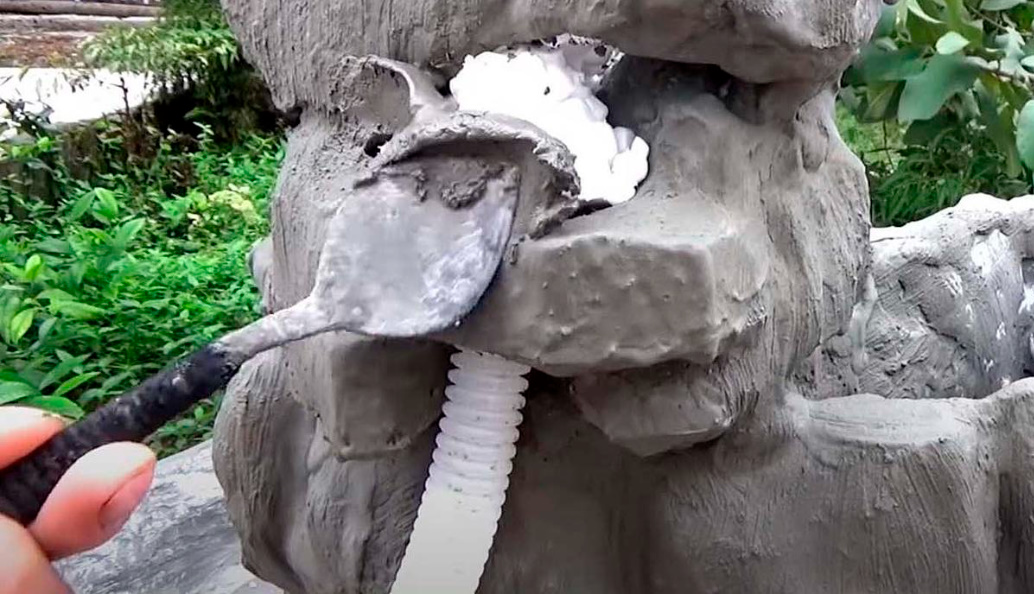
The other end of the hose is carried into the pond.
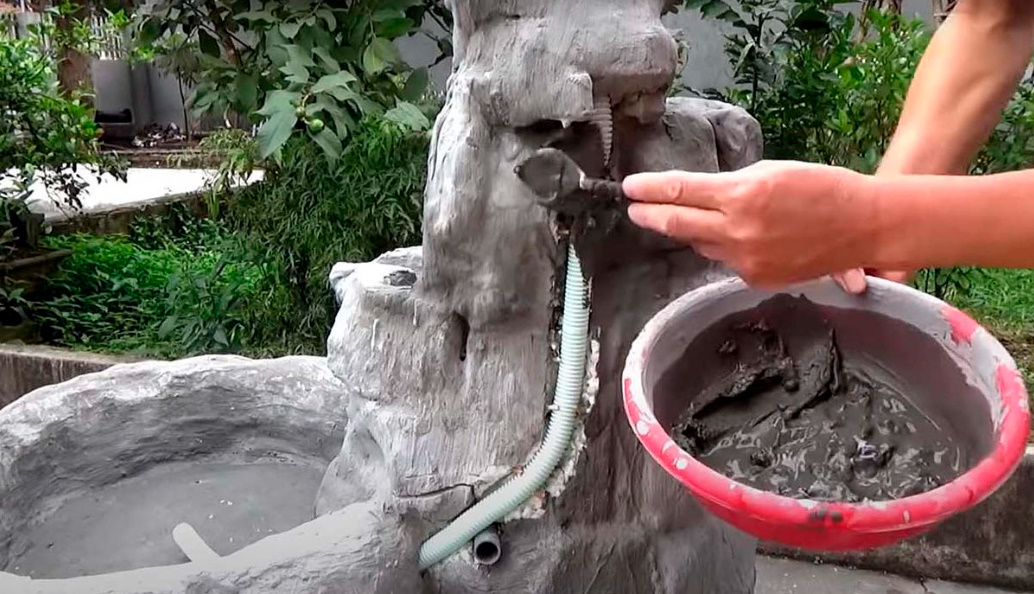
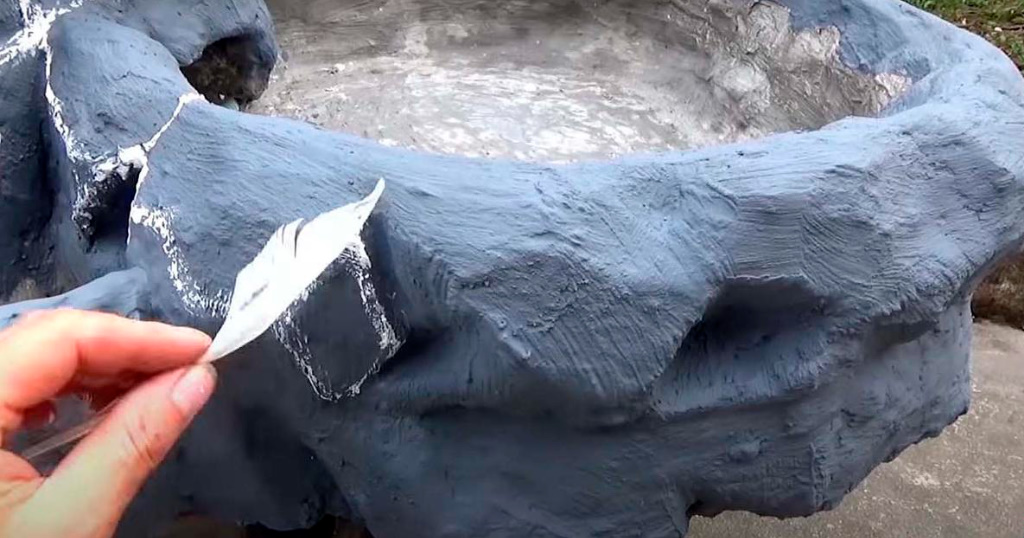
When the waterfall dries, it must be painted with concrete paint. With a semi-dry brush or pen, you can apply a drawing to simulate masonry.
It remains to connect a compact water pump. The waterfall is ready.
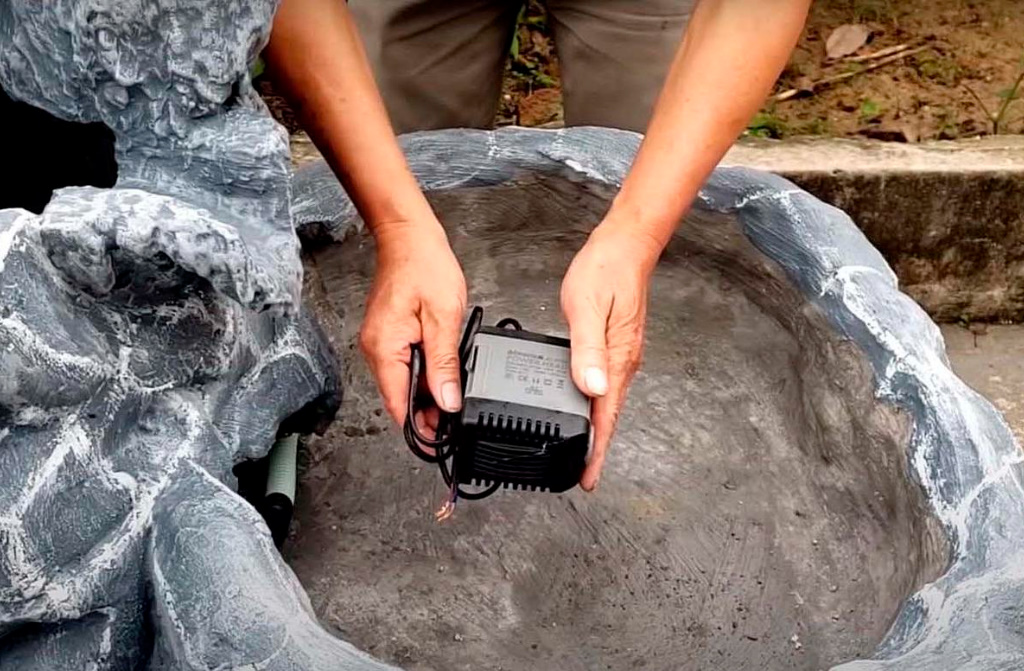
We turn on the pump — water from the lower pond began to flow upward.
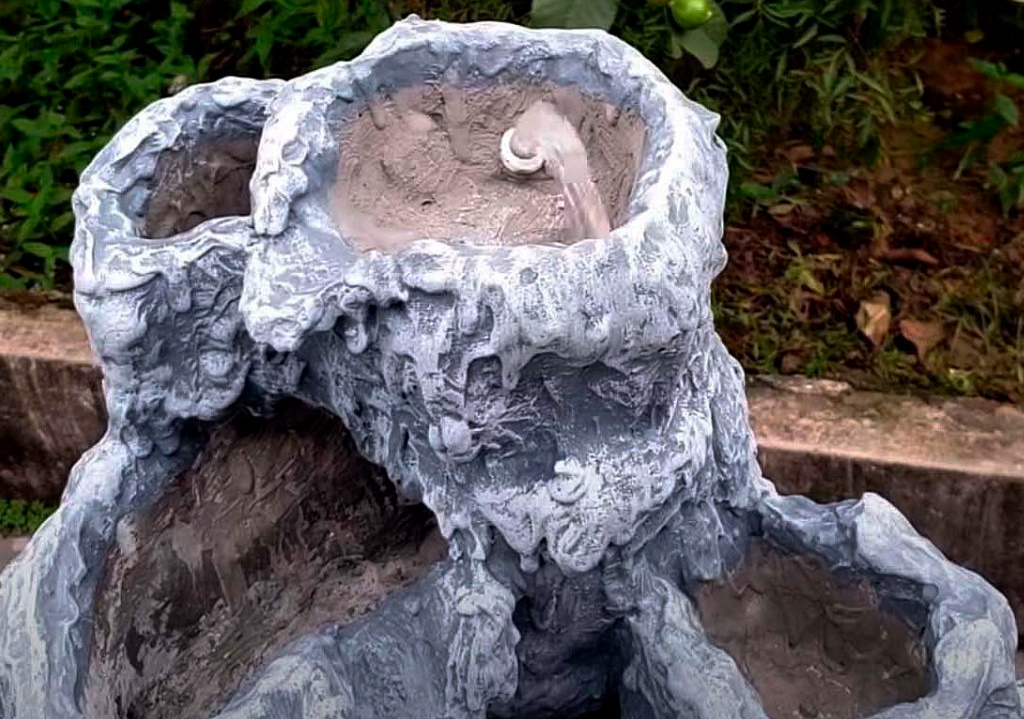
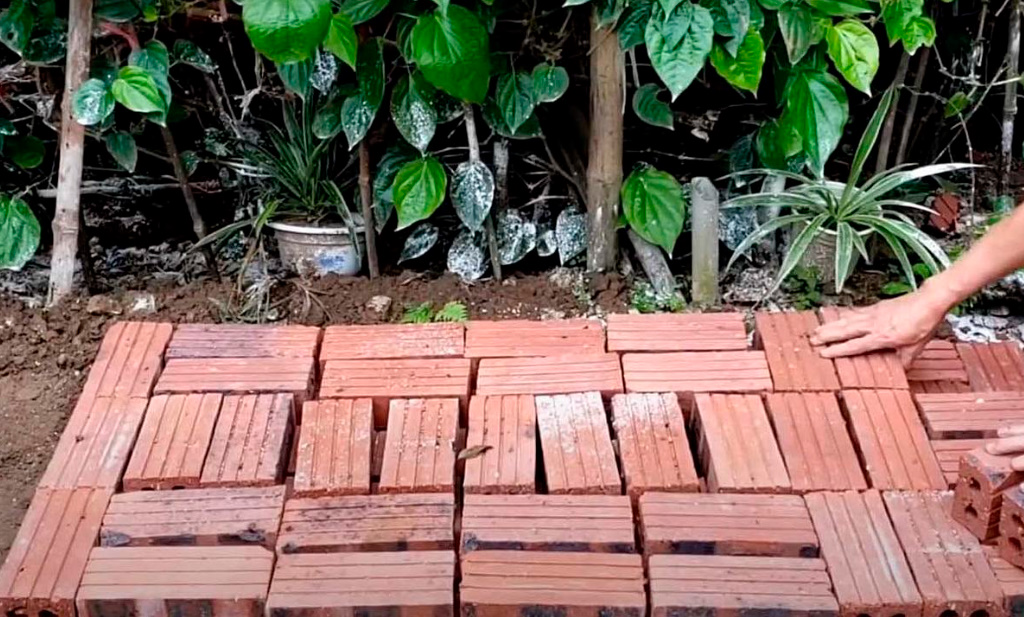
The base for the foundation will be ordinary bricks. In principle, the waterfall itself can also be made of bricks and coated with mortar, but then the structure will be very heavy and immobile.
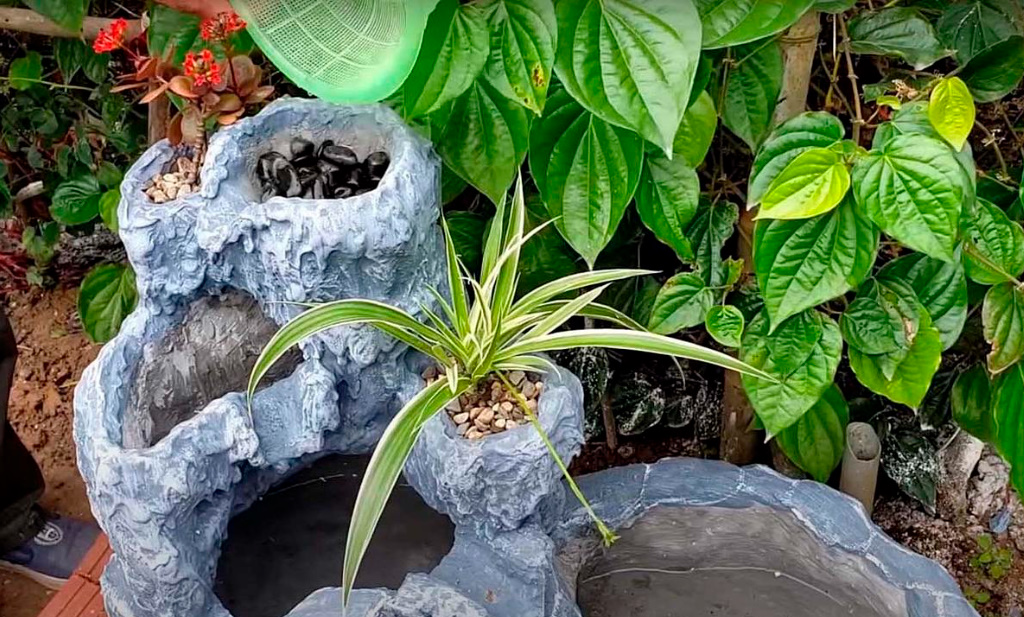
We decorate the waterfall. We pour decorative pebbles, plant flowers.
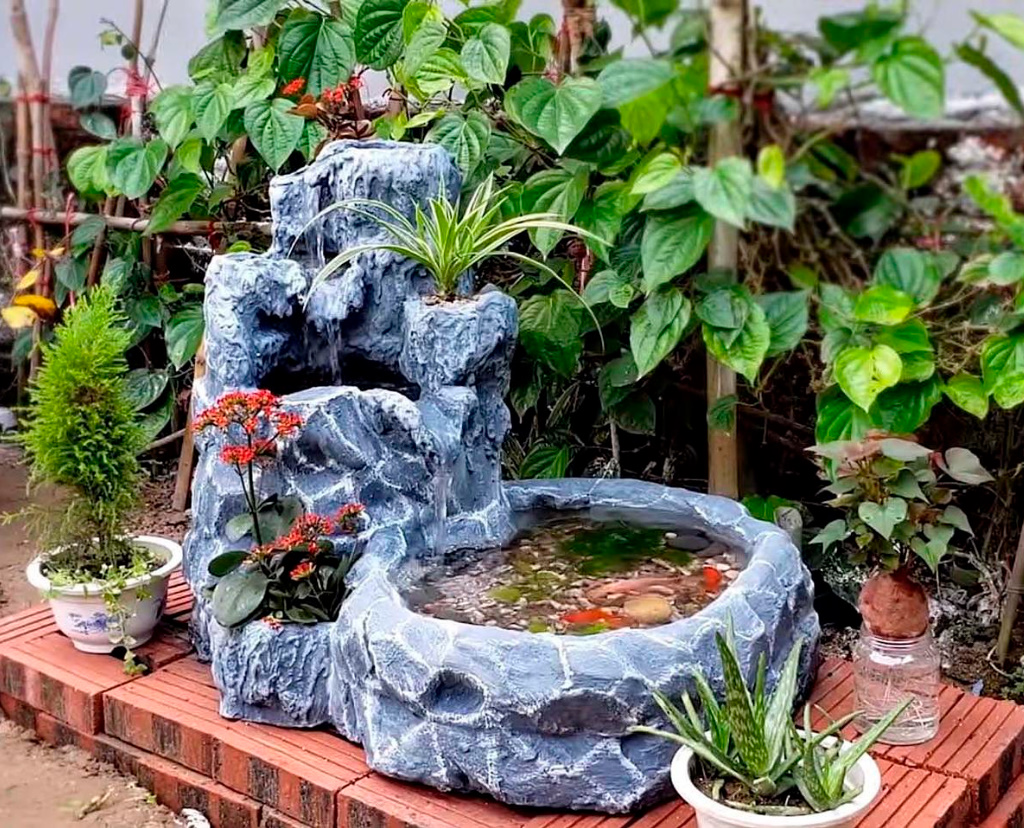
We start the fish, turn on the pump. We sit down next to each other, pour a cocktail and begin to contemplate the streams of water.
Dining set for the street
You can save money on foam for the mold by replacing it with ordinary sand. The technology is about the same — we make a mold from raw sand and coat its surface with a solution. When it dries, we remove the sand and get a hollow concrete structure that is easy to move around the site. This technology seriously saves cement consumption.
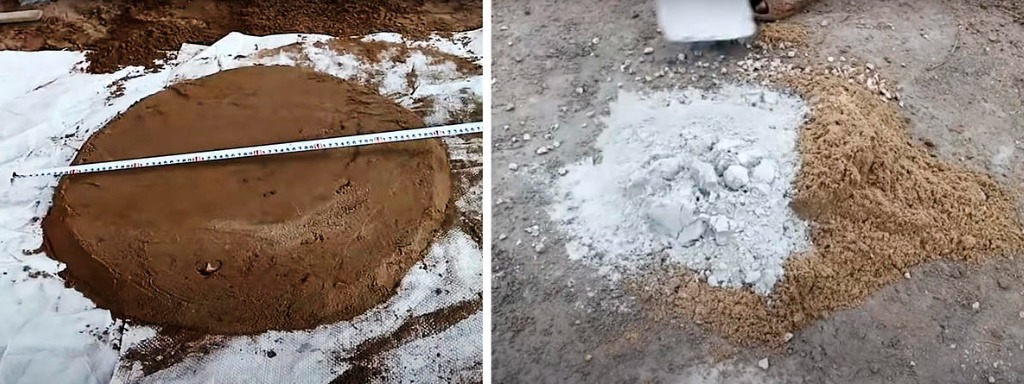
So, for the table cover, we make a flat “cake” of sand. We align it to the desired dimensions as much as possible. Cement mortar can be kneaded directly on the ground.
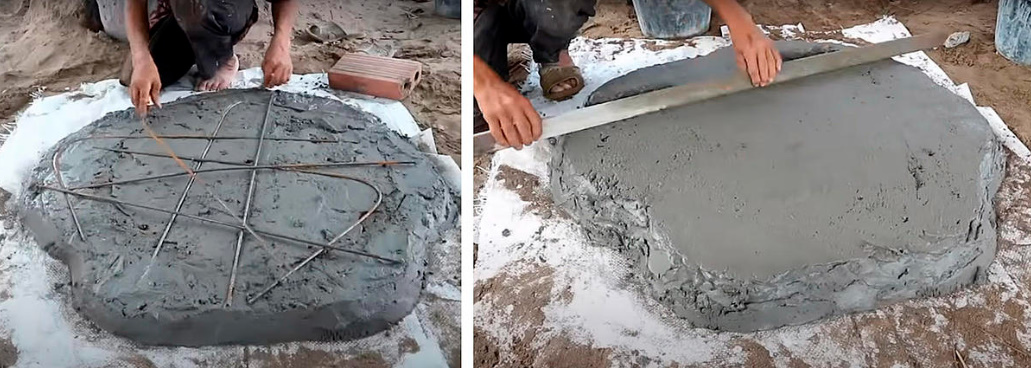
We coat the cake with a solution, put the reinforcement. It is better, of course, to put a reinforcing mesh with a cell of 100 mm or less and a bar thickness of 3 mm. But if it is not there, any metal bars will do. Then we apply the solution again and carefully align the top of the lid.
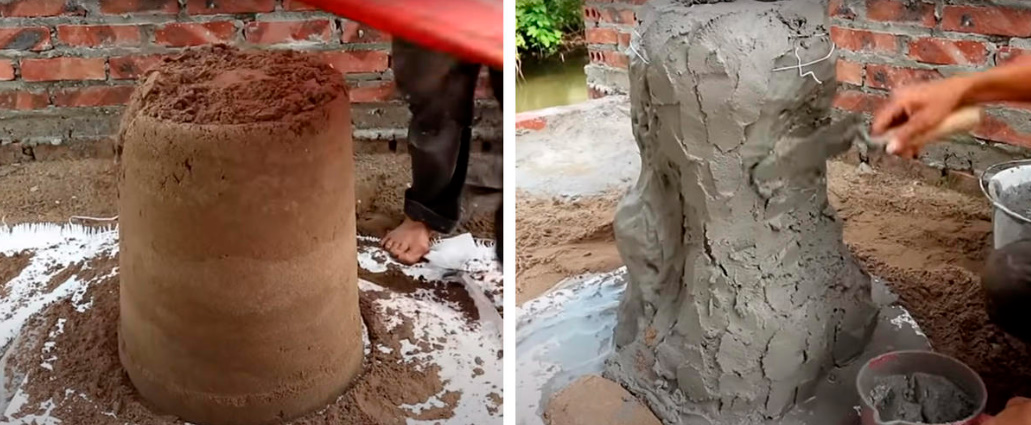
We proceed to the manufacture of a table leg. We will play “cakes” in an adult way! We fill the plastic tank with wet sand, turn it over. It turned out to be a large “cake” with a height of about 70 cm. This will be a table leg, which can be given an author’s shape. Carefully coat it first with liquid, and then with a thicker cement mortar 2 cm thick. We sculpt the armature on the leg (preferably a thin one, 3-4 mm in diameter). We place several fittings vertically, 2-3 — let them go in a circle at different heights. We cover it with a solution, level the surface.
When the cement mortar dries, remove the sand from the part. Turn the lid inside out and add a few reinforcement bars to the center (they can be “put” on the same cement mortar). They will be needed when docking the lid with the base.
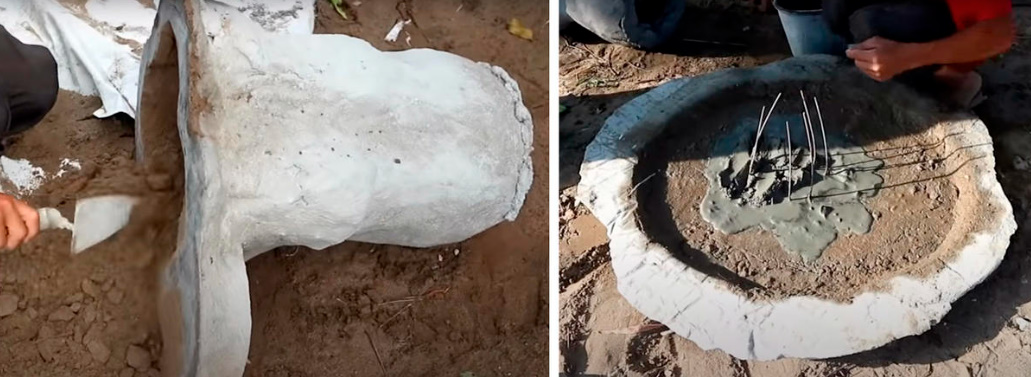
We install the leg on the lid in such a way that the fittings go inside the leg. We coat the joint with cement mortar a couple of times. We pour it into the leg so as to close the armature. When the solution seizes, the parts will be securely connected.
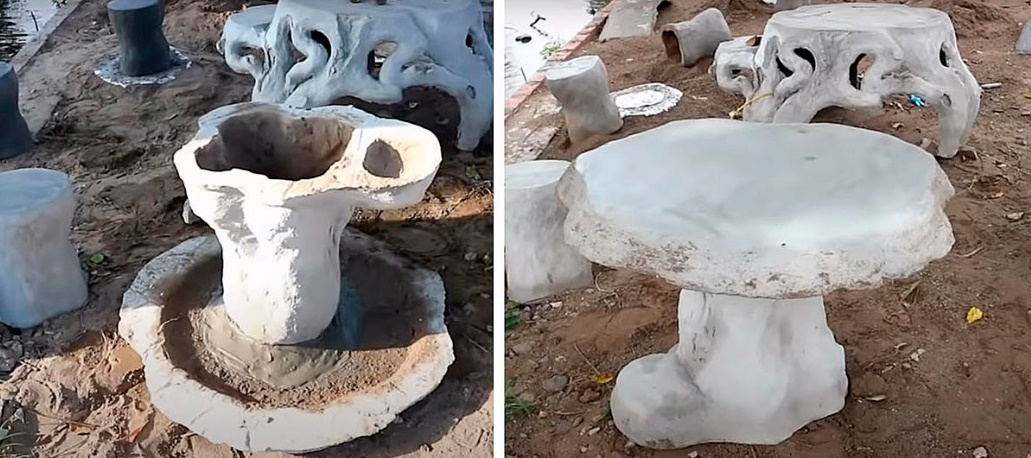
While the solution dries, we are thinking how to paint the table. To begin with, you need to apply a good primer under the paint on concrete (for example, on a polyurethane basis). For sale — in construction hypermarkets, however, it is not cheap. But on such a primer, the paint will fall very qualitatively.
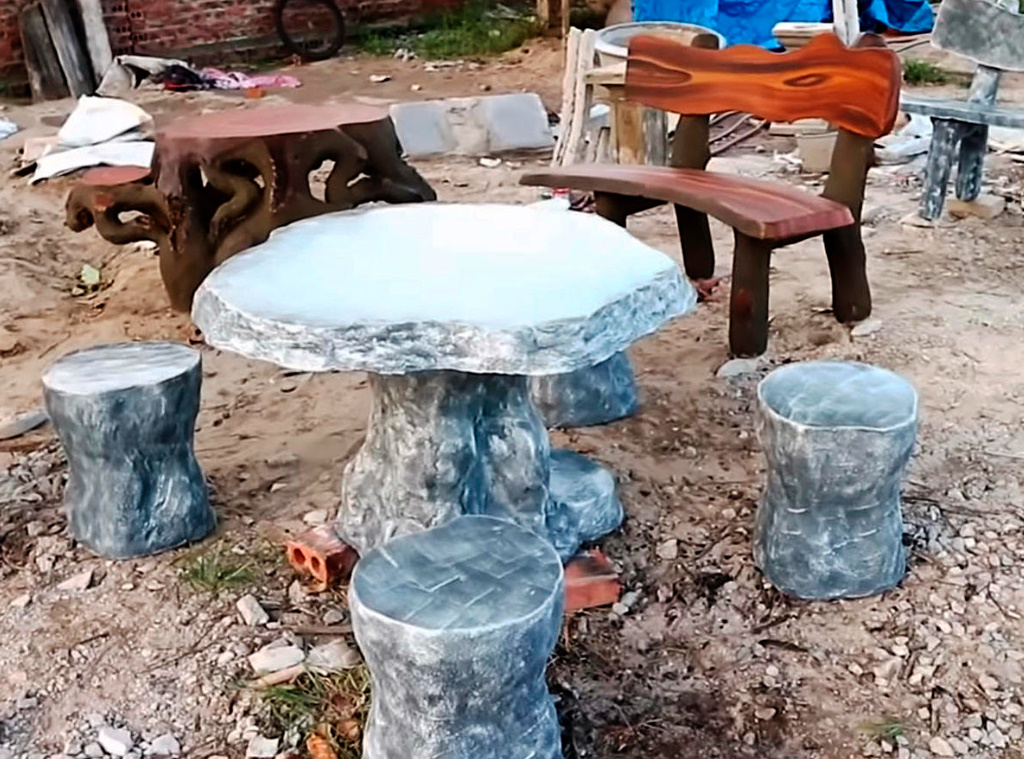
We paint the table with gray paint and apply white strokes. From a distance, it will look as if it is carved out of gray granite. It does not hurt to apply a finishing coat — a couple of layers of polyurethane varnish.
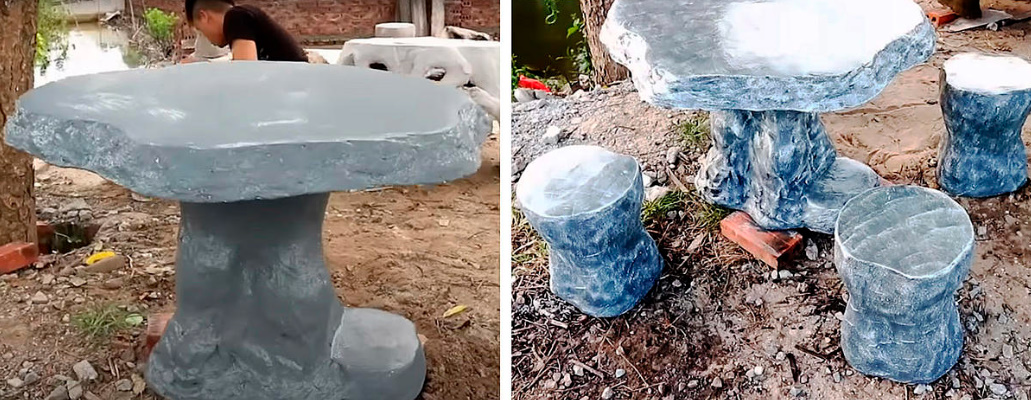
The stools to the table are made using the same technology. If you stock up on paints on concrete of different colors, then you can try to paint cement under a tree. With a certain skill of painting, a concrete bench after painting cannot be distinguished from a wooden one.
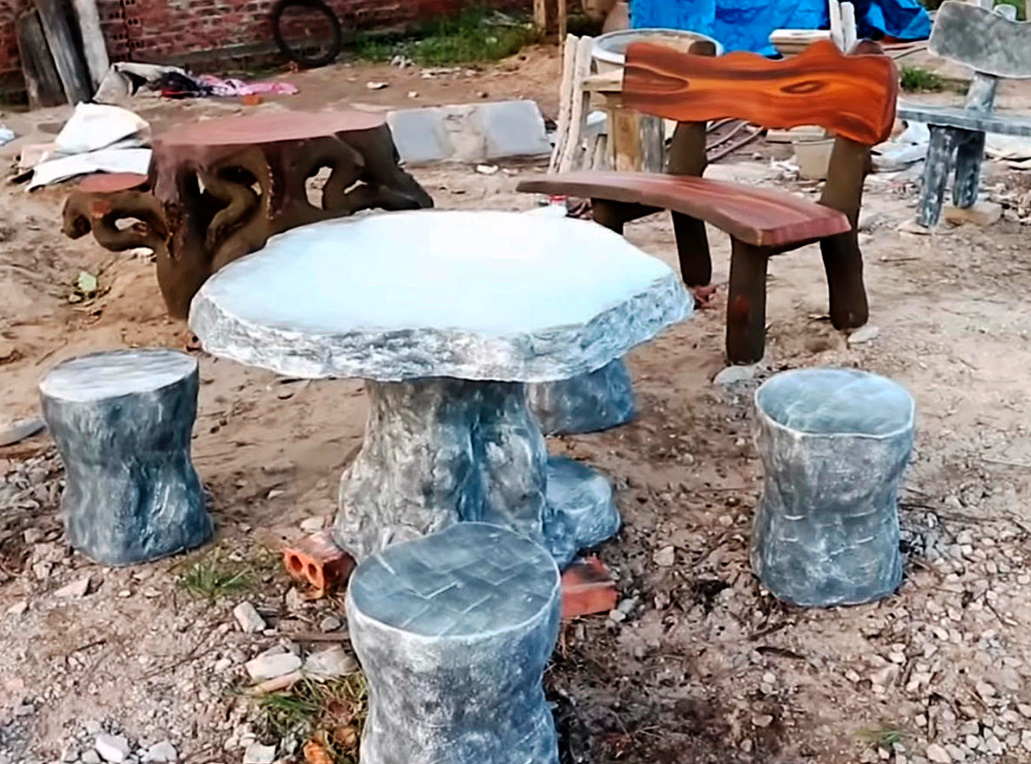
It will take less than 1 bag to make a garden set of cement.
Outdoor vase — decoration of the site
To make a concrete sculpture yourself is much cheaper than buying boring clay gnomes and birds. Everything is strict, but elegant: two hands hold a flower in which another flower grows. Just a symbol of the triumph of nature!
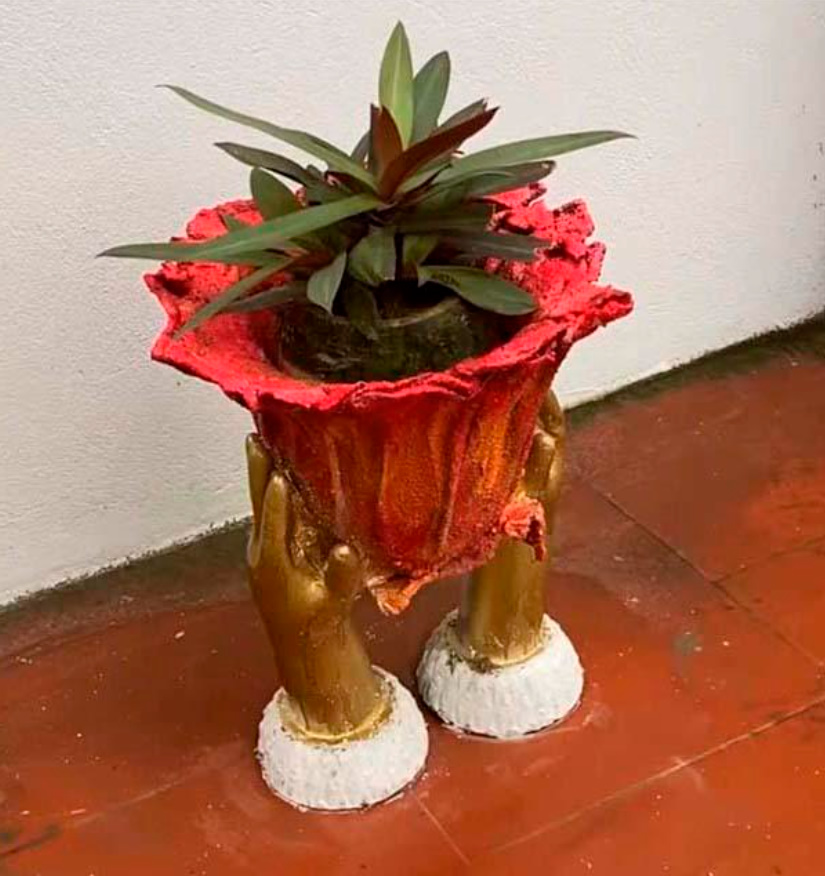
You don’t have to be a sculptor to sculpt your hands. It is necessary to find a suitable form to pour the solution into it. Therefore, we will take two thick rubber gloves and insert fittings into each “finger”. And then we’ll pour concrete mortar into them.
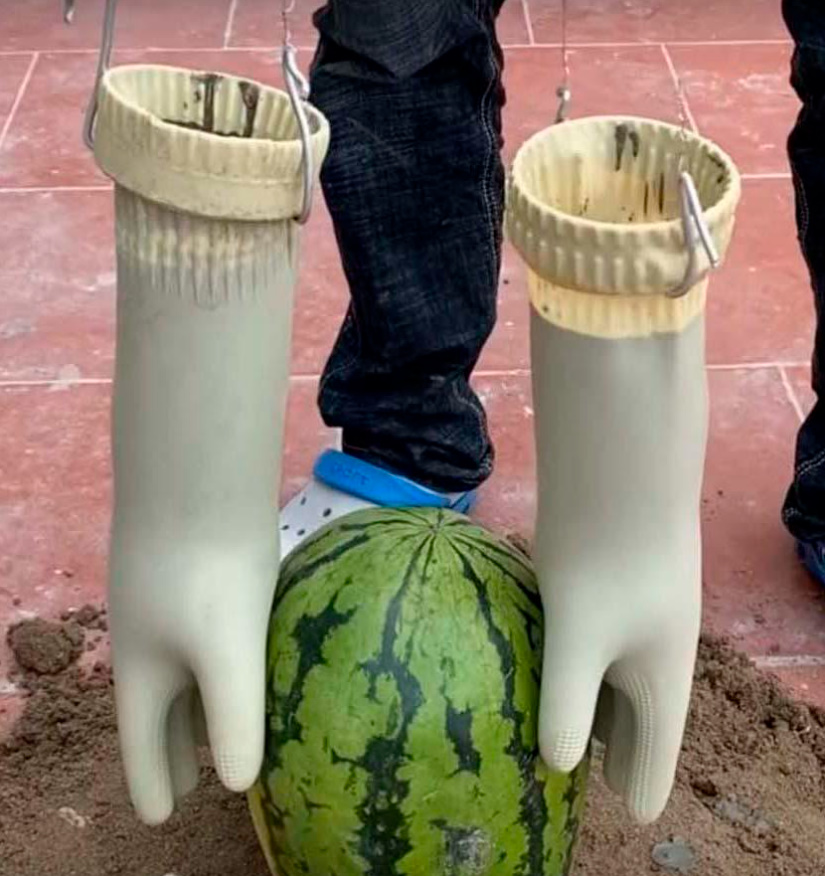
The flower vase itself is made of burlap soaked in cement mortar. The technology of its manufacture is like a table. Find the shape you need in terms of volume, cover it with a piece of burlap. Then you impregnate it first with a liquid cement mortar, and then with a thicker one.
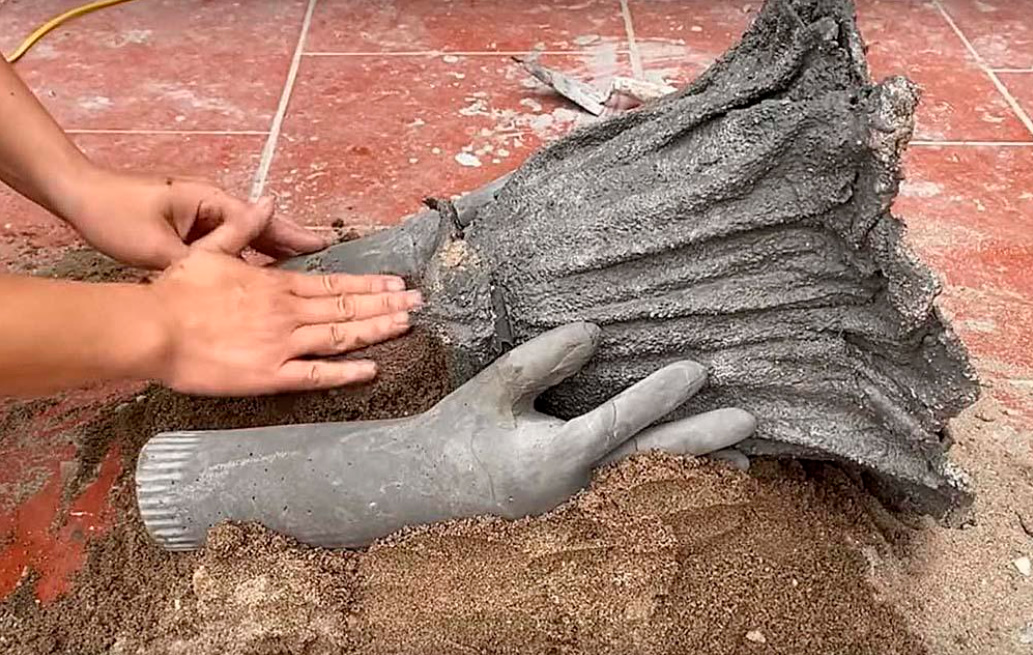
Then we connect the hands of gloves with a cement flower using a concrete mortar.
We install the hands on two round bases that can be cast in any plastic molds. We turn on the imagination and paint the sculpture with paints on concrete.
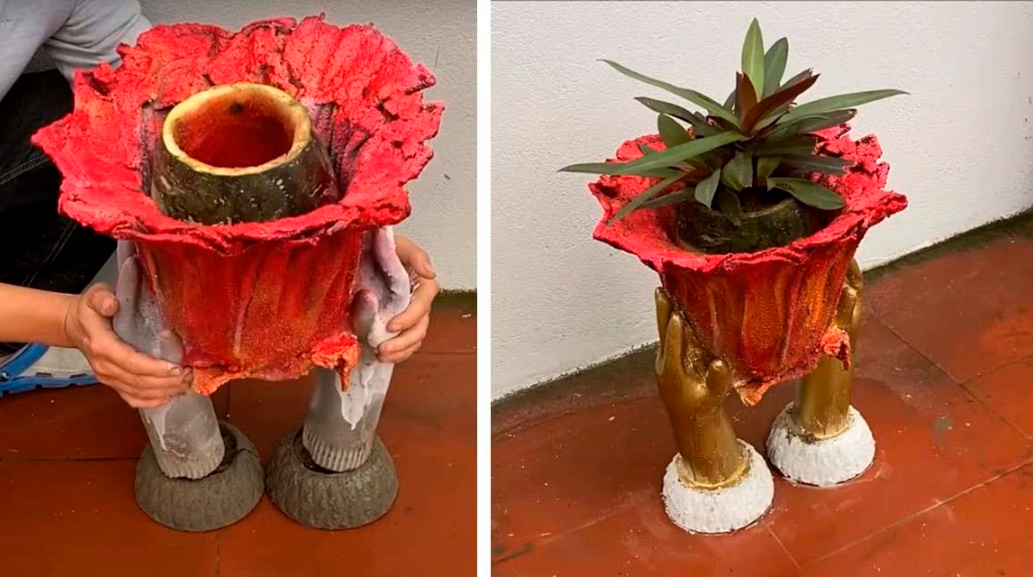
We plant a favorite flower in this pot. You definitely can’t buy such a vase!
